Projects
A project holds one visual novel, with all its images, sounds, and scenes. The Projects page lists all your projects.
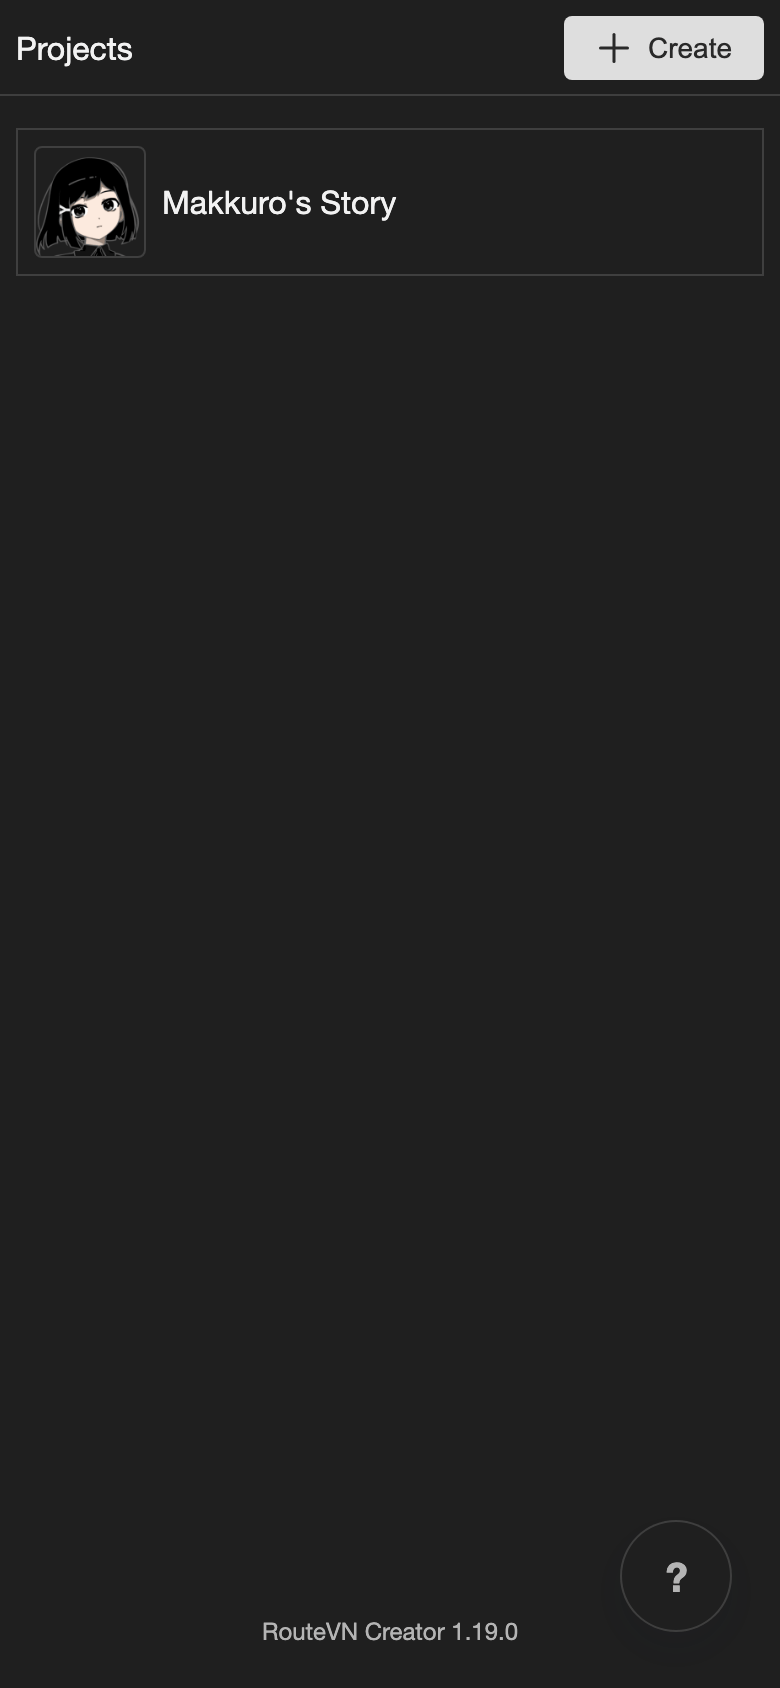
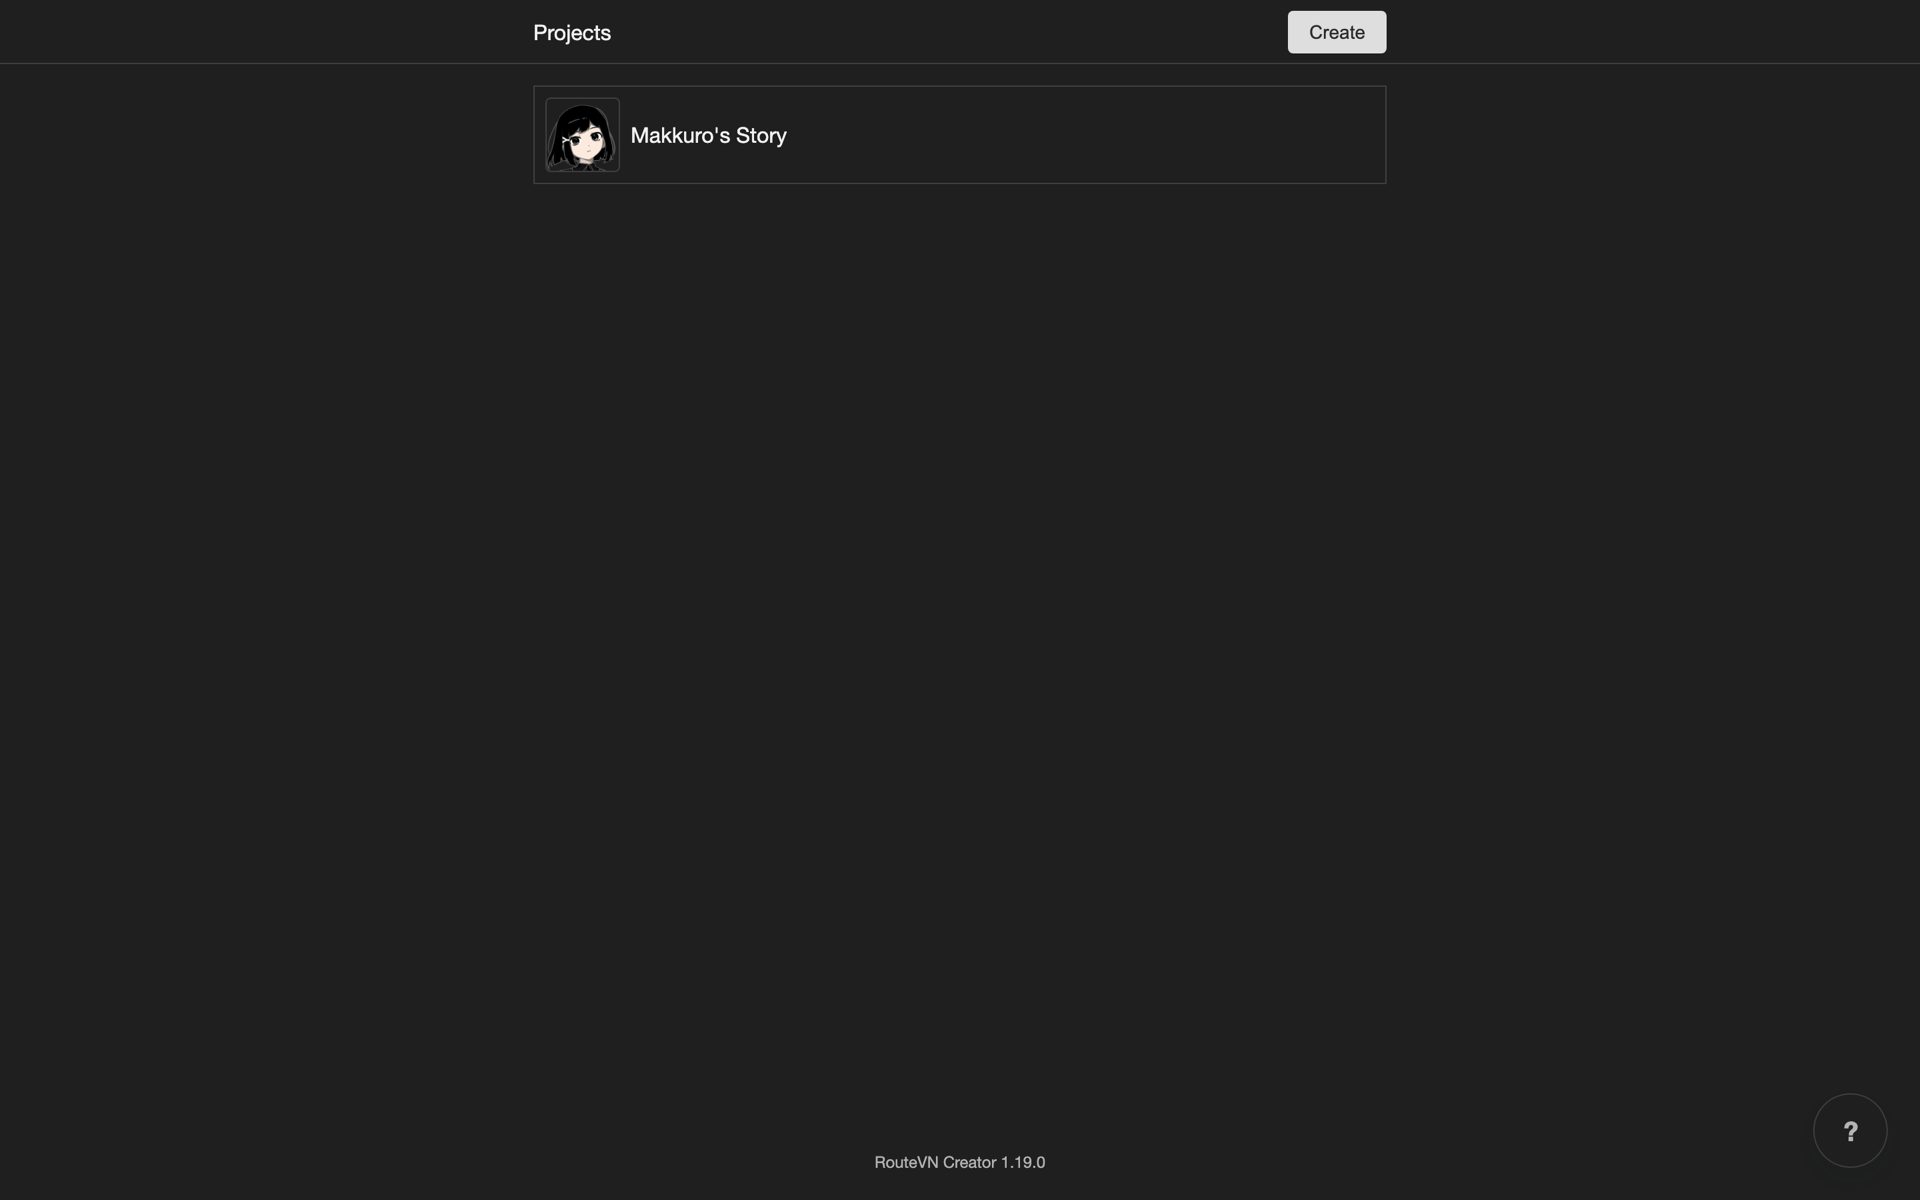
Projects list
The Projects page is the first screen you see when you open RouteVN Creator. Here you can create a new project or import a project that you already have.
Tap a project in the list to start working on it.
Create a project
Open the Create Project box:
- Phone or tablet: Tap Create. Then tap Create Project.
- Desktop: Click Create.
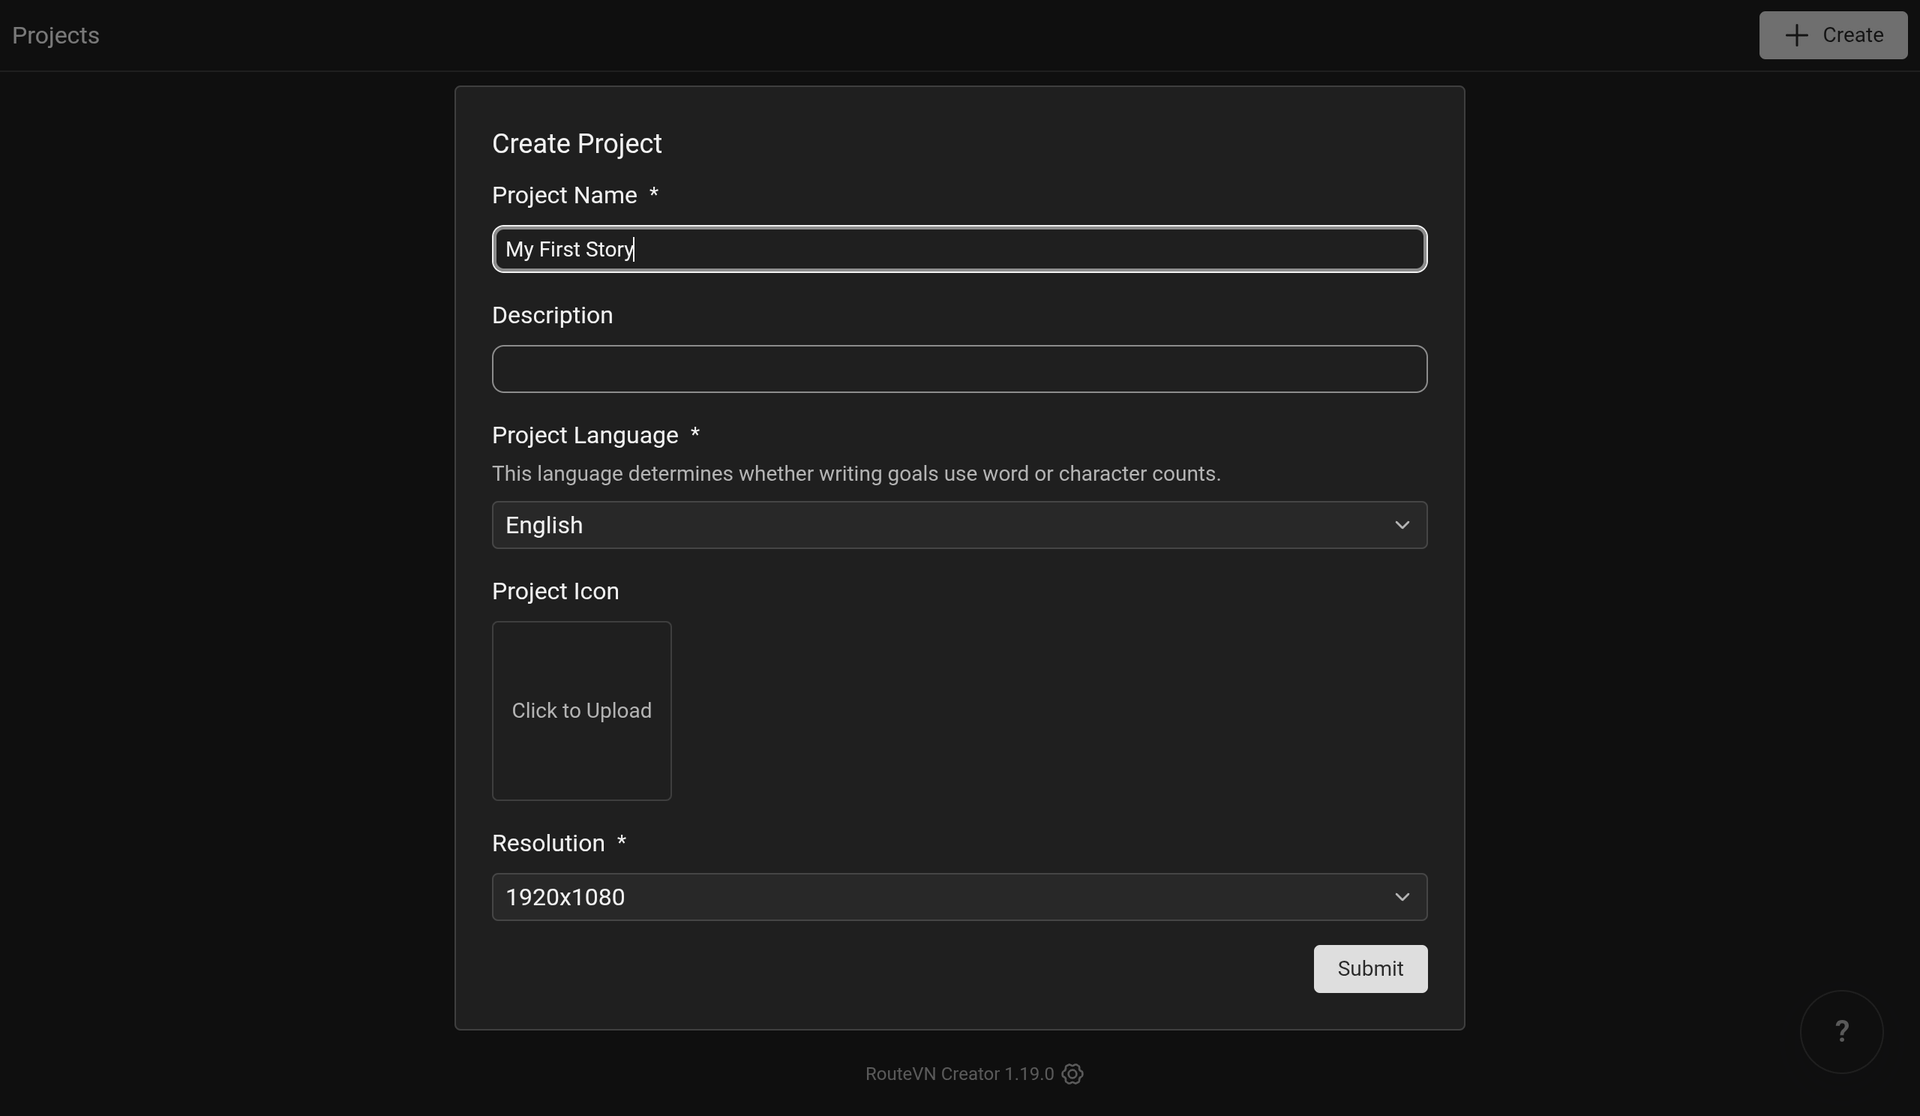
Fill in these fields:
- Project Name (required)
- Description
- Project Language (required). See Project Language.
- Project Icon. See Project Icon.
- Resolution (required). See Resolution.
- Project Location (required, desktop only). See Project Location.
Then tap Submit. The new project appears in the list.
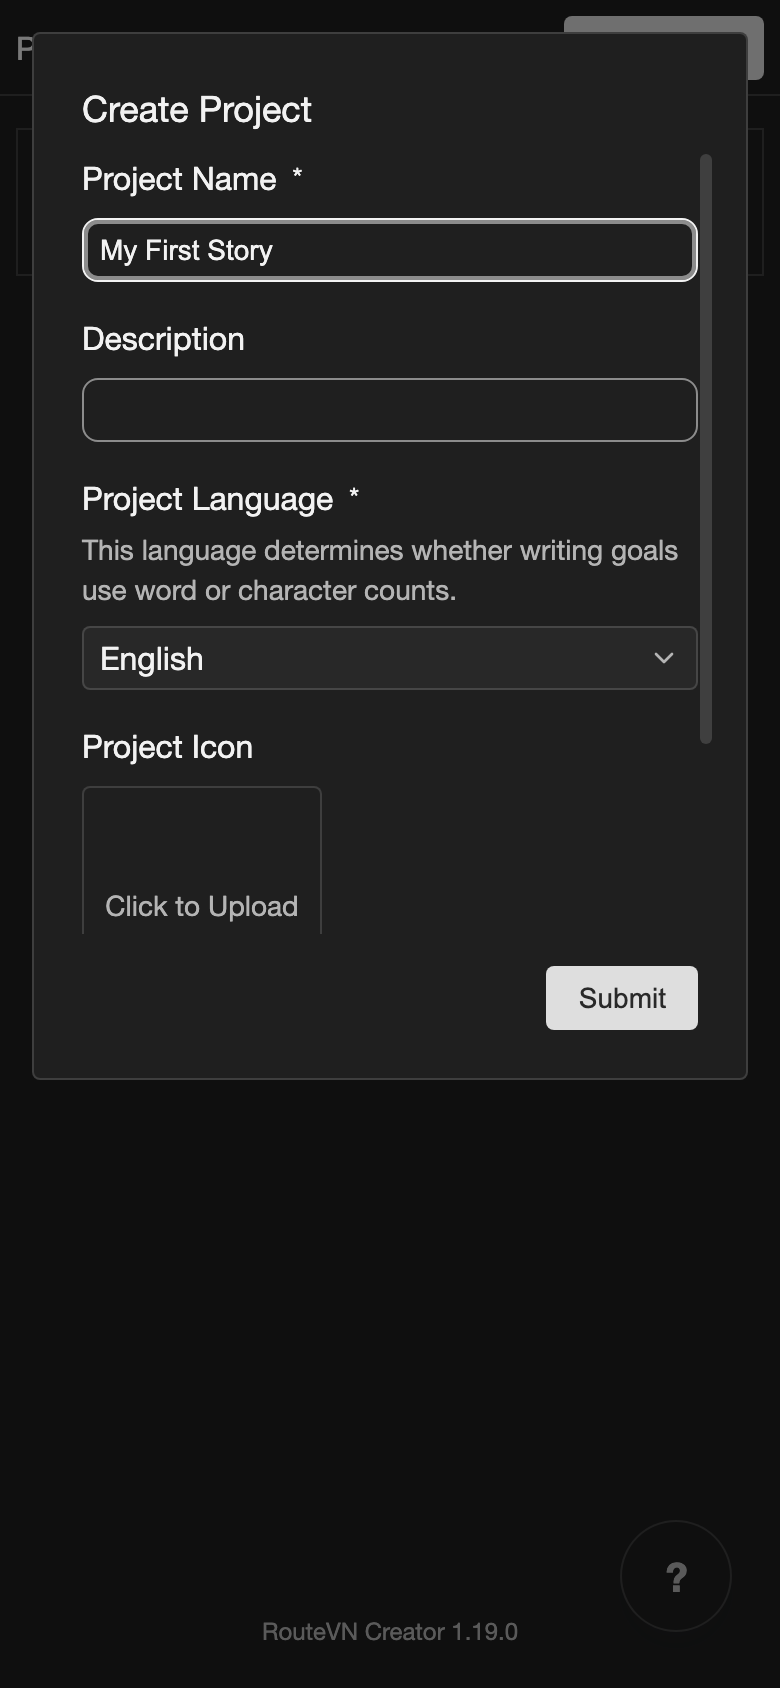
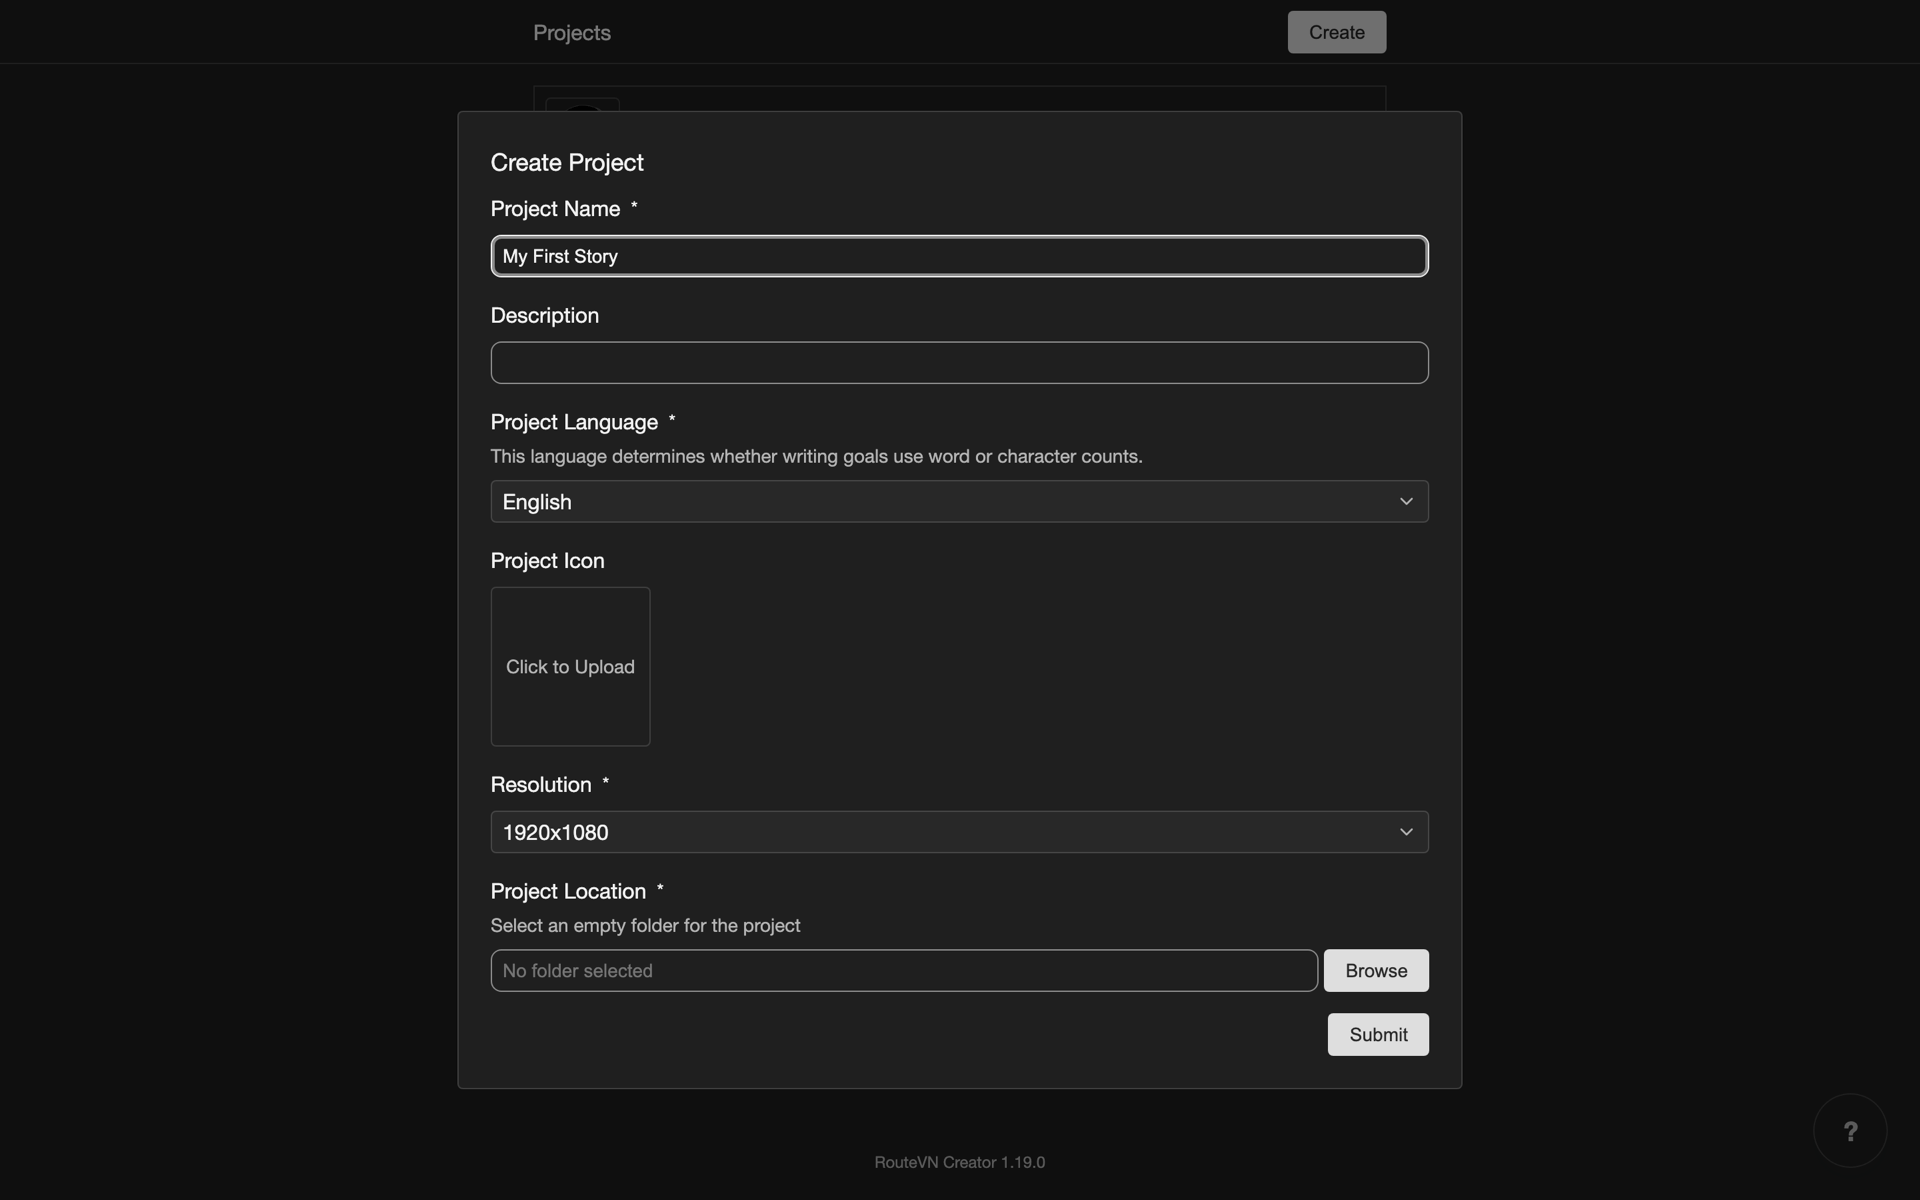
Project Language
Choose the language that you write your visual novel in. RouteVN Creator uses it to decide whether writing goals count words or characters. Japanese and Chinese count characters. Other languages count words.
Resolution
The resolution is the size of the screen of your visual novel. It is an important choice, because it decides the size of all your images. For example, a background must be 1920 x 1080 pixels to fill the screen.
You cannot change the resolution after you create the project. To change it, you would also need to change all your images.
Right now, the only choice is 1920 x 1080 (Full HD).
Project Icon
The icon is a small picture that helps you find the project in the list. Use an image that is at least 512 x 512 pixels. After you choose it, you crop it to a square. Then tap Use Crop.
Project Location
This field is only on desktop. It is the folder where RouteVN Creator saves all project data.
The folder must be empty, and it must be a folder, not a file. Make an empty folder first. Then choose it with Browse.
On a phone or tablet, you do not choose a folder. RouteVN Creator saves the project on your device. On Android, you can lose your projects if you uninstall the app. See Storage and Backups.
Remove a project
Open the menu for the project:
- Phone or tablet: Long press the project. Then tap Remove.
- Desktop: Right-click the project. Then click Remove.
In the Remove Project box, tap Remove.
Important: Remove only takes the project off the list. The project folder and its files stay. To delete the files, delete the folder yourself.
On Android, the menu shows Delete instead of Remove. Delete removes the project and all its files from your device. You cannot undo this. To confirm, type Delete in the box. Then tap Delete.
Import a project
Import adds a project that you already have to the list. For example, use it for a project from another device or a backup.
You can import a project from your device or from a link. After the import, the project appears in the list. You cannot import a project that is already in the list.
Import from your device
Use this for a project folder or a zip file on your device. A project folder has a project.db file in it.
- Open the import menu.
- Phone or tablet: Tap Create. Then tap Import Project.
- Desktop: Click Import.
- Choose a folder or a zip file.
- Phone or tablet: Tap From local. Then tap Project folder or Zip file.
- Desktop: Click From local folder or From local zip file.
- Choose the project.
- Phone or tablet: Choose the folder or zip file.
- Desktop: For a folder, choose the folder. For a zip file, a box opens. Click Browse next to Project Zip File and choose the zip file. Then click Browse next to Destination Folder and choose an empty folder. Click Import.
Import from a link
Use this for a link to a project zip file. A Google Drive link works too.
- Open the import menu.
- Phone or tablet: Tap Create. Then tap Import Project.
- Desktop: Click Import.
- Tap From URL. The Import from URL box opens.
- Paste the link in Project URL.
- Finish the import.
- Phone or tablet: Tap Import.
- Desktop: Click Browse next to Destination Folder and choose an empty folder. Then click Import.
For a Google Drive link:
- Share the zip file with Anyone with the link.
- Share the zip file, not a folder. Links to Google Drive folders do not work.
Project details
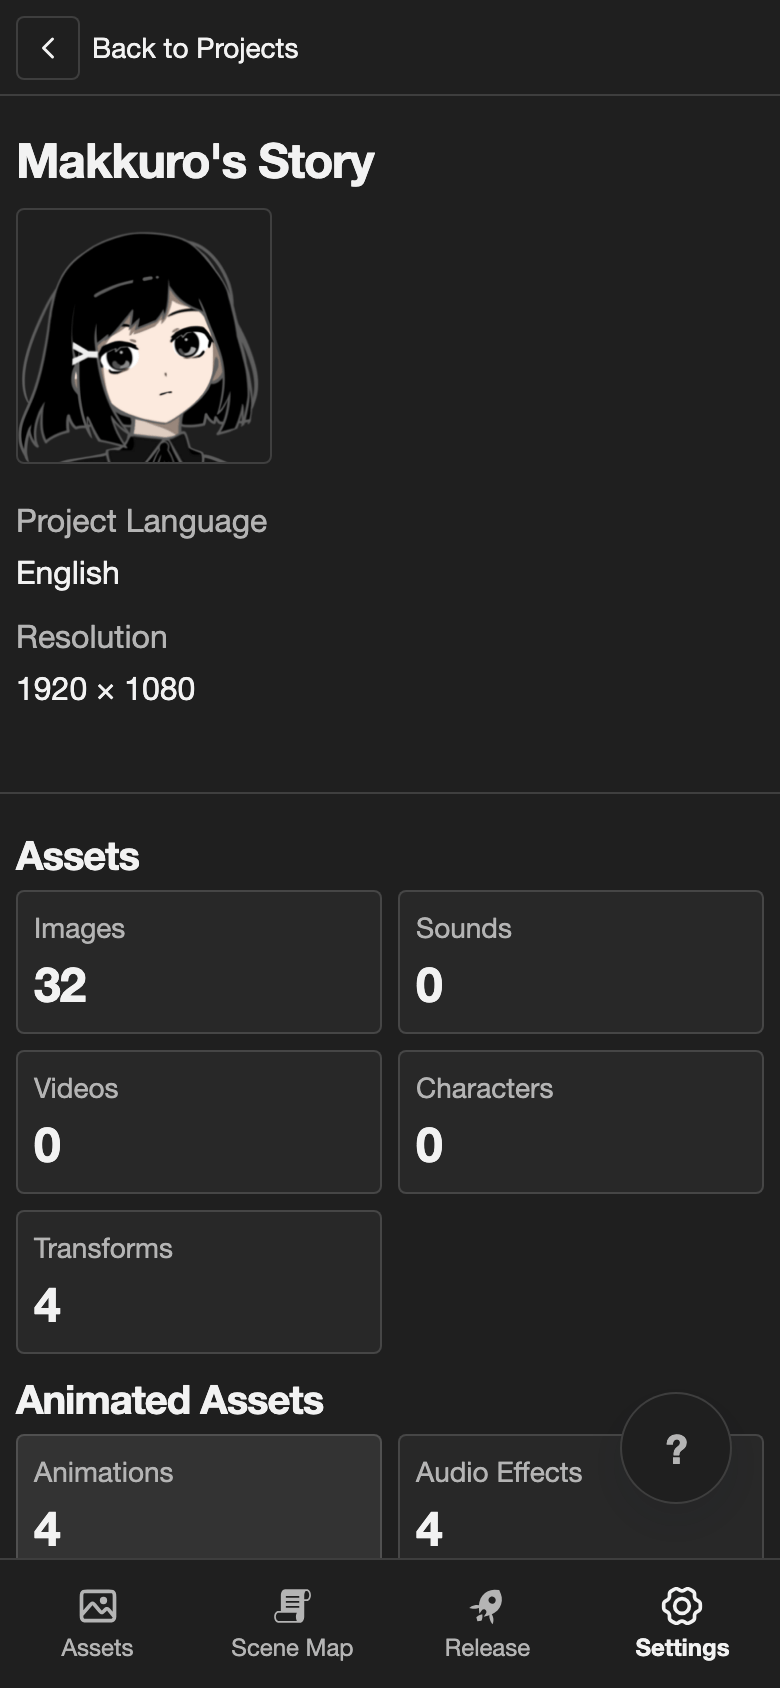
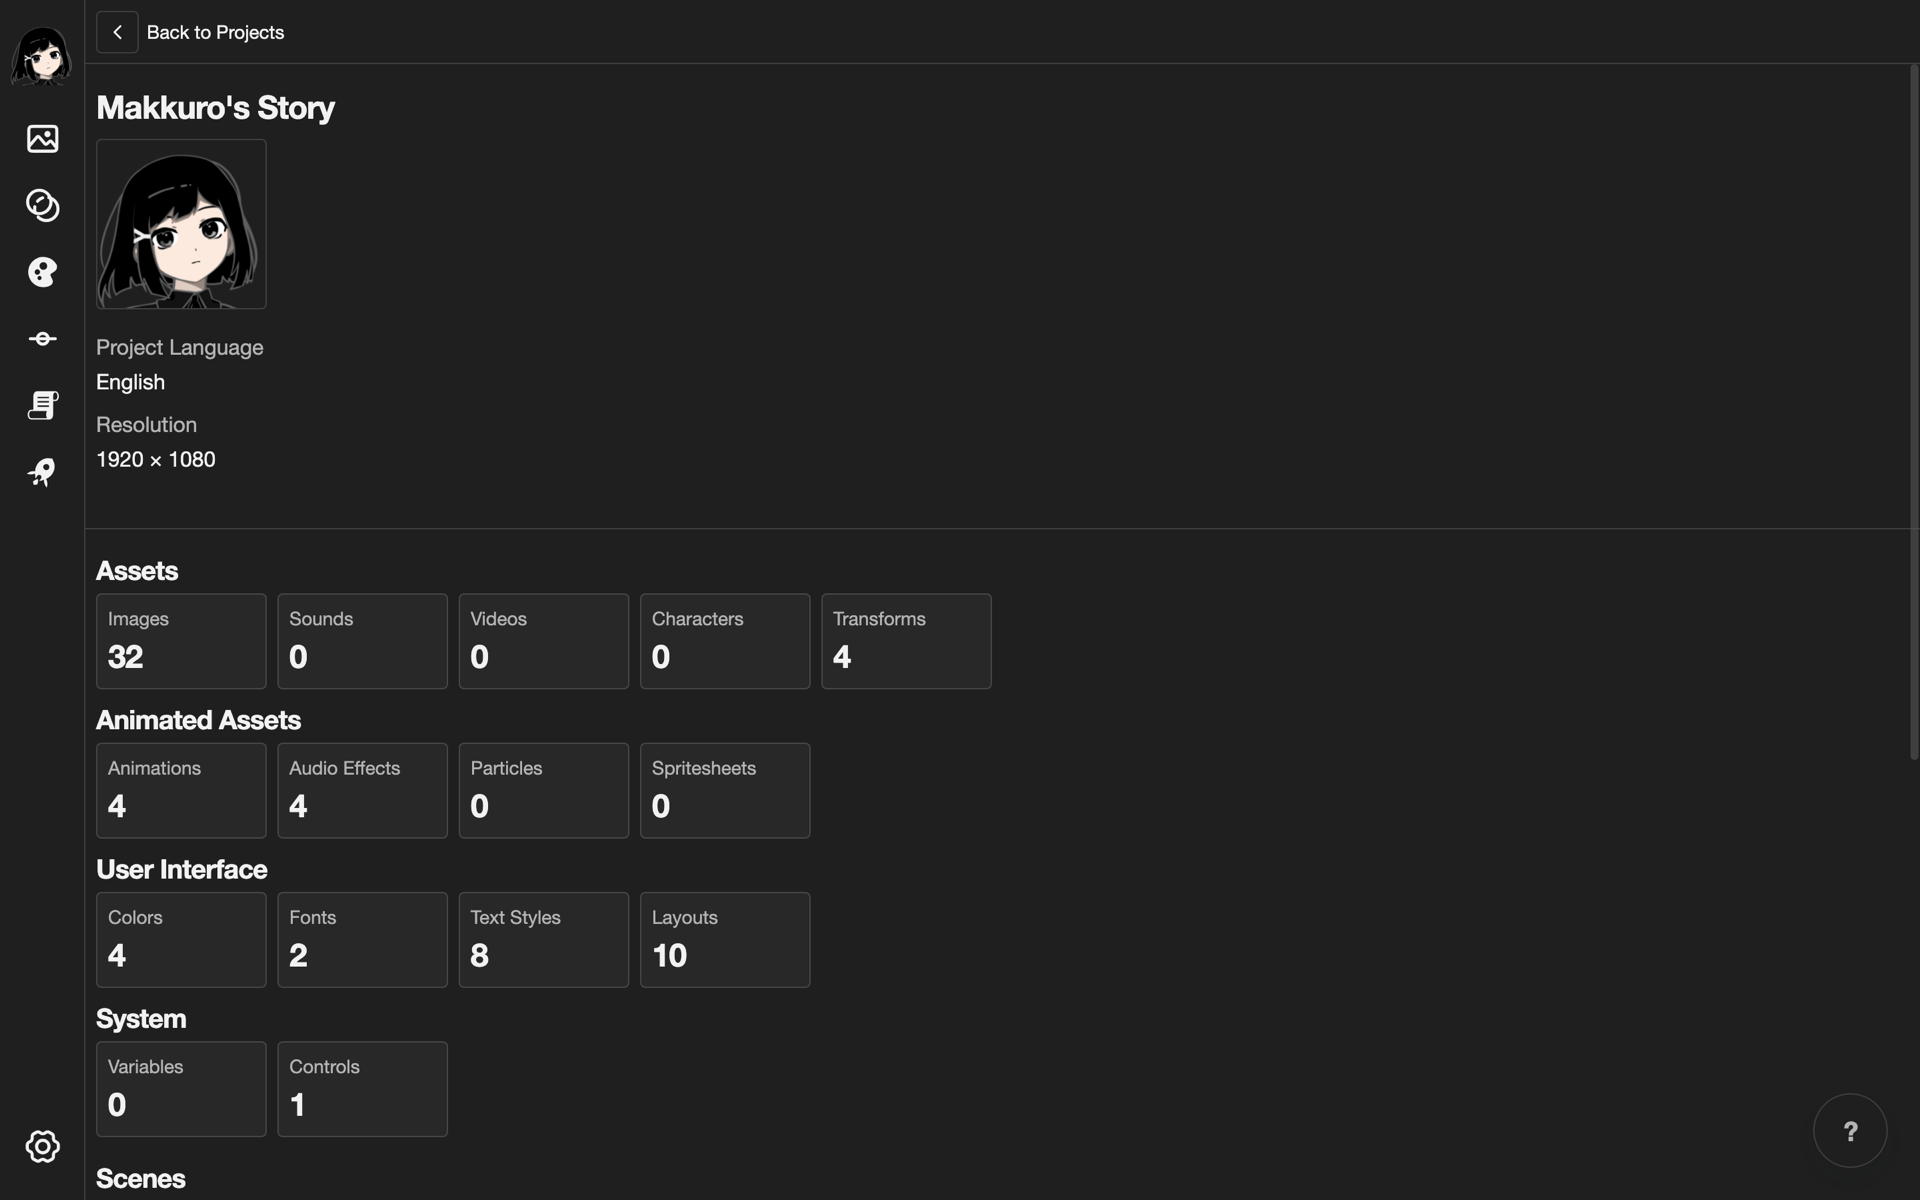
When you open a project, its Project page shows the name, icon, description, project language, and resolution. Below them, you see how many images, sounds, scenes, and other items the project has.
To change the name, description, project language, or icon, tap it. The Edit Project box opens. Make your changes. Then tap Save Changes.
Troubleshooting
If an error box appears when you open a project, you may not have the latest version of RouteVN Creator.
- Update RouteVN Creator to the latest version.
- Try to open the project again.
- If it still fails, contact RouteVN support.