Export for Windows
A Windows export is a file that runs your visual novel on a Windows PC. Readers do not need RouteVN Creator.
This works only on desktop. You can make it on Windows, macOS, or Linux. This export is in beta. Beta means it is new and still being tested.
Before you start
- Create a version of your visual novel. See Versions.
- Prepare a square picture for the icon. It must be at least 64 x 64 pixels. A picture of 256 x 256 pixels or more looks best.
Start the export
-
On the Versions page, click the version you want to export. Its details open.
-
In the details, click Export. The Export for box opens.
-
Click Windows.
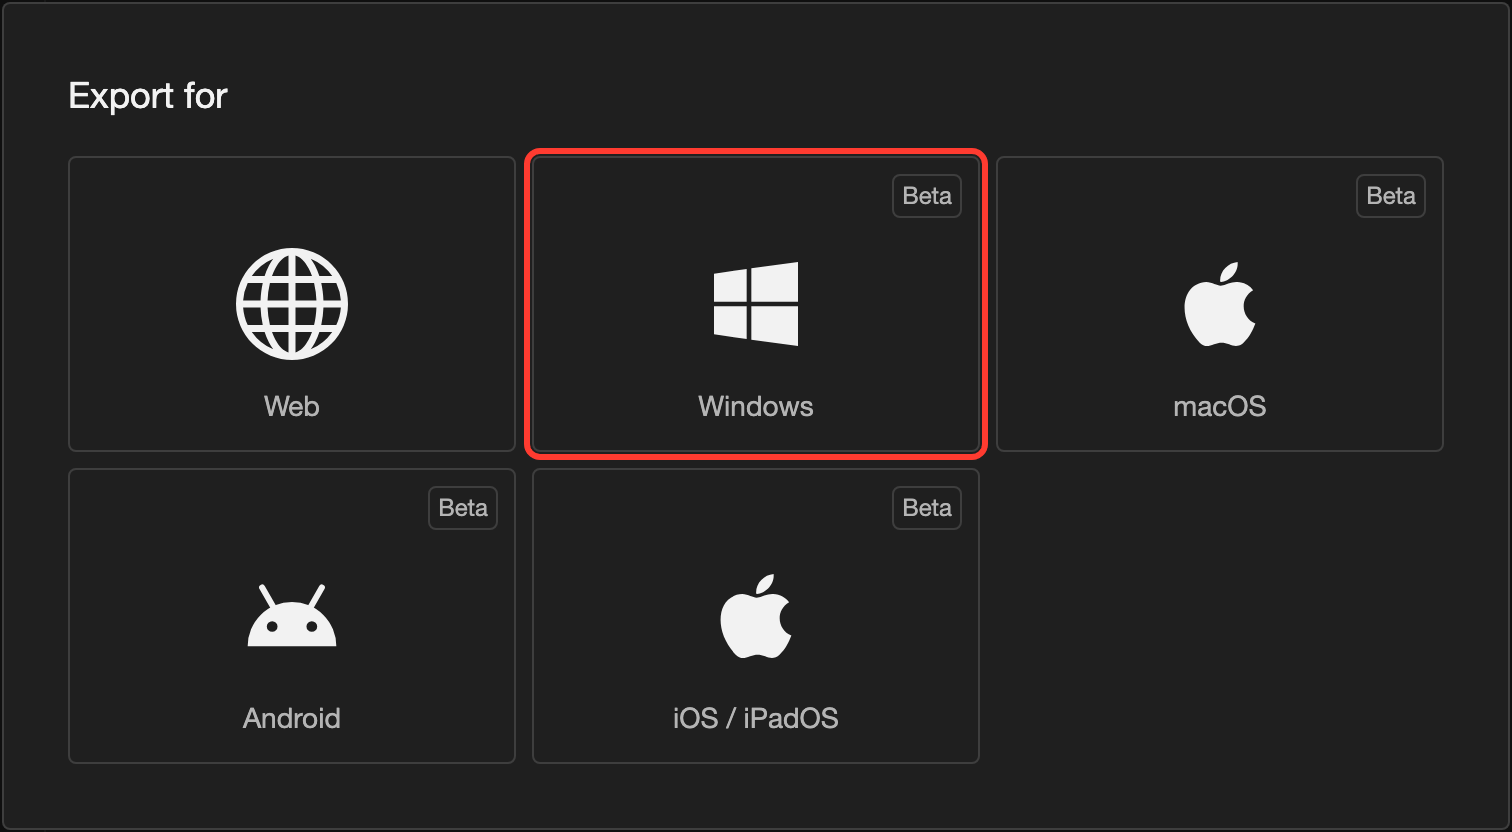
The first time, the Add Platform Details First box opens. Go on with Fill in the Windows details.
After the first time, the Confirm Windows EXE Export box opens. Go to Confirm and save.
Fill in the Windows details
You do this once. RouteVN Creator remembers the details for the next export.
-
In the Add Platform Details First box, click Continue. The Add Windows Platform Details box opens.
-
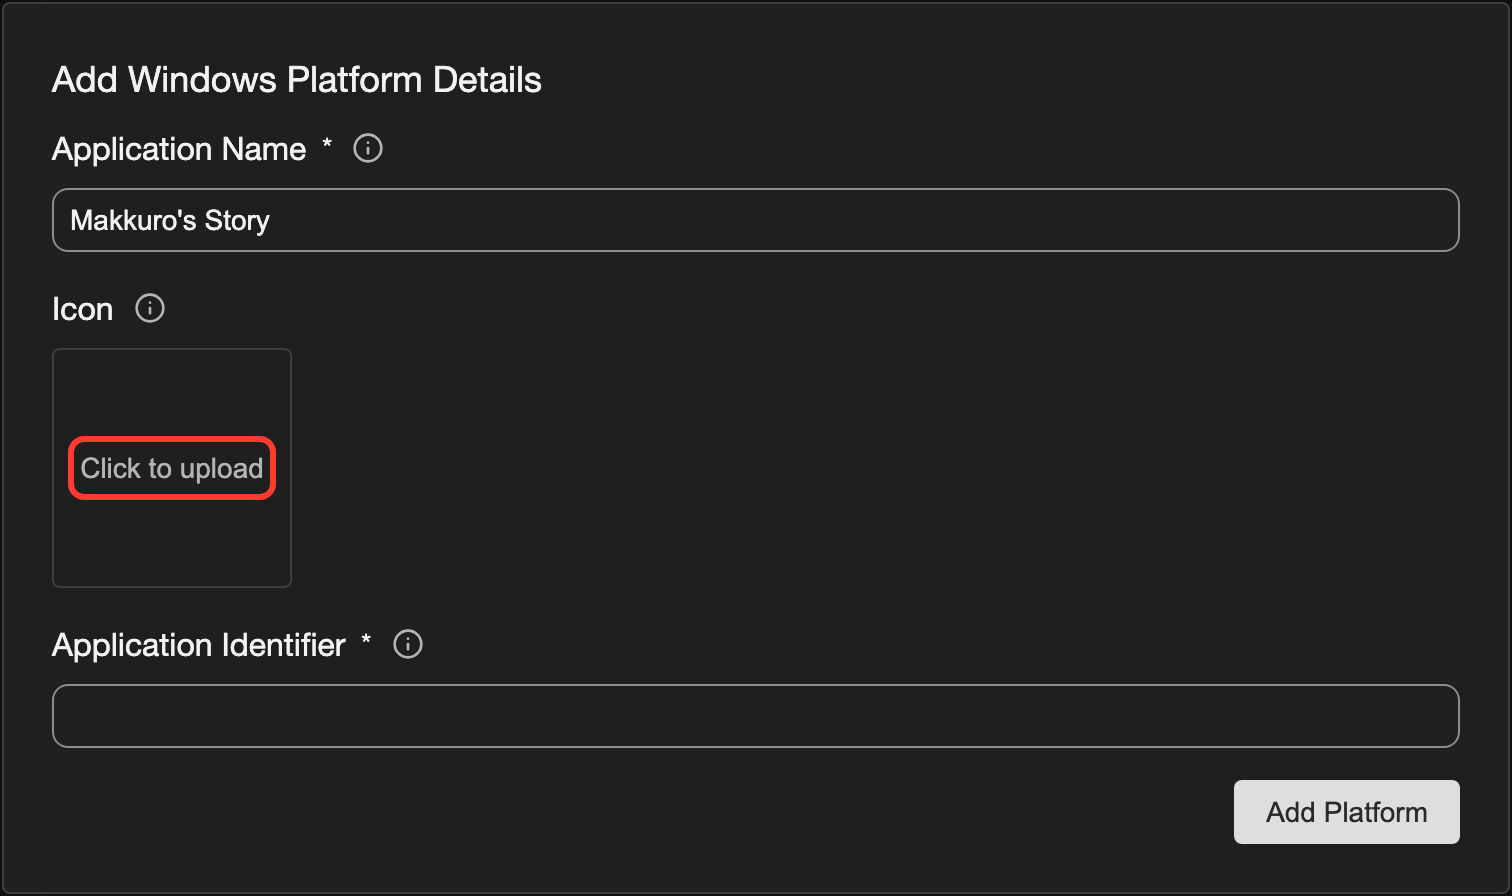
In Application Name, check the name. It starts as your project name. Windows shows it in the details of the EXE file.
-
Under Icon, click Click to upload.
-
Choose your icon picture.
-
In the Crop app icon box, drag the picture and change the zoom. Keep the part you want inside the square.
-
Click Use Crop.
-
In Application Identifier, type an identifier, for example
com.routevn.makkurotest. It needs at least one period. Use only letters, numbers, hyphens, and periods. -
In the box, click Add Platform.
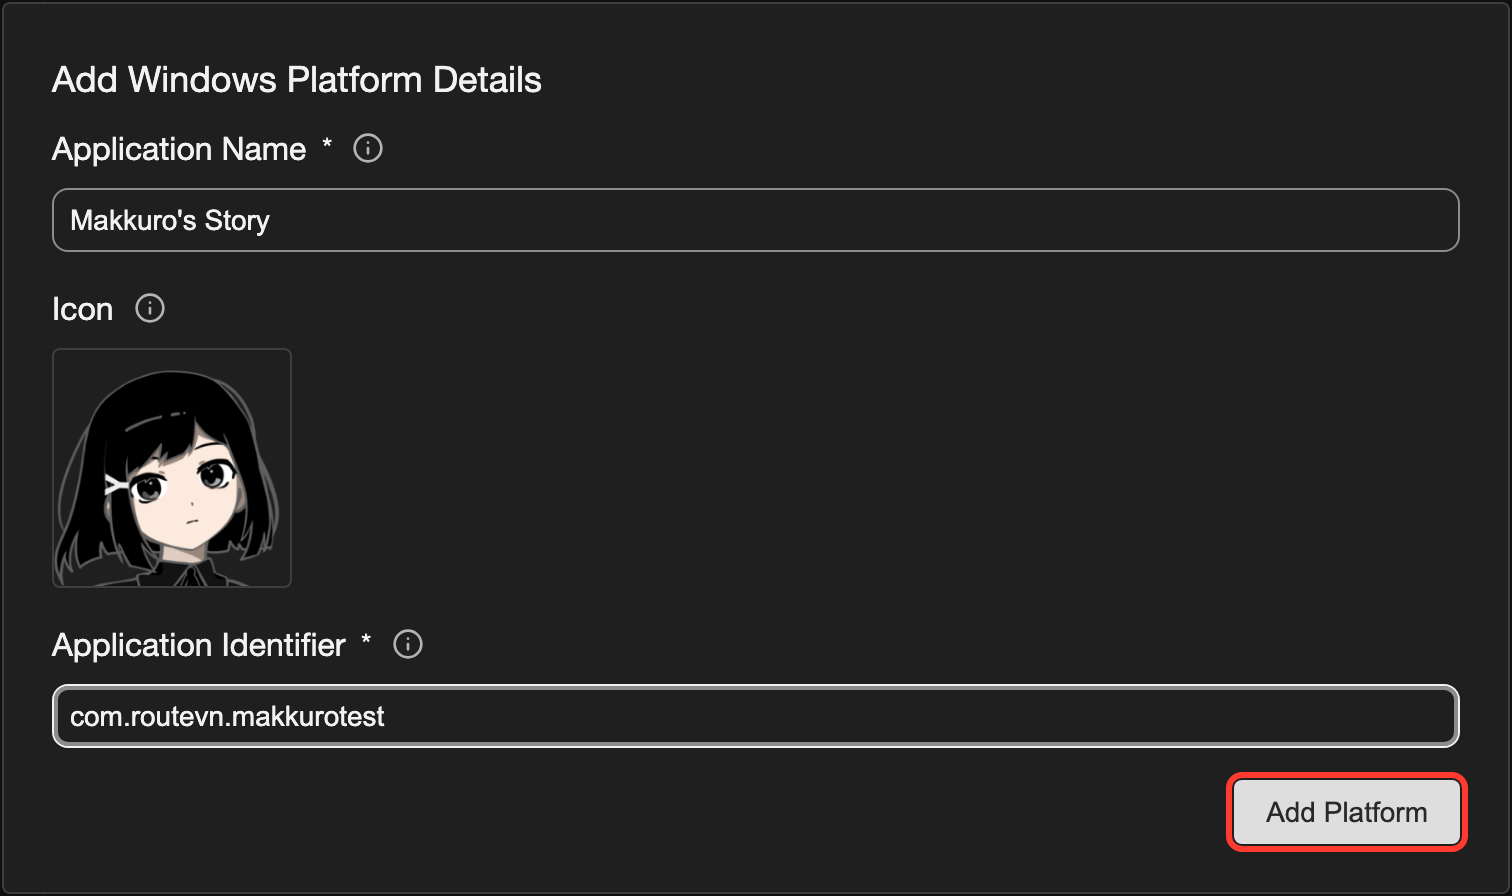
The Confirm Windows EXE Export box opens.
Confirm and save
-
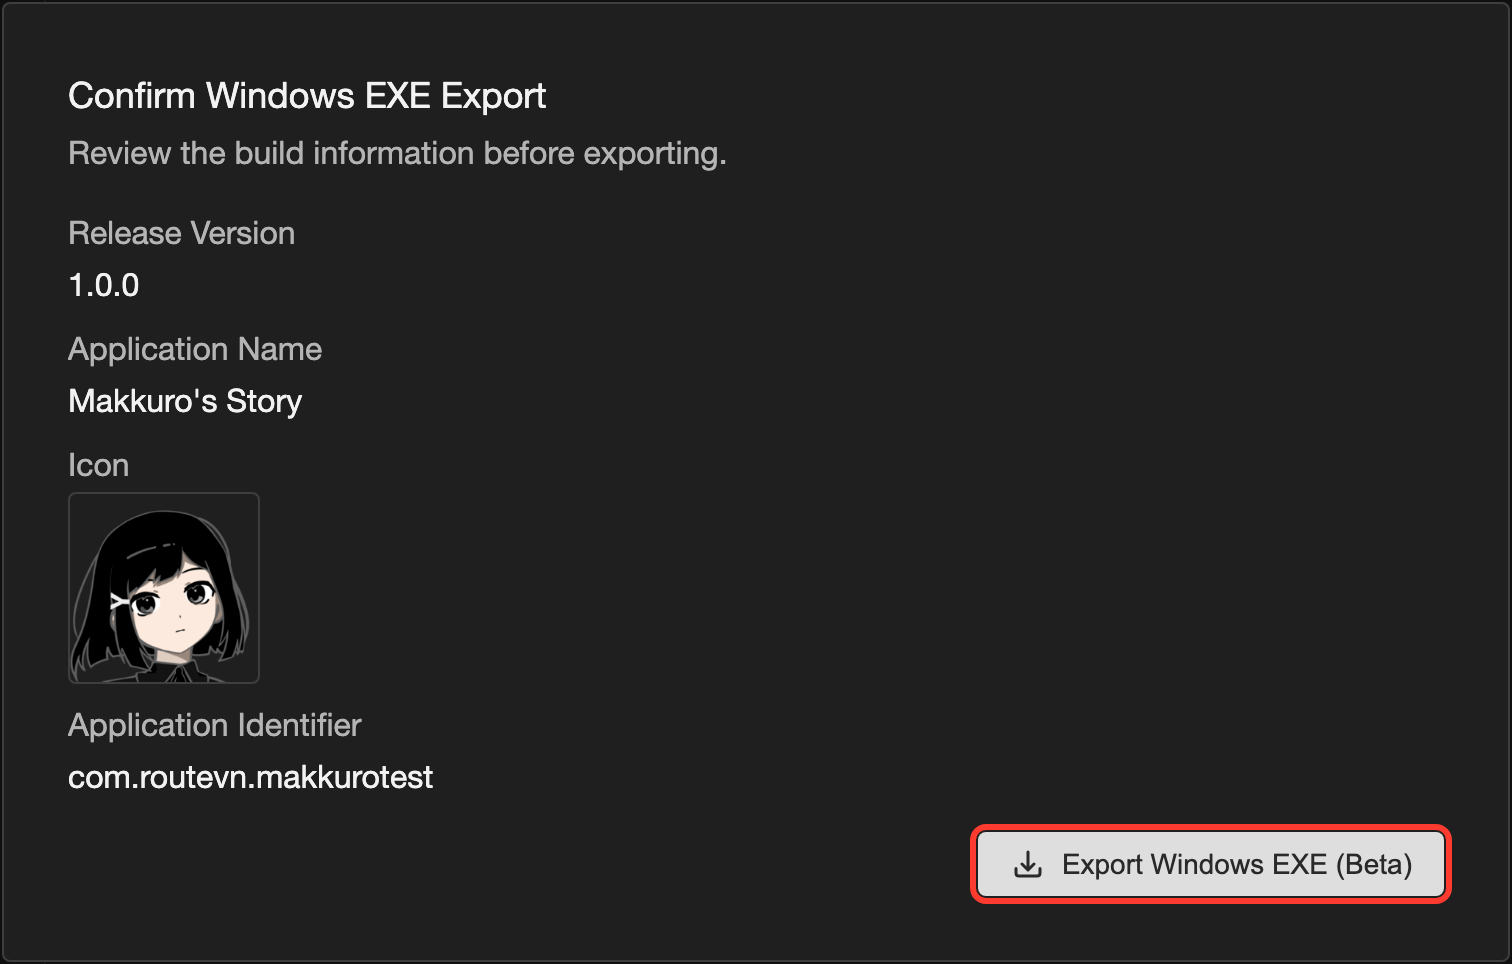
In the Confirm Windows EXE Export box, check the version, the name, the icon, and the identifier.
-
In the box, click Export Windows EXE (Beta).
-
A save window opens. Choose a folder for the EXE file.
-
Save the file.
A box shows the progress. Keep RouteVN Creator open. A large project can take several minutes.
When it is done, the Export completed box shows where the file is saved.
What you get
You get one EXE file. Its name is your application name and the version name.
- Your whole visual novel is inside this one file.
- Readers double-click the file to start reading. They do not install anything.
- To share your visual novel, send this file, or publish it. See Publish Overview.
Good to know
- The EXE file is not signed. Signing proves who made a program. To learn about signing, see Code signing options for Windows app developers from Microsoft.
- Because the file is not signed, Windows can show a blue Windows protected your PC box the first time. The reader clicks More info, then Run anyway.
- The EXE file uses Microsoft Edge WebView2 to show your visual novel. Windows 11 includes it.
- The identifier names the place where the app keeps a reader's saves. If you change it, readers lose their old saves. Choose it once and keep it.
- Use a different identifier for each visual novel you make.
- To change the name, icon, or identifier later, see Edit platform details.
Problems and fixes
- The Windows box is not in the Export for box. You are on a phone, a tablet, or the web version. Use the desktop app.
- A Warning box says to add a Windows application icon. Go to Platform Details. Click the Windows tab. Click the pencil icon (the pencil-shaped button that opens editing). Add an icon. Then export again.
- A Warning box says the Windows application identifier is invalid. Add at least one period, such as
com.routevn.makkurotest. Use only letters, numbers, hyphens, and periods. Do not use spaces.