Container
A container holds other elements, such as images and texts. It shows nothing by itself. Use it to keep elements together, and to line them up in a row or a column.
When you move a container, the elements in it move too.
Add a container
-
Open a layout in the layout editor. See Open a layout.
-
Open the Add Element menu.
- Phone or tablet: Long press (touch and hold) the empty space under the Elements list.
- Desktop: Right-click (click with the right mouse button) the empty space under the Elements list.
-
Tap Container.
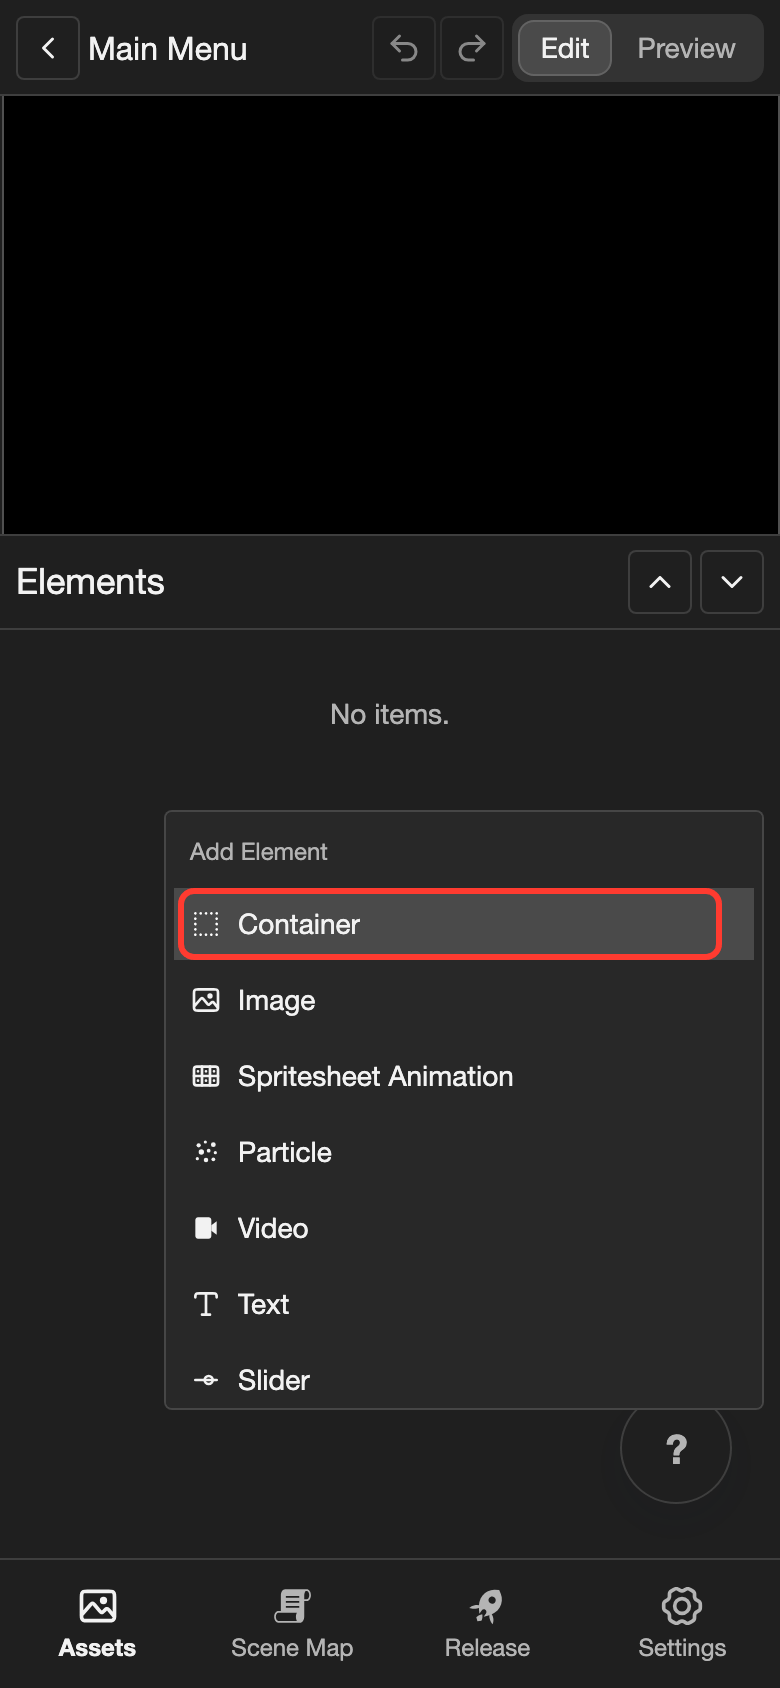
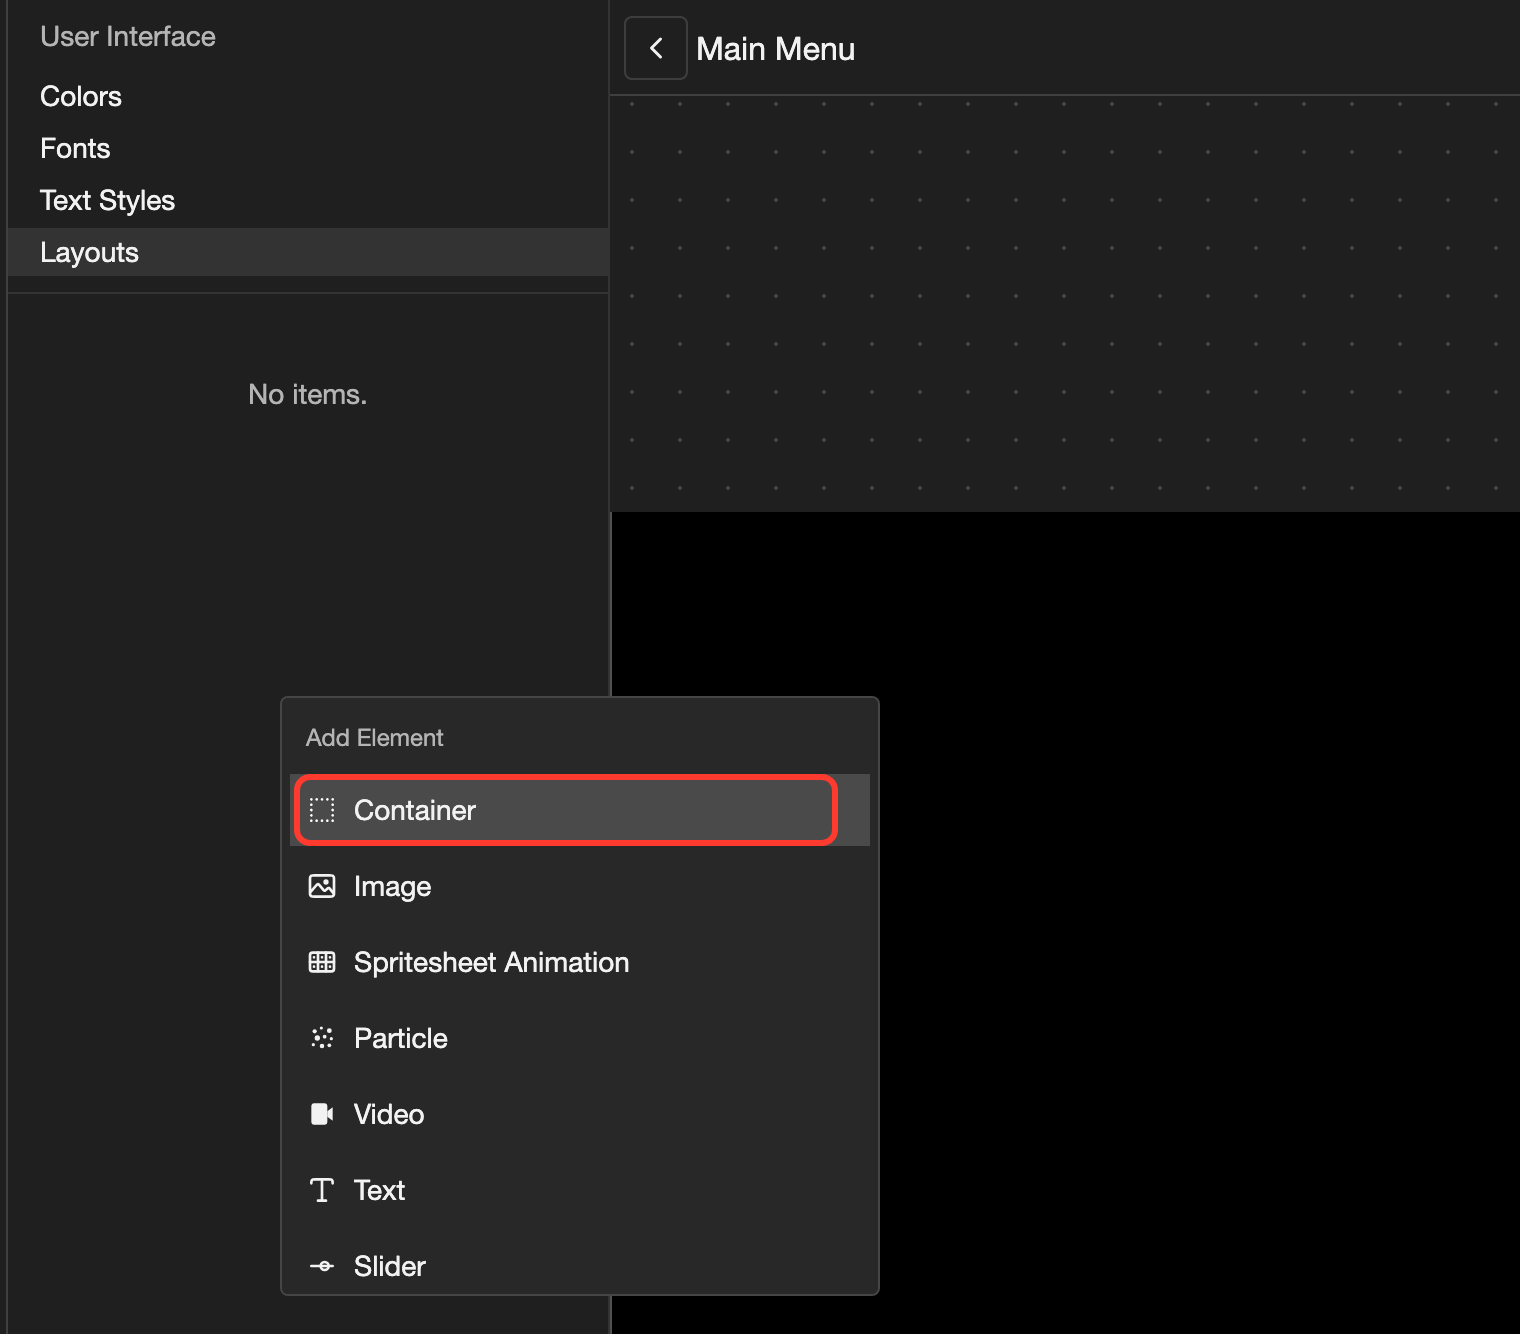
Container appears in the Elements list. It is empty, so the canvas does not show it yet.
Put elements in the container
This example puts 3 pictures in the container: box-1, box-2, and box-3.
-
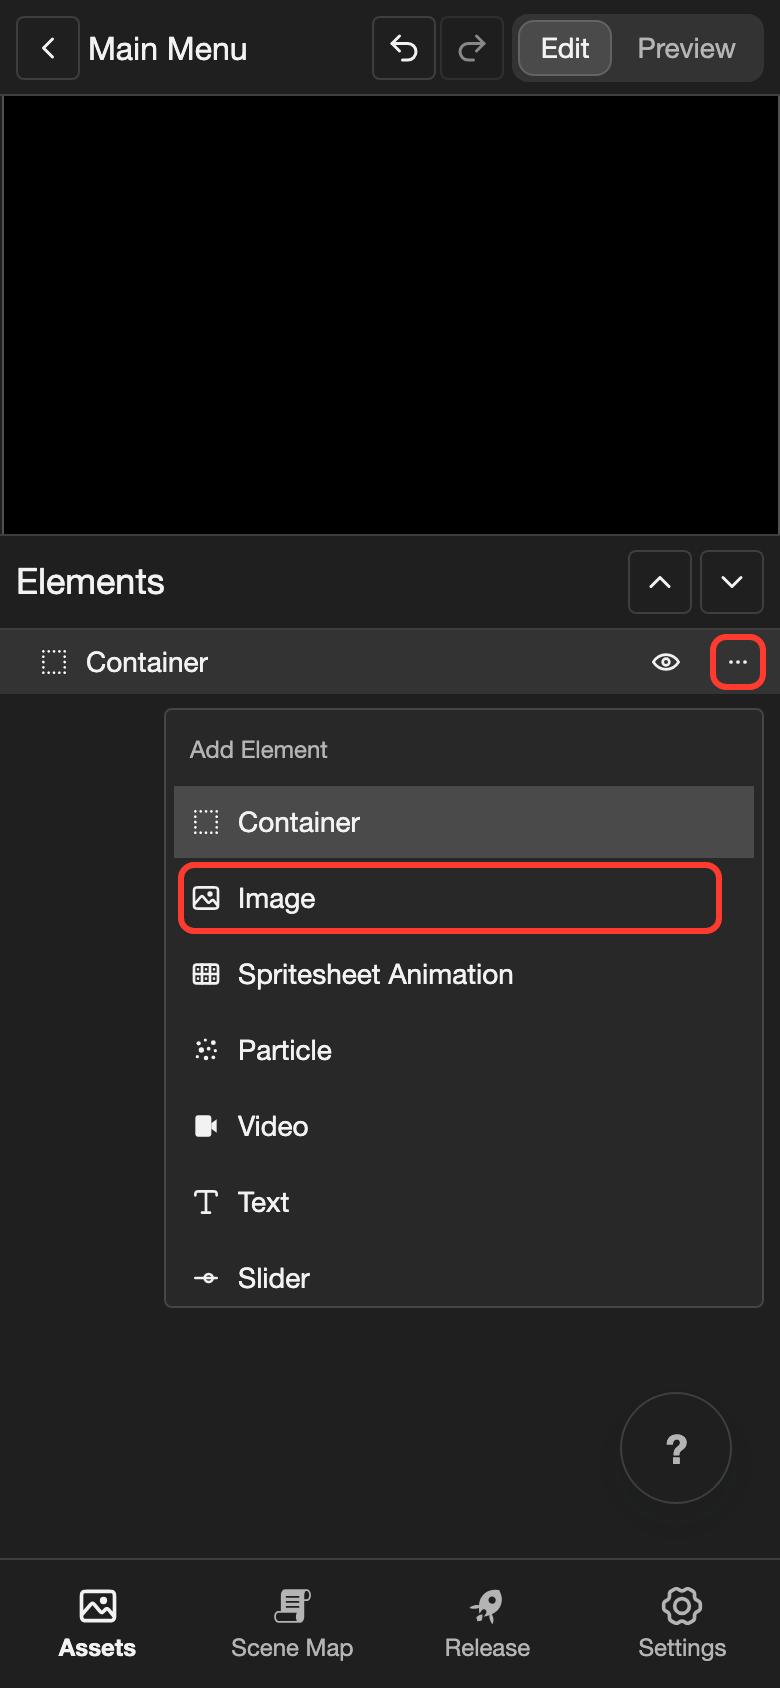
Open the menu of the container.
- Phone or tablet: In the Elements list, tap the three dots button next to Container.
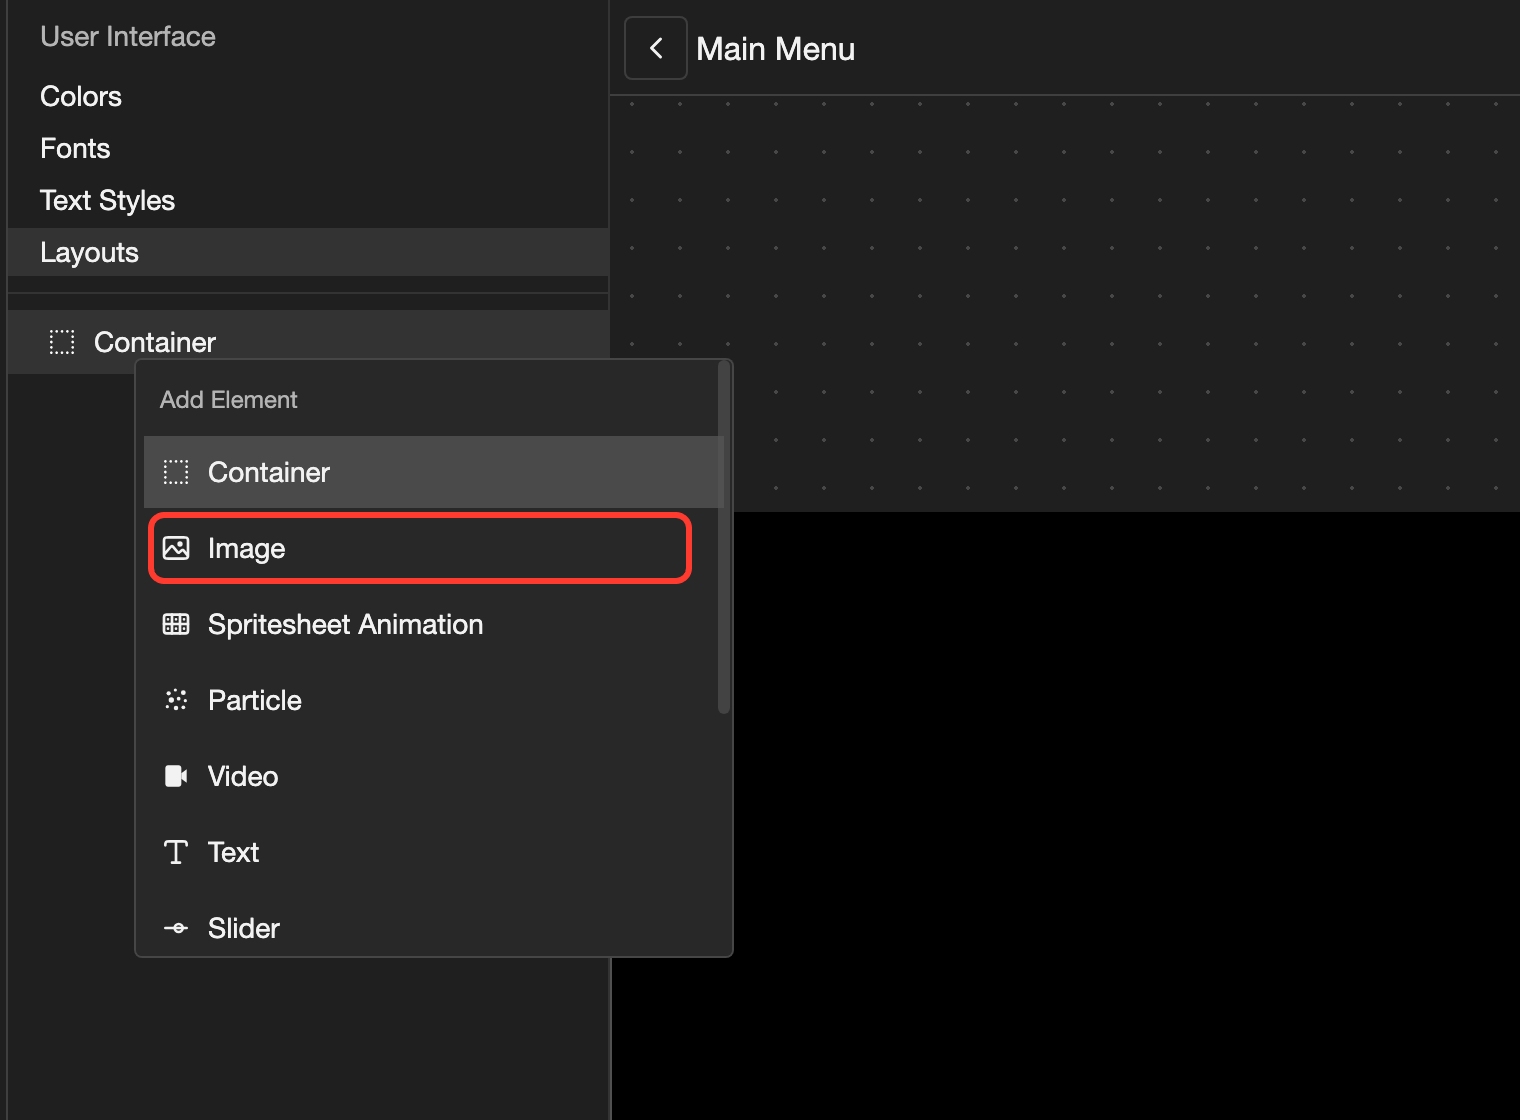
- Desktop: In the Elements list, right-click Container.
-
Under Add Element, tap Image. The Create Image box opens.
-
Tap Select image. Your images open.
-
Tap a picture, such as box-1. Then tap OK.
-
Tap Create Image.
-
Do steps 1 to 5 again for box-2 and box-3.
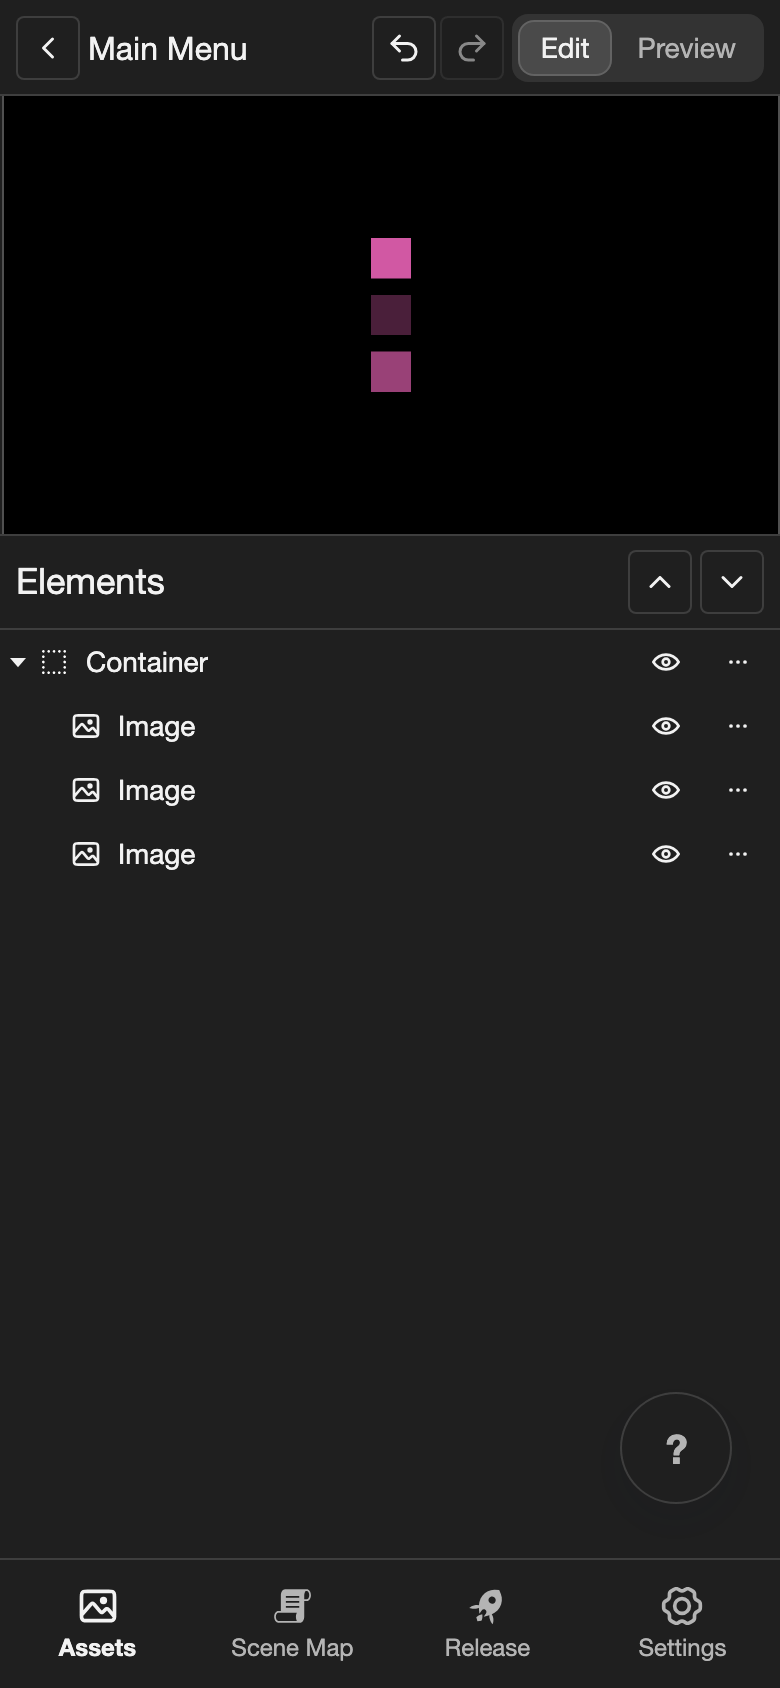
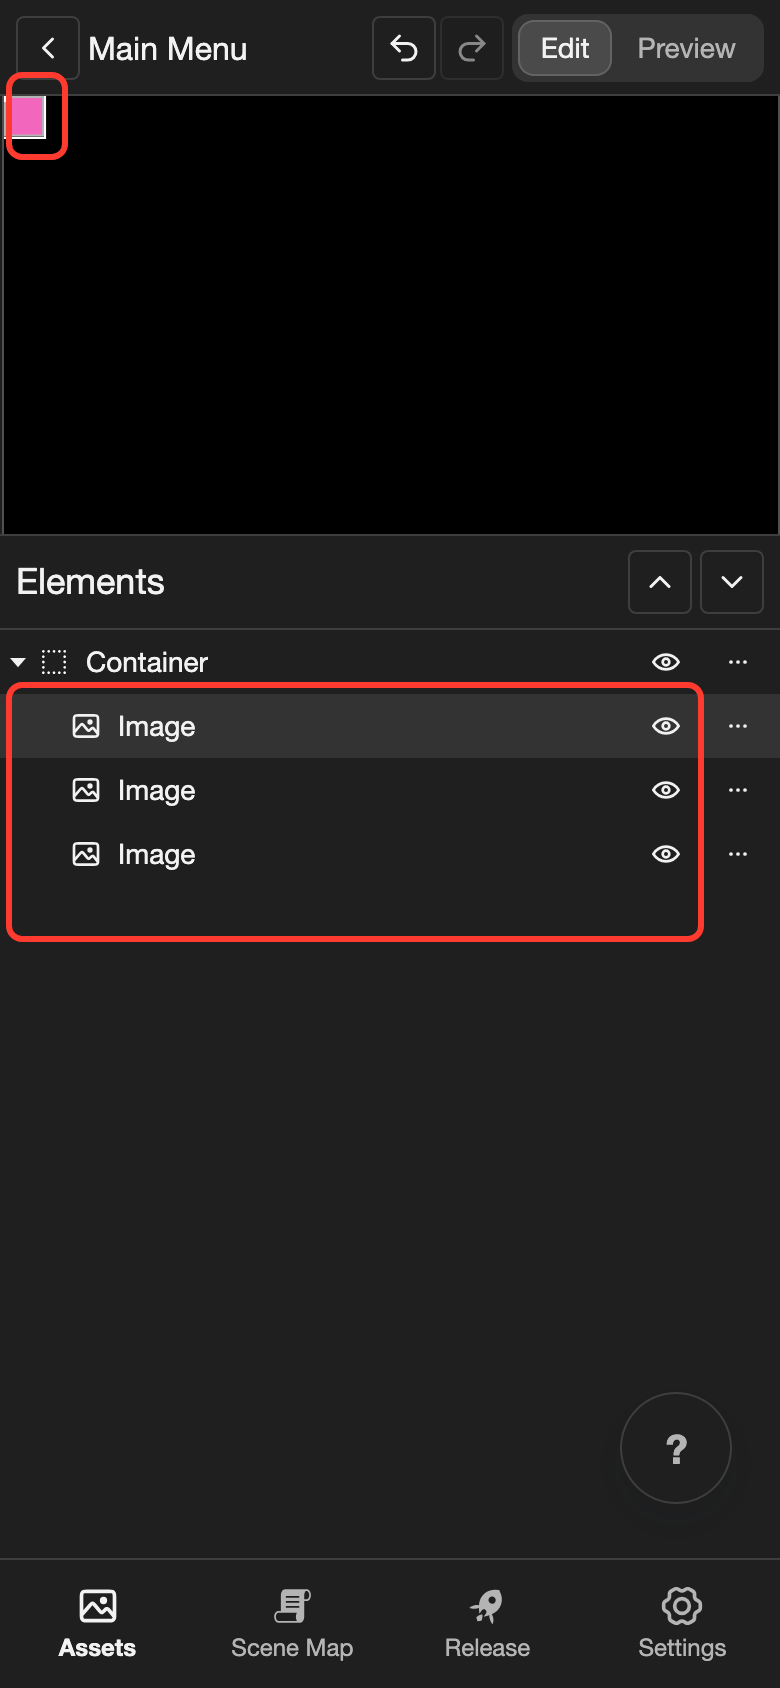
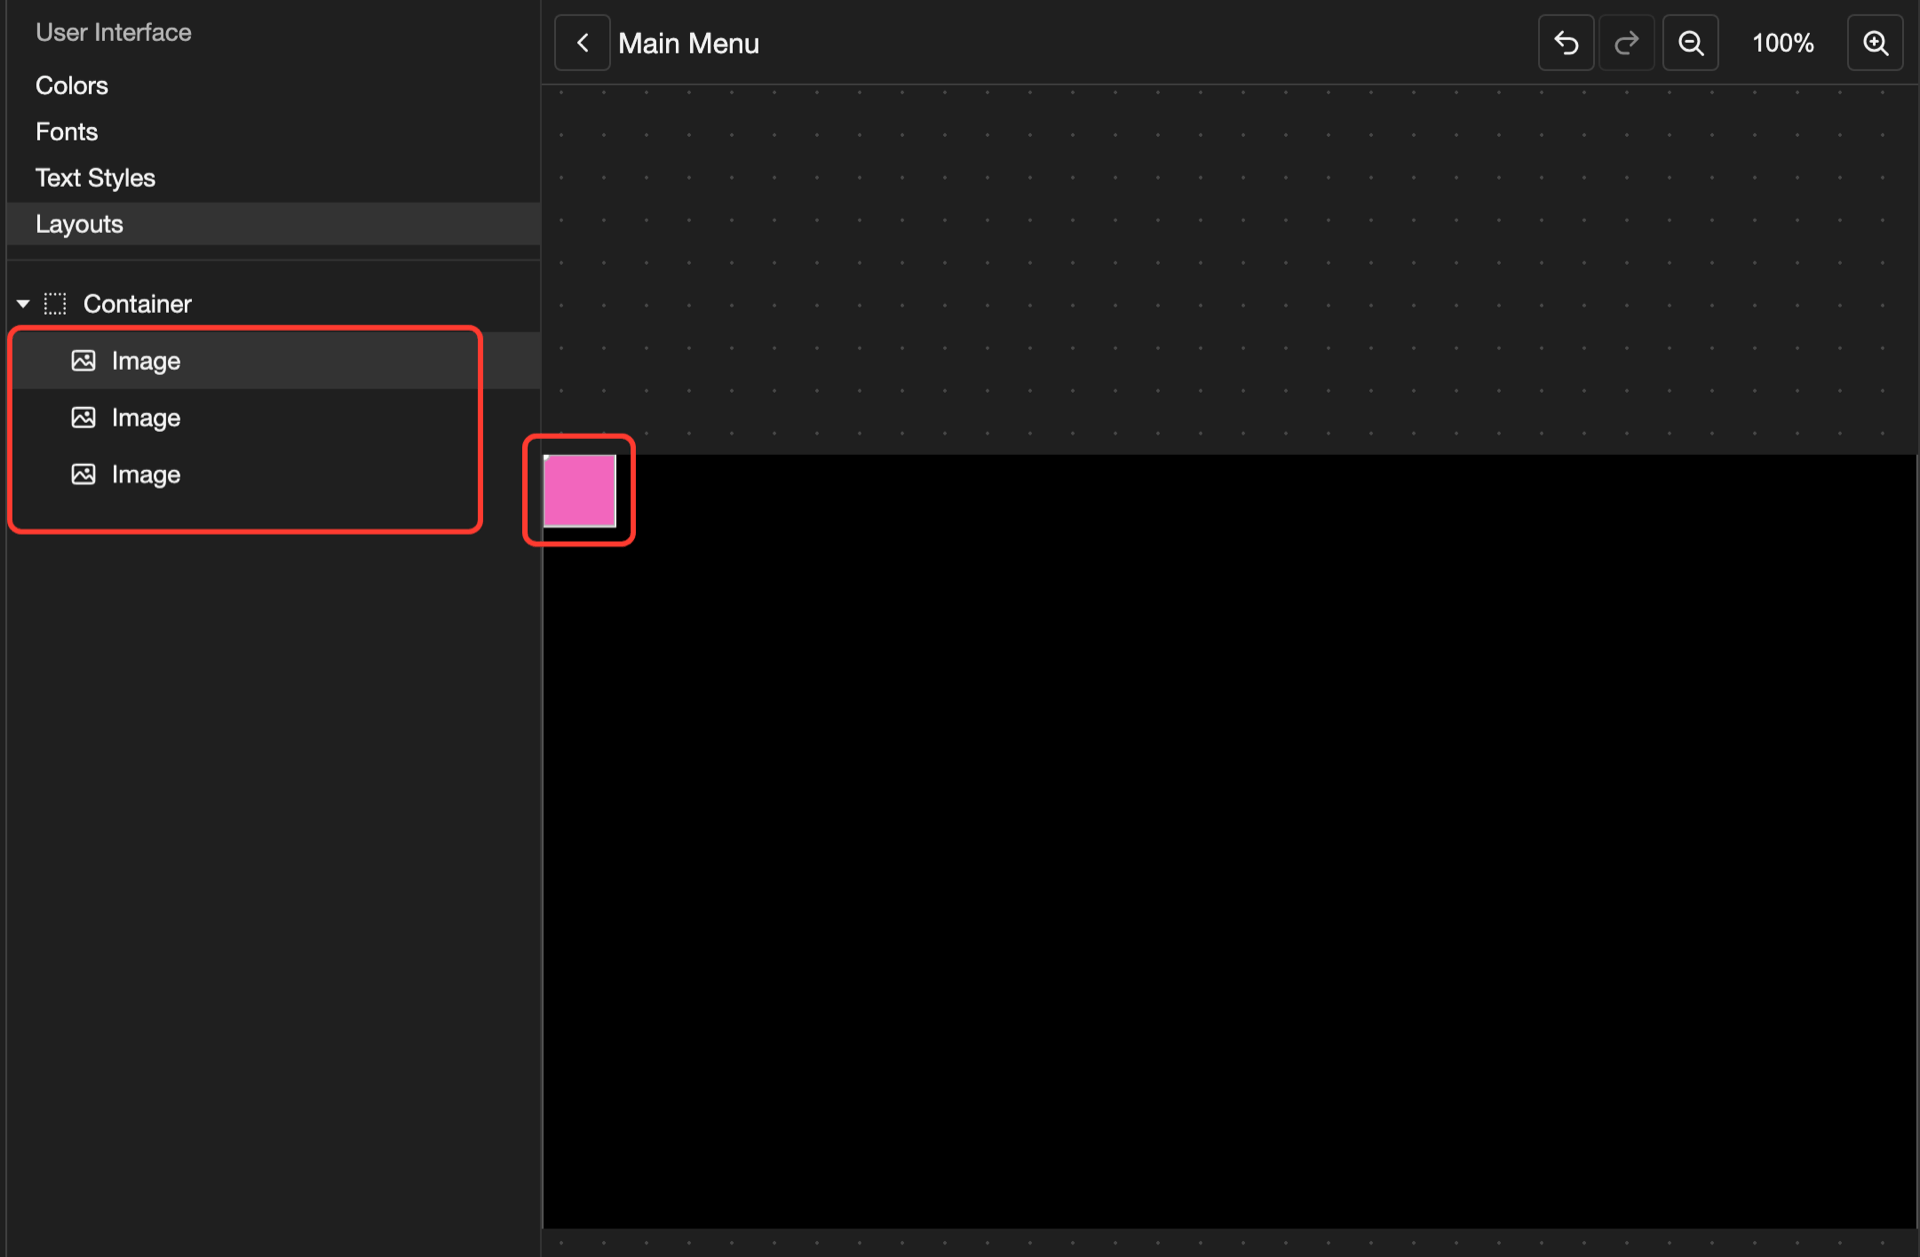
The images appear under Container in the Elements list. On the canvas, they sit on top of each other, in the top left corner.
To move an element that is already in the layout, drag it onto the container in the Elements list. See Move a folder or item.
Line up the elements
-
In the Elements list, tap Container. Its settings open.
-
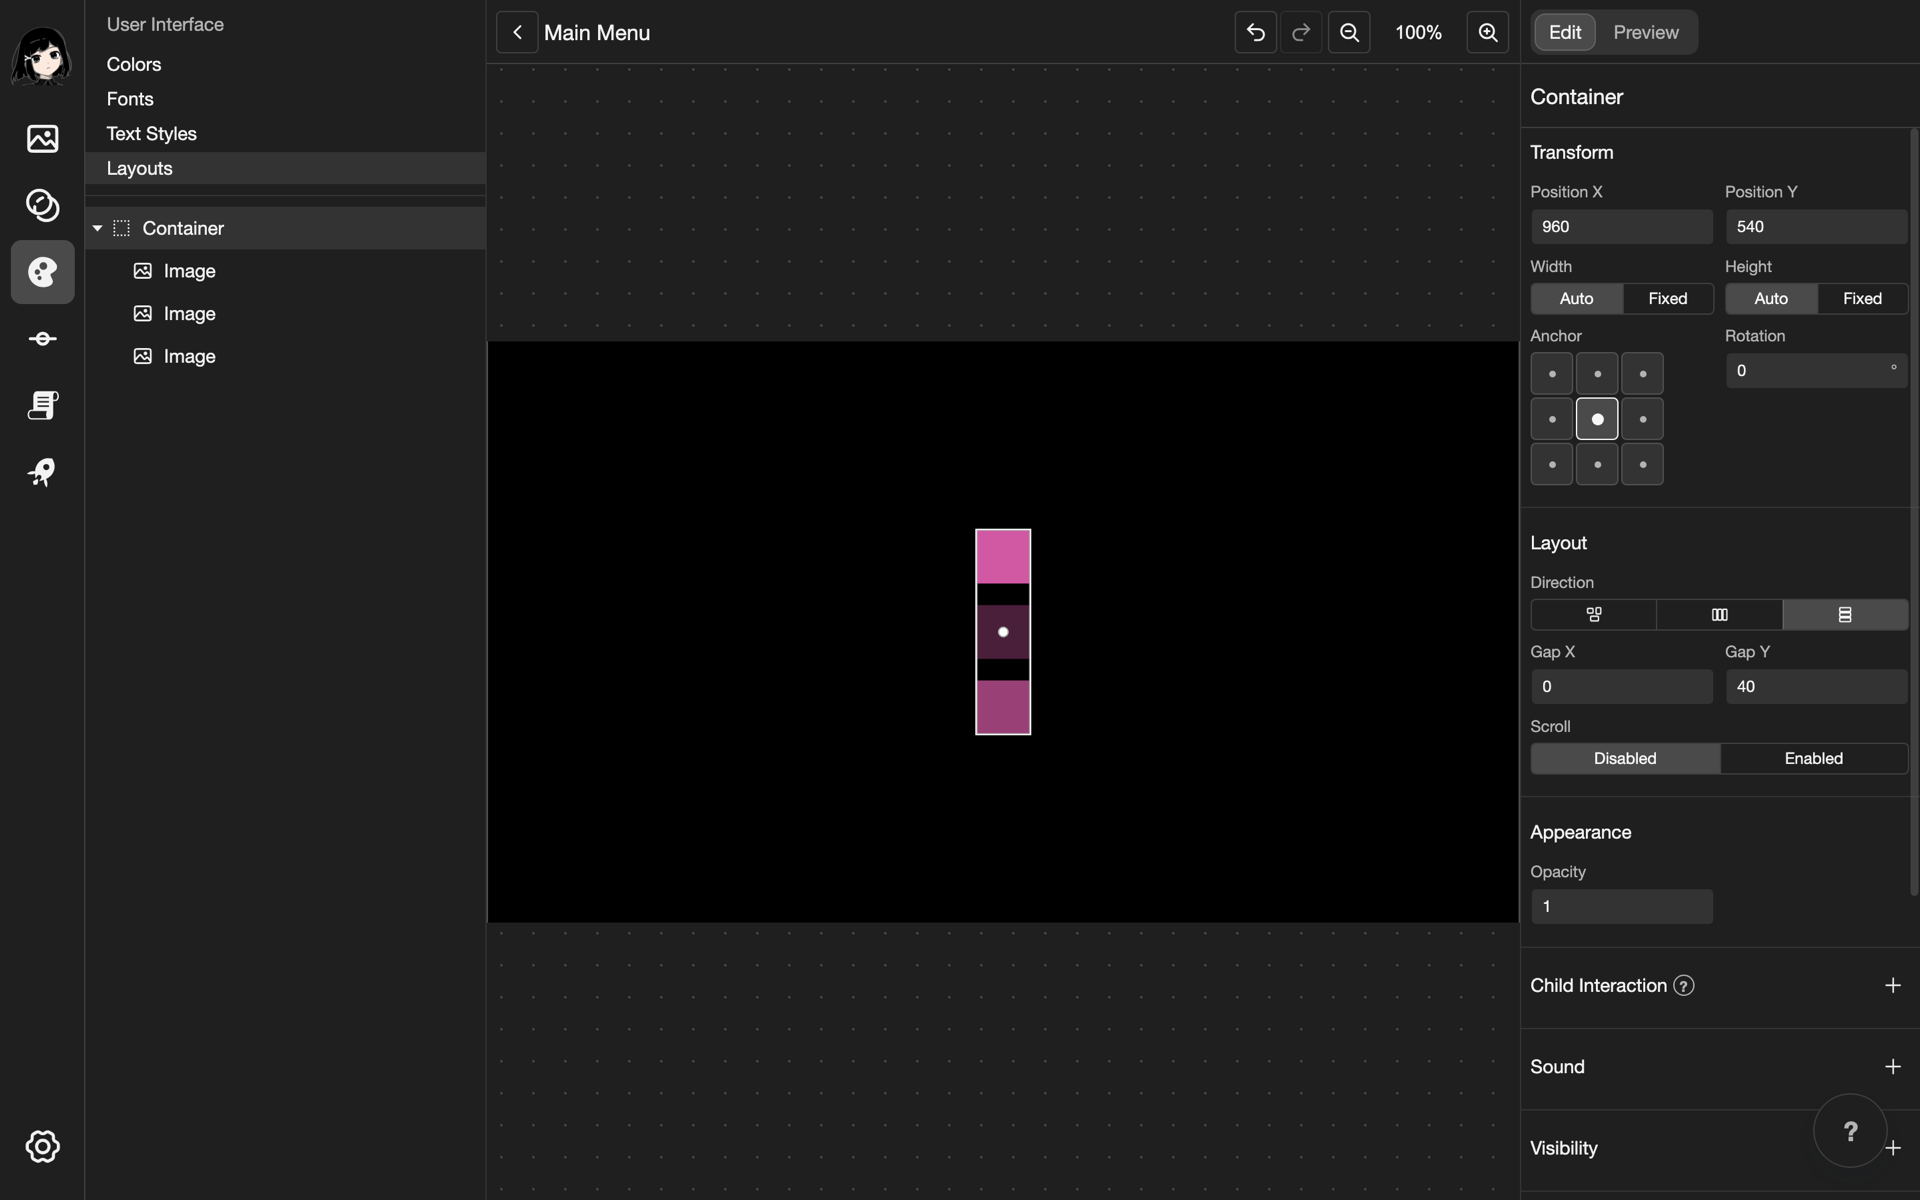
Under Layout, find Direction. Tap the right button.
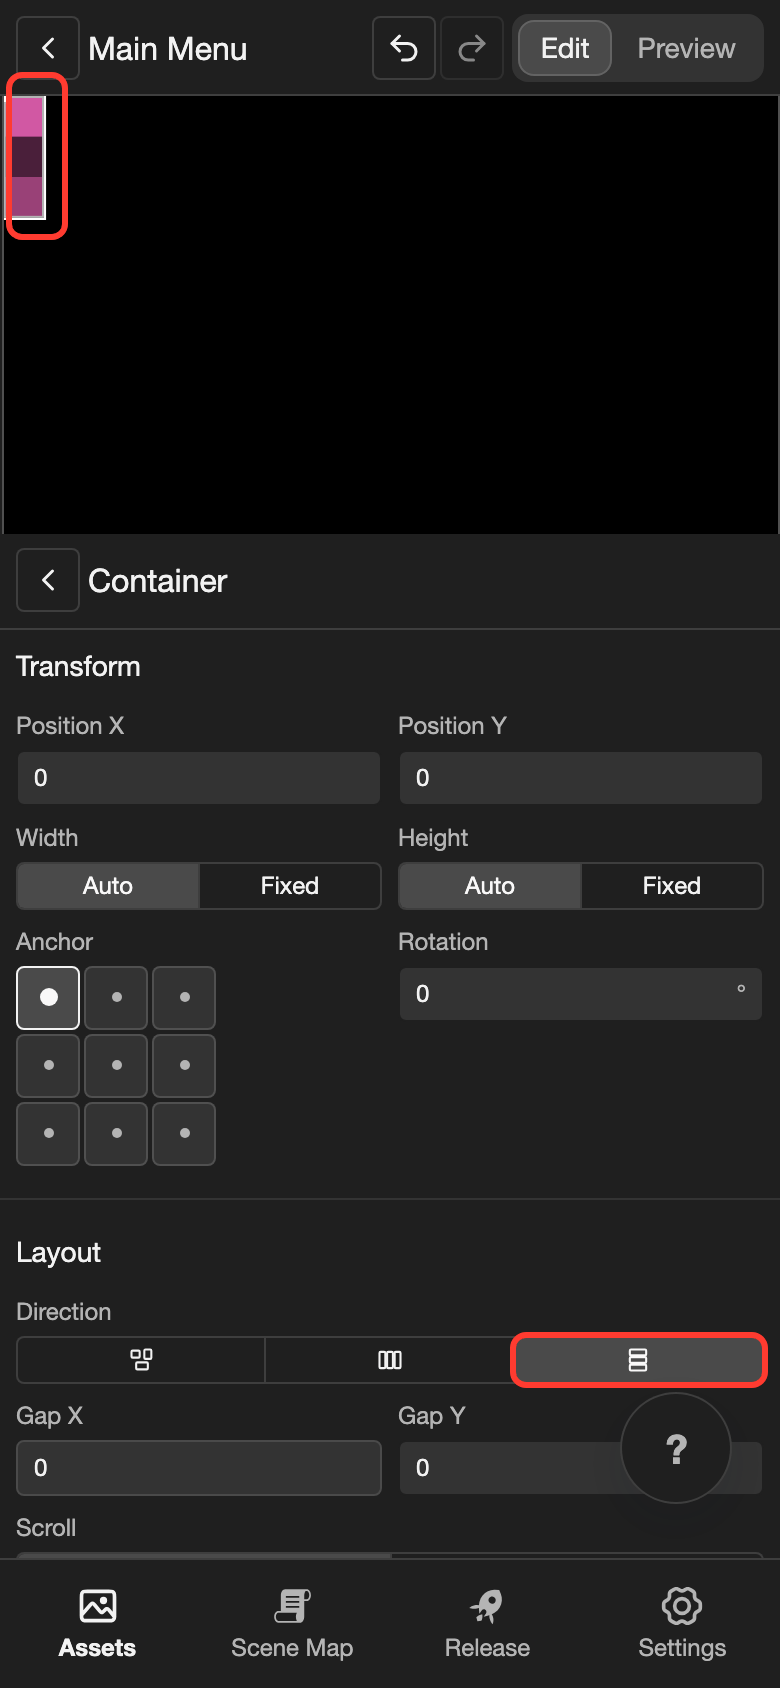
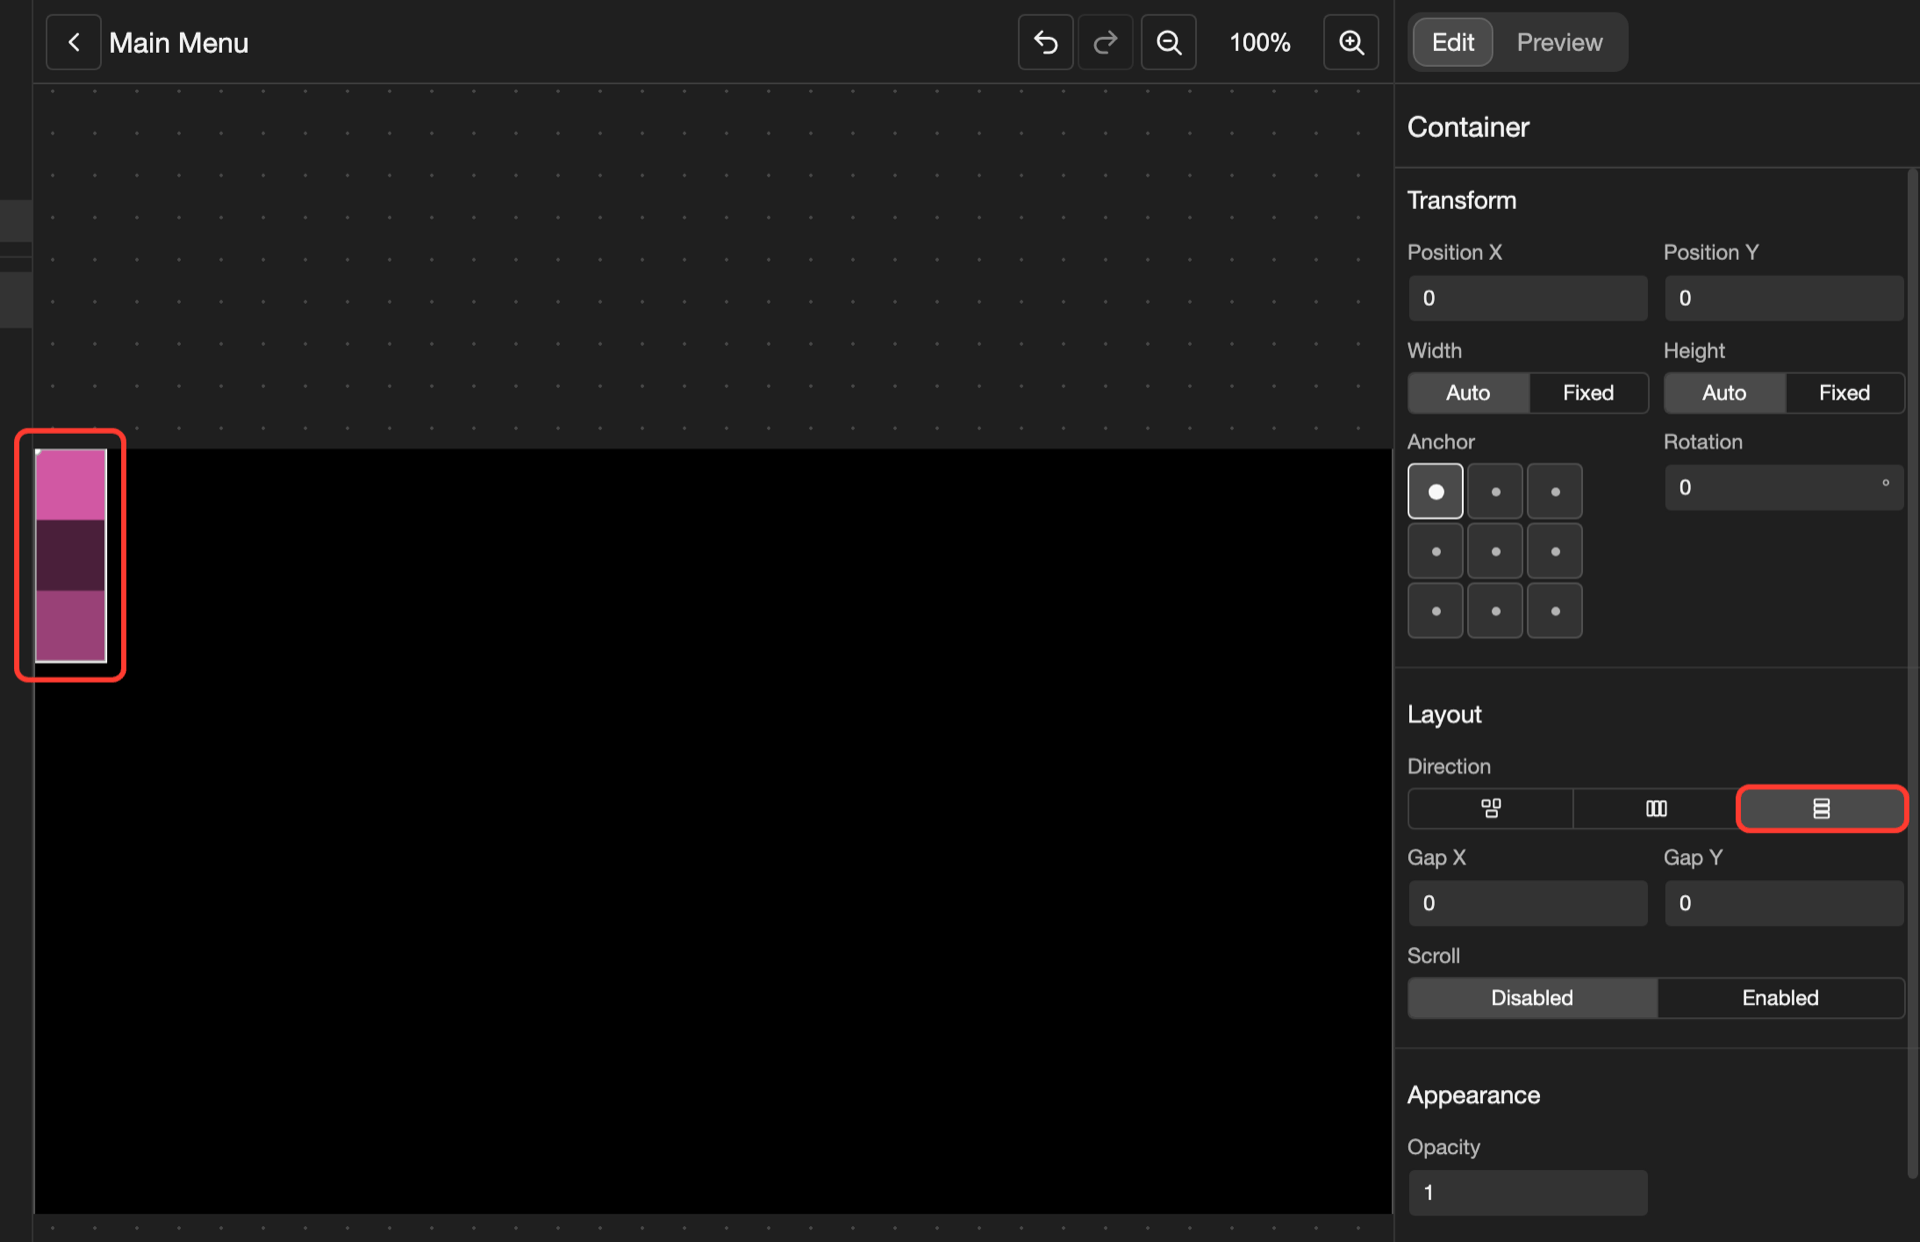
The images now stand in a column, from top to bottom.
| Direction | What it does |
|---|---|
| Left button (Absolute) | Each element stays where you put it. Elements can overlap. A new container starts with this. |
| Middle button (Horizontal) | Puts the elements in a row, from left to right. |
| Right button (Vertical) | Puts the elements in a column, from top to bottom. |
For a row, tap the middle button instead. The images then stand side by side, from left to right.
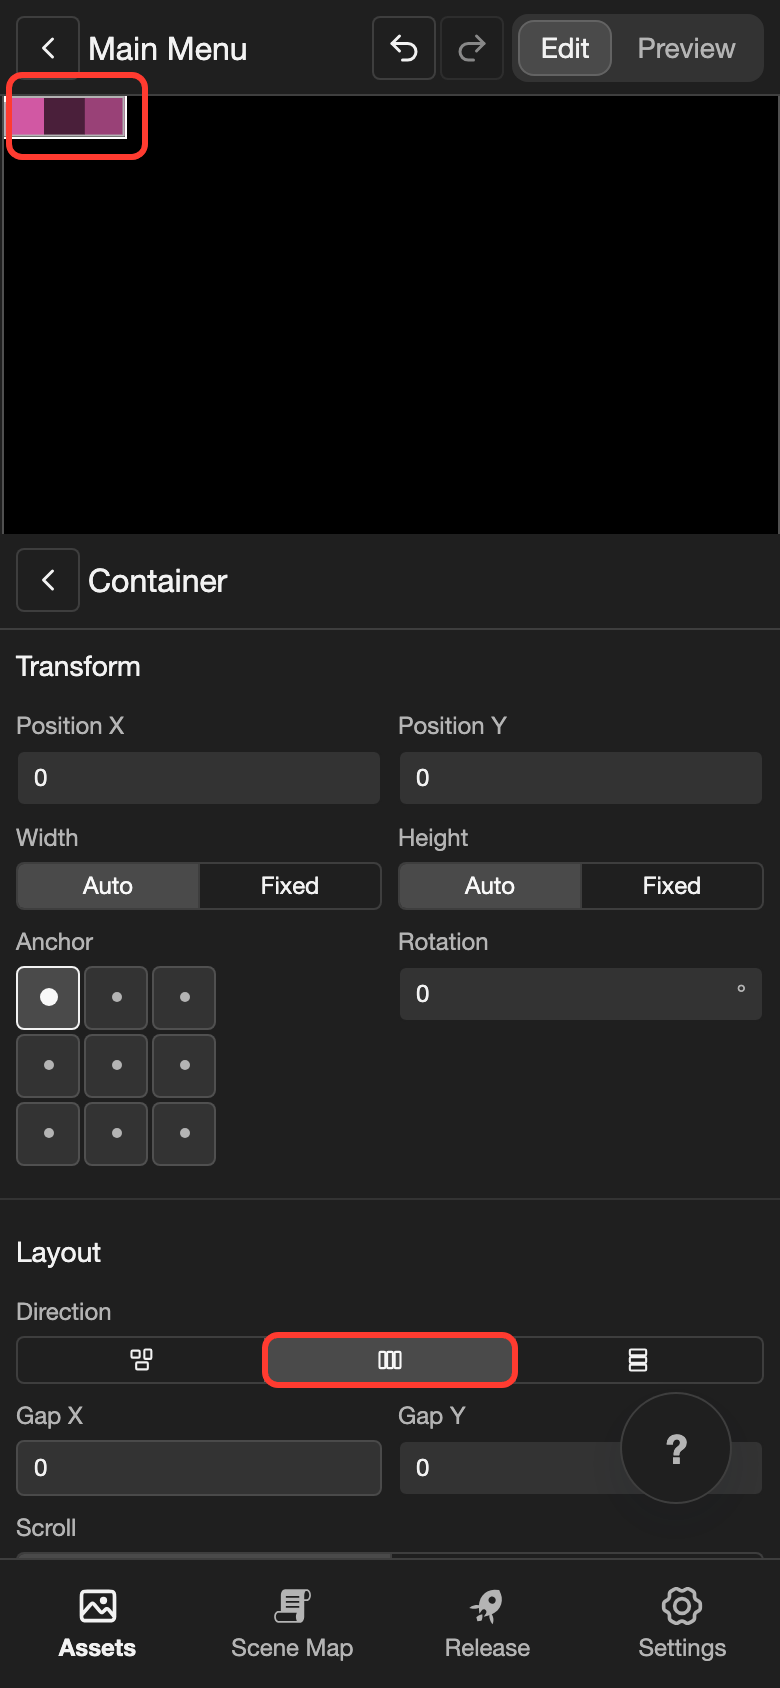
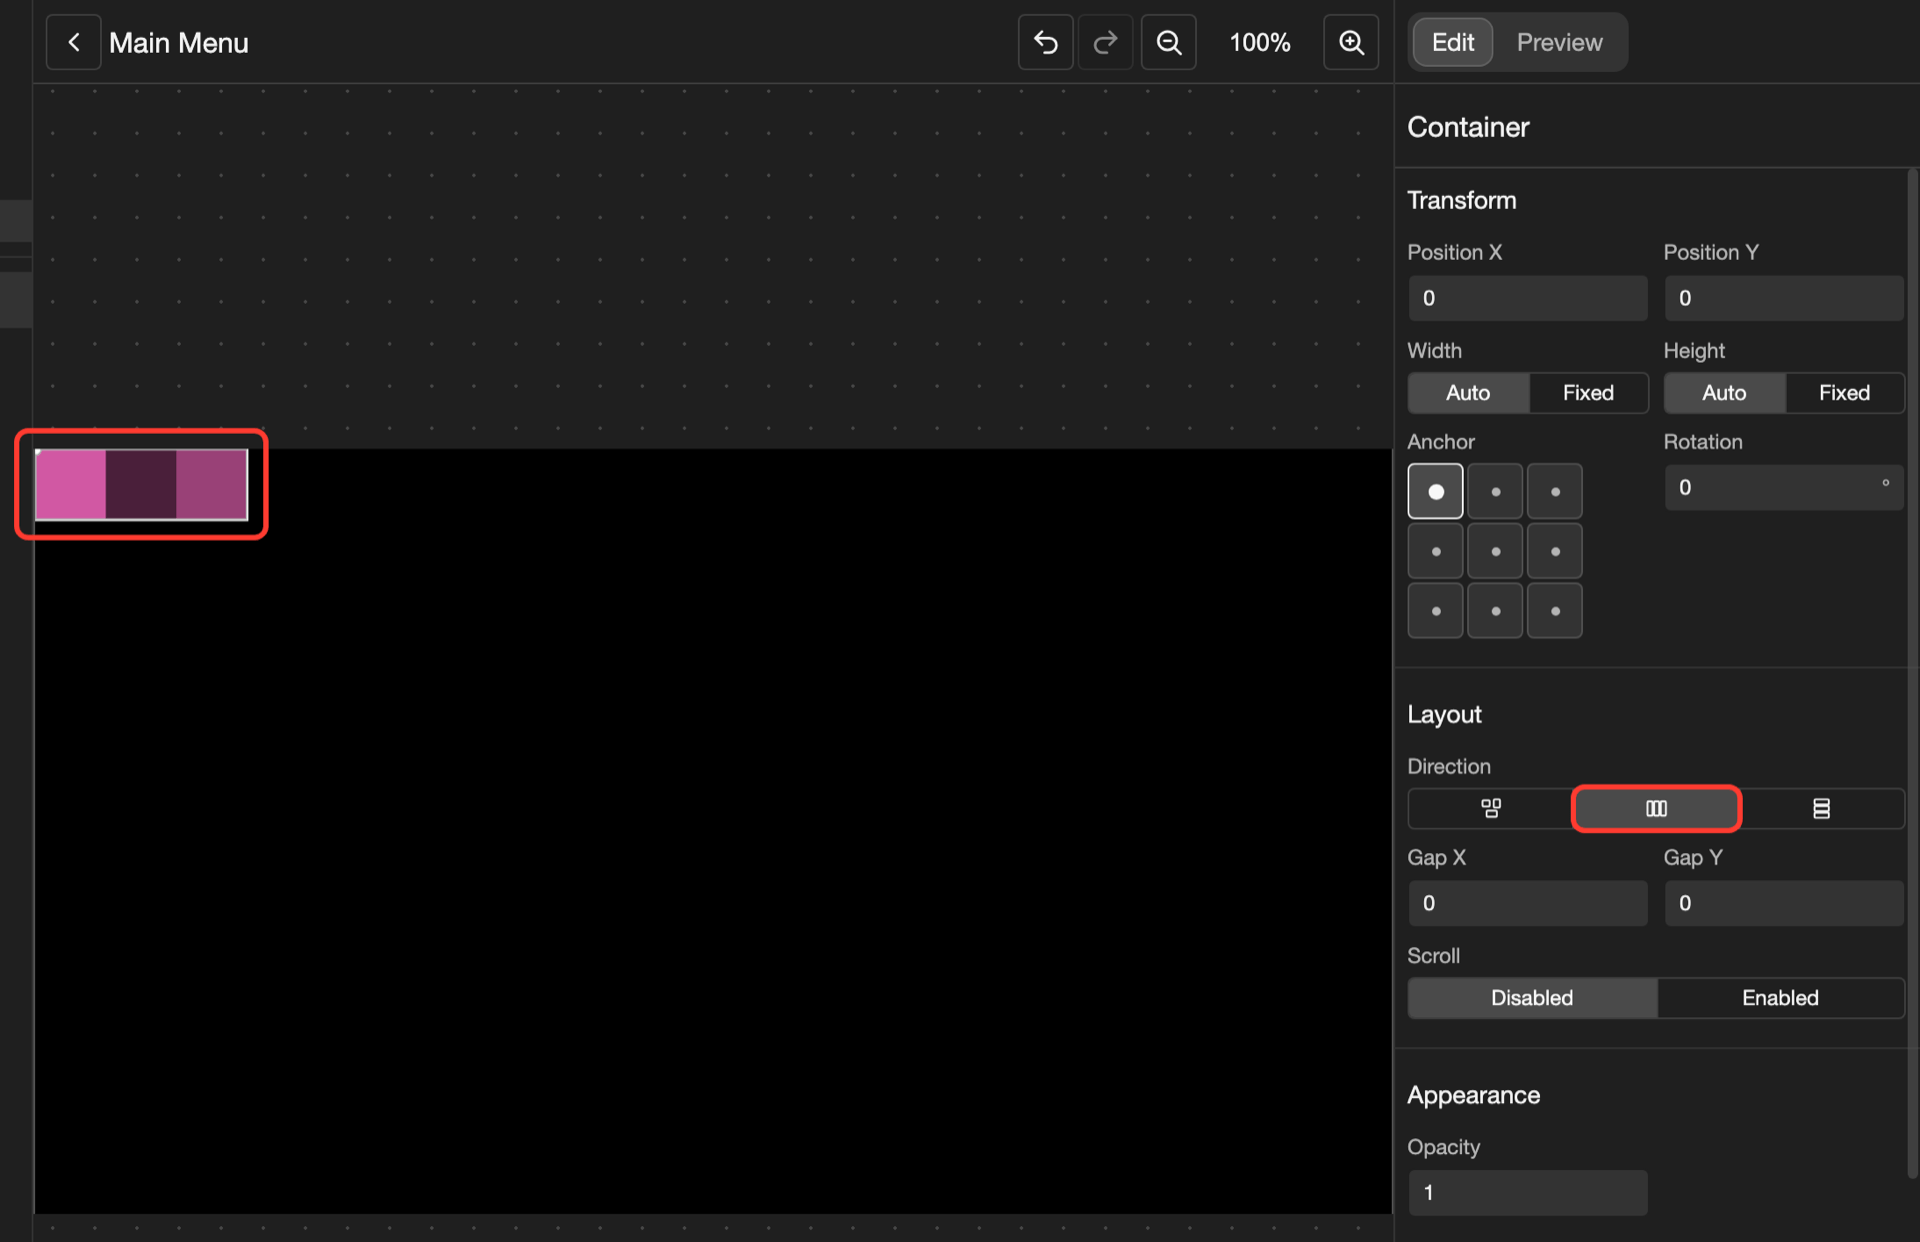
The top element in the Elements list comes first. To change the order, drag the elements in the list.
In a row or a column, the container places each element. So the elements in it have no Position X or Position Y.
Add space between the elements
-
Under Layout, tap the box under Gap Y. A small box opens.
-
Type
40. -
Tap Submit.
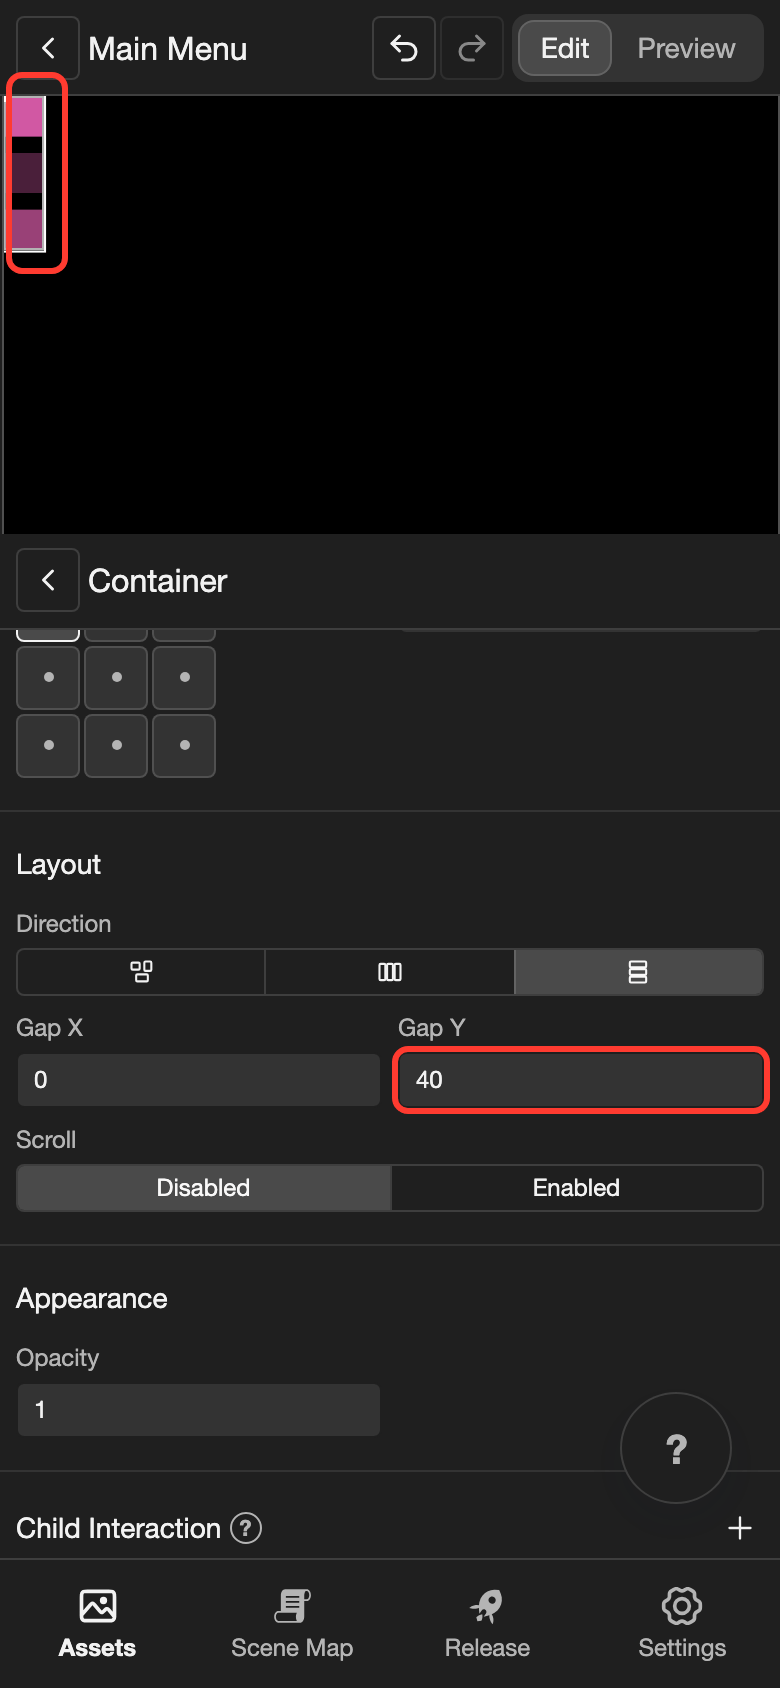
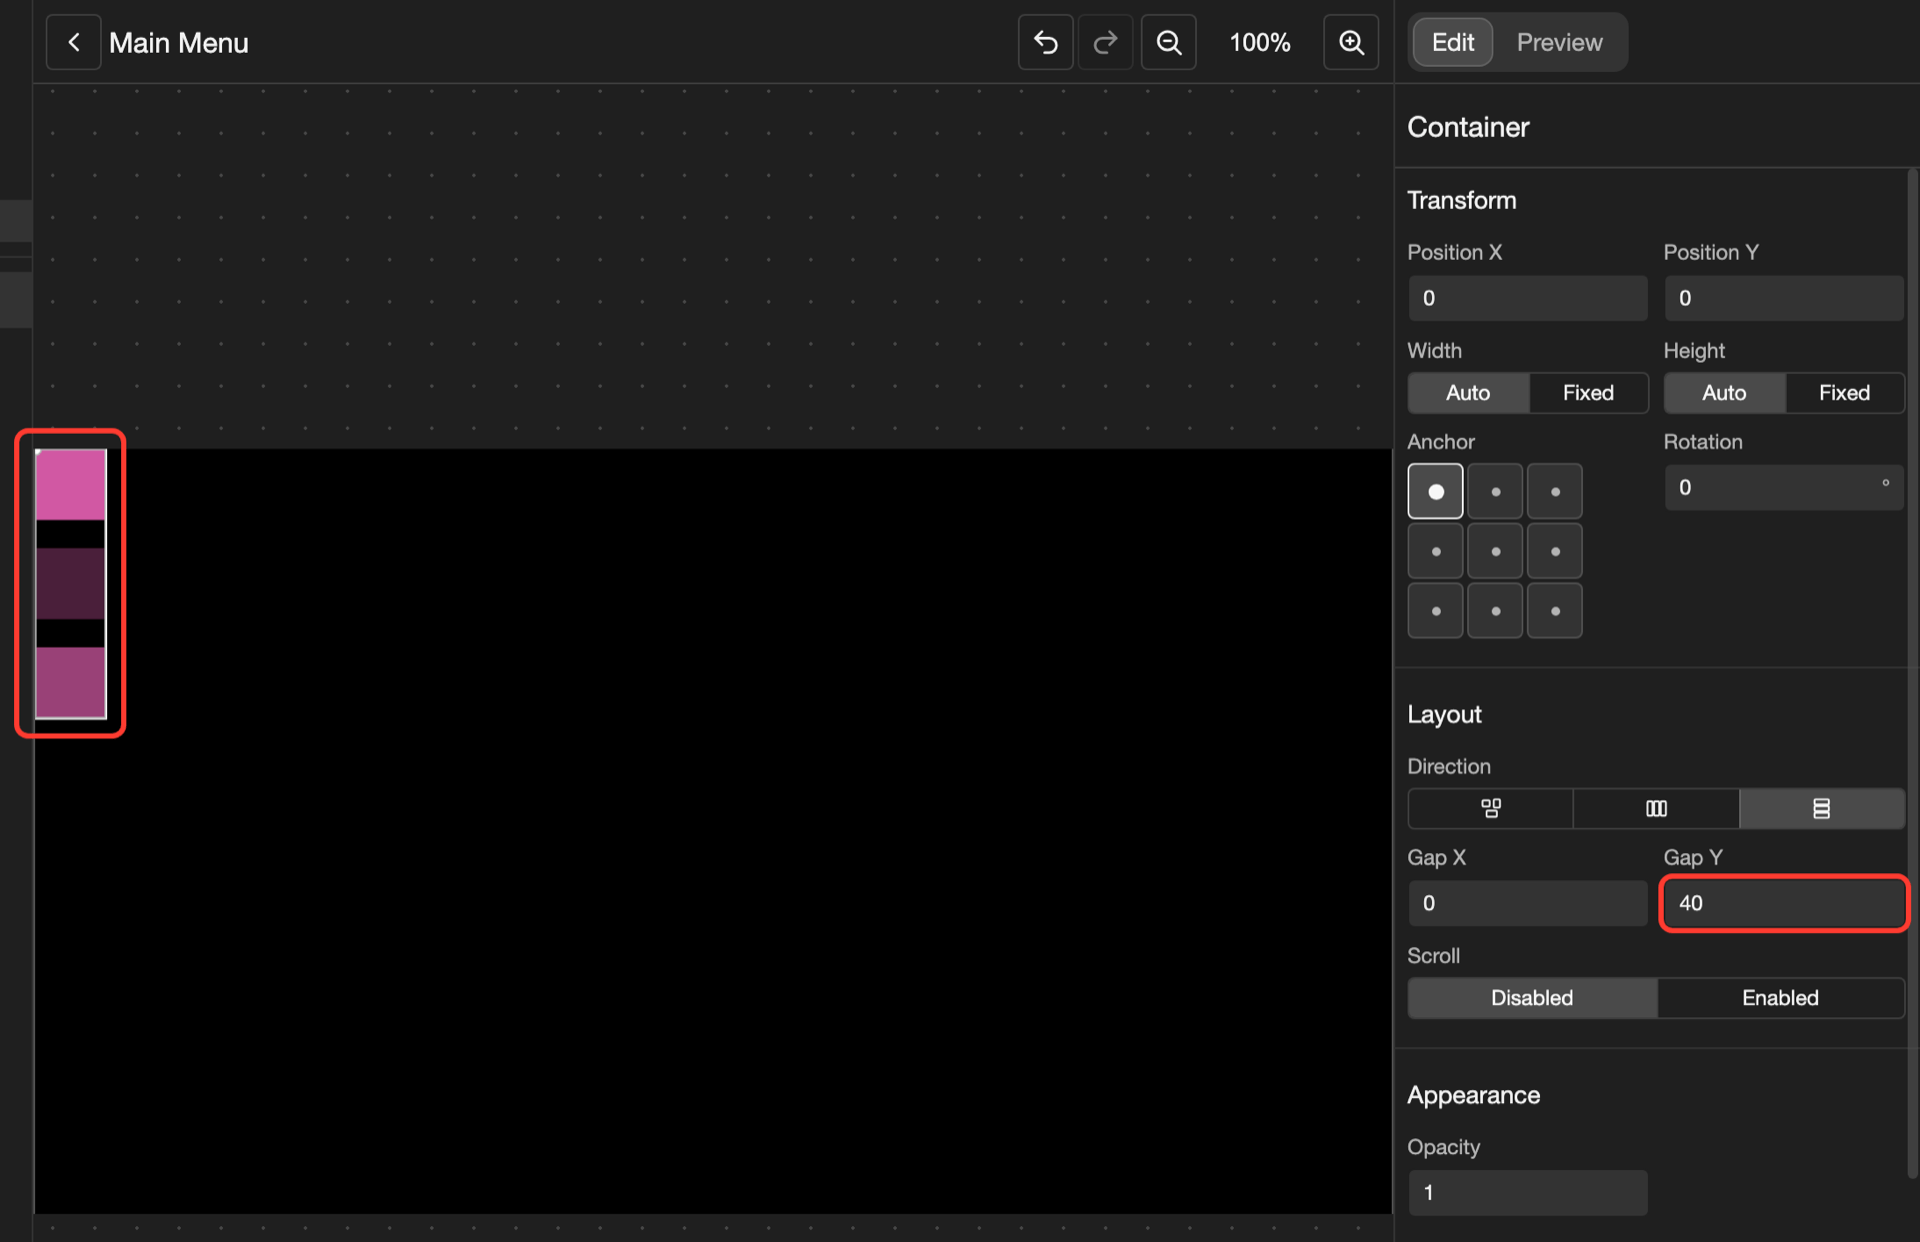
The images now have 40 pixels of space between them. For a row, use Gap X instead.
Put the container in the middle of the screen
-
Under Transform, find Anchor. Tap the middle point.
-
Change Position X to
960. Change it the same way as Gap Y. -
Change Position Y to
540.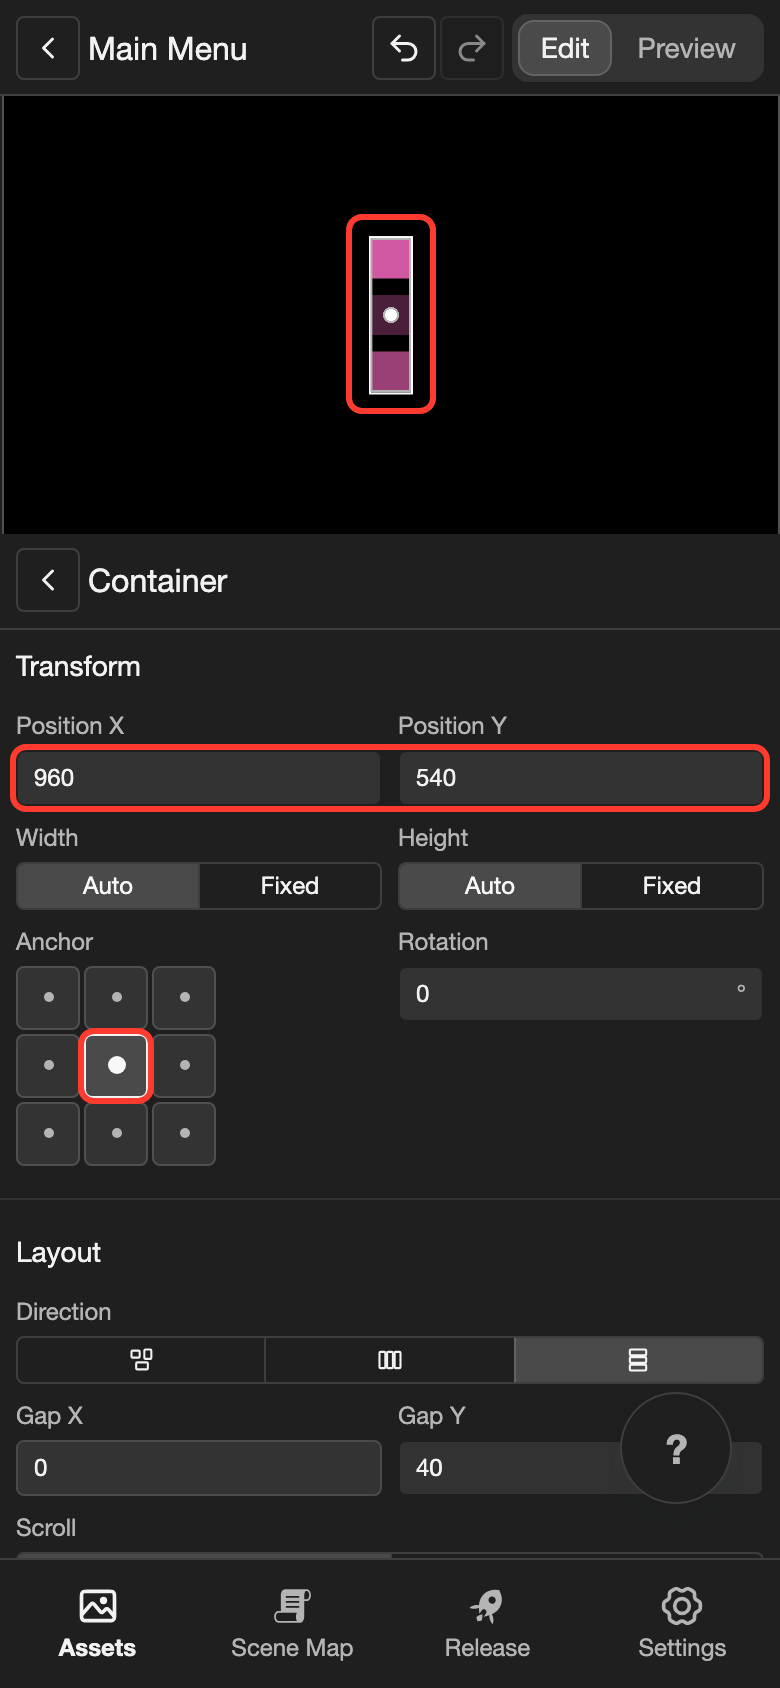
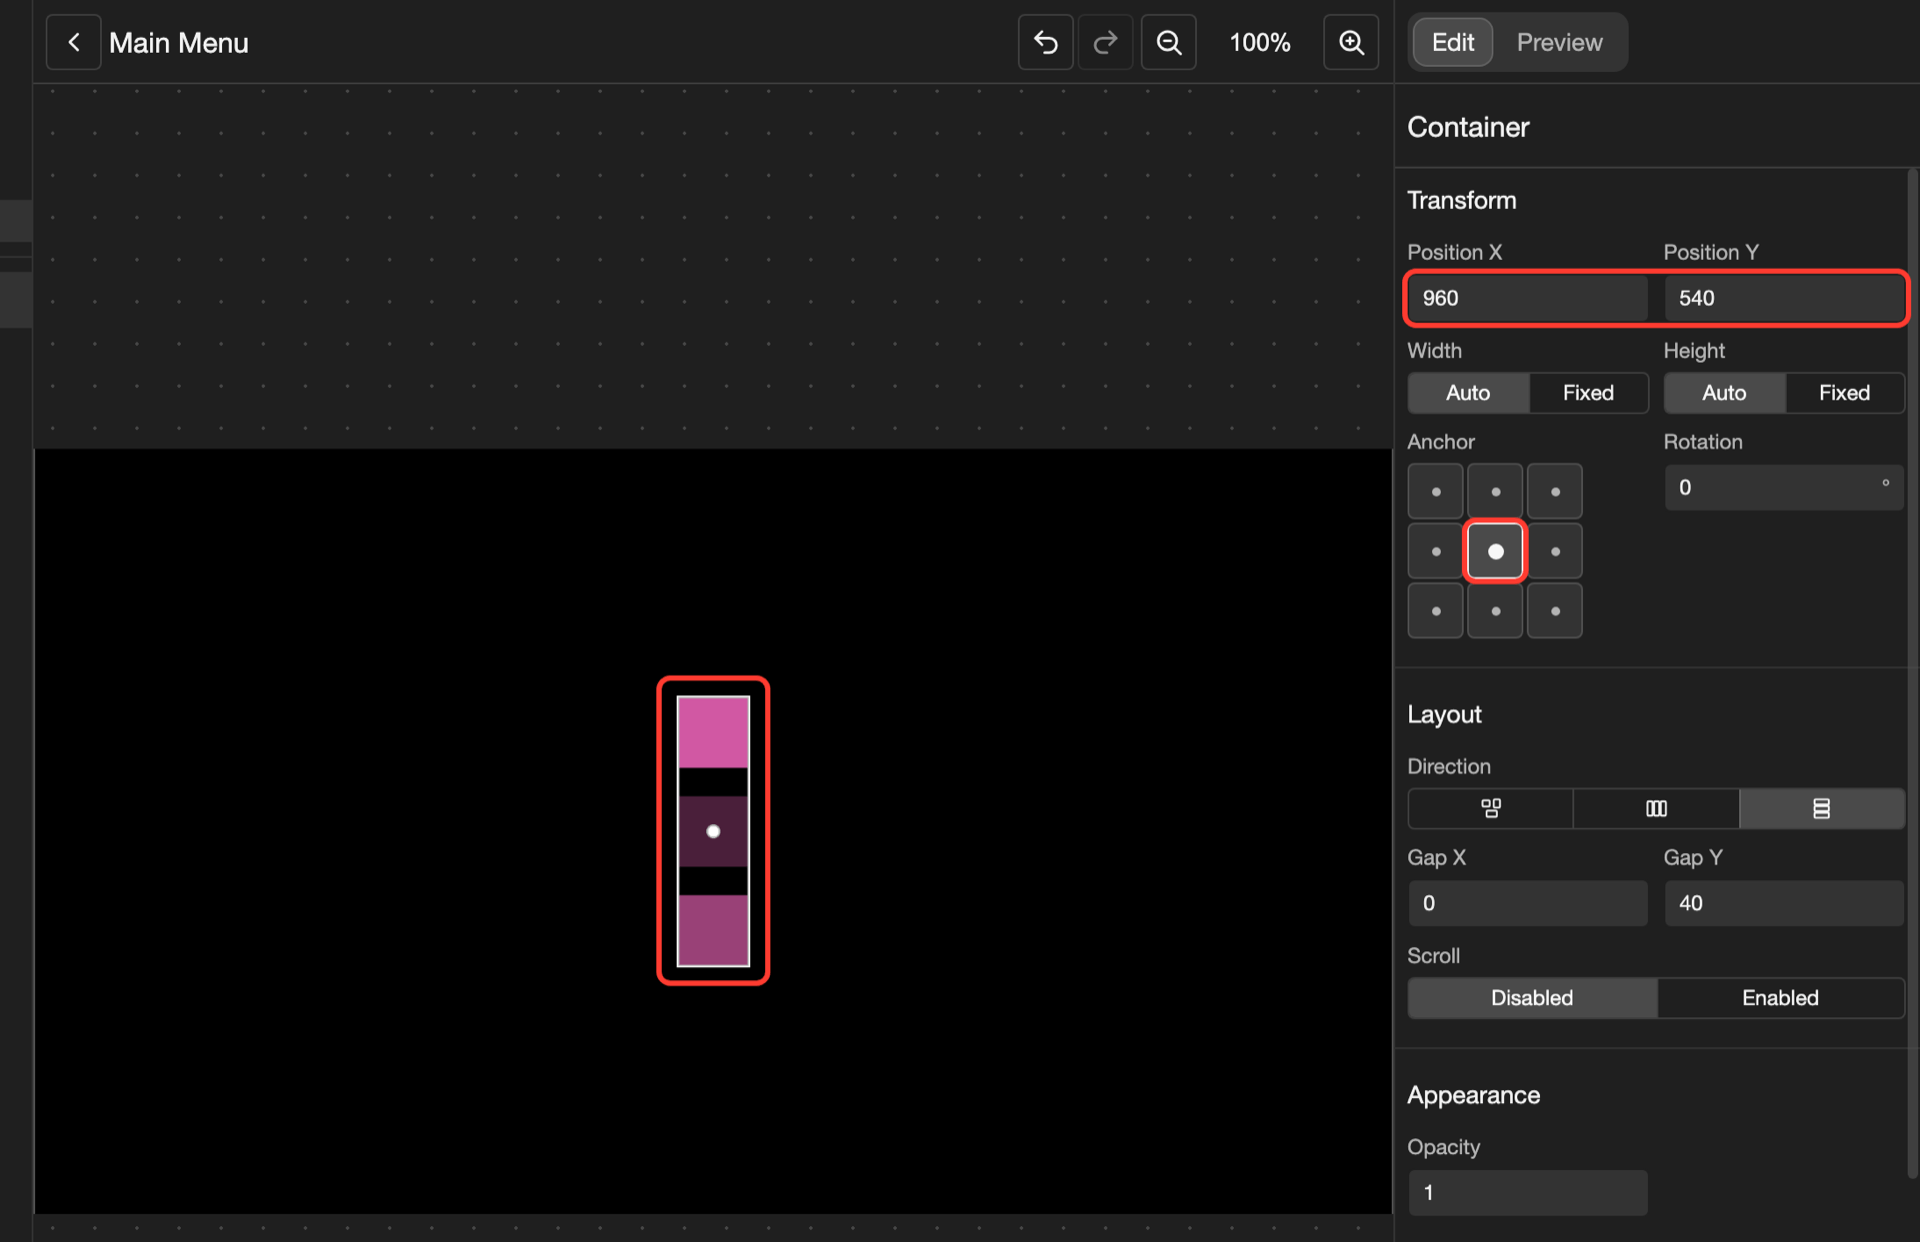
The column is now in the middle of the screen. On a 1920 x 1080 screen, 960 and 540 are the middle. To learn more about Anchor, see Move and resize an element.
Container settings
| Setting | What it does |
|---|---|
| Direction | Absolute, a row, or a column. See Line up the elements. |
| Gap X and Gap Y | The space between the elements, in pixels. Only for a row or a column. |
| Width and Height | Only for a row or a column. Auto makes the container as big as its elements. Fixed lets you type the size. Elements that do not fit go to a new row or column. |
| Scroll | With Enabled and a Fixed size, elements that do not fit are cut off. The reader scrolls to see them, with a mouse wheel or a trackpad. |
| Child Interaction | Makes the elements in the container react together. For example, a button can be a container with an image and a text. Tap +, then Hover. Now both show their hover look when the reader points anywhere on the button. |
The other settings, such as Sound, Visibility, and Actions, are the same for most elements. See Change an element's settings.
Good to know
- On the canvas, a tap on an element in a container selects the container. To select the element itself, tap it in the Elements list.
- An empty container has no size, so you cannot tap it on the canvas. Tap it in the Elements list.
- To hide or show the elements of a container in the Elements list, tap the arrow next to it.