Image Effects
Image effects change how an image looks on the screen. You can blur an image, fade it, flip it, or change its colors.
You do not need to edit the image outside of RouteVN Creator. Add an effect in the scene editor, and the preview shows the result.
Where you can use effects
Effects work on these line actions:
In the app, the list of effects is called Options.
Find the Options row
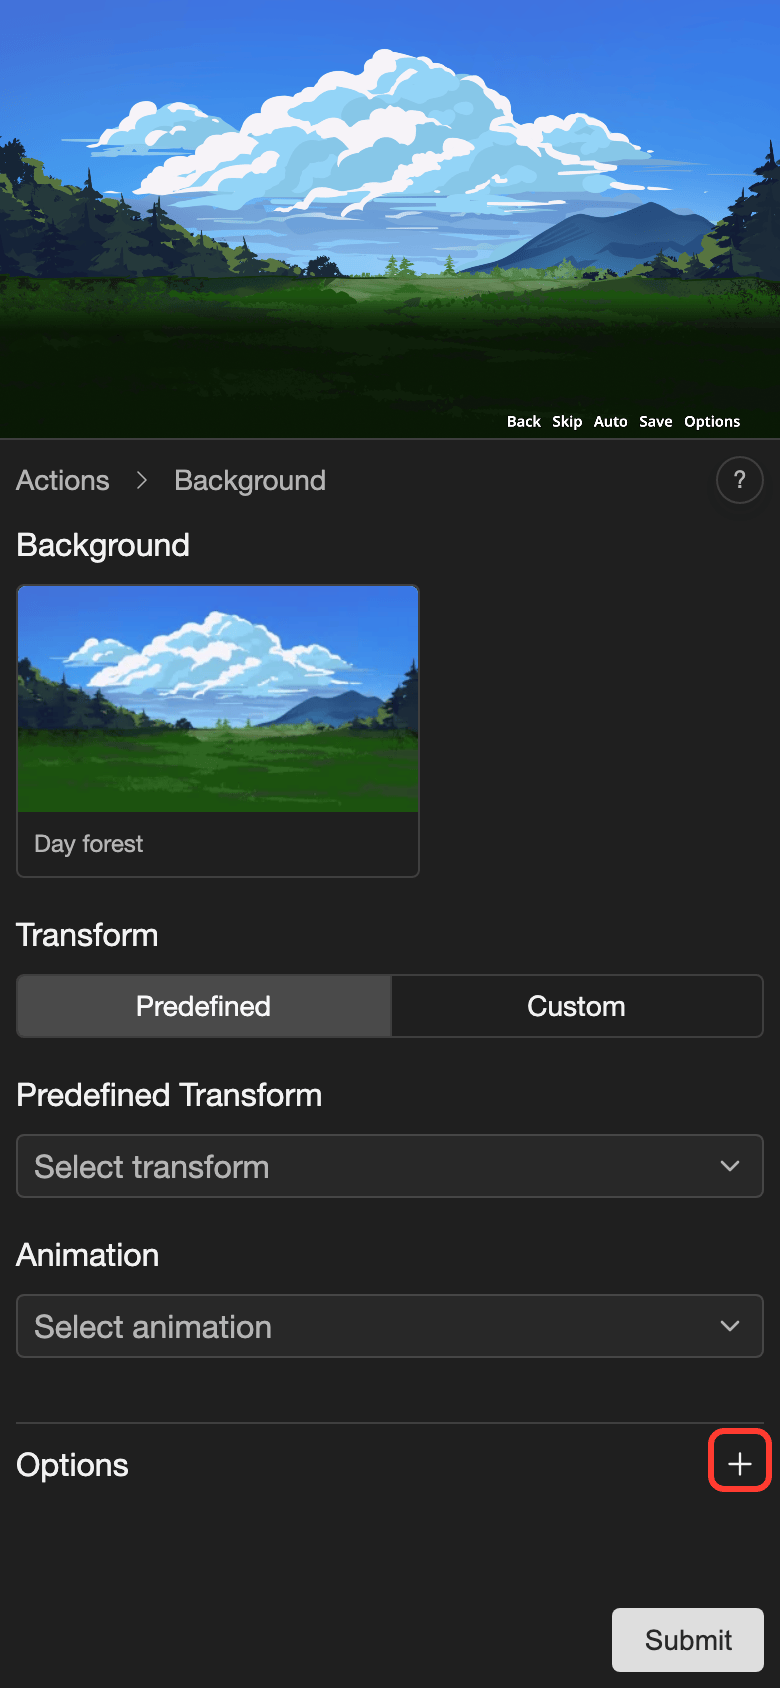
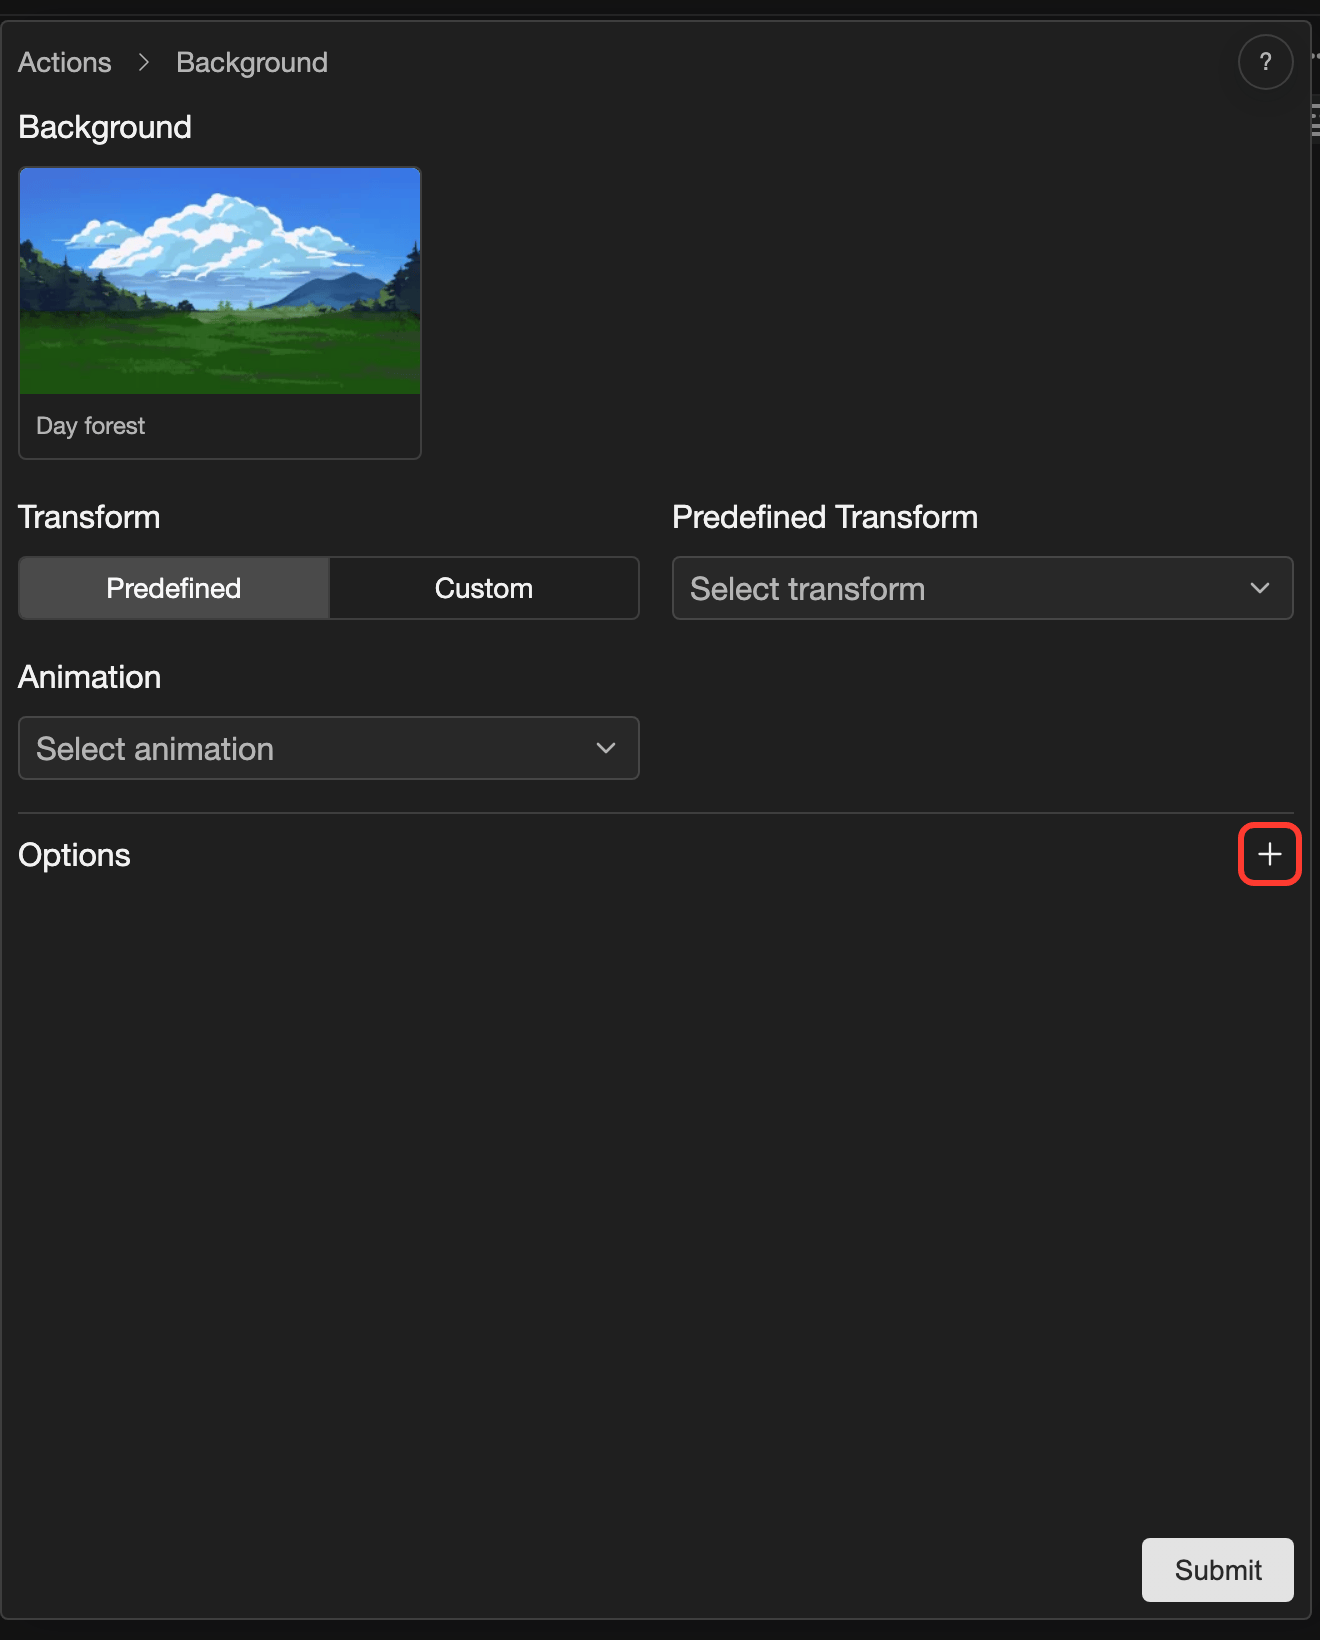
Open the action in the scene editor. The Options row is below the image settings.
- Background: The Options row is below Animation. Its + button is at the right end of the row.
- Characters and Visuals: Each character or visual has its own Options. The + button is at the top of its settings, across from its name.
Add an effect
-
Tap the + button in the Options row.
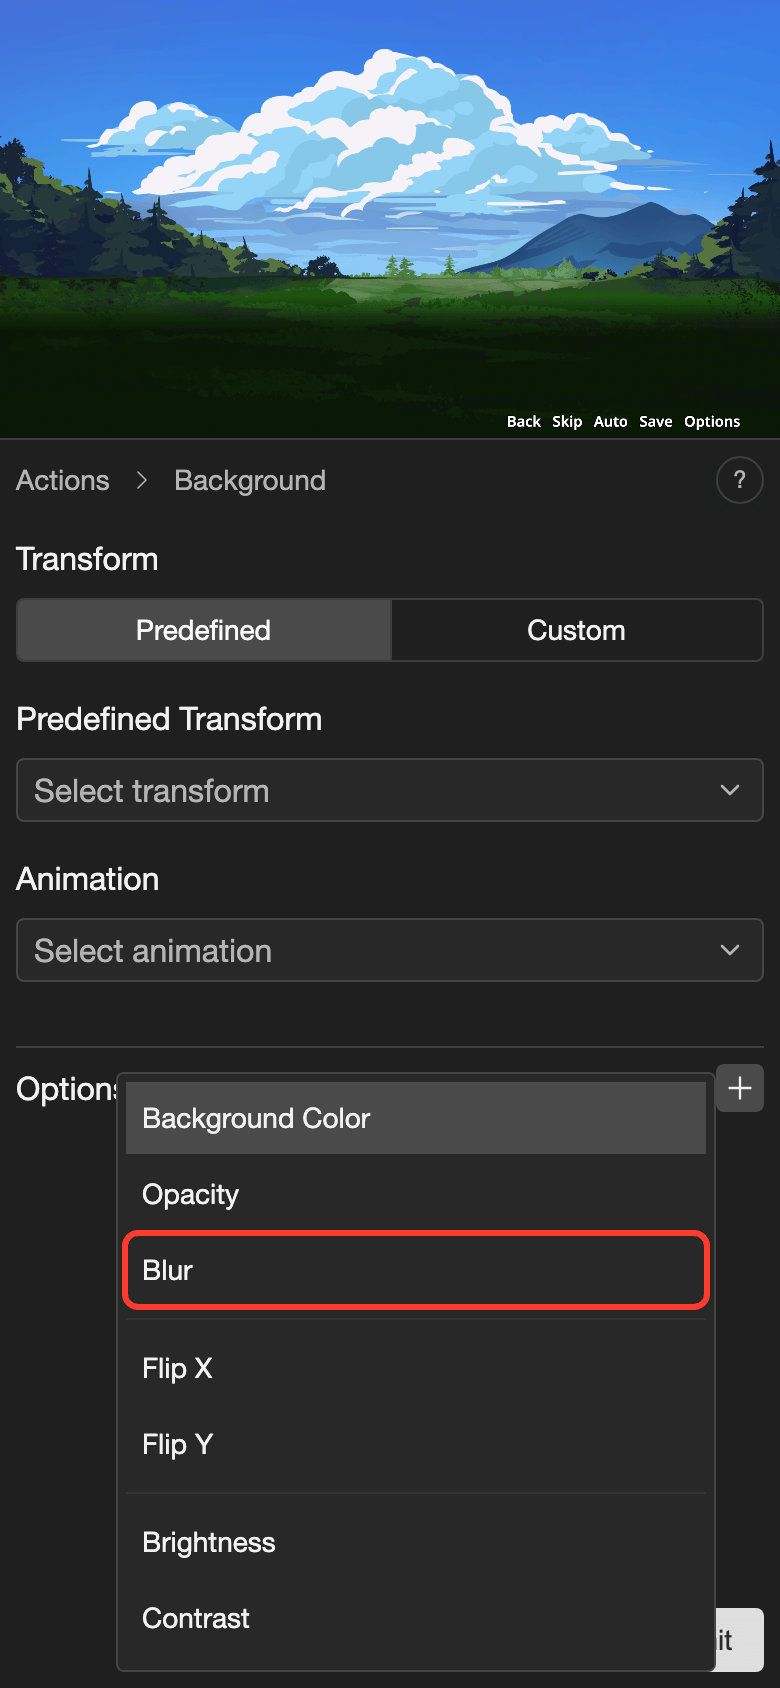
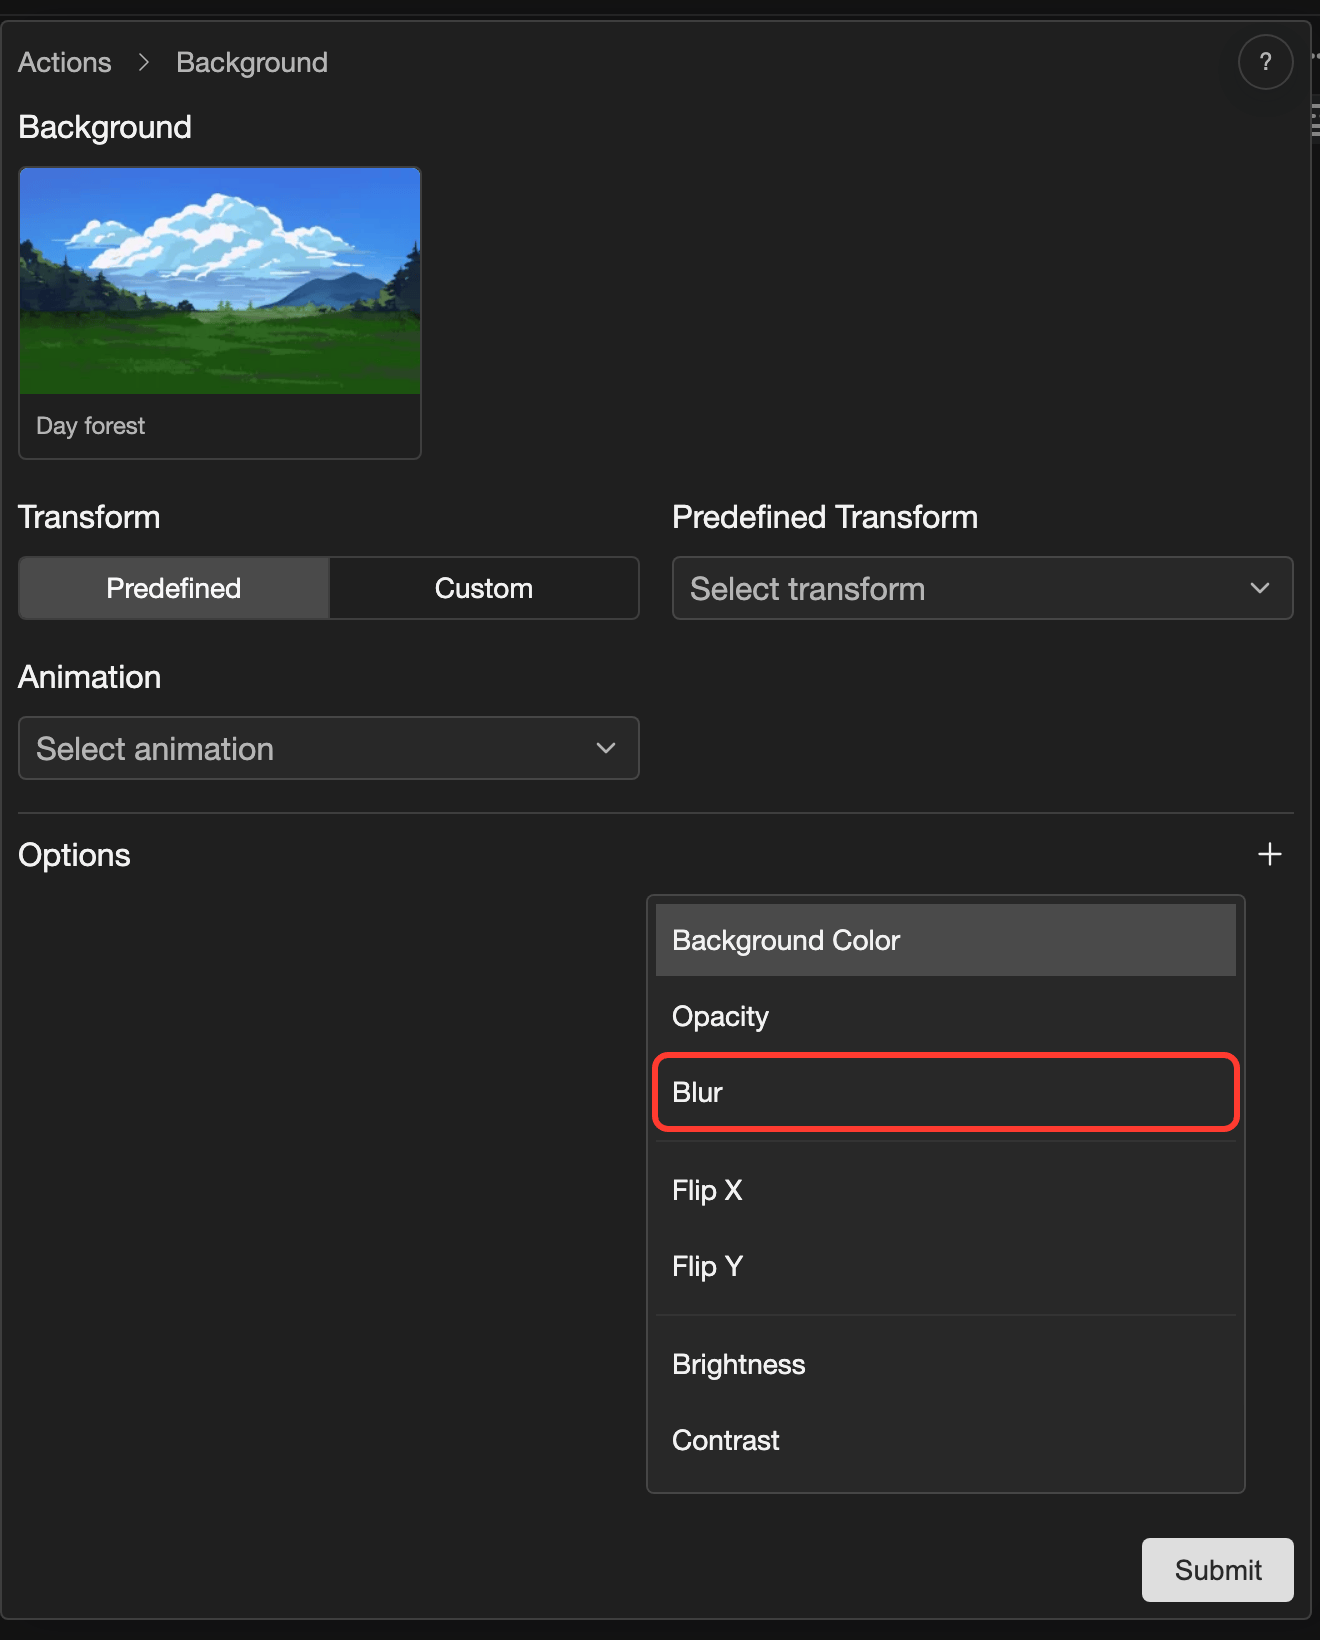
The menu lists every effect. Scroll it to see the rest. The menu opens.
-
Tap the effect you want, for example Blur.
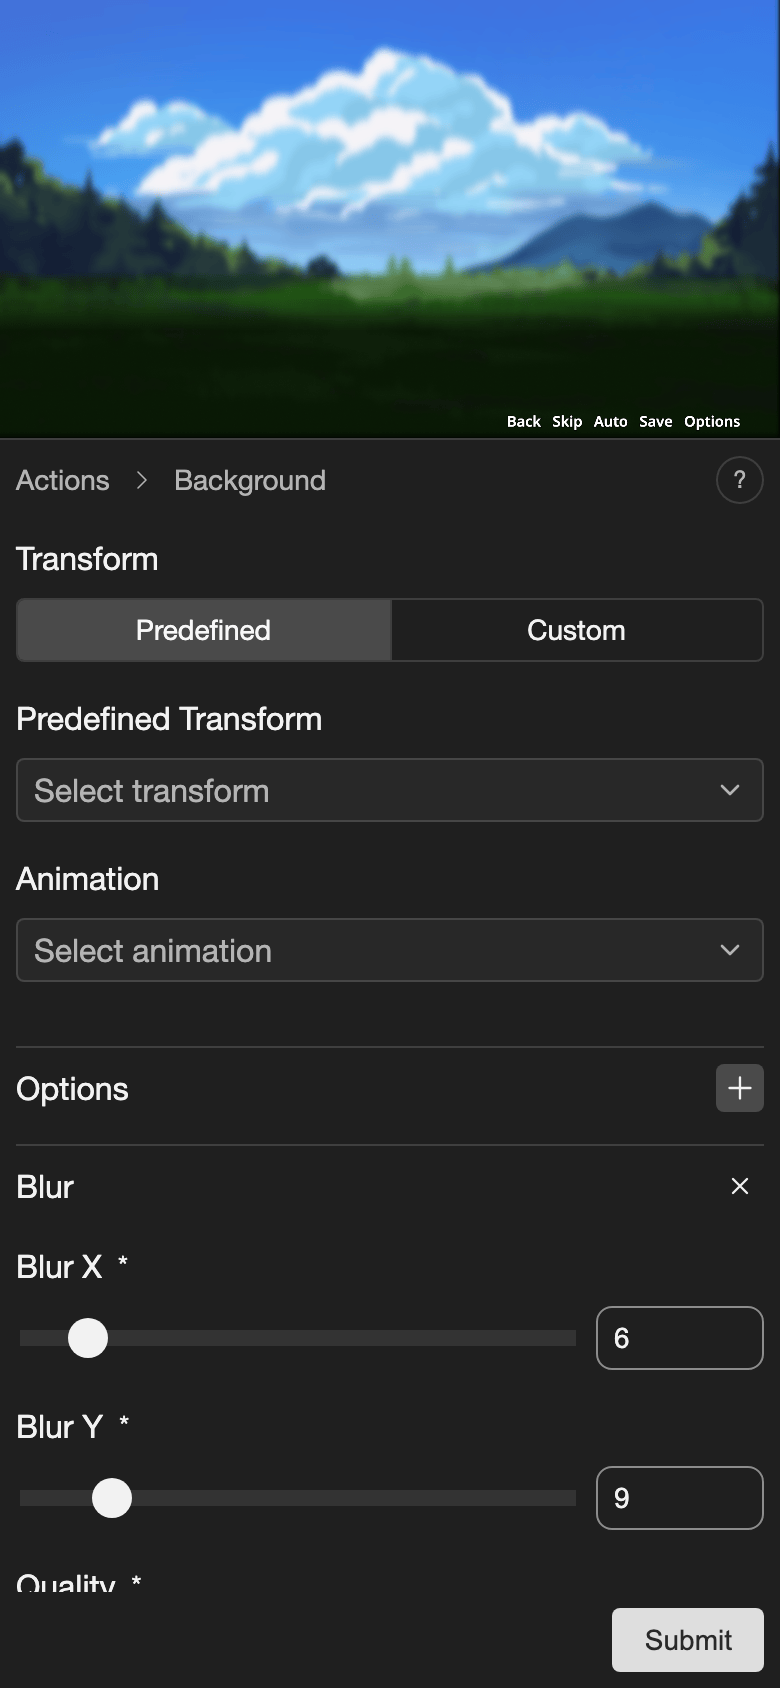
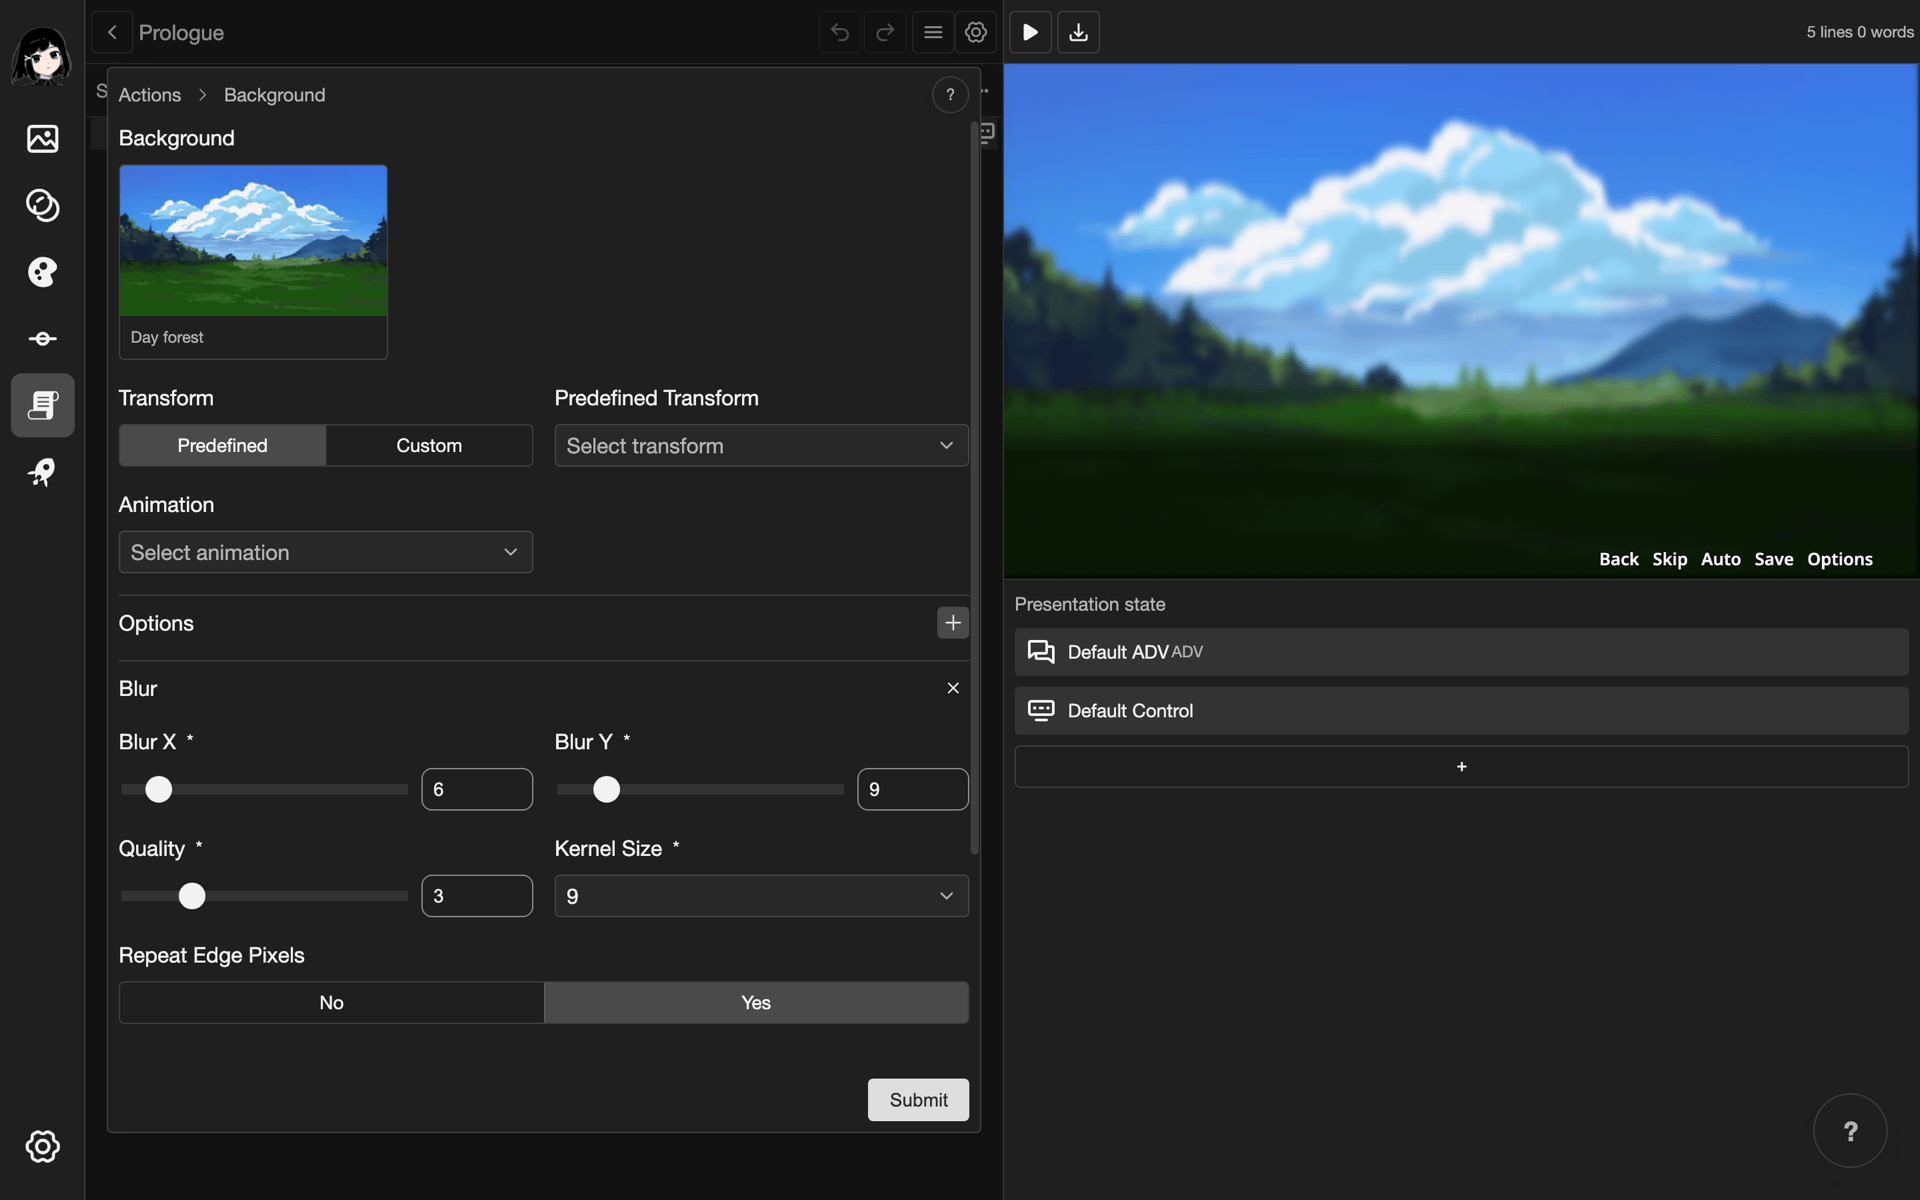
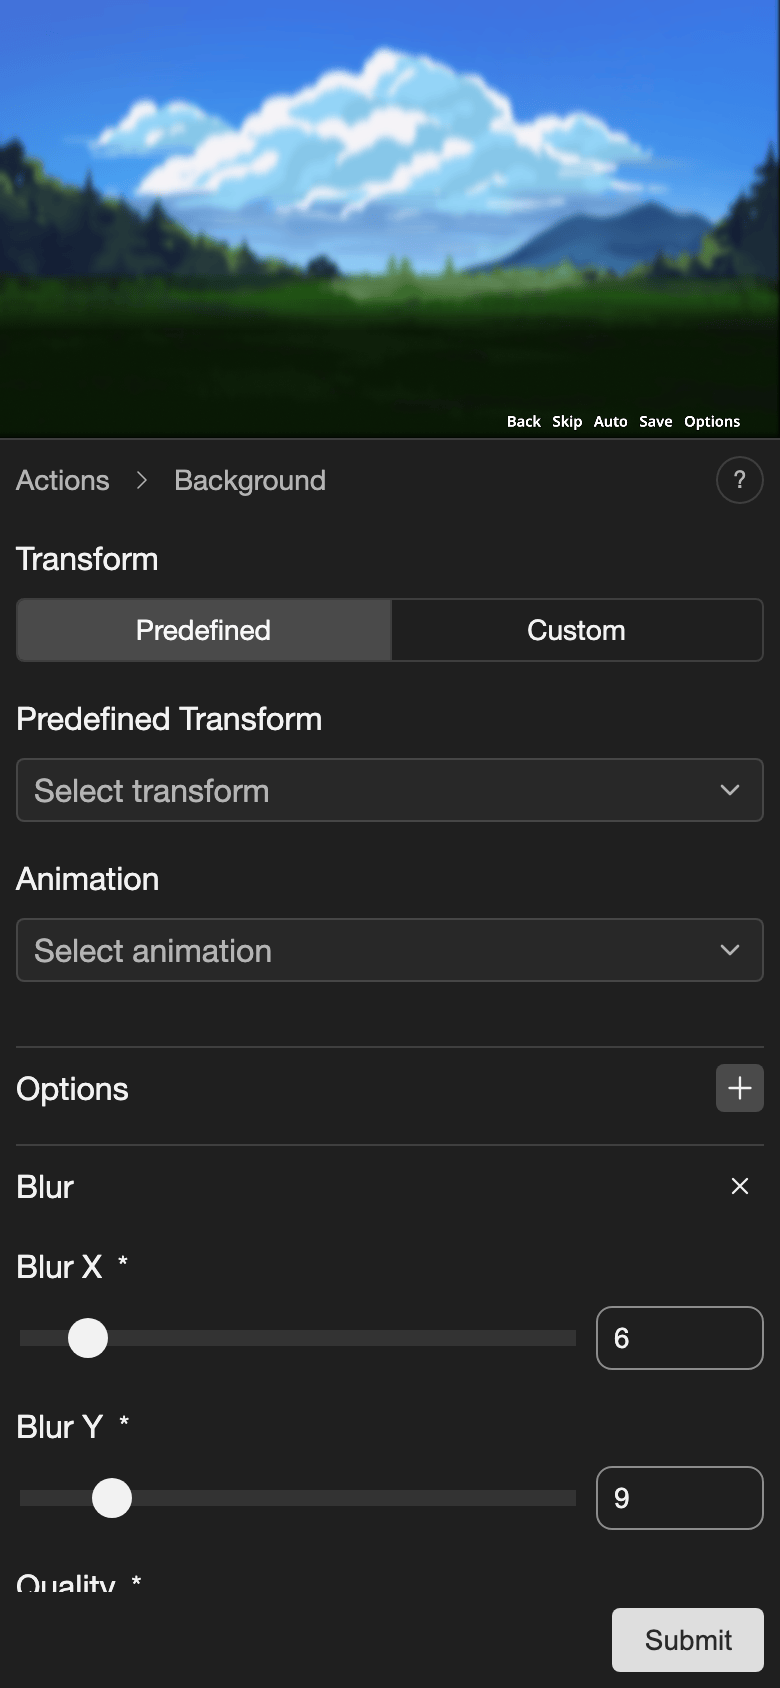
The effect section opens under the Options row. Its settings show.
-
Change the settings in the effect section.
The preview at the top of the screen updates.
-
Tap Submit to save the action.
Each effect you add is a section under the Options row. You can add the same effect only once.
Effects
Each effect below has settings in its section. Some values have a range. The range is shown with the value box.
Blur
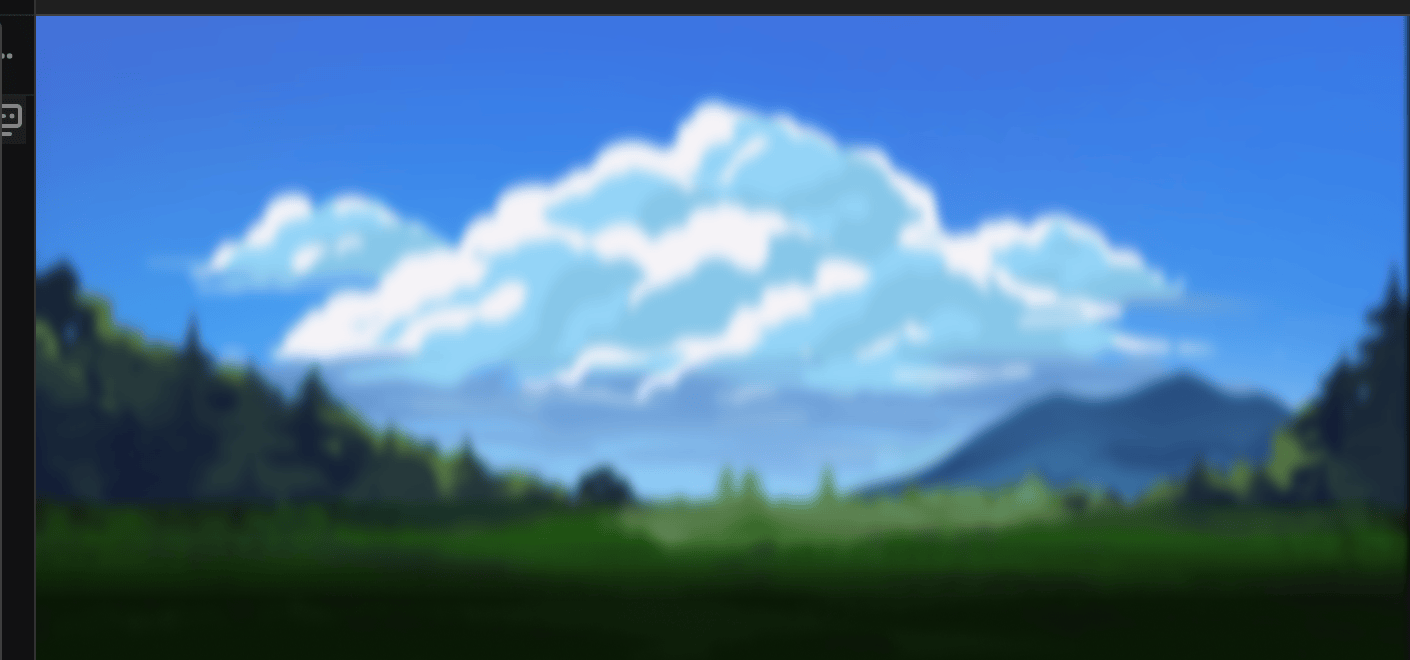
Blur makes the image soft and out of focus. Use it for a dream scene or a memory.
Blur has these settings:
- Blur X and Blur Y: how much blur in each direction.
- Quality: how smooth the blur looks.
- Kernel Size: choose a value from the list.
- Repeat Edge Pixels: choose Yes or No.
Opacity
Opacity sets how see-through the image is. A value of 1 is solid. A value of 0 is invisible.
To make an image disappear, set Opacity to 0. To show it again, set it to 1. You do not need to remove the image.
-
Tap + in the Options row, then tap Opacity.
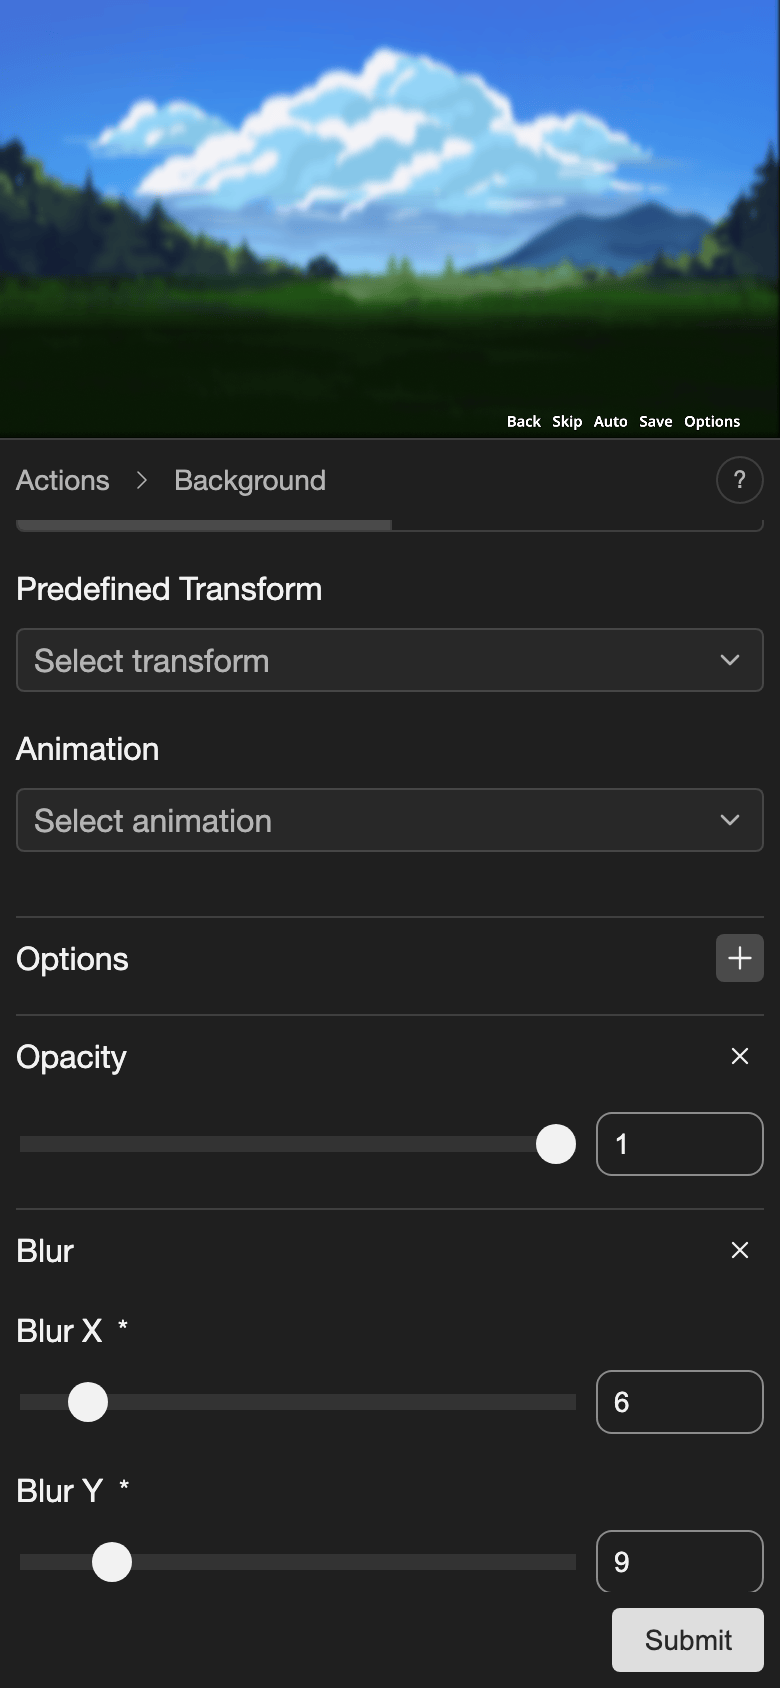
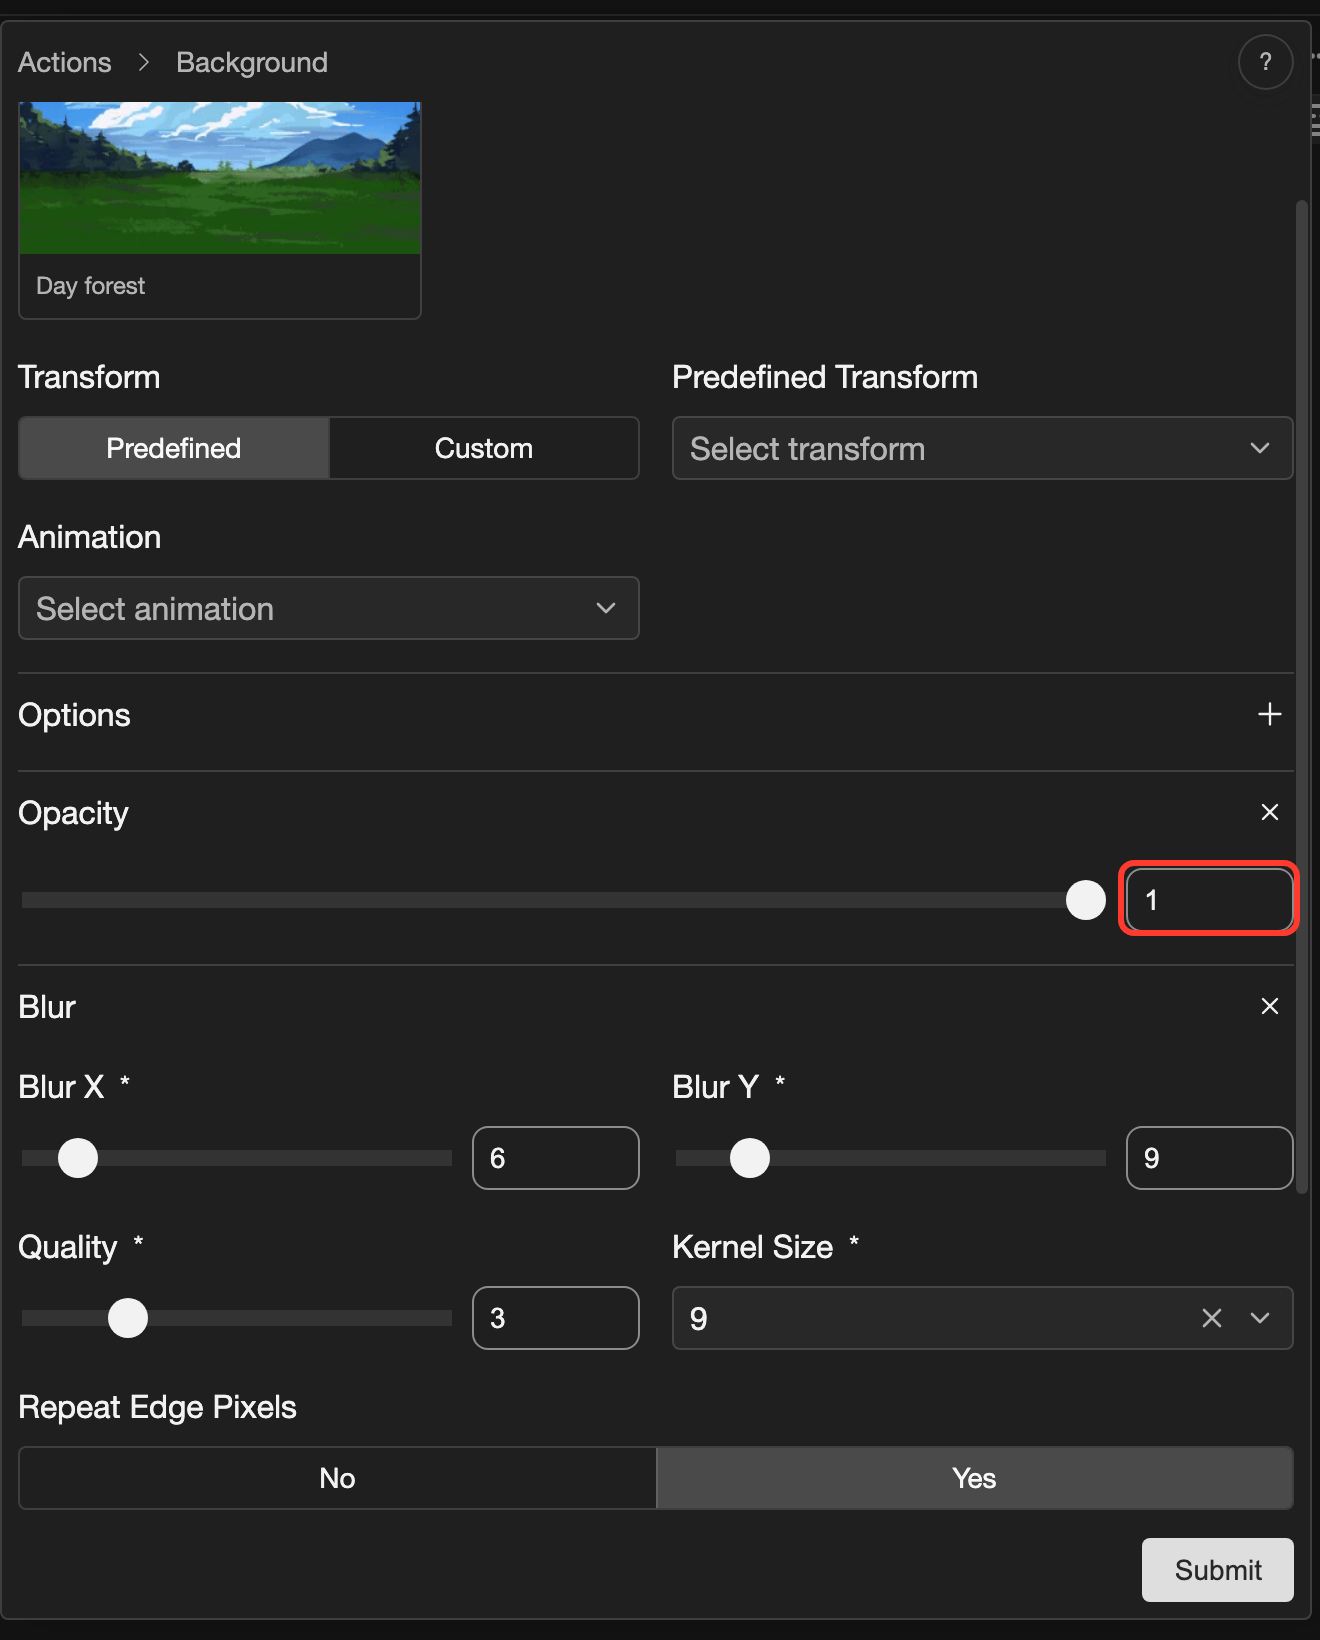
The Opacity value box shows 1. -
In the value box, type a number from 0 to 1, for example
0.5.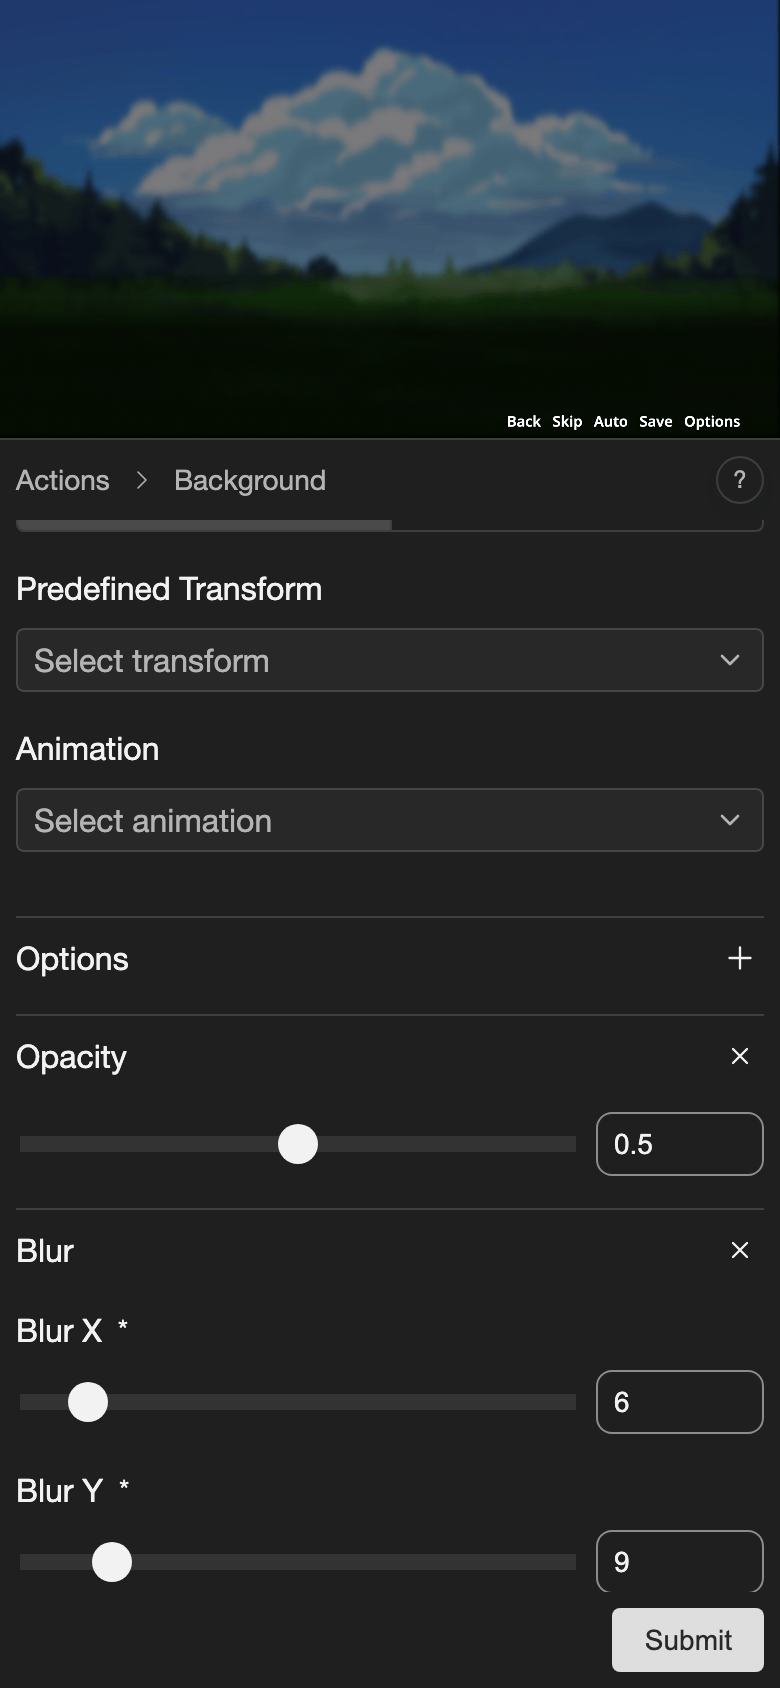
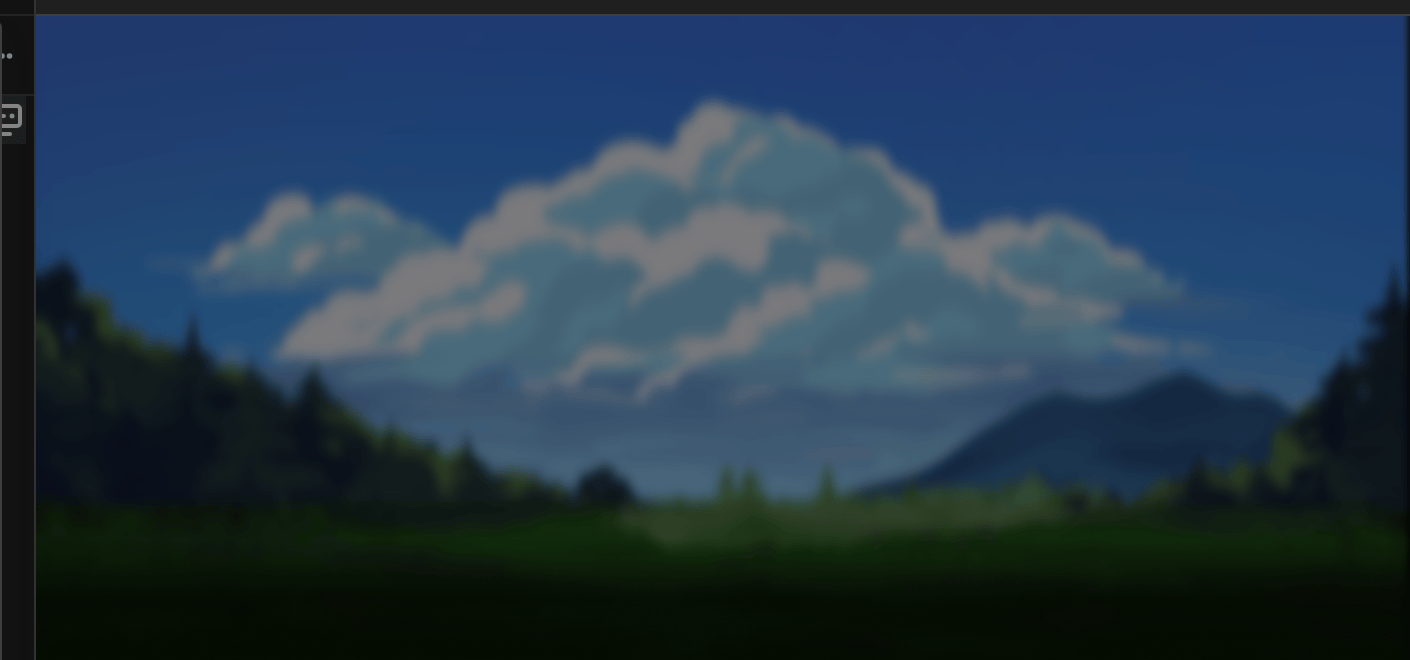
At 0.5, the image is half see-through.
Flip X
Flip X turns the image from left to right, like a mirror. Use it to make a character face the other way.
-
Tap + in the Options row, then tap Flip X.
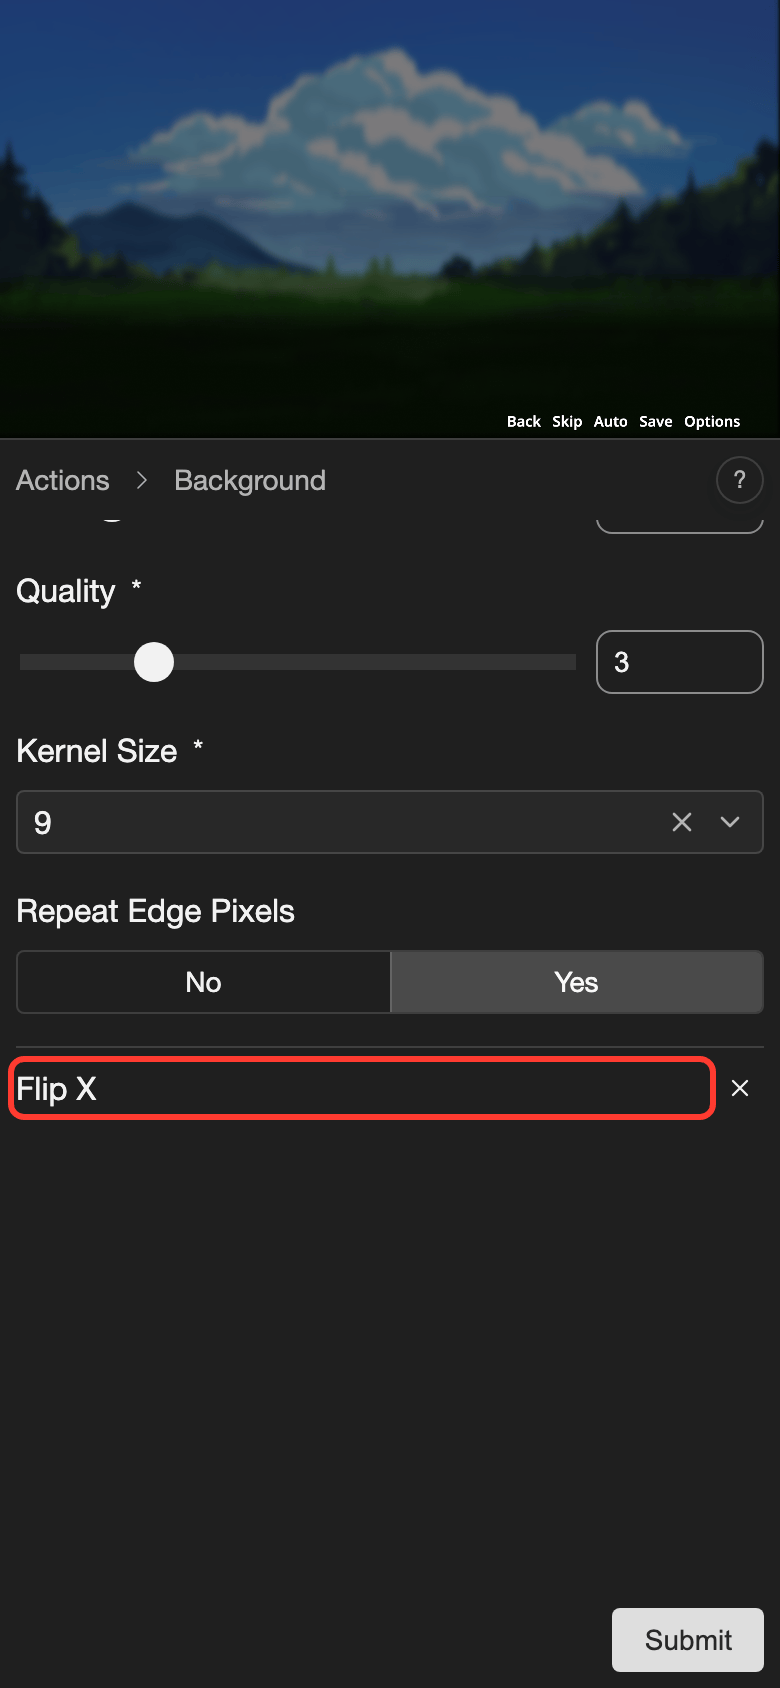
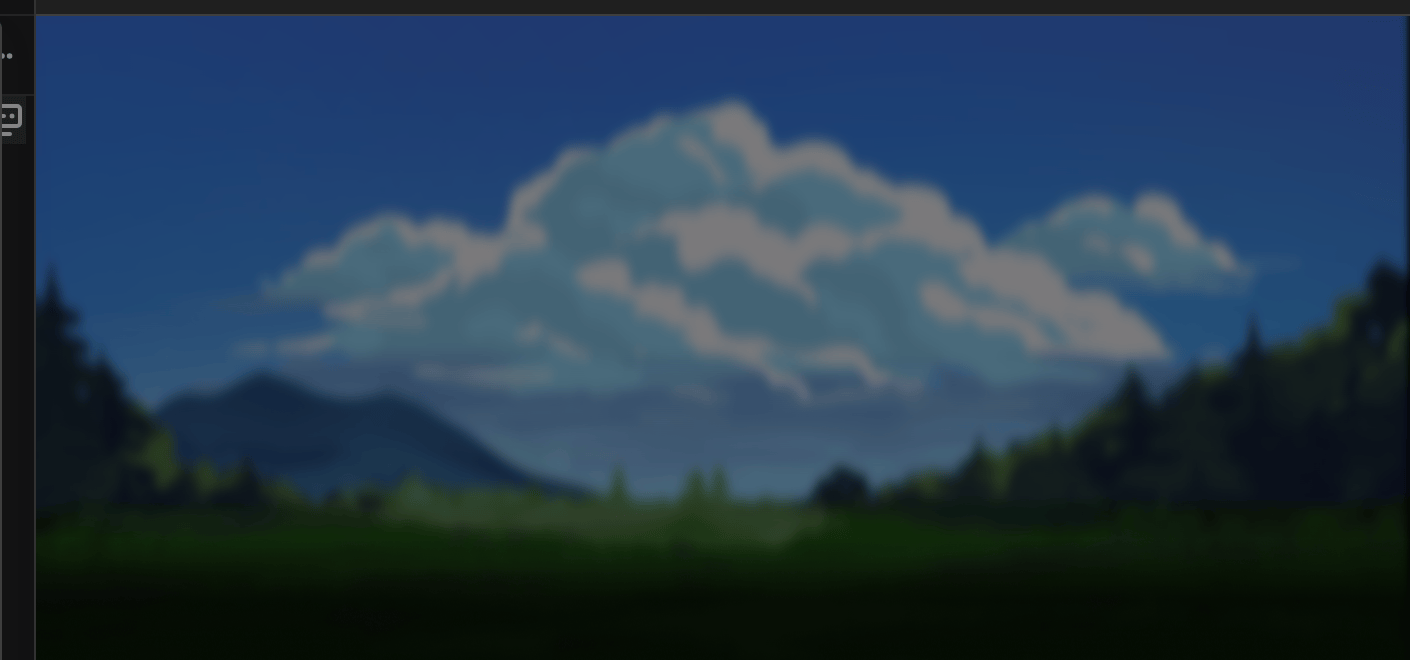
The image is flipped from left to right.
Flip X has no settings.
Flip Y
Flip Y turns the image upside down. Tap + in the Options row, then tap Flip Y.
Background Color
Background Color sets a color behind the image. Use it when the image does not fill the whole screen. It appears in the Options menu of the Background action.
Color effects
These effects change the colors of the image. Each one starts at a value that changes nothing. Type a value in its box.
| Effect | What it does | Values |
|---|---|---|
| Brightness | Makes the image lighter or darker. | -1 (darker) to 1 (lighter) |
| Contrast | Makes light and dark parts more or less different. | -1 to 1 |
| Saturation | Makes the colors stronger or weaker. | -1 (weaker) to 1 (stronger) |
| Hue | Shifts all the colors toward other colors. | -180 to 180 |
| Grayscale | Removes the colors. | 0 (colors) to 1 (black and white) |
| Sepia | Gives a warm brown color, like an old photo. | 0 to 1 |
| Invert | Swaps light and dark, like a photo negative. | 0 to 1 |
Example: make an image black and white
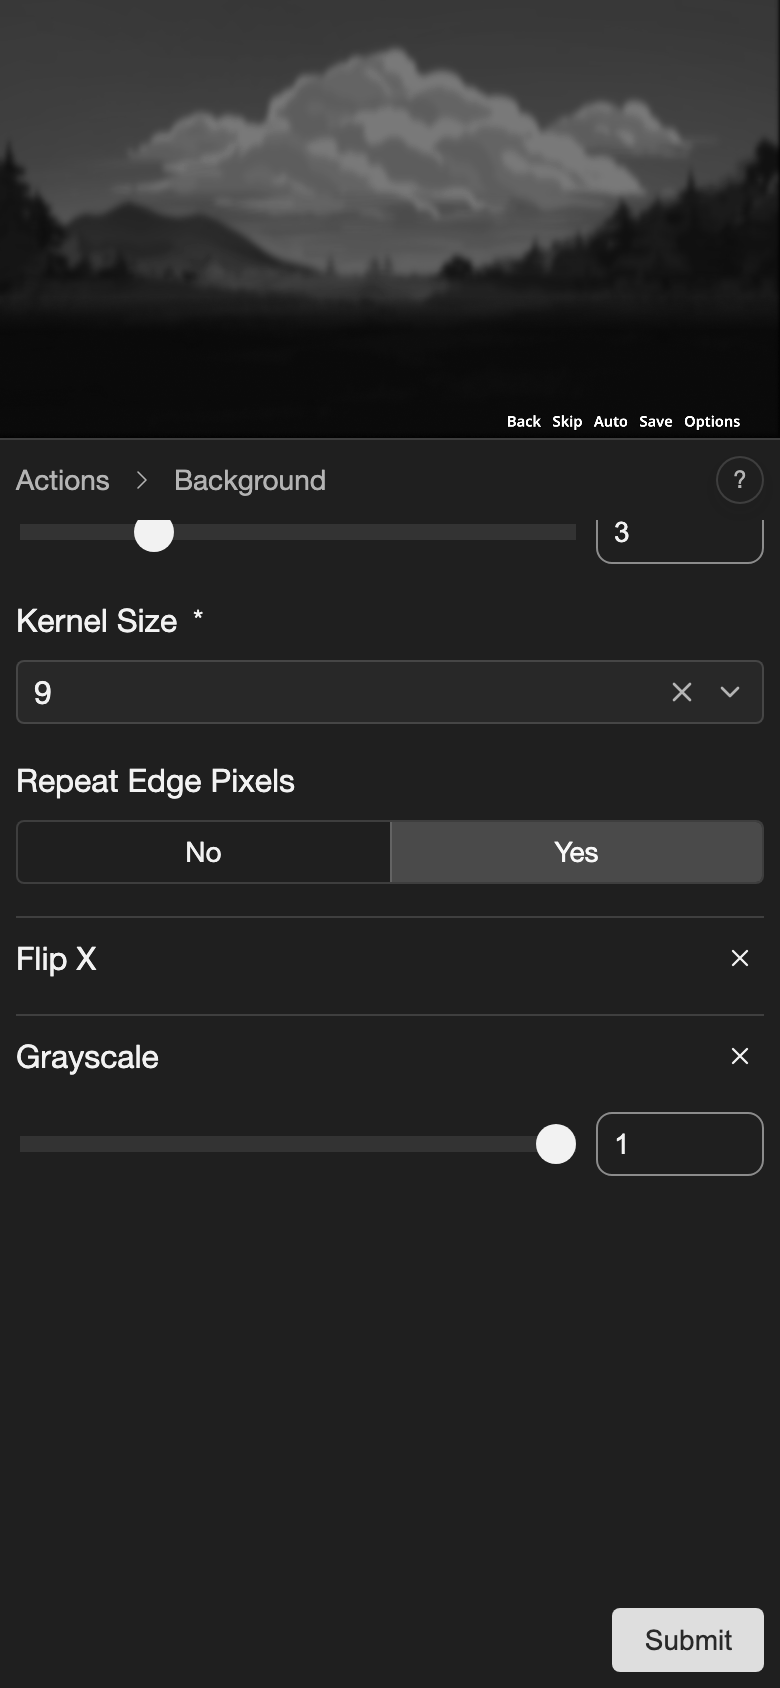
Grayscale removes the color. A value of 1 makes the image black and white. A value of 0 keeps the colors.
-
Tap + in the Options row, then tap Grayscale.
-
In the value box, type
1.
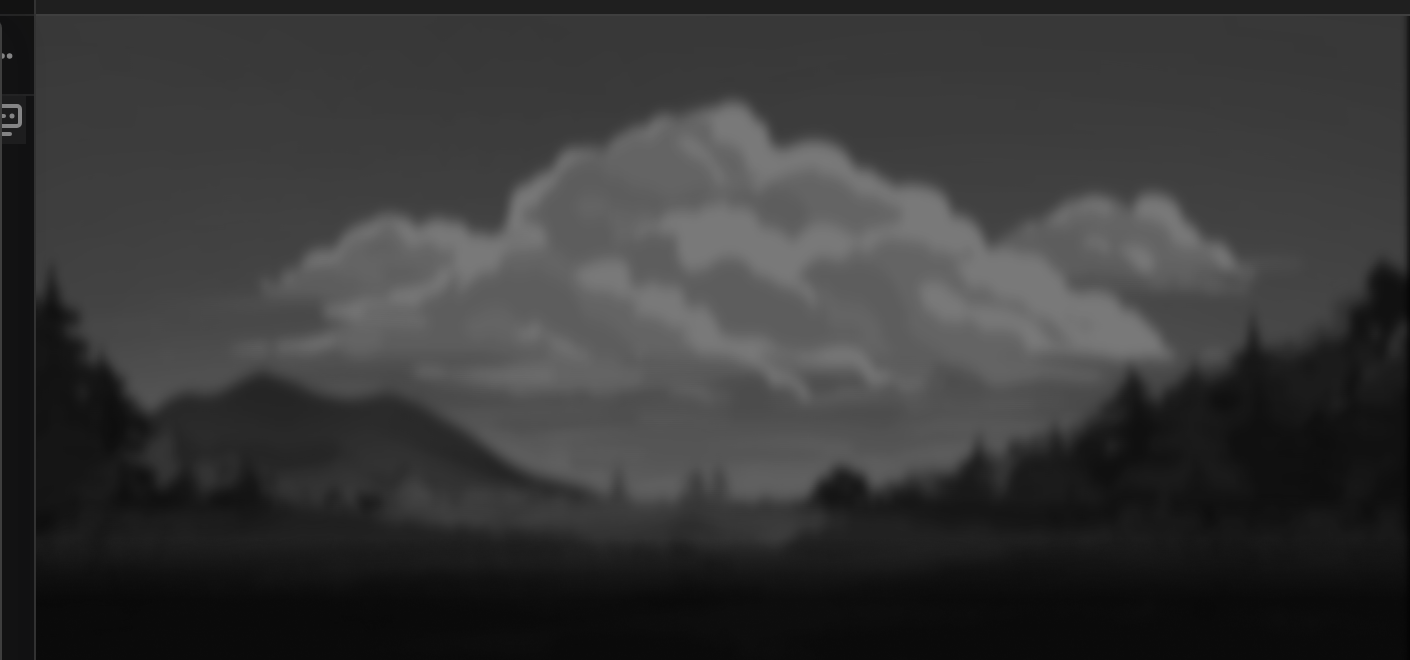
At 1, the image is black and white.
Change or remove an effect
To change an effect, change its settings in its section. Then tap Submit.
To remove an effect:
-
Find the section of the effect under the Options row.
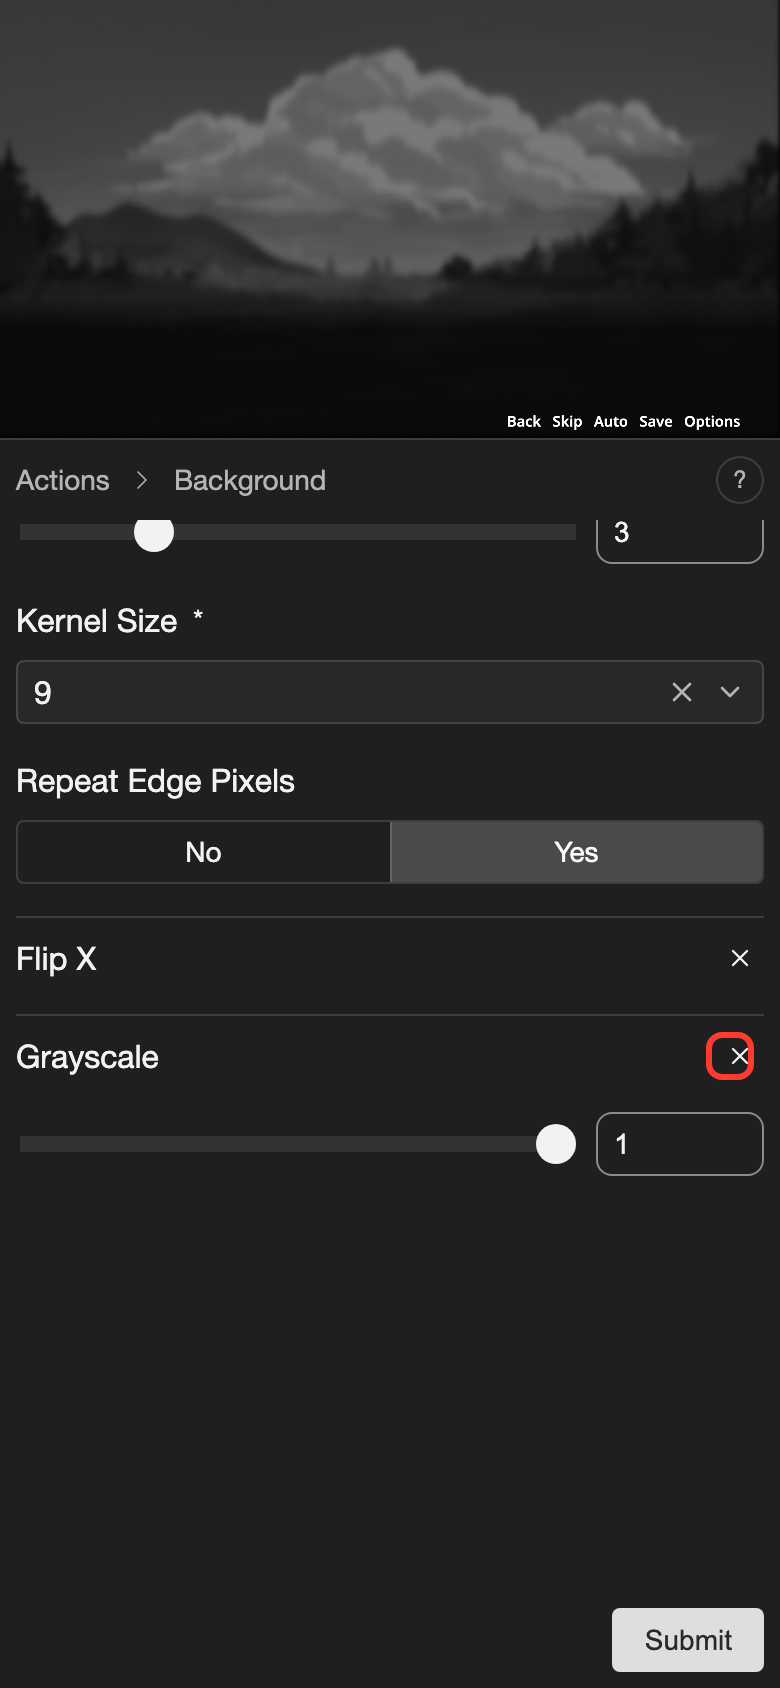
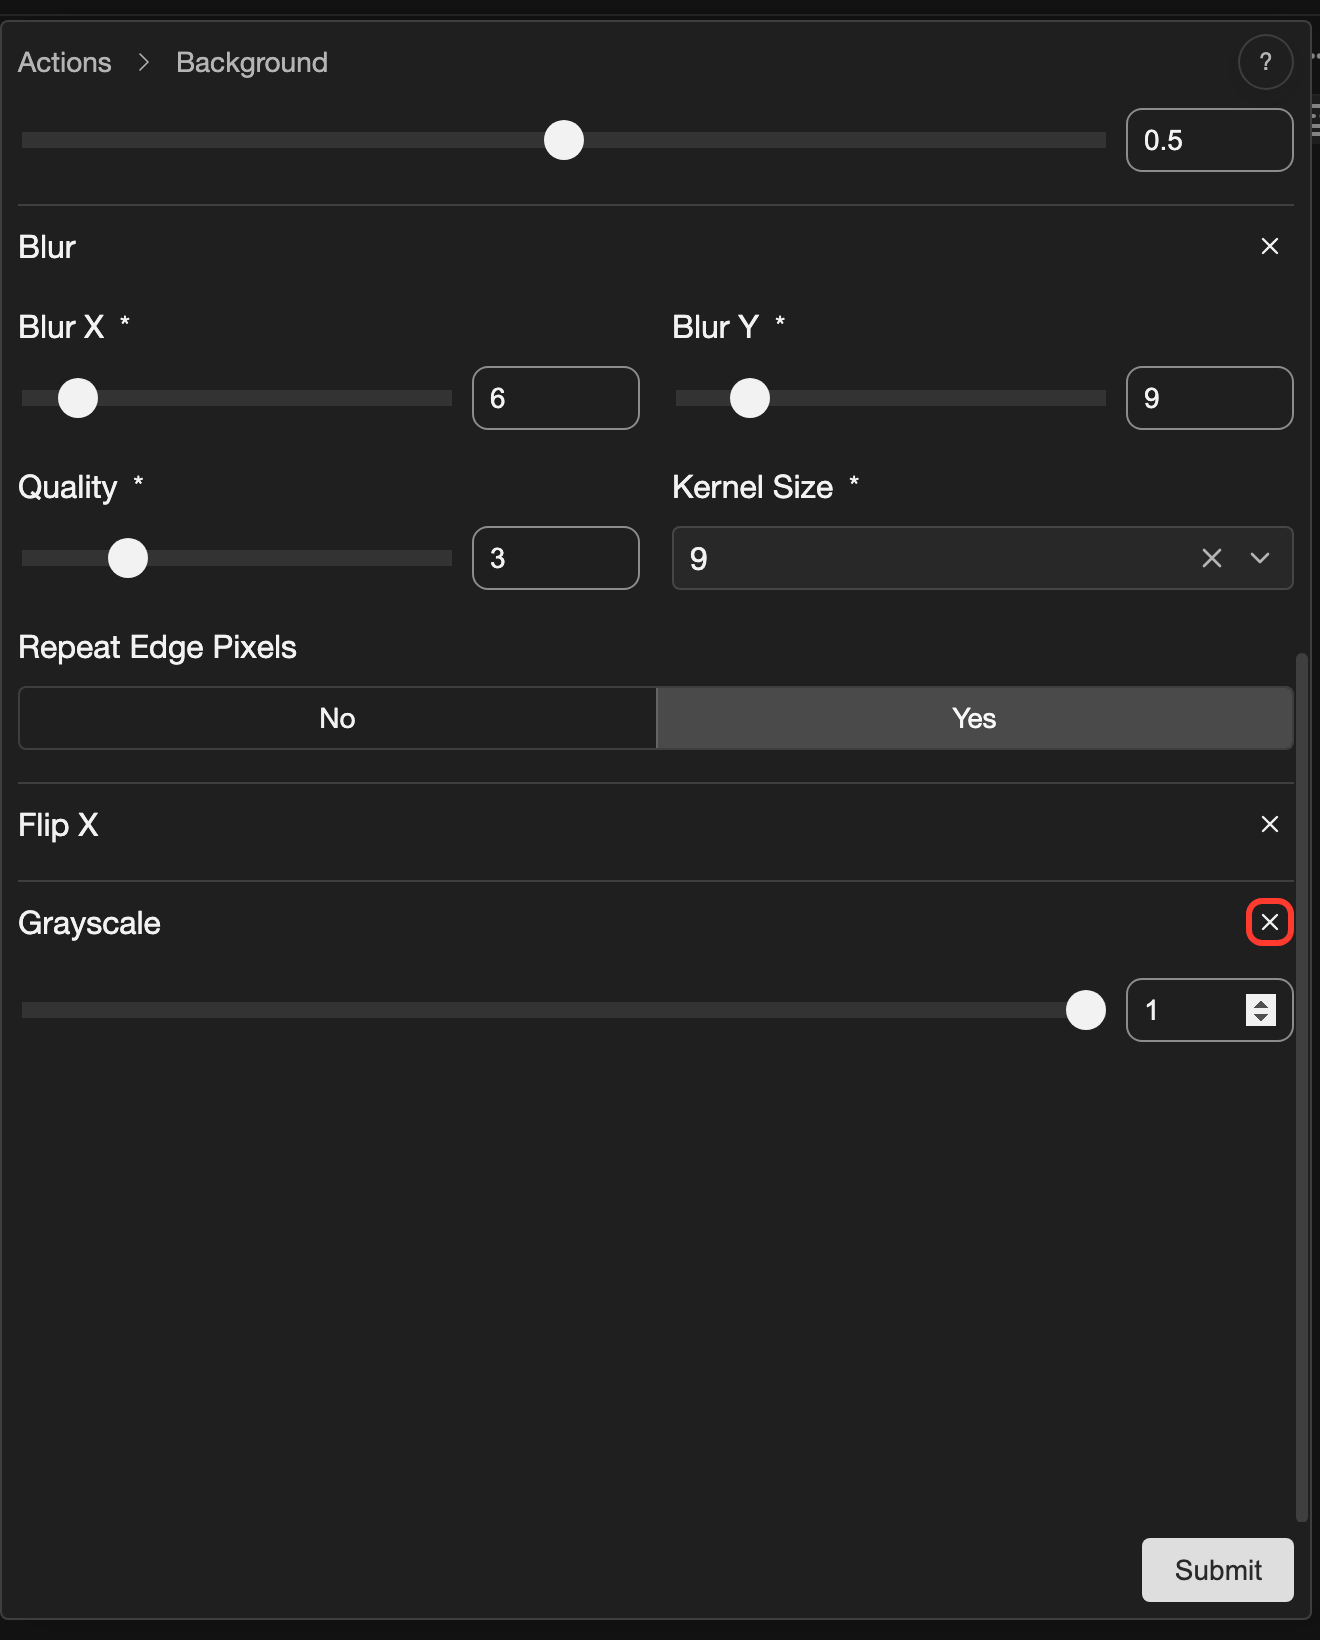
Tap the X button in the header of the effect. -
Tap the X button at the right end of the effect's header.
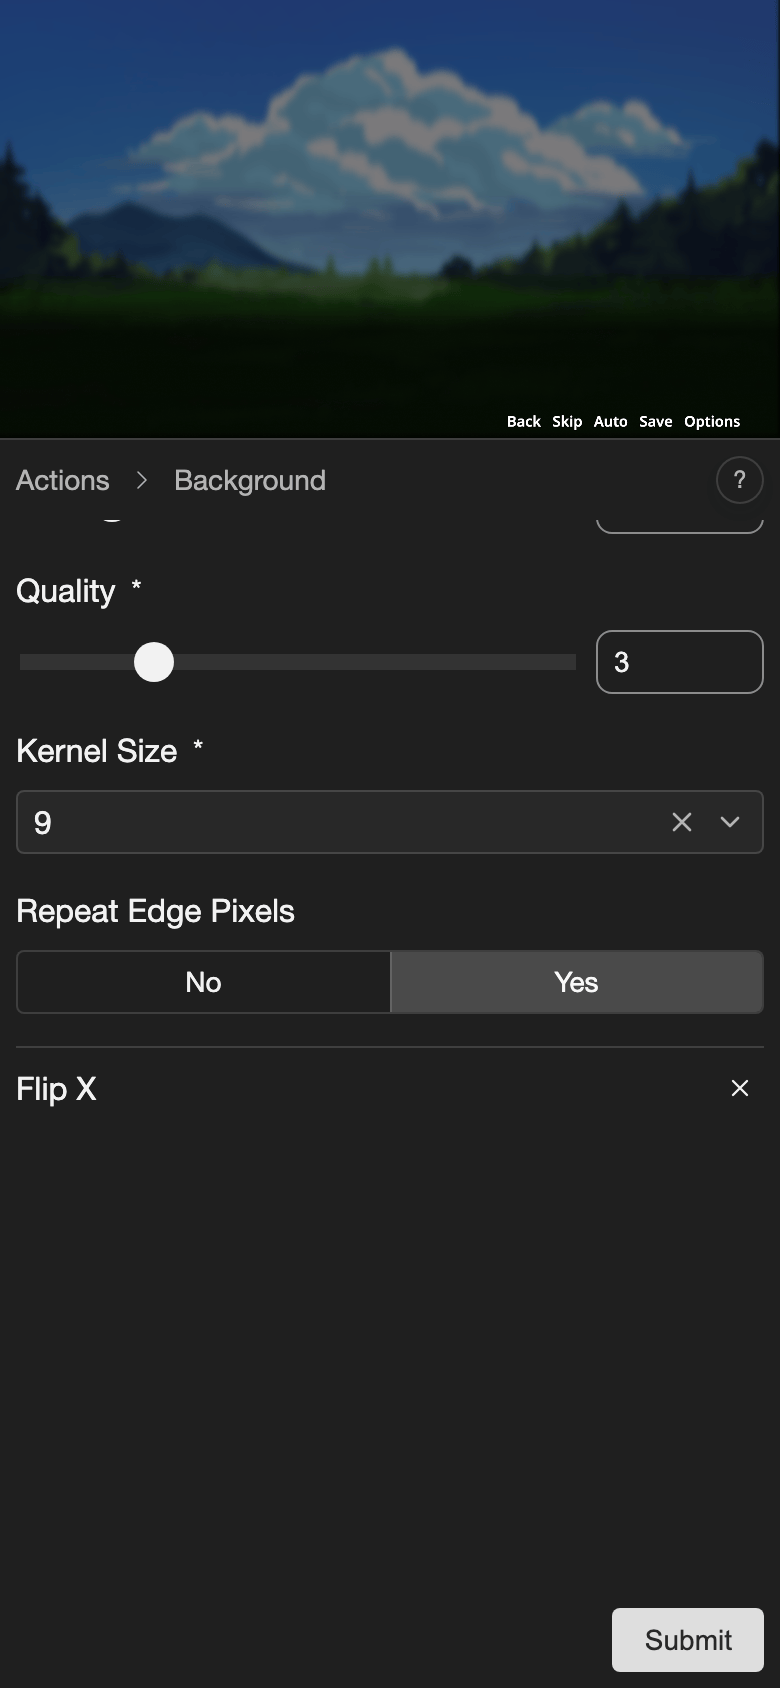
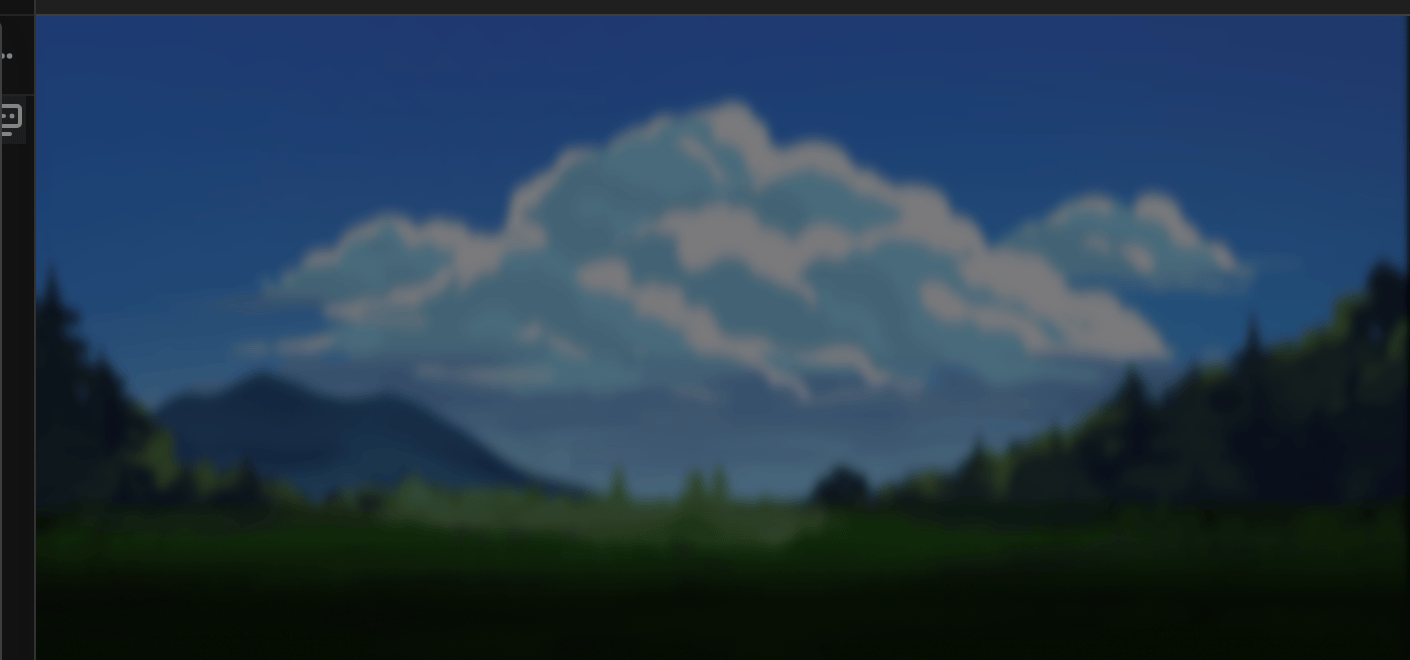
The effect is gone. The other effects stay.
The effect is removed from the action after you tap Submit.
Stack effects
You can use more than one effect on the same image. Add each effect with +.
The effects work together. For example, you can add Blur and Opacity to make a faded, soft background.
Good to know
- Effects change only the image in this action. The image file does not change.
- Keep the values simple. Very strong effects can make an image hard to see.
Problems and fixes
- The effect does not show in the preview. Check the value. For example, Grayscale is 0 when it is first added, so it has no effect until you set it to 1.
- I cannot add an effect again. Each effect can be added only once to the same action. Change its settings in its section instead.
- I cannot see the rest of the menu. Scroll the menu to see the other effects.