Creator Docs

Text Styles

A text style is a saved look for your text. It holds the font, size, color, and effects, such as an outline or a shadow. Use one text style for dialogue, another for character names, and another for menus.
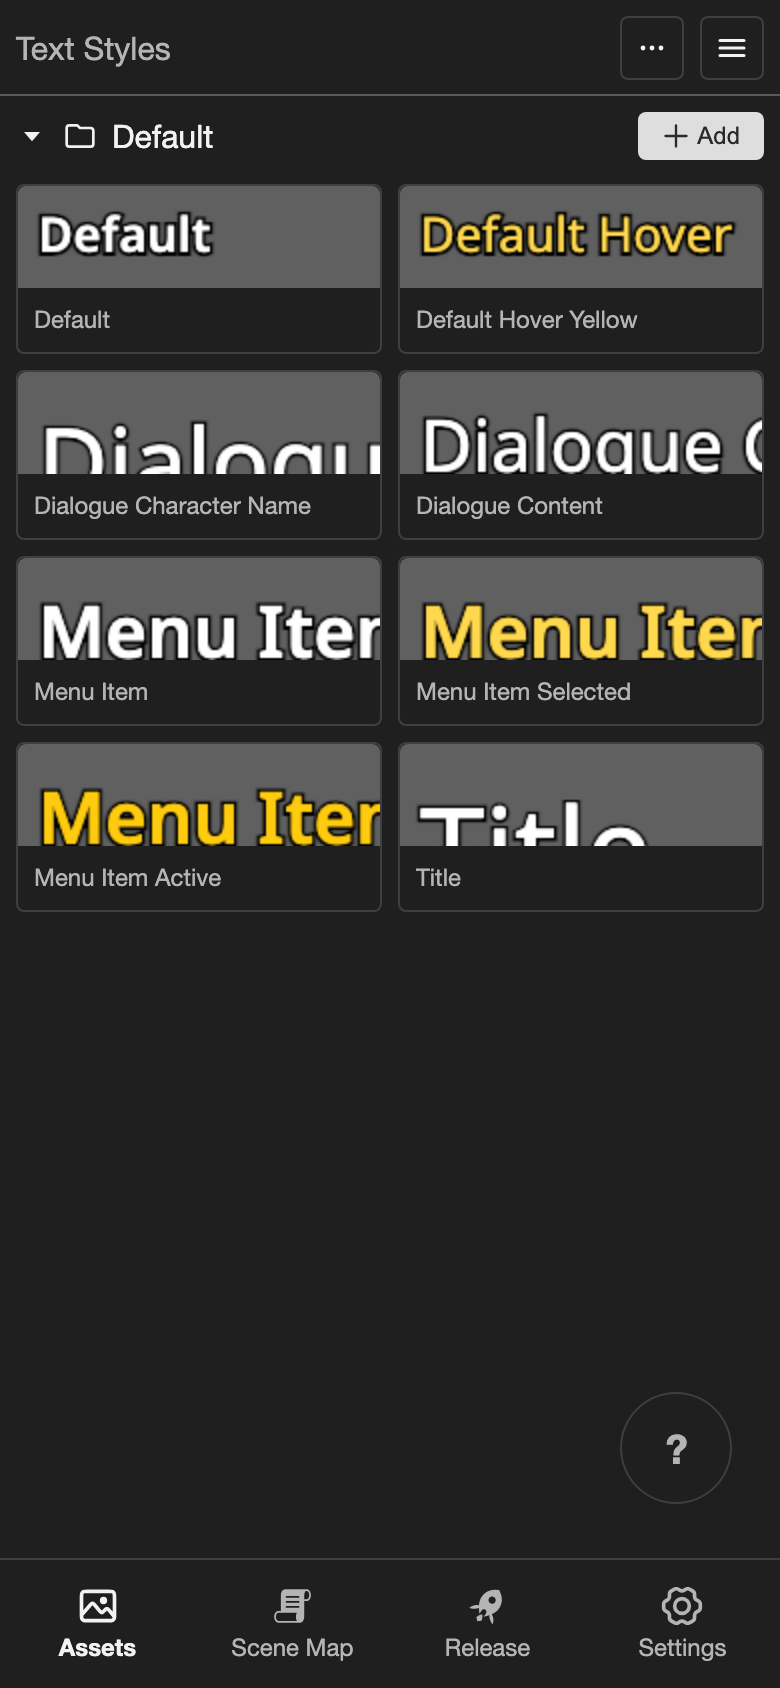
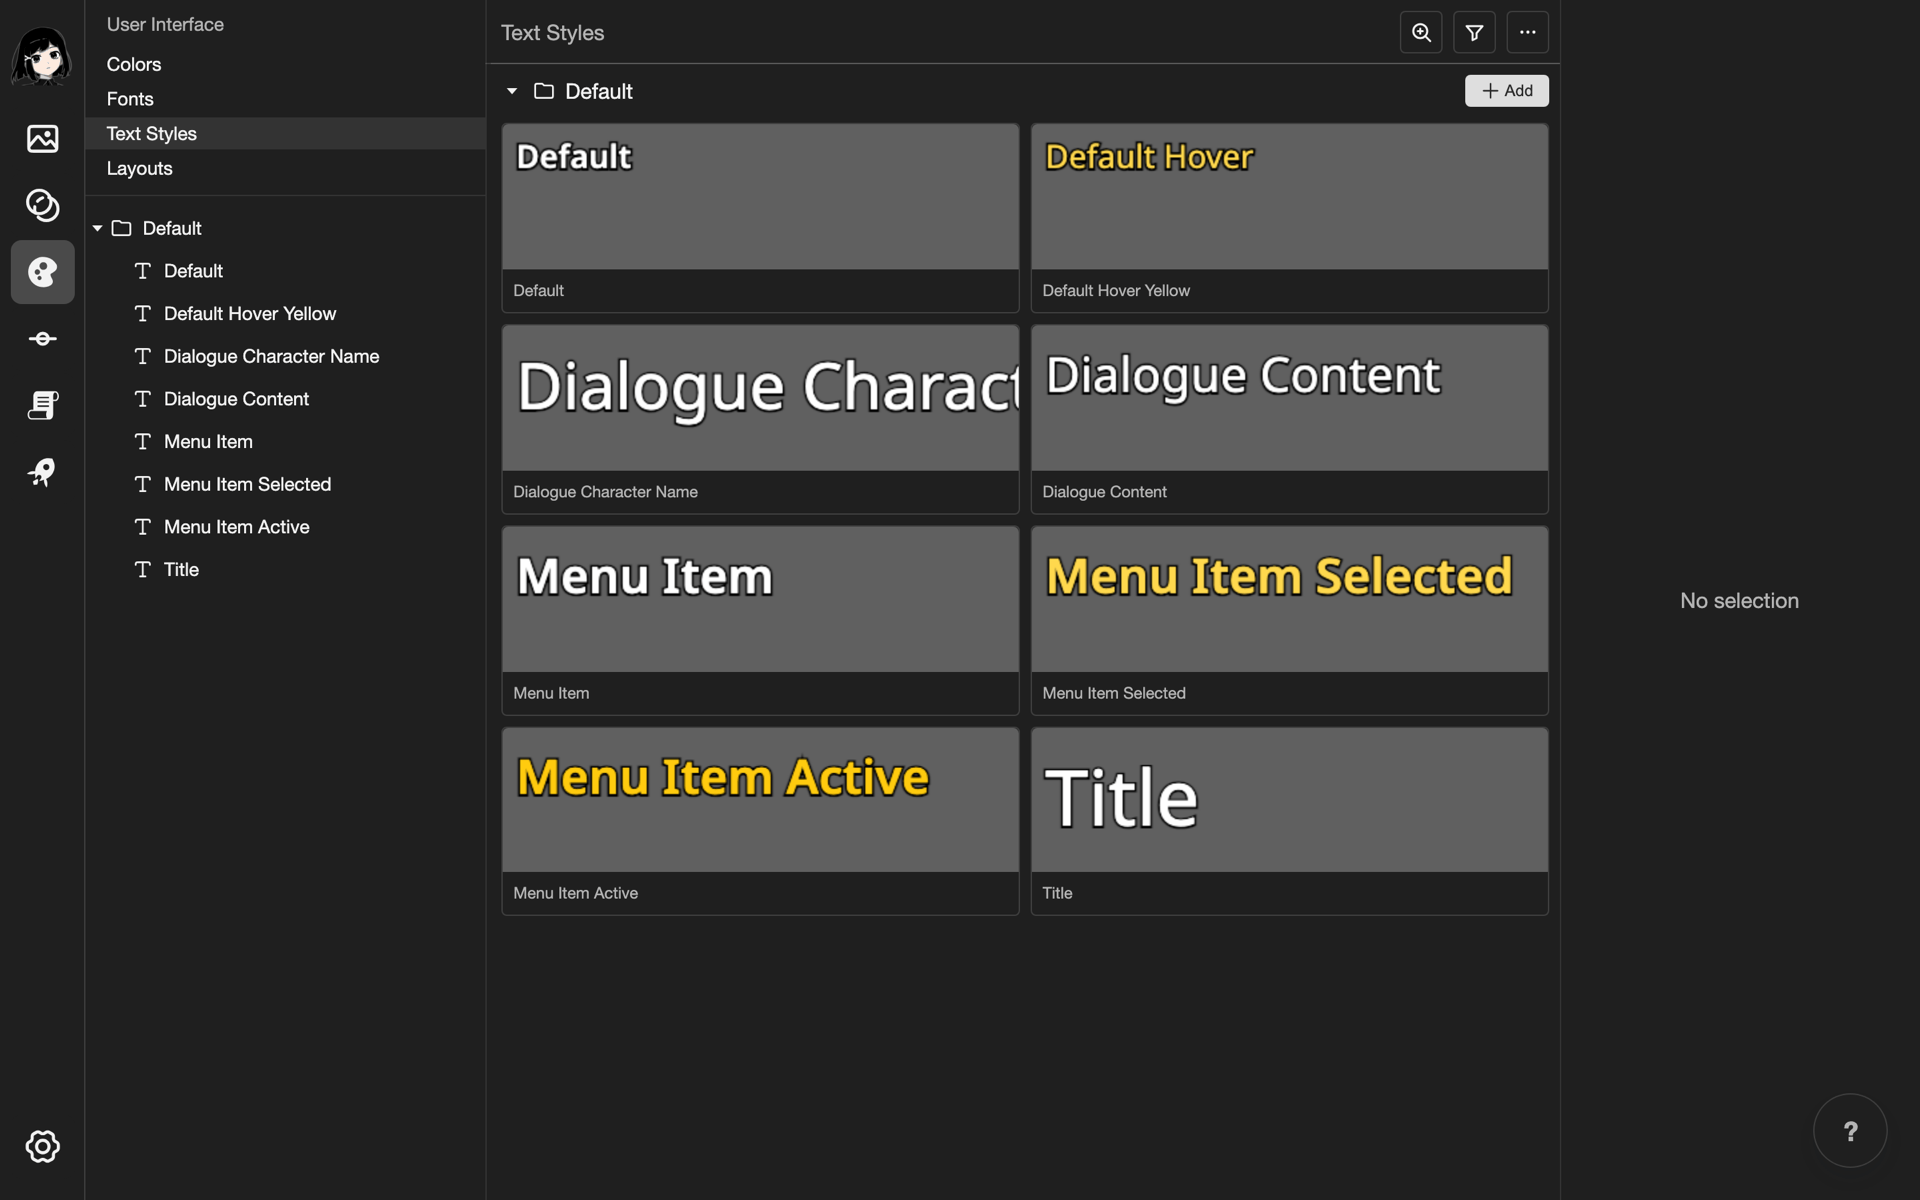
The whole Text Styles page on a phone. The Default folder shows 8 text styles in 2 columns. The Add button is at the top right. The bottom menu has Assets selected. The whole Text Styles page on desktop. The User Interface list and the file explorer are on the left. The Default folder, with 8 text styles, is in the middle. The Add button is at the top right of the folder. The details panel on the right says No selection.

How colors, fonts, and text styles work together

  1. Colors: The colors your text can use. See Colors.
  2. Fonts: The font files for your text. See Fonts.
  3. Text styles: This page. A text style uses one font and one color from the pages above.
  4. Layouts: The screens of your visual novel. A layout uses a text style for its text.

Open the Text Styles page

  1. Open the User Interface pages.

    • Phone or tablet: Tap Assets at the bottom of the screen.
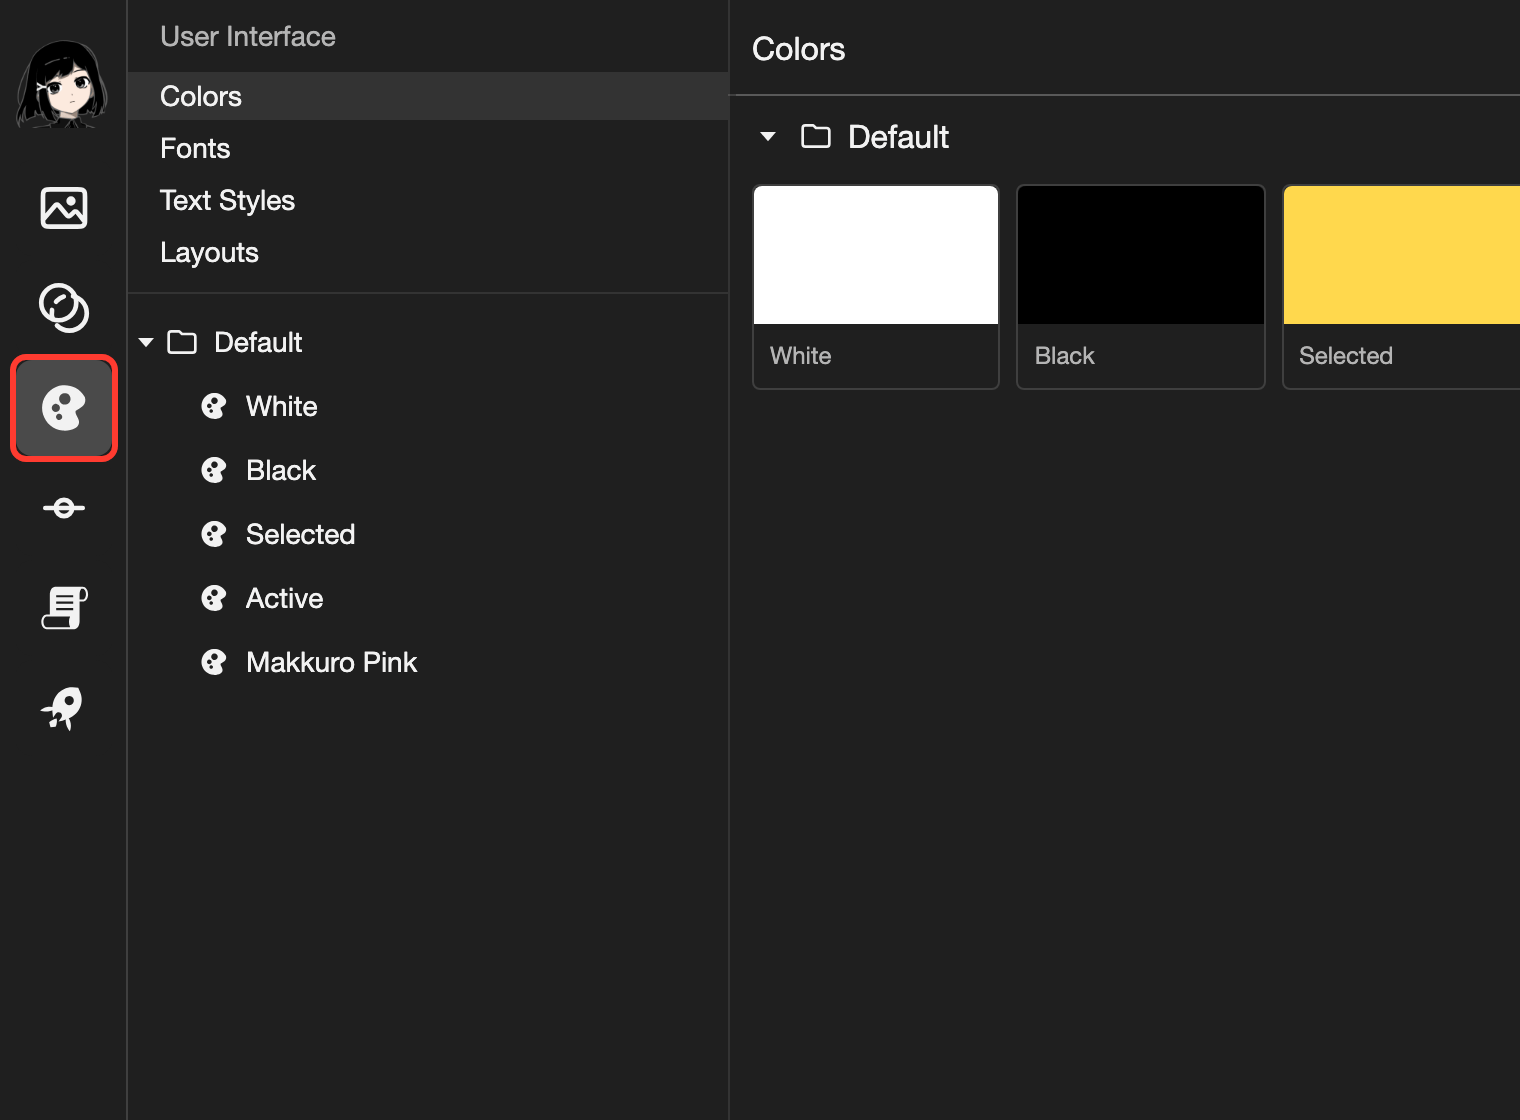
    • Desktop: On the far left, click the User Interface button. It looks like a palette.
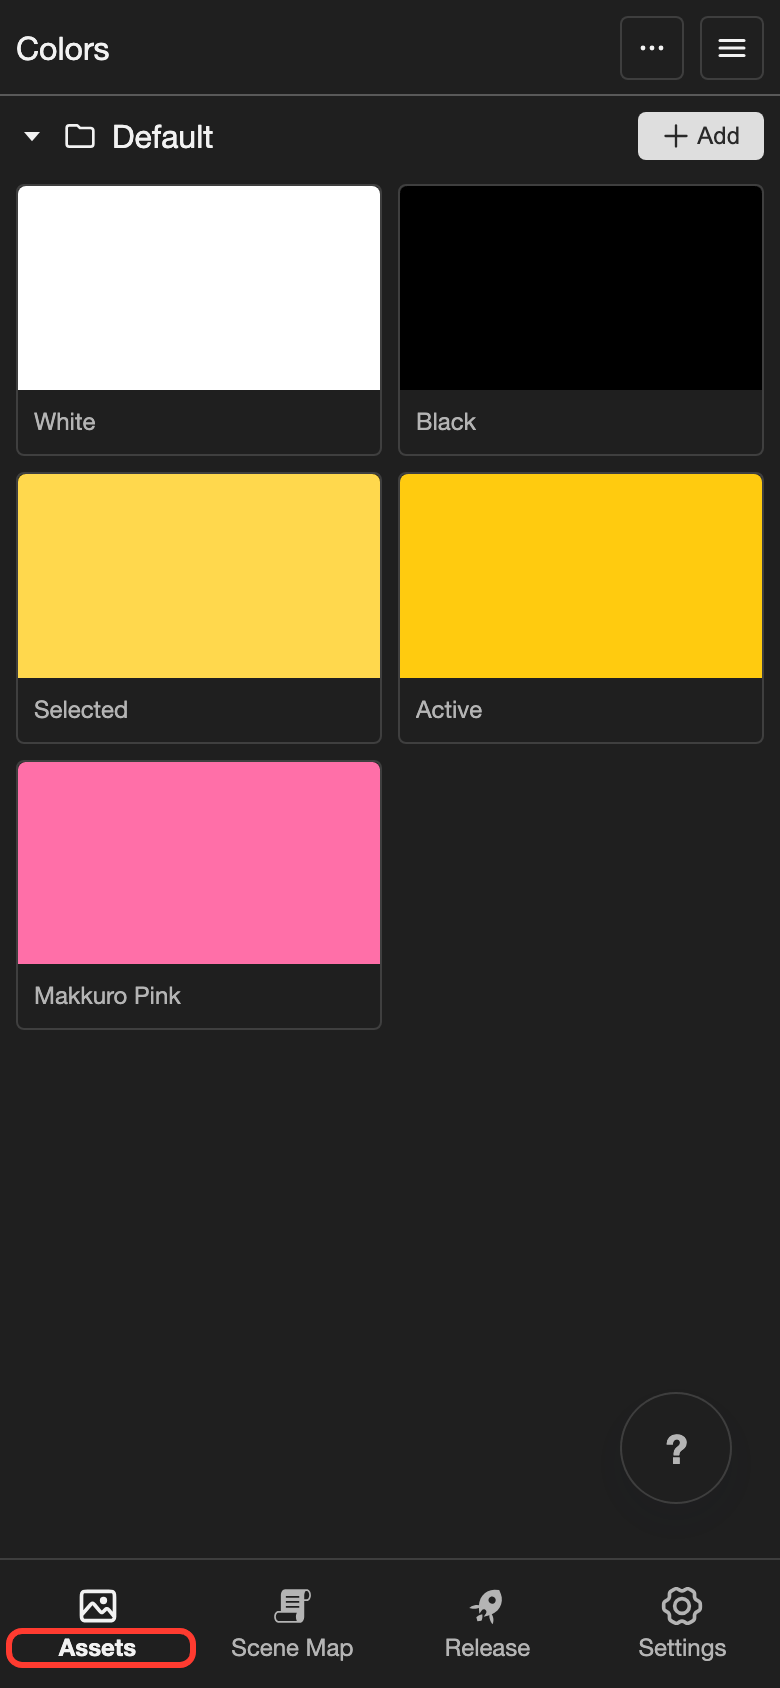
    Colors page on a phone. Assets at the bottom of the screen is marked. Colors page on desktop. The User Interface button on the far left, which looks like a palette, is marked.
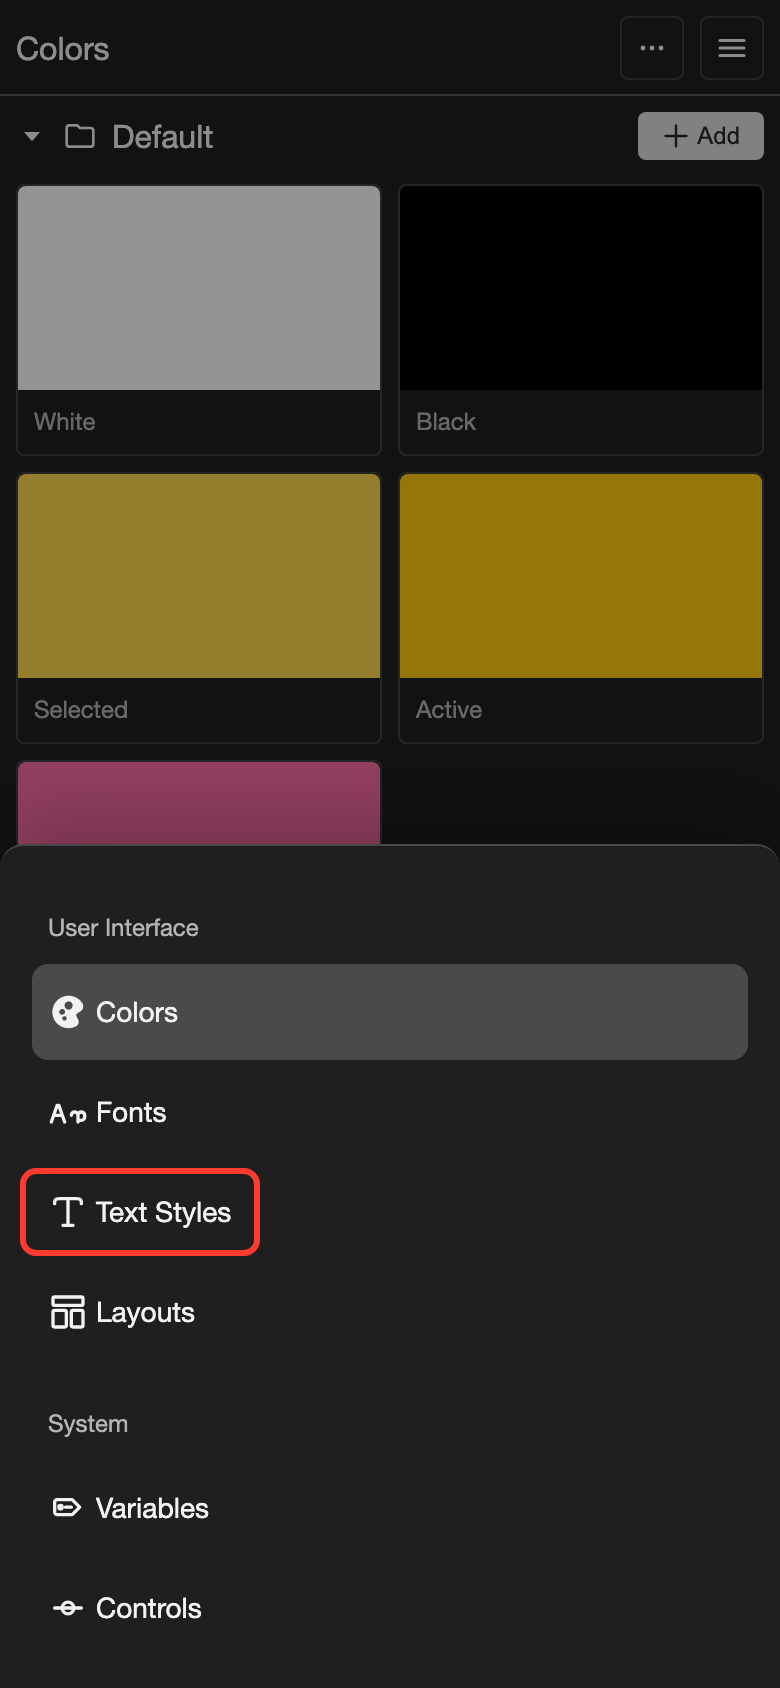
  2. Tap Text Styles under User Interface.
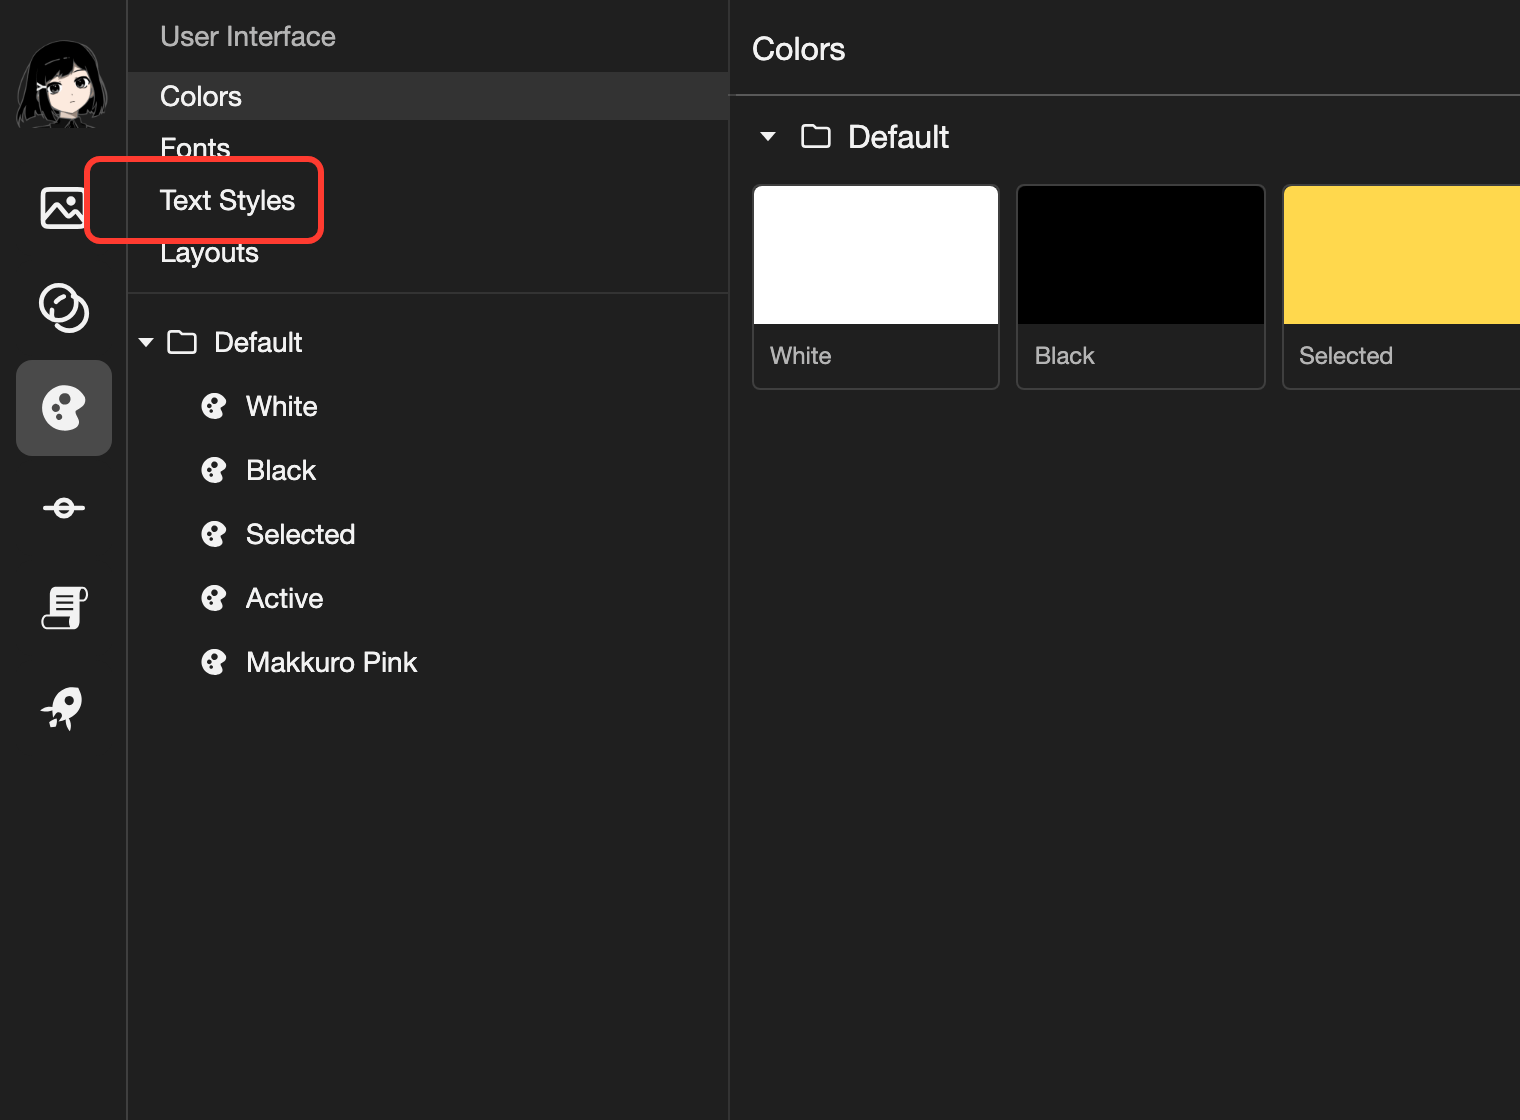
    The list of pages on a phone. Text Styles under User Interface is marked. The list of pages on desktop. Text Styles under User Interface is marked.

The Text Styles page opens.

Before you start

You need at least one font and one color in your project. Add them first.

  • See Fonts to upload a font.
  • See Colors to add a color.

Create a text style

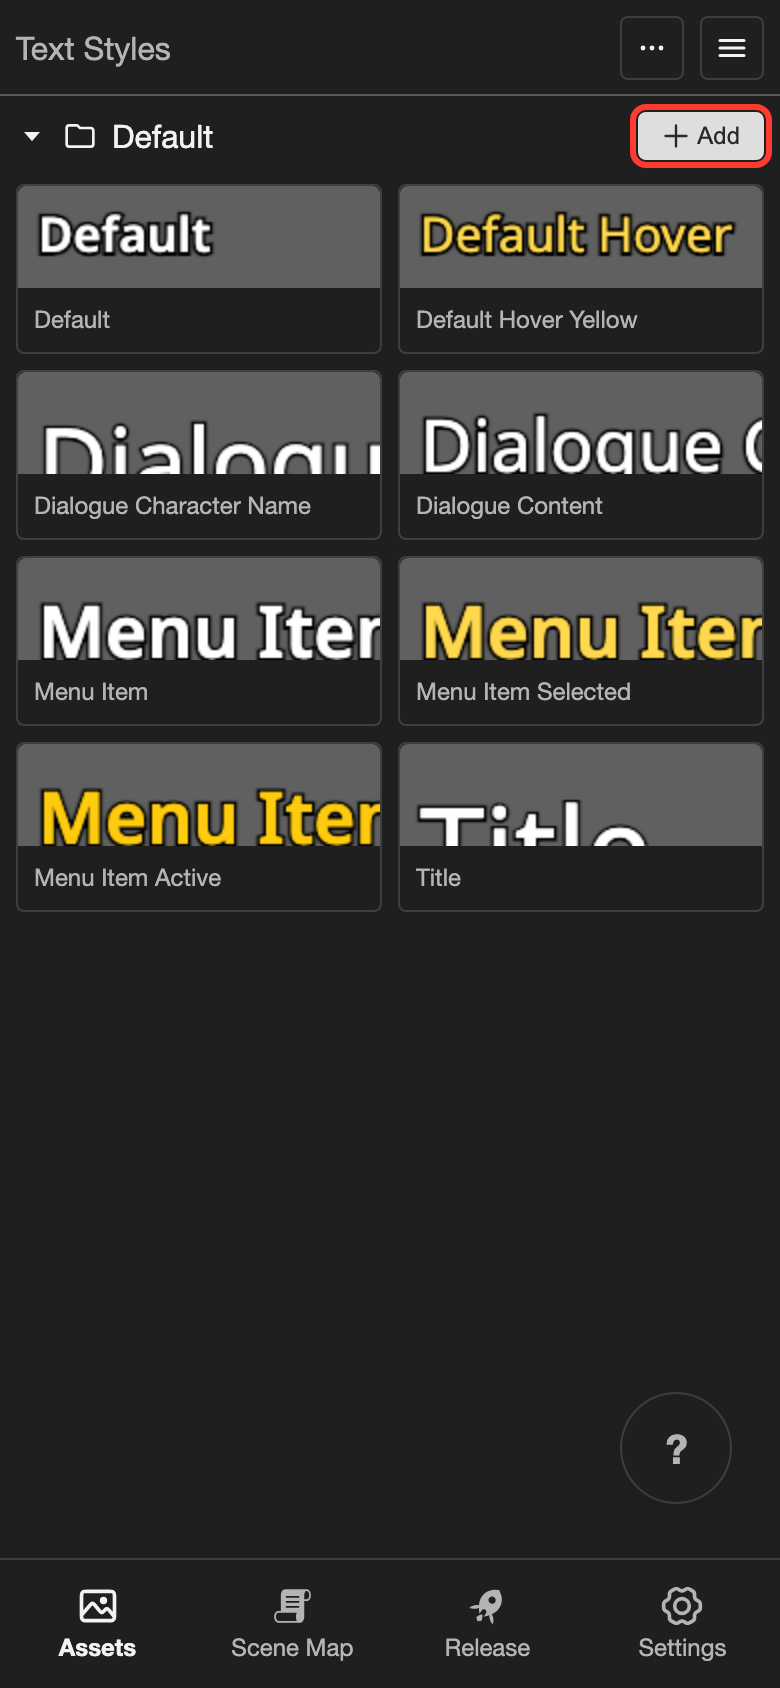
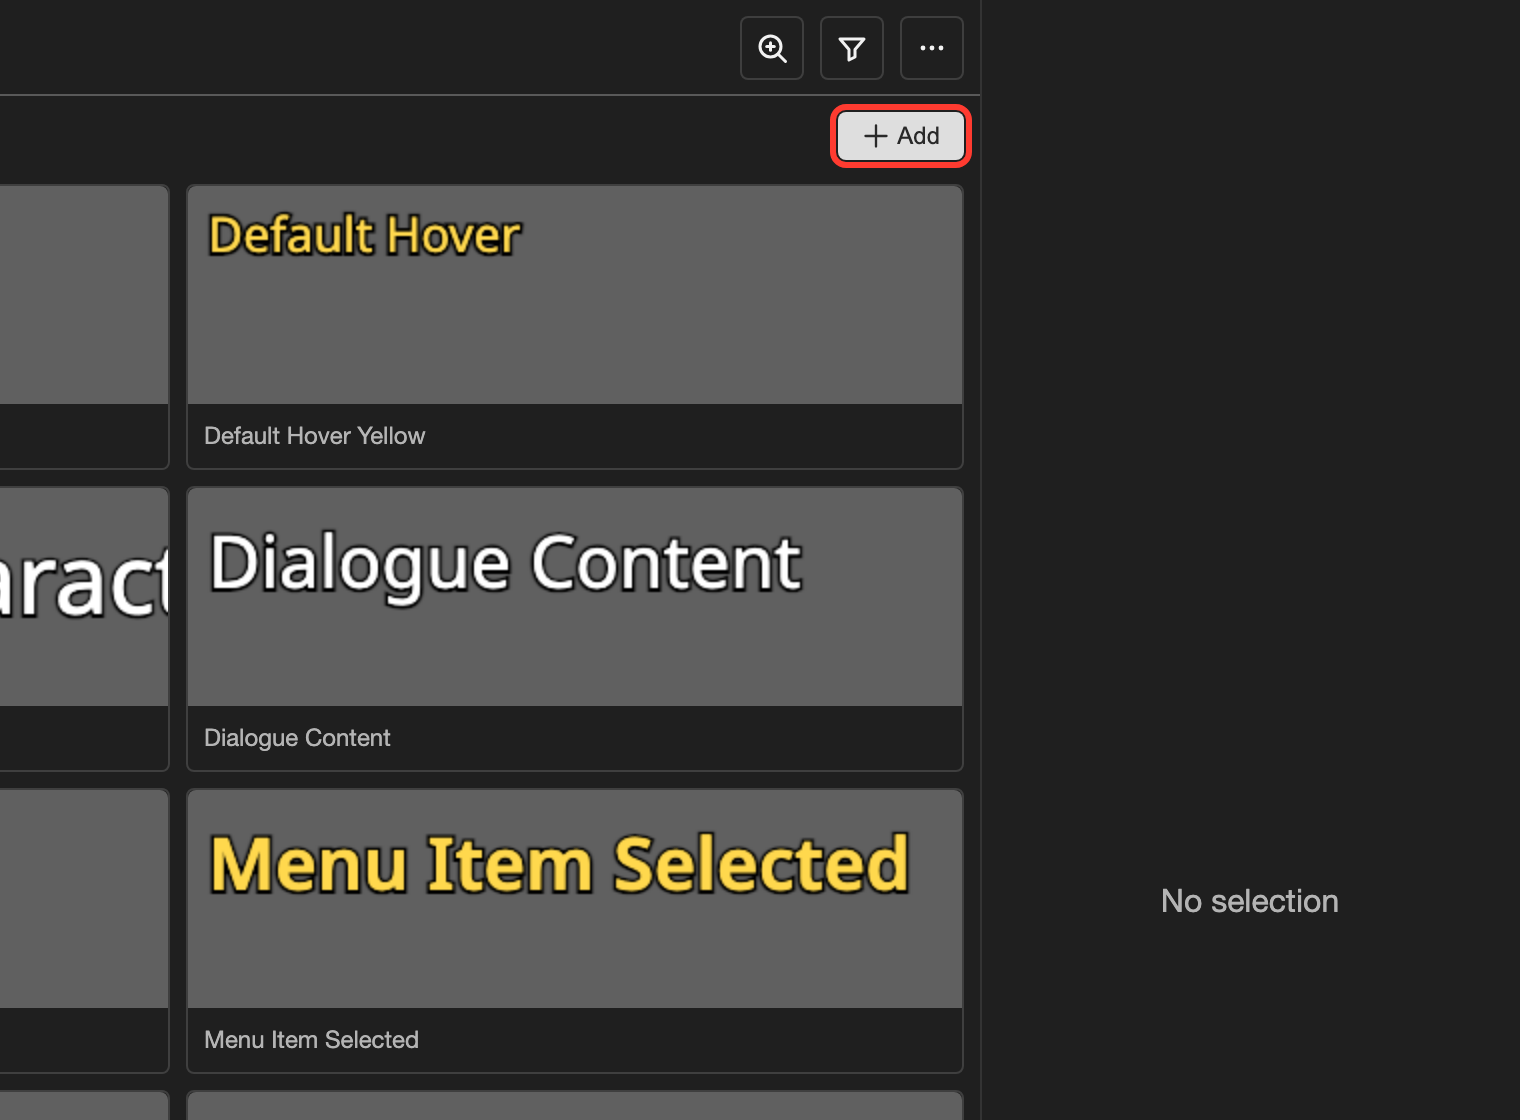
  1. Tap Add.

    The Text Styles page on a phone. The Add button at the top of the list is marked. The Text Styles page on desktop. The Add button at the top of the list is marked.

    The Add Text Style box opens.

  2. Type a name in Name. For example, Makkuro Dialogue.
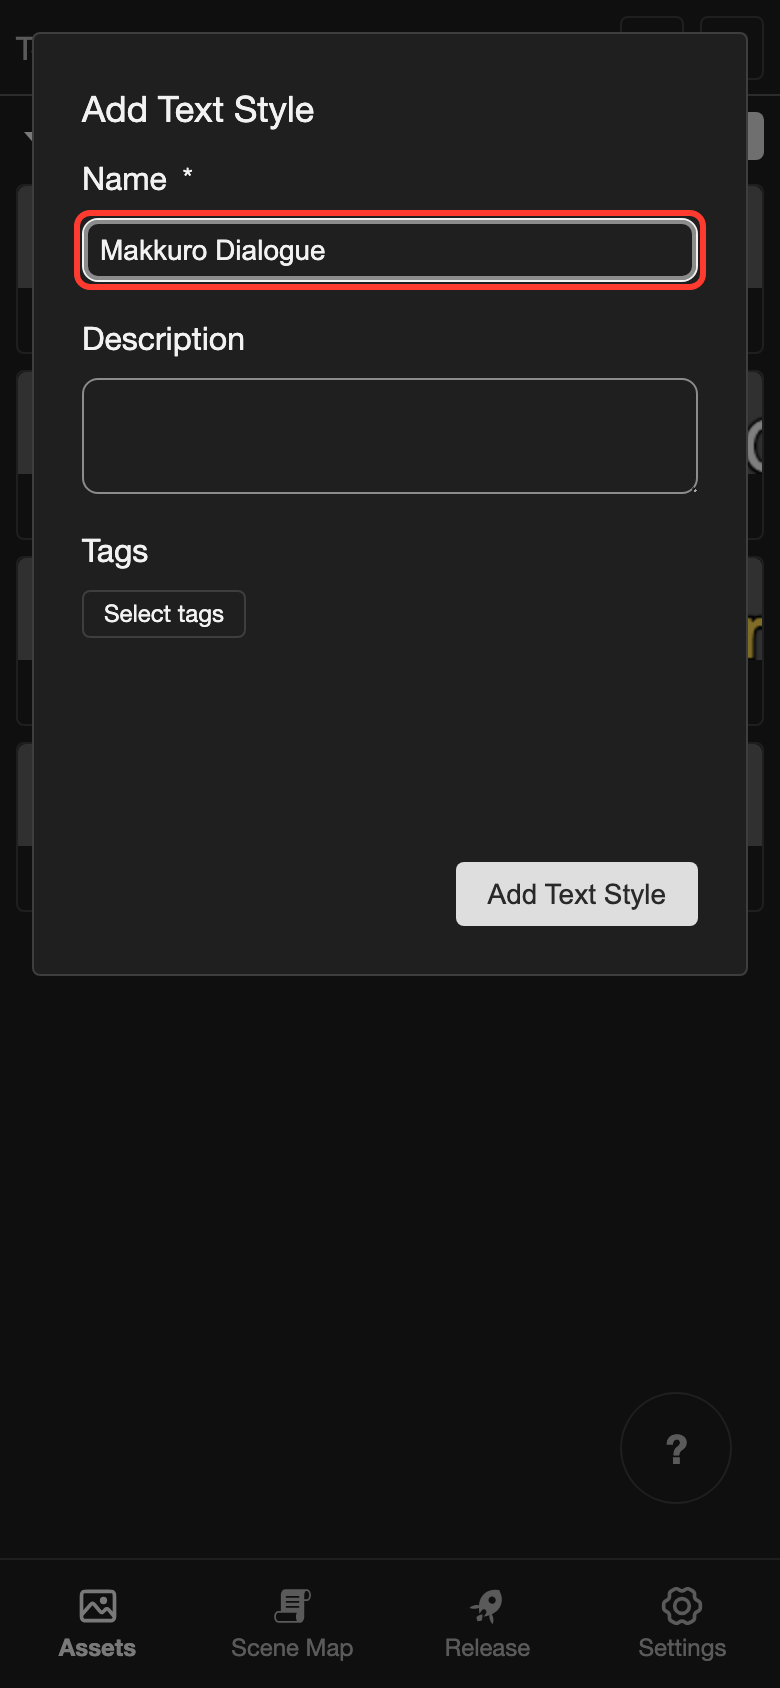
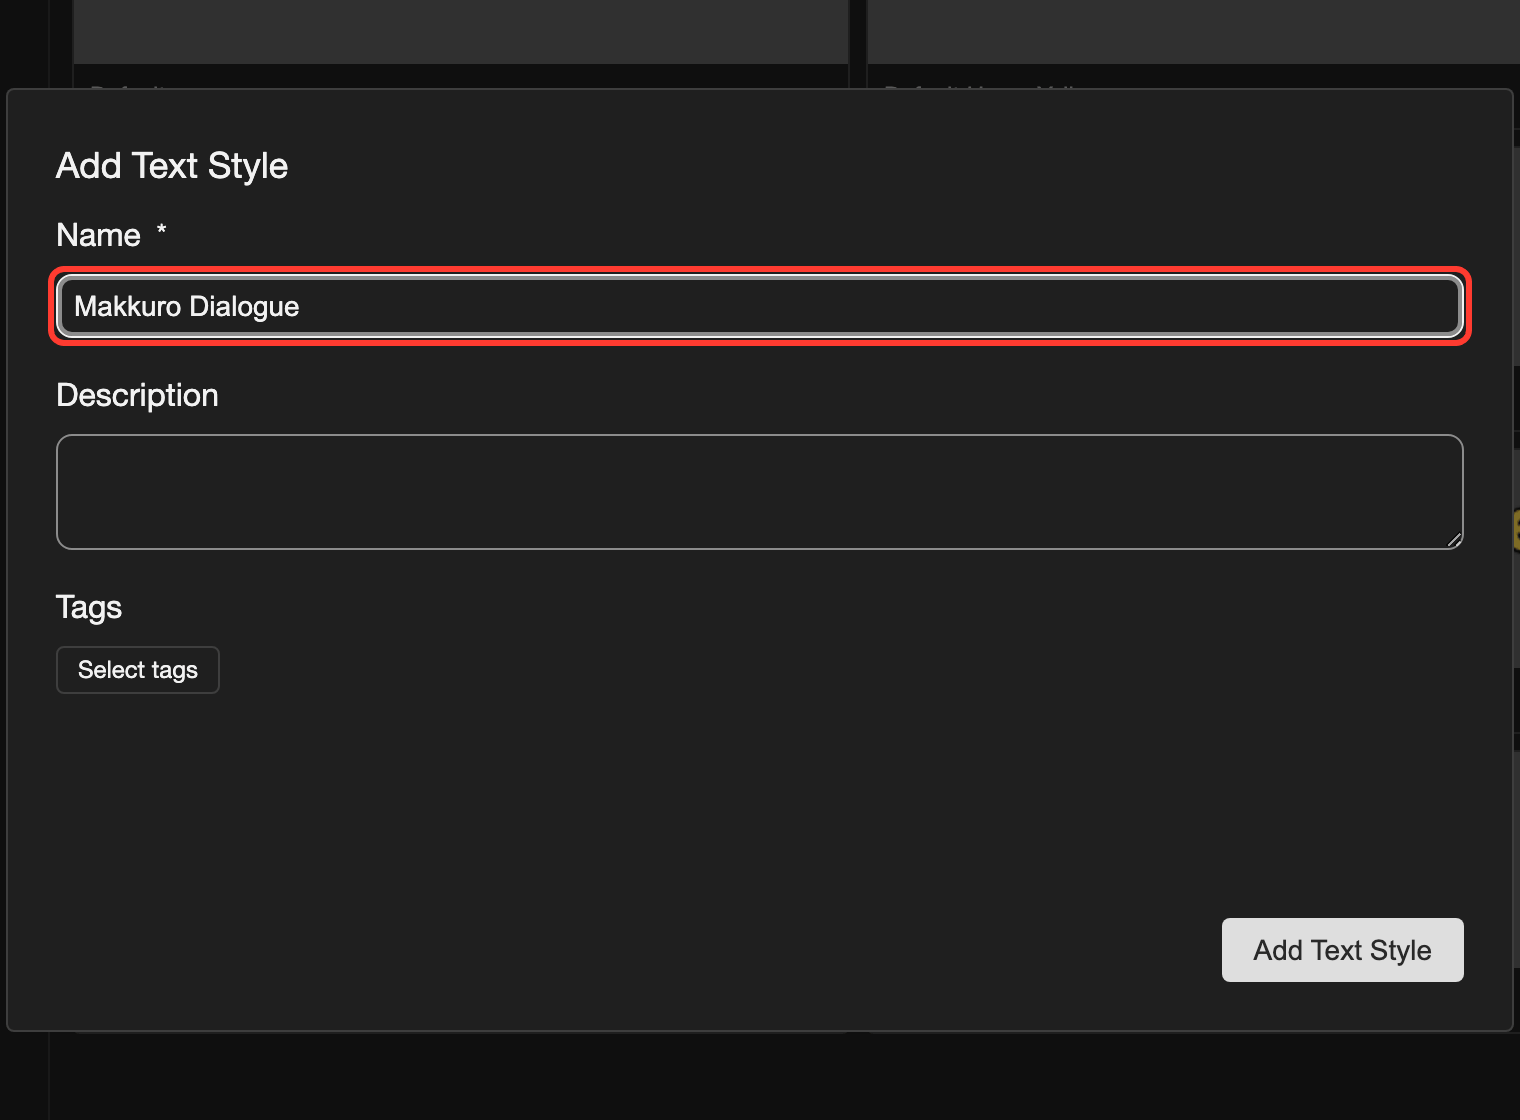
    The Add Text Style box on a phone with Makkuro Dialogue typed in the Name field. The Name field is marked. The Add Text Style box on desktop with Makkuro Dialogue typed in the Name field. The Name field is marked.
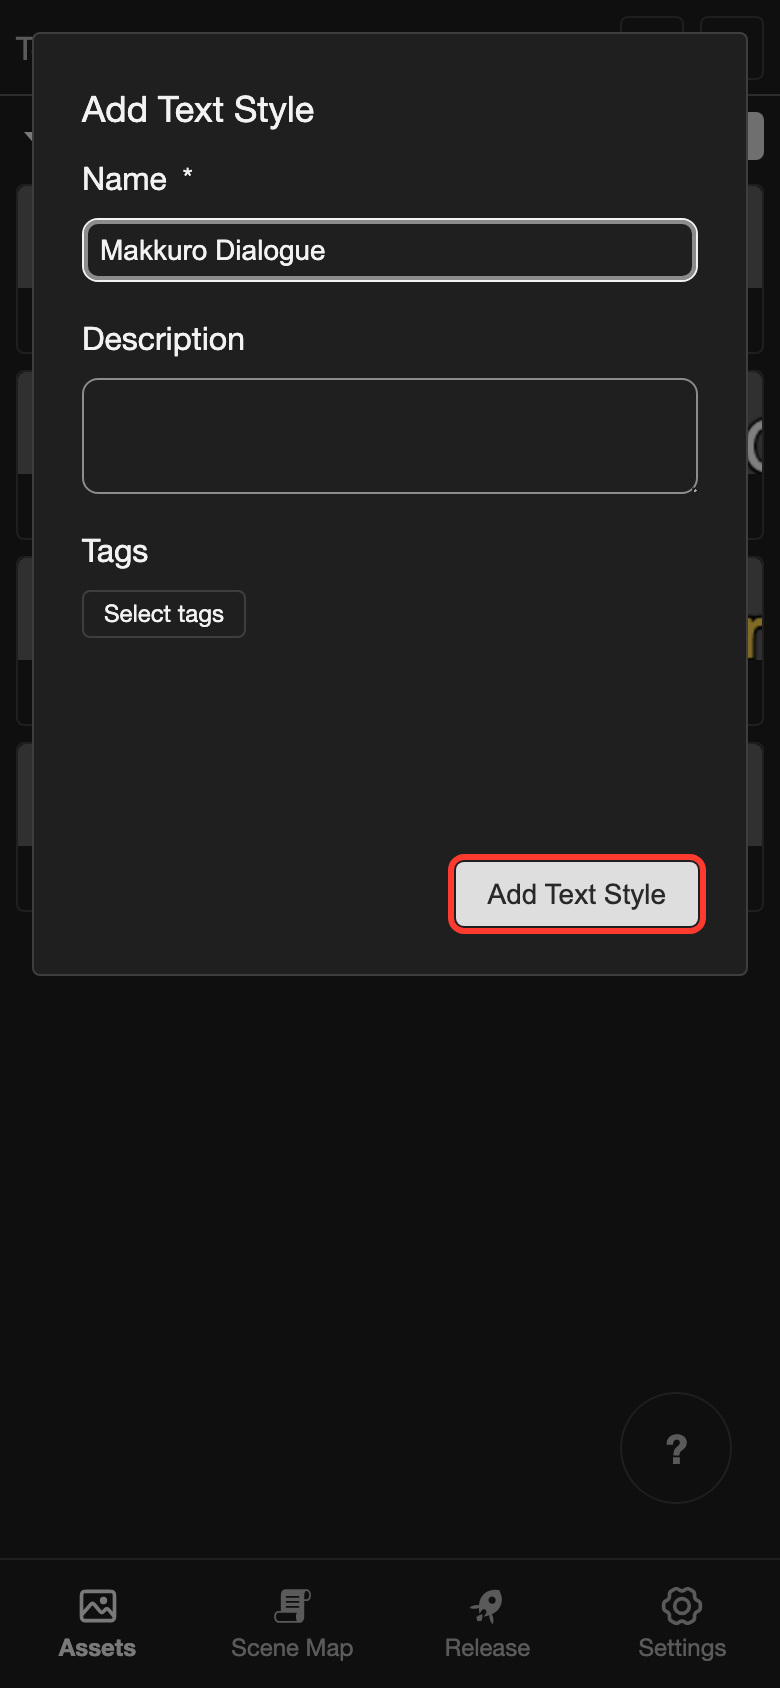
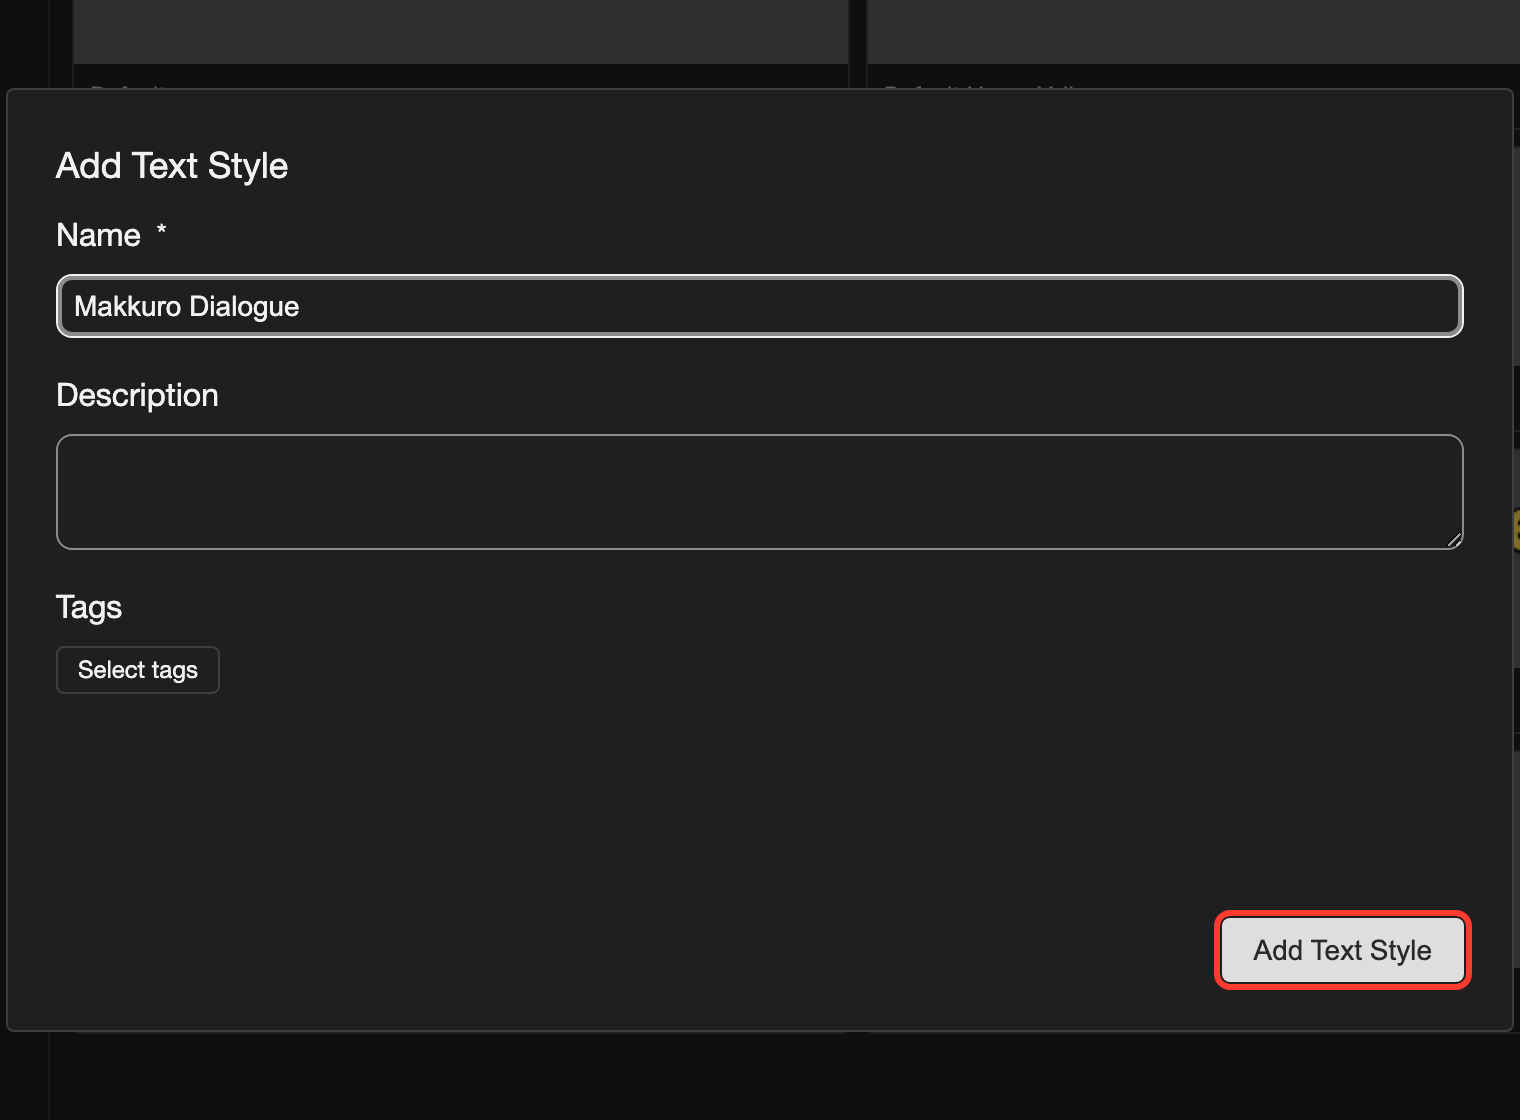
  3. Tap Add Text Style.

    The Add Text Style box on a phone. The Add Text Style button is marked. The Add Text Style box on desktop. The Add Text Style button is marked.
    The text style editor opens next.

The text style editor opens. Here you set how the text looks. Changes save as you go, so there is no Save button.

Set the font

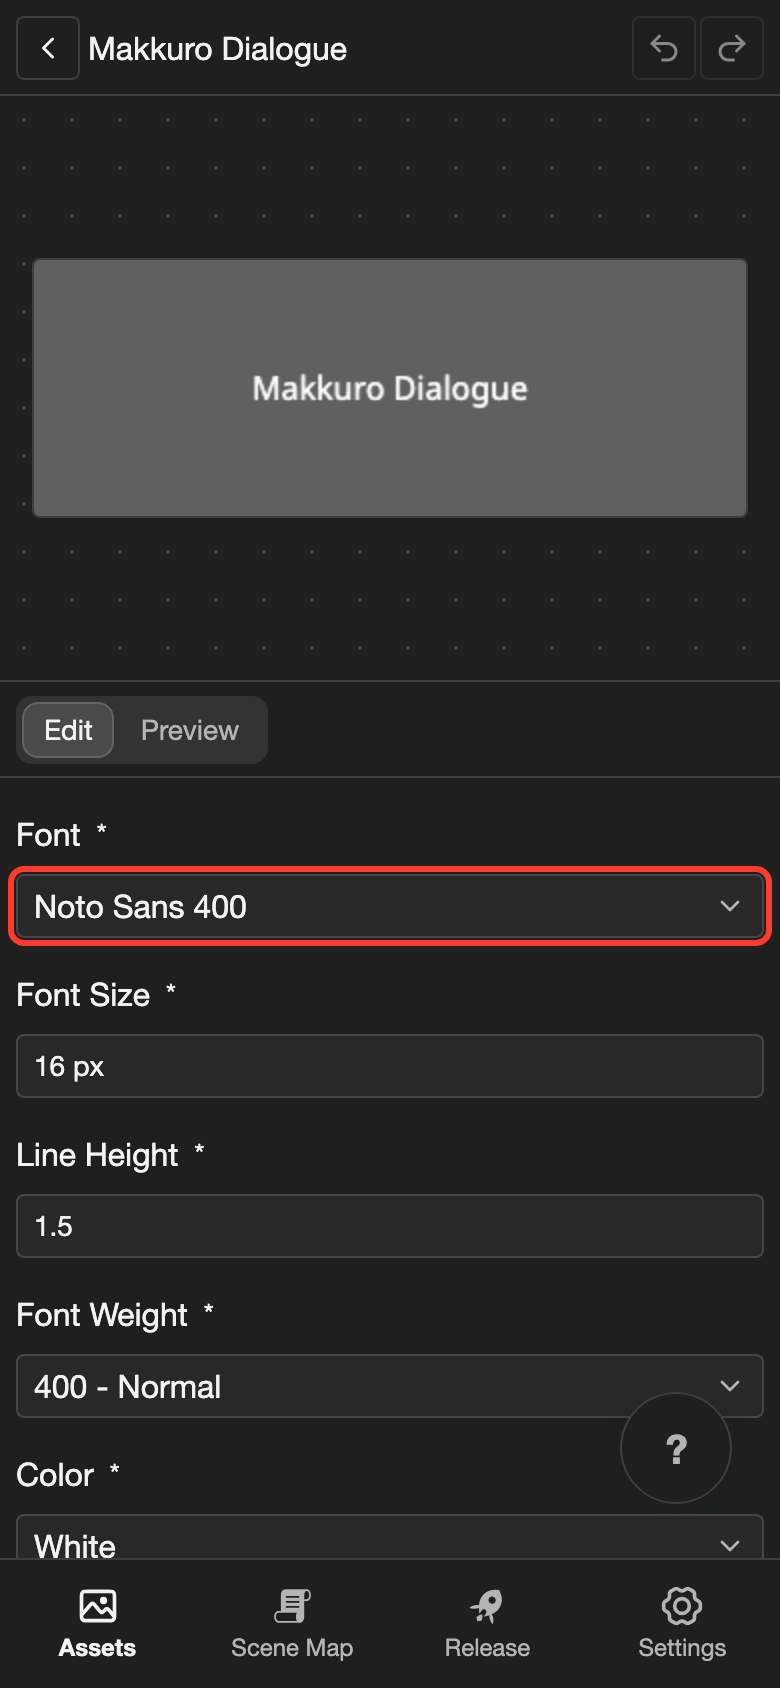
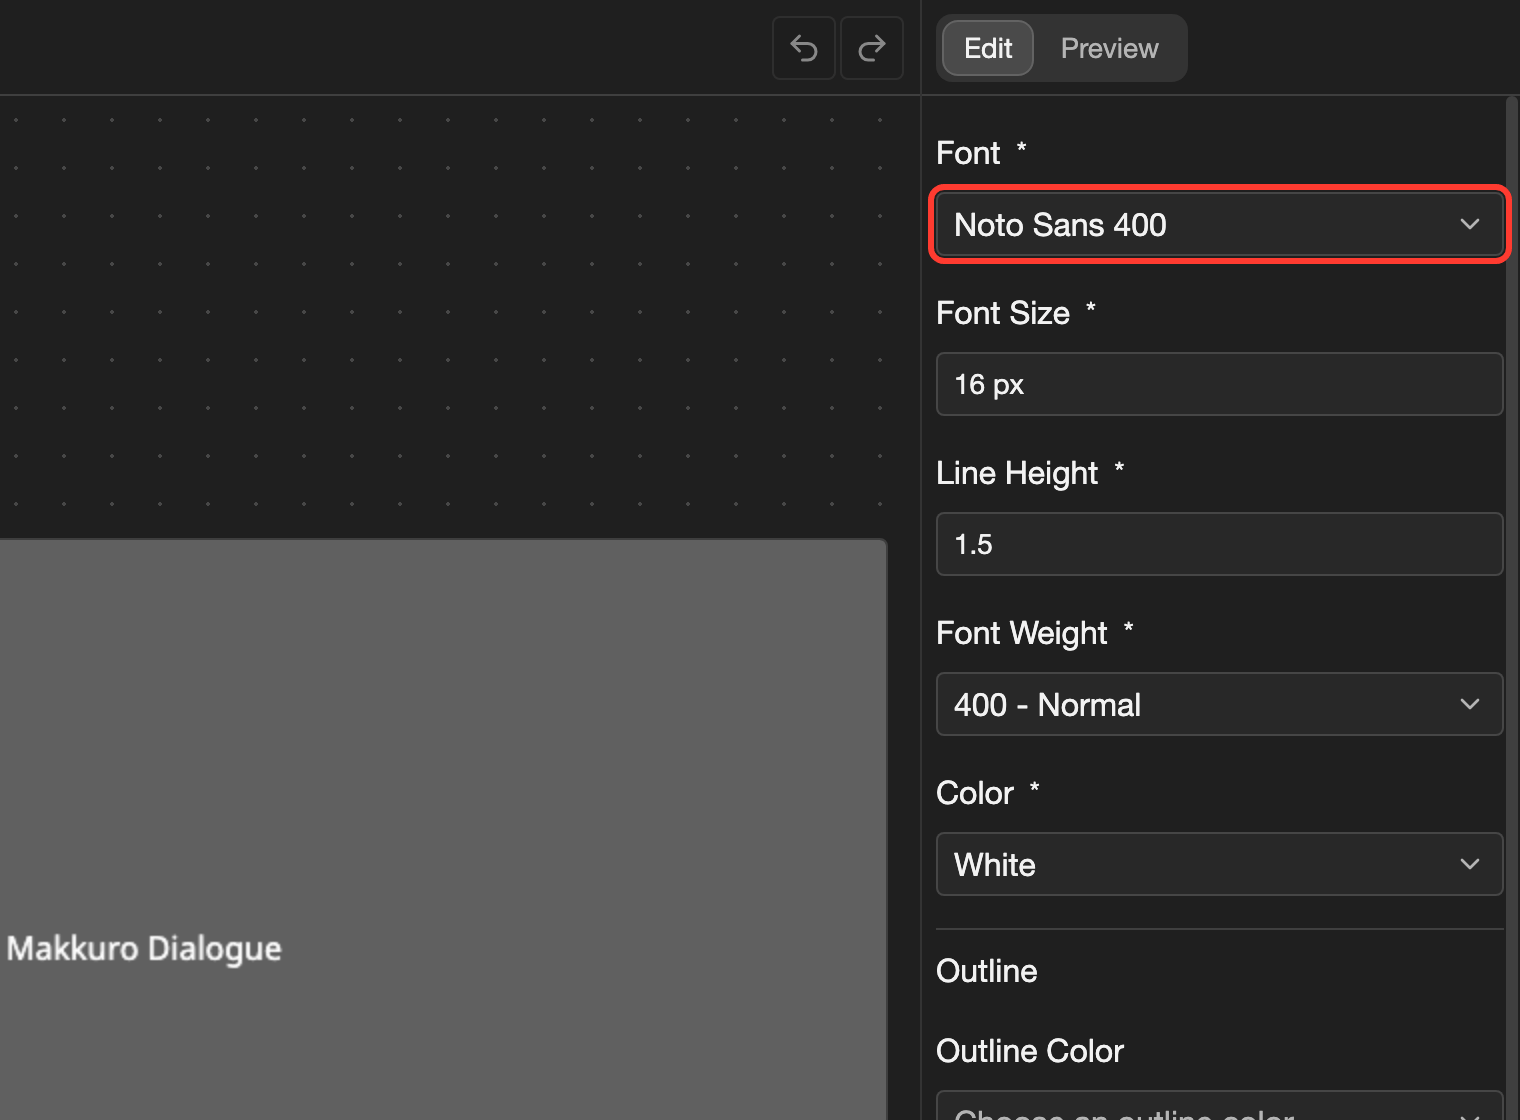
  1. Tap Font.

    The text style editor on a phone. The Font field is marked. The text style editor on desktop. The Font field is marked.

    A list of your fonts opens.

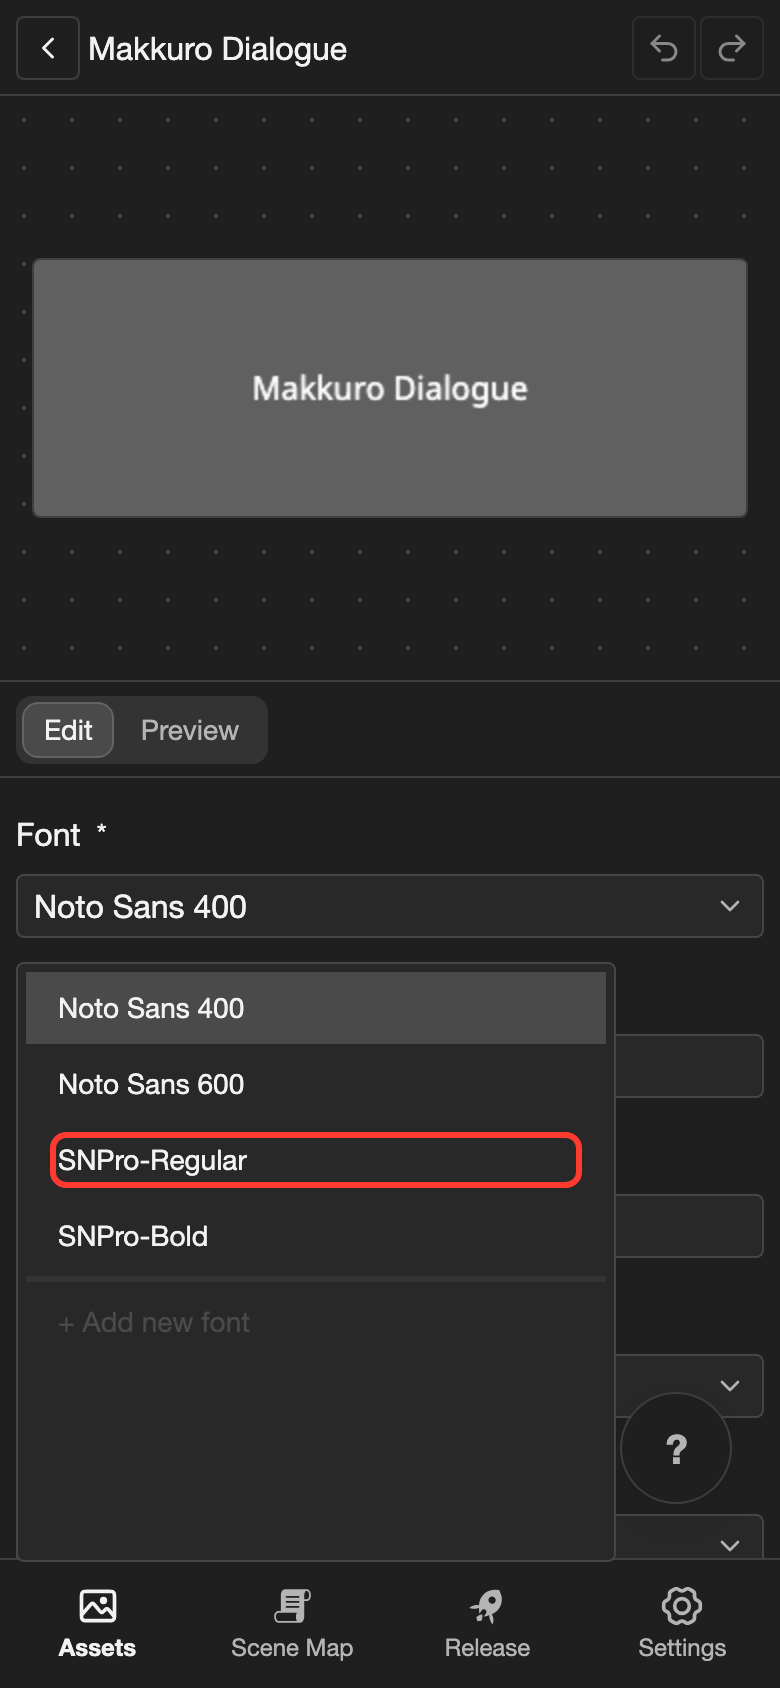
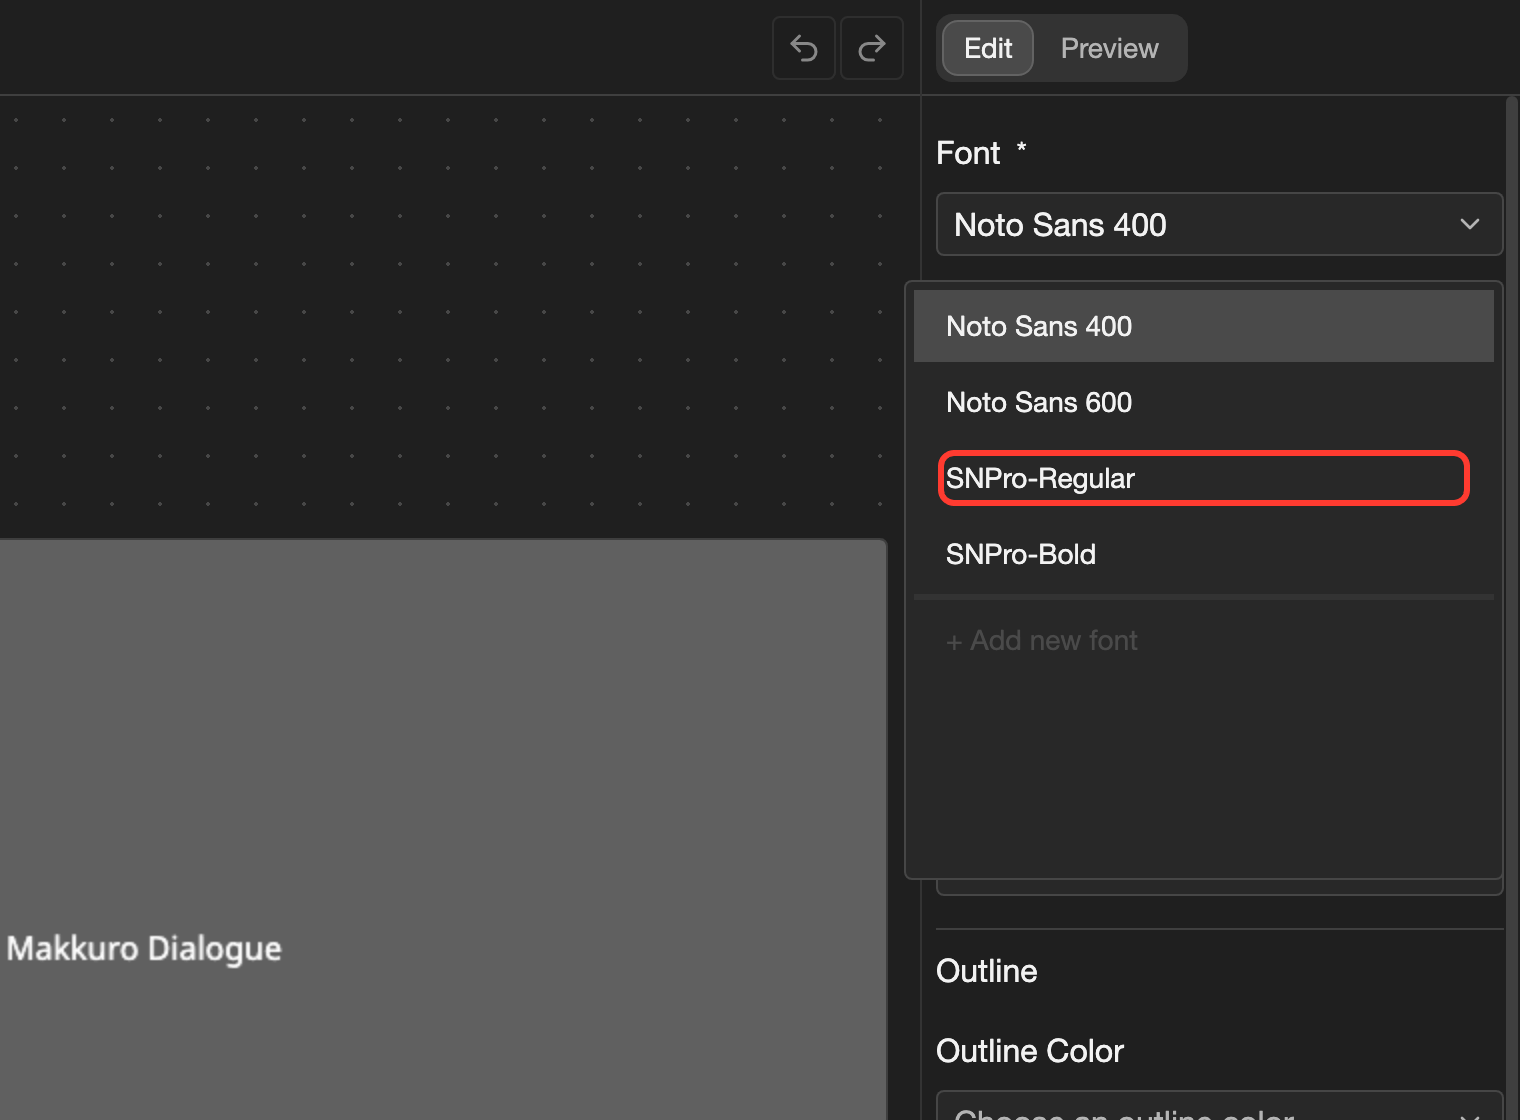
  2. Tap SNPro-Regular.

    The text style editor on a phone with the Font list open. SNPro-Regular is marked. The text style editor on desktop with the Font list open. SNPro-Regular is marked.

Set the font size

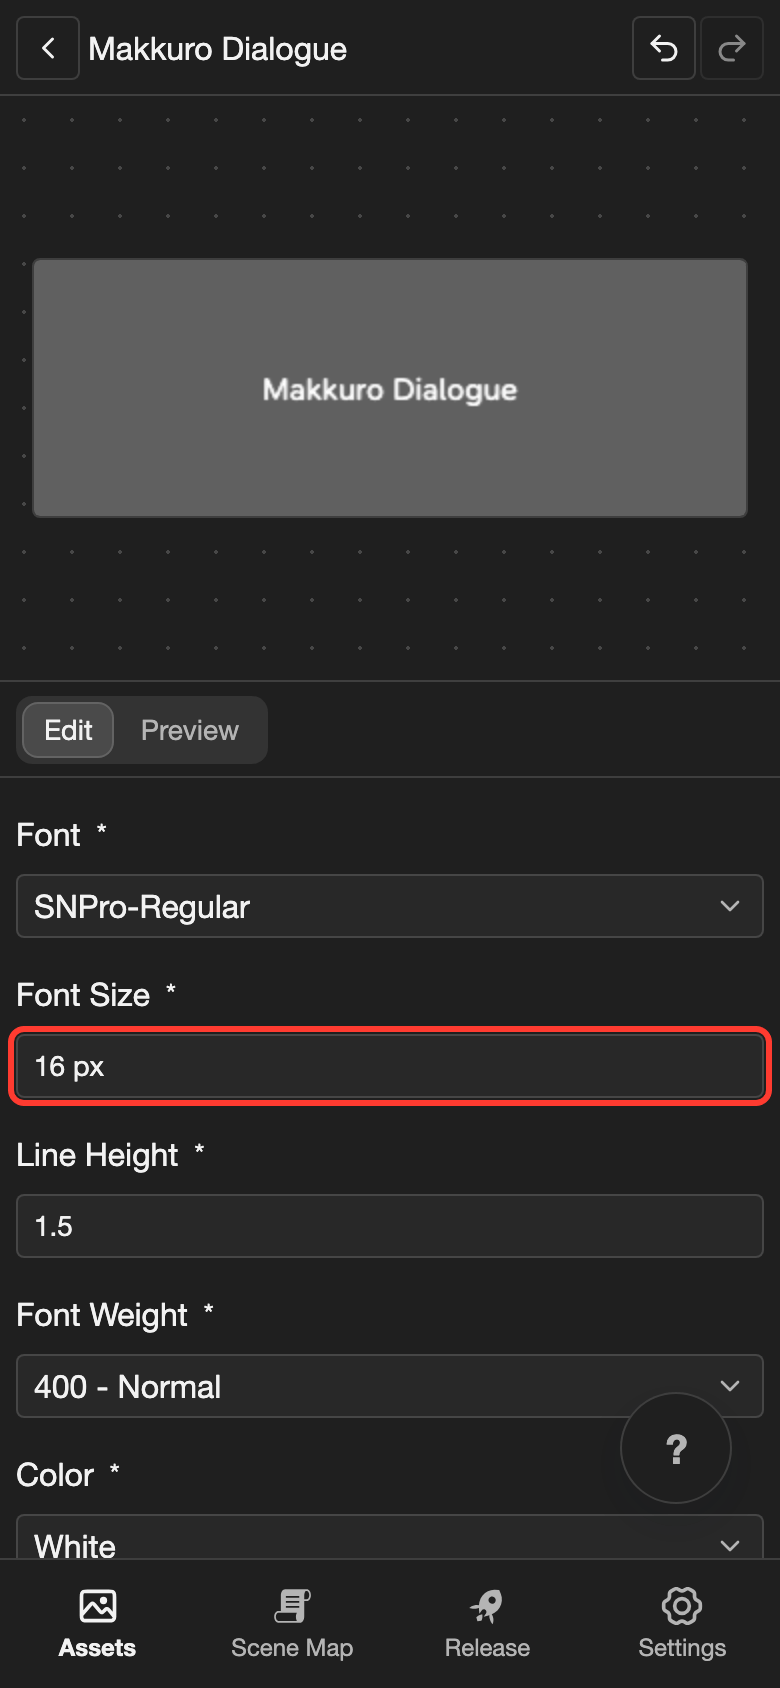
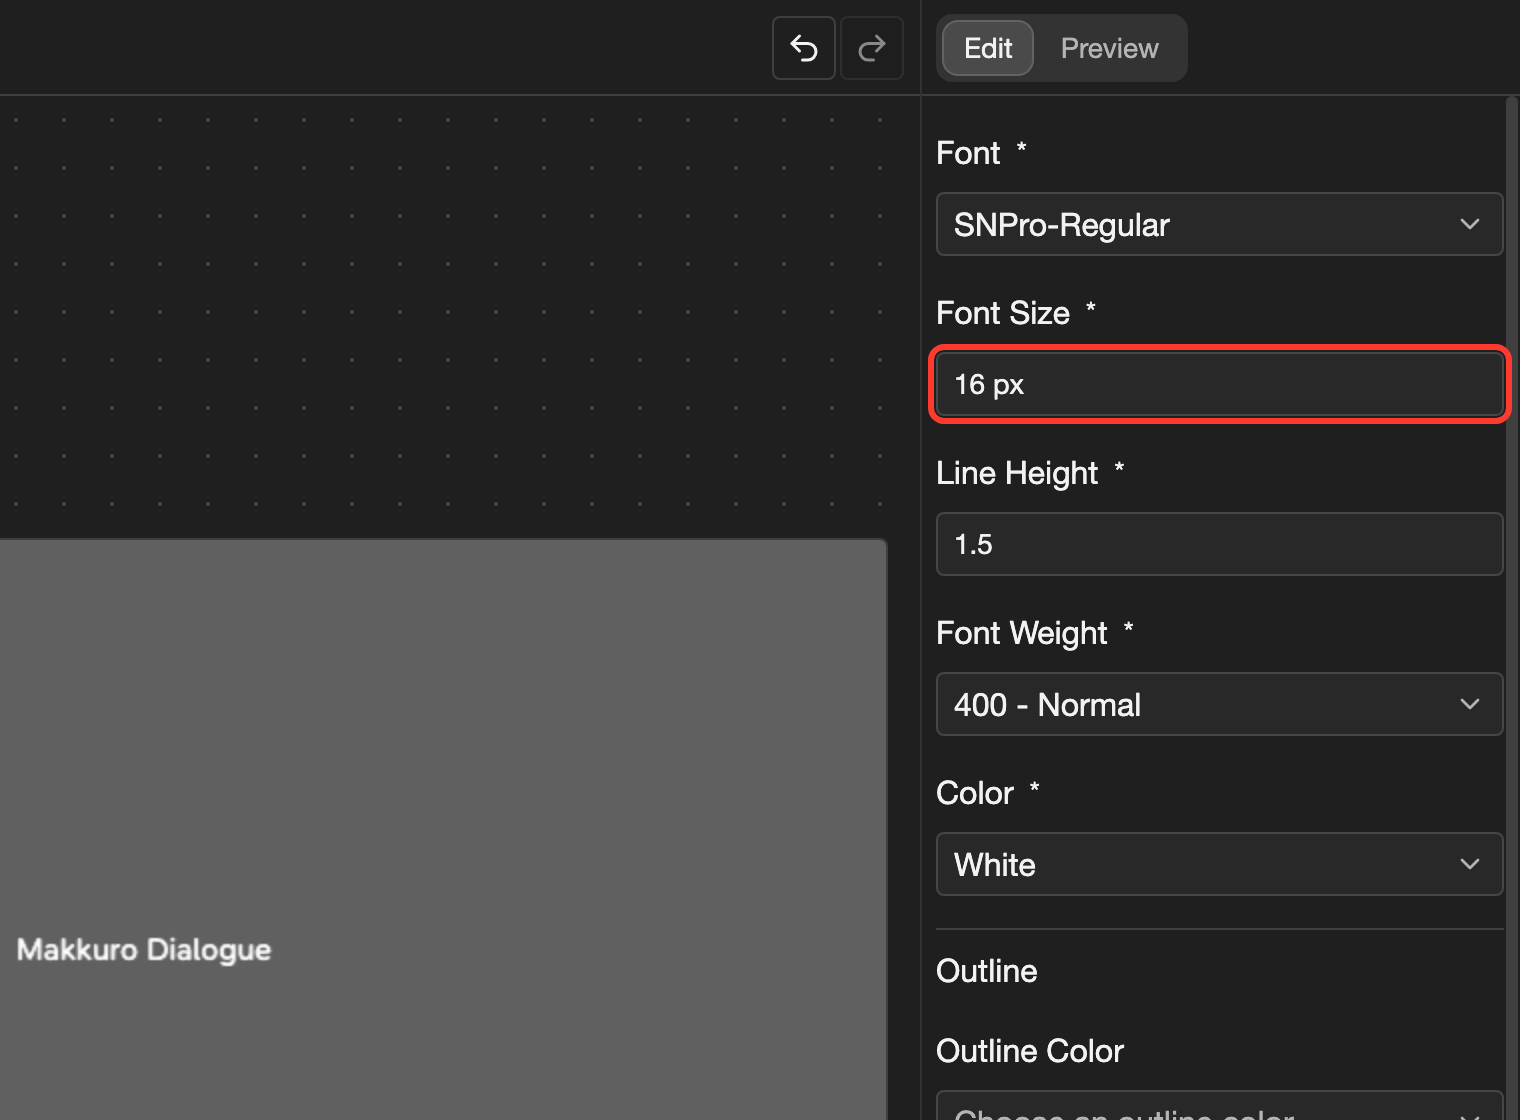
  1. Tap Font Size.

    The text style editor on a phone. The Font Size field is marked. The text style editor on desktop. The Font Size field is marked.

    A box with a slider opens.

  2. Drag the slider, or type 28 in the number box next to it. The -4, -1, +1, and +4 buttons change the size in small steps.
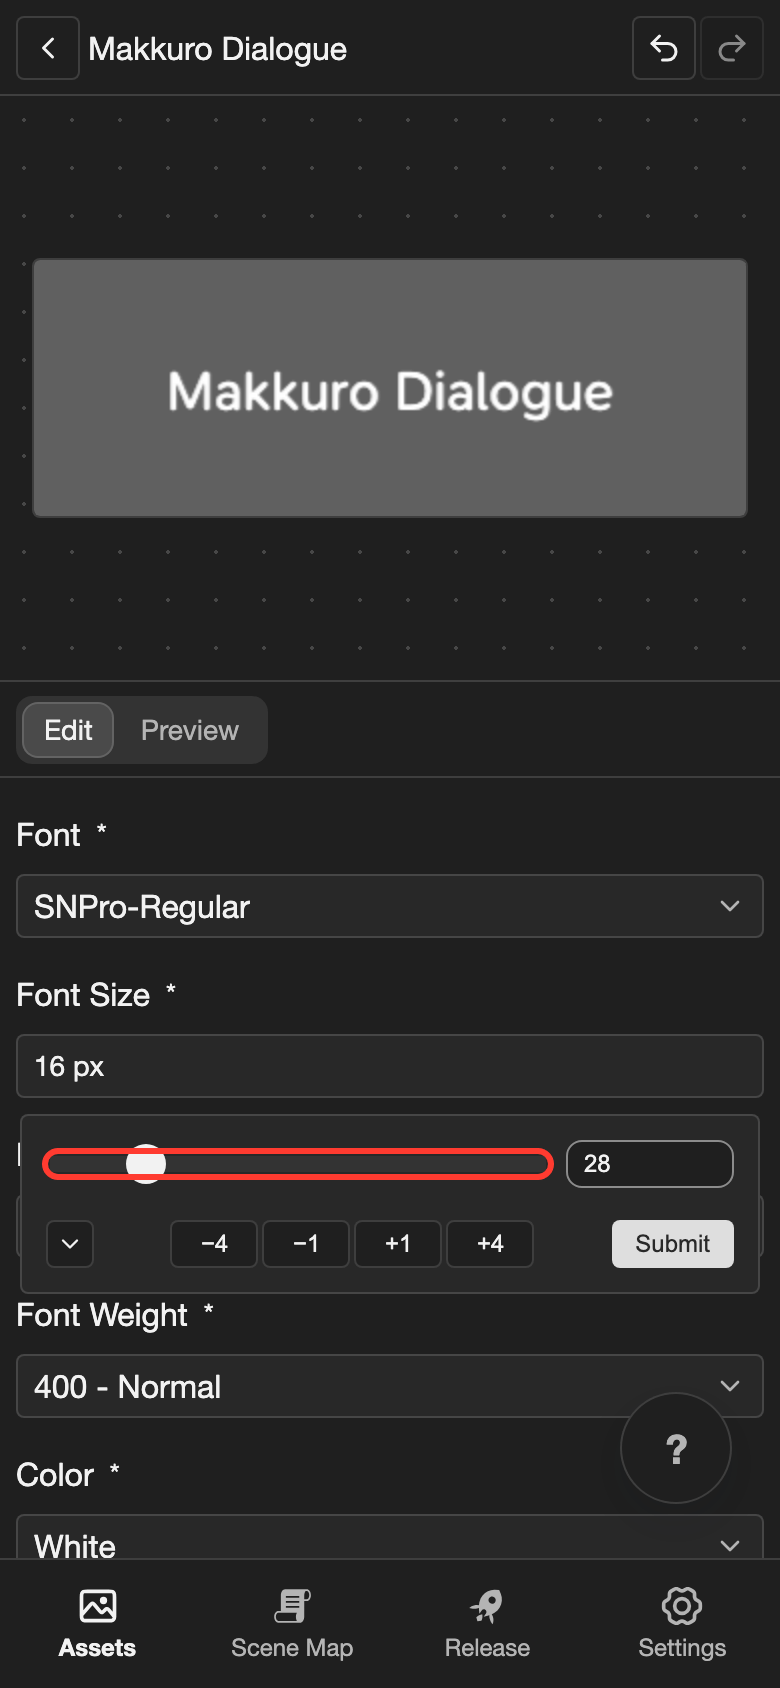
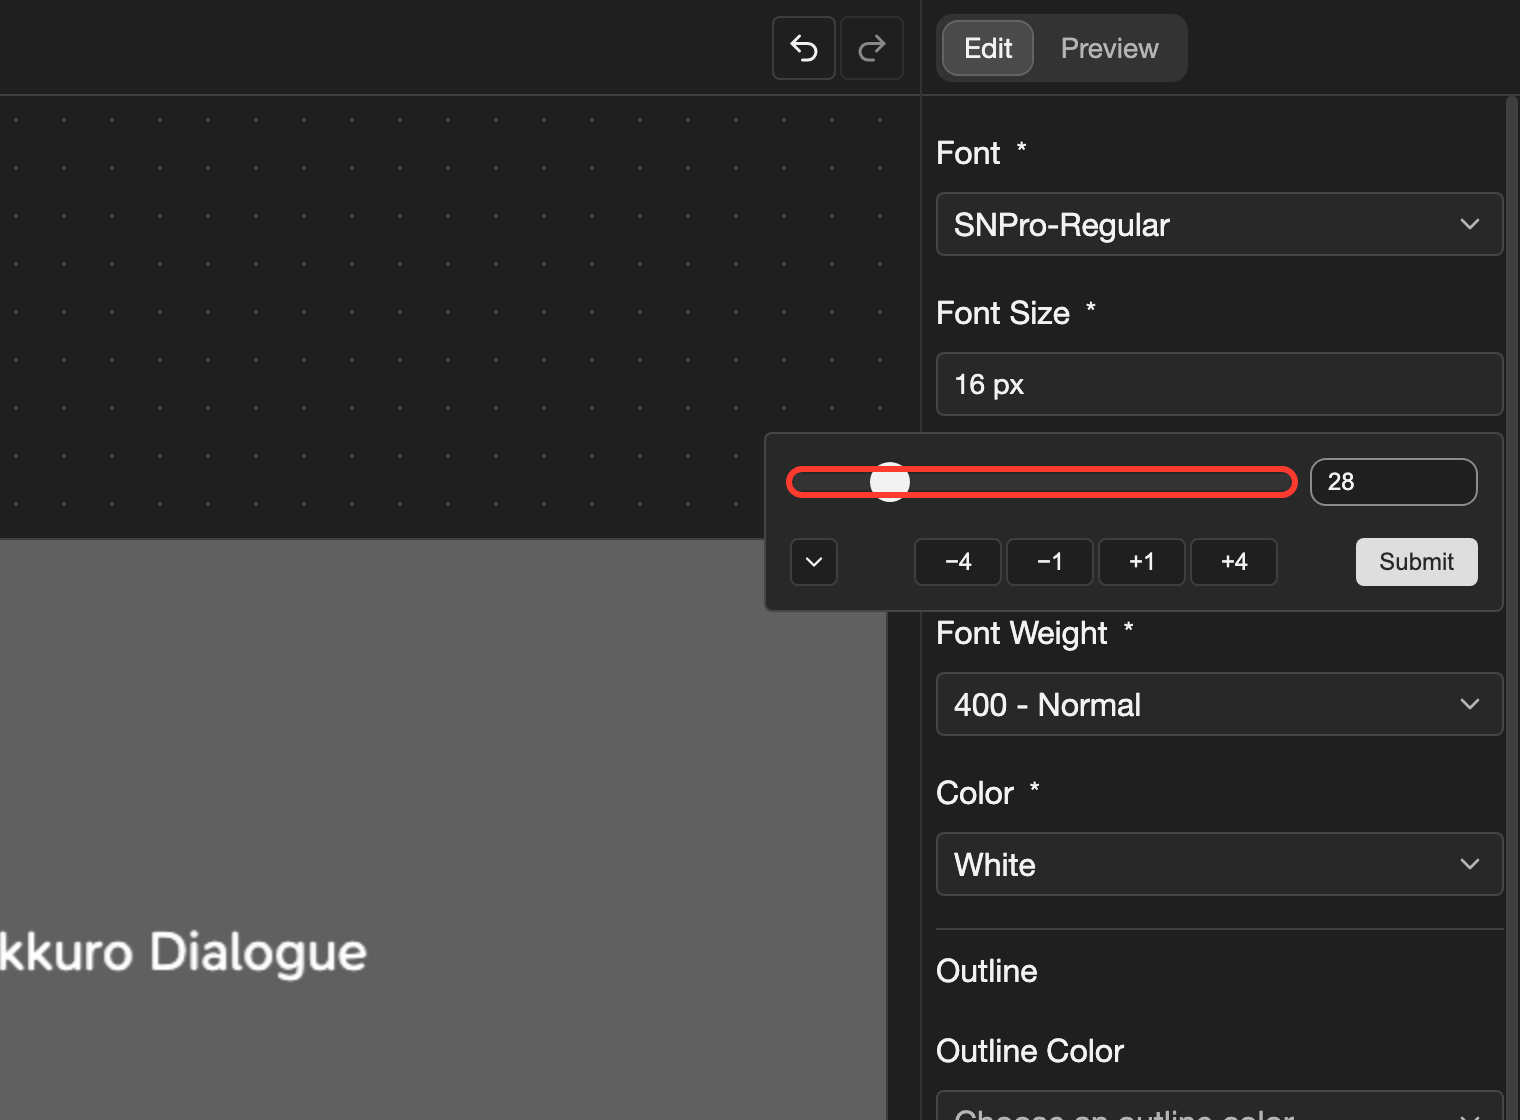
    The Font Size box on a phone with 28 px typed in. The number box is marked. The Font Size box on desktop with 28 px typed in. The number box is marked.
    The size is in pixels (px).
  3. Tap Submit.

Check the line height

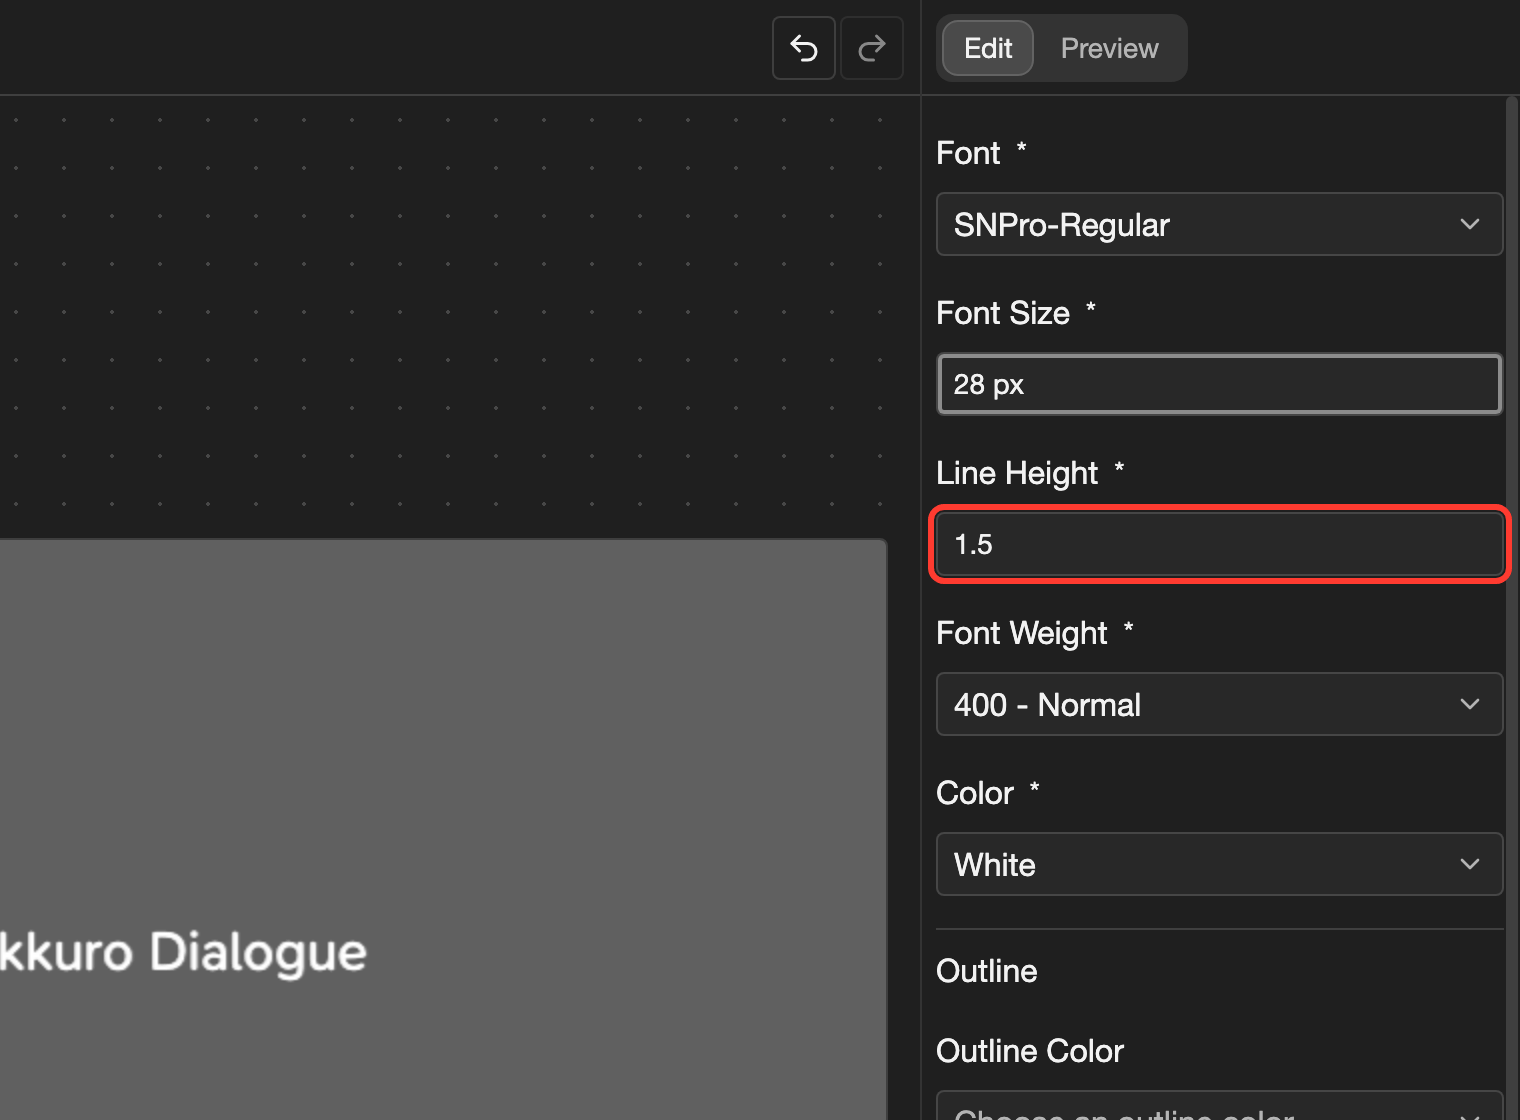
Line height is the space between lines. The default is 1.5. Leave it as it is for now.
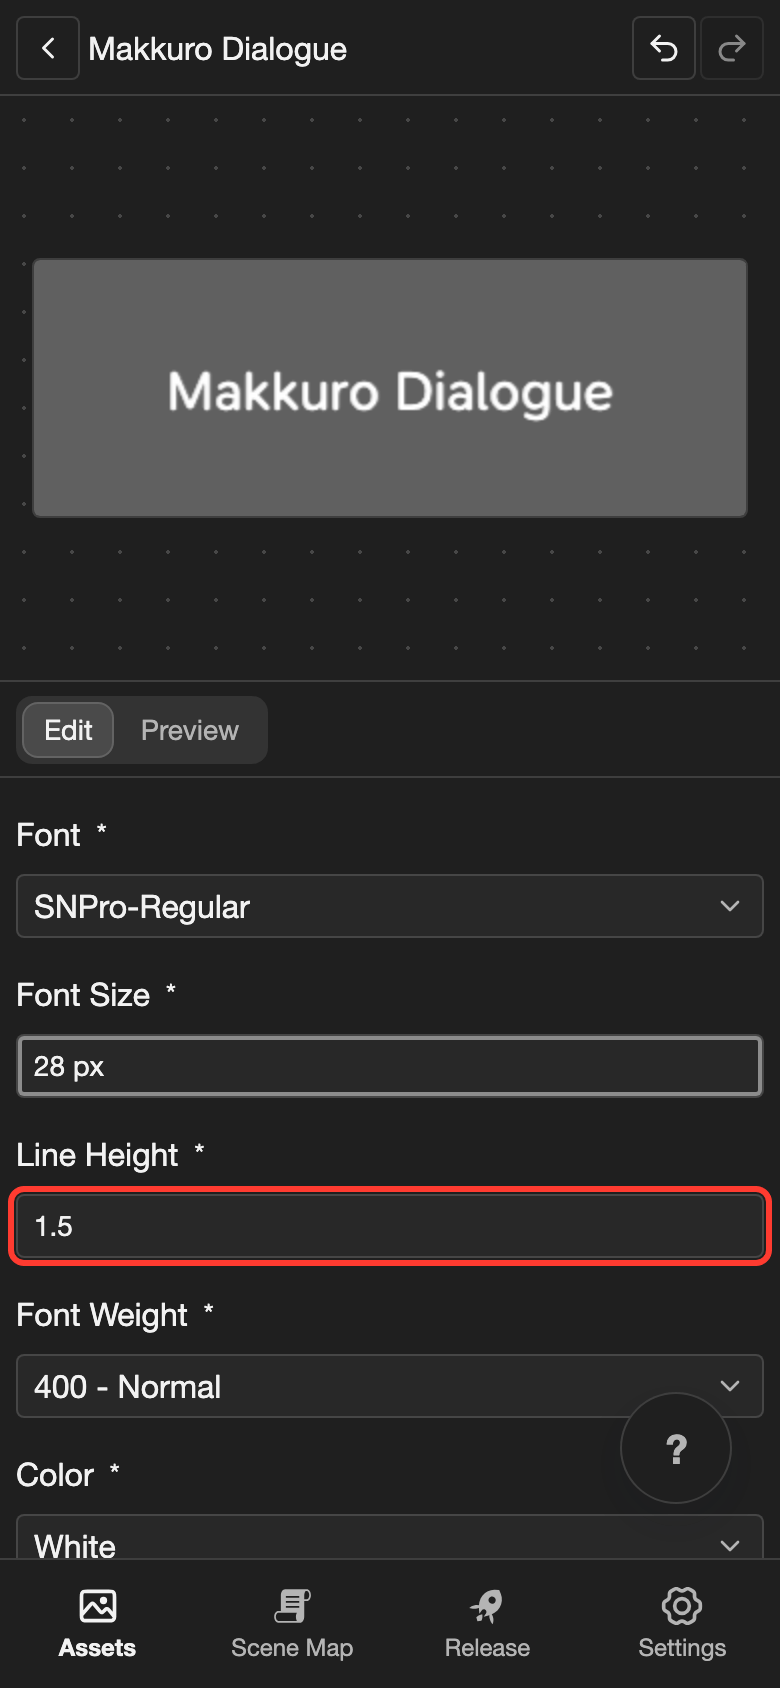
The text style editor on a phone. The Line Height field, which shows 1.5, is marked. The text style editor on desktop. The Line Height field, which shows 1.5, is marked.

Check the font weight

The Font Weight list shows only the weights that your font file holds. For example, SNPro-Regular holds 400 - Normal.
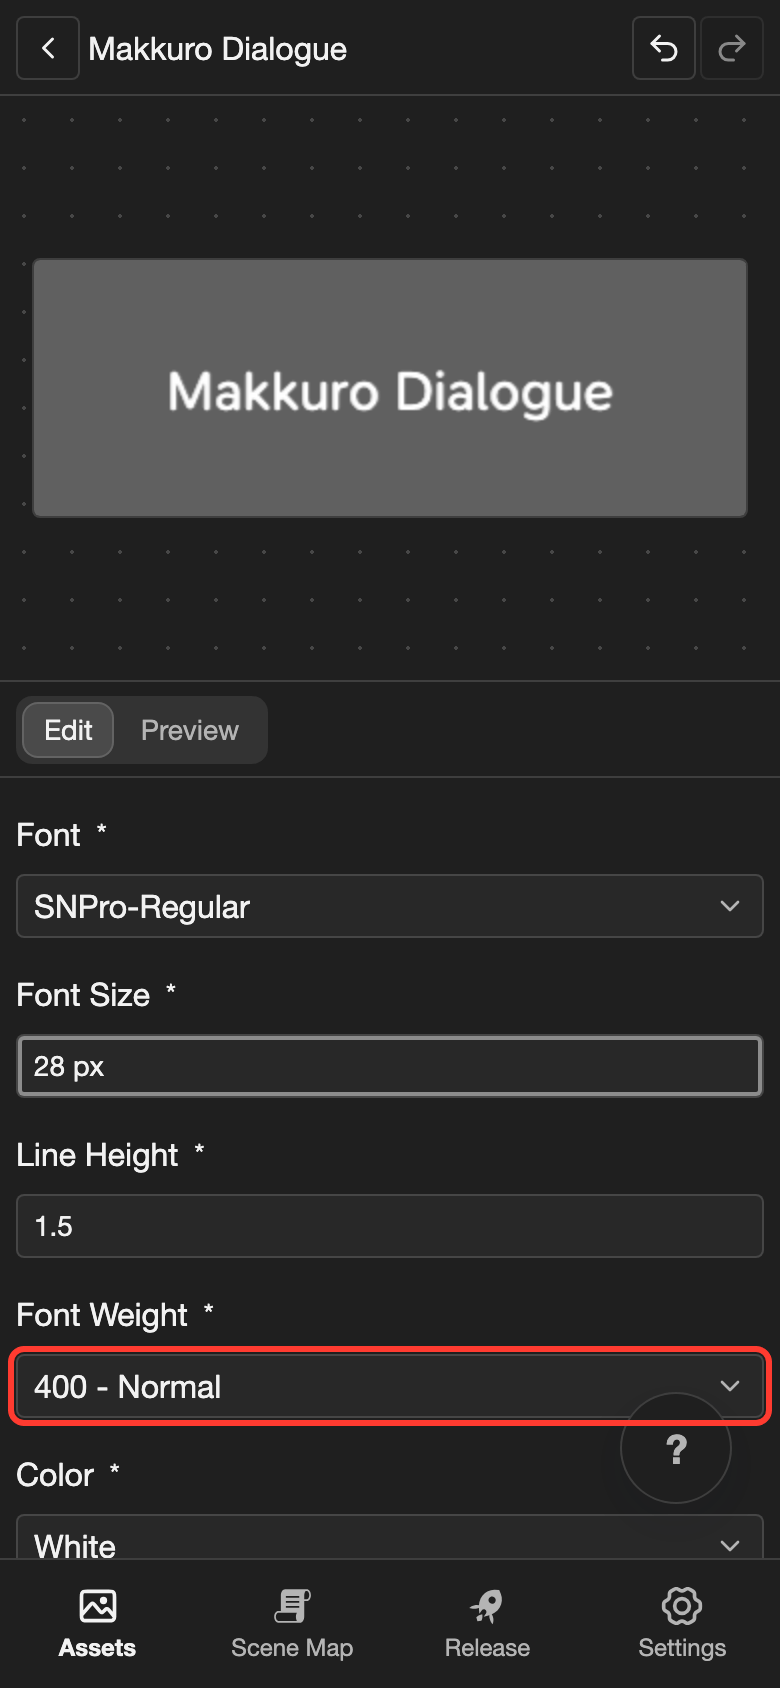
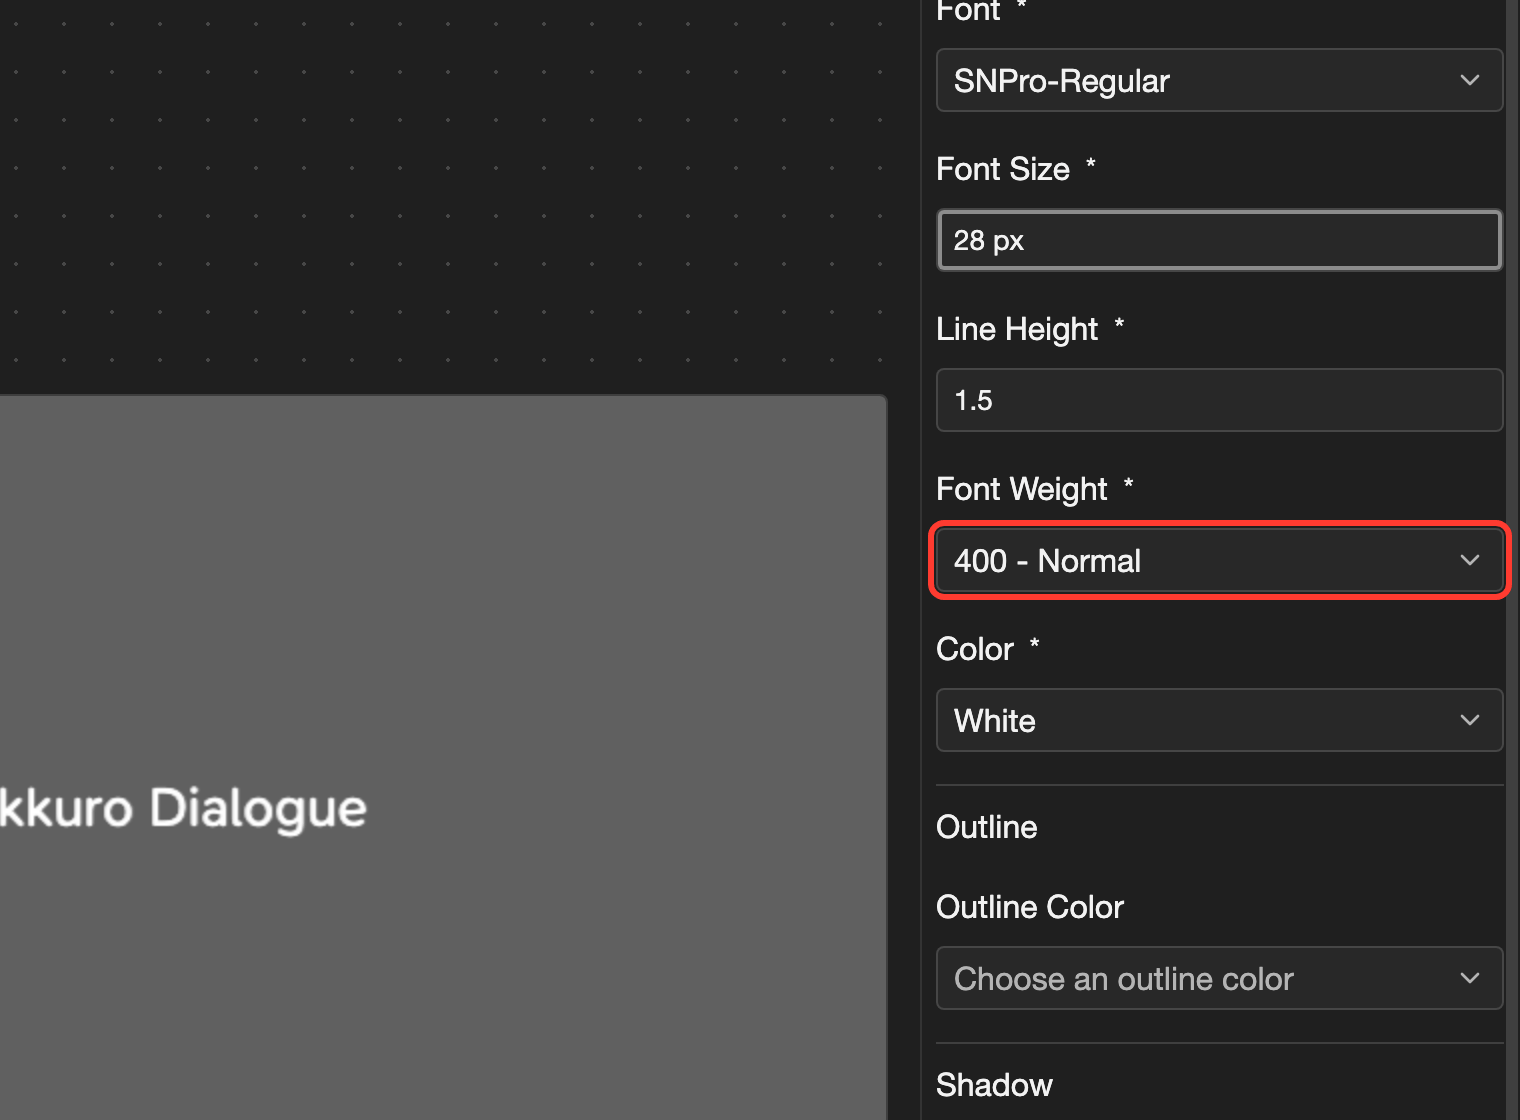
The text style editor on a phone. The Font Weight field shows 400 - Normal, the only weight in SNPro-Regular, and is marked. The text style editor on desktop. The Font Weight field shows 400 - Normal, the only weight in SNPro-Regular, and is marked.

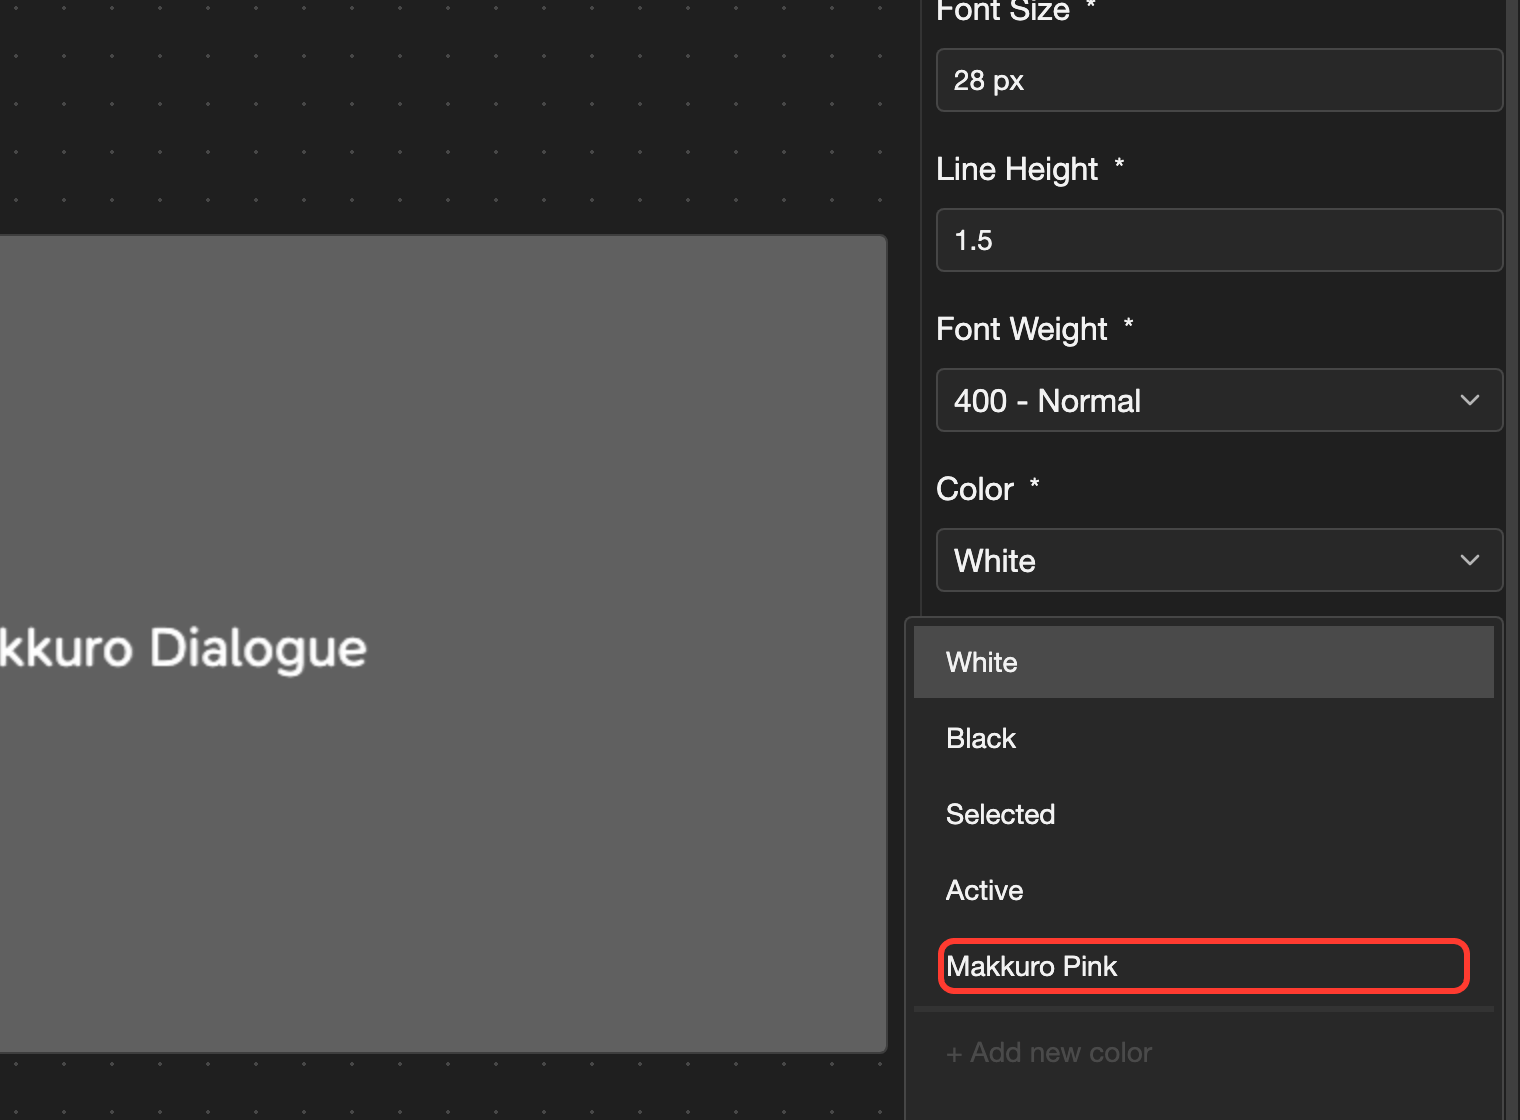
Set the color

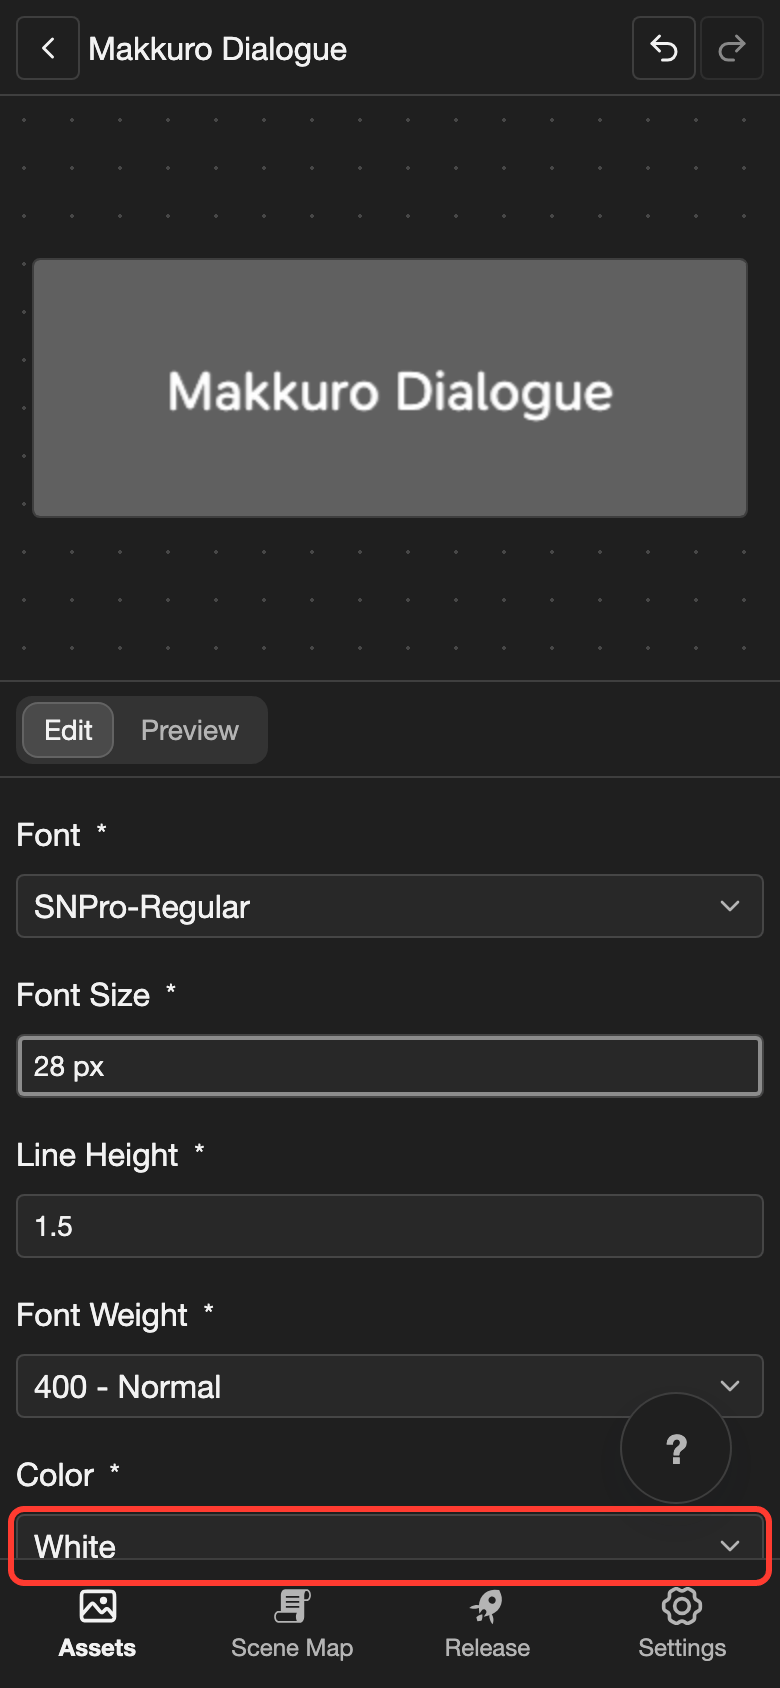
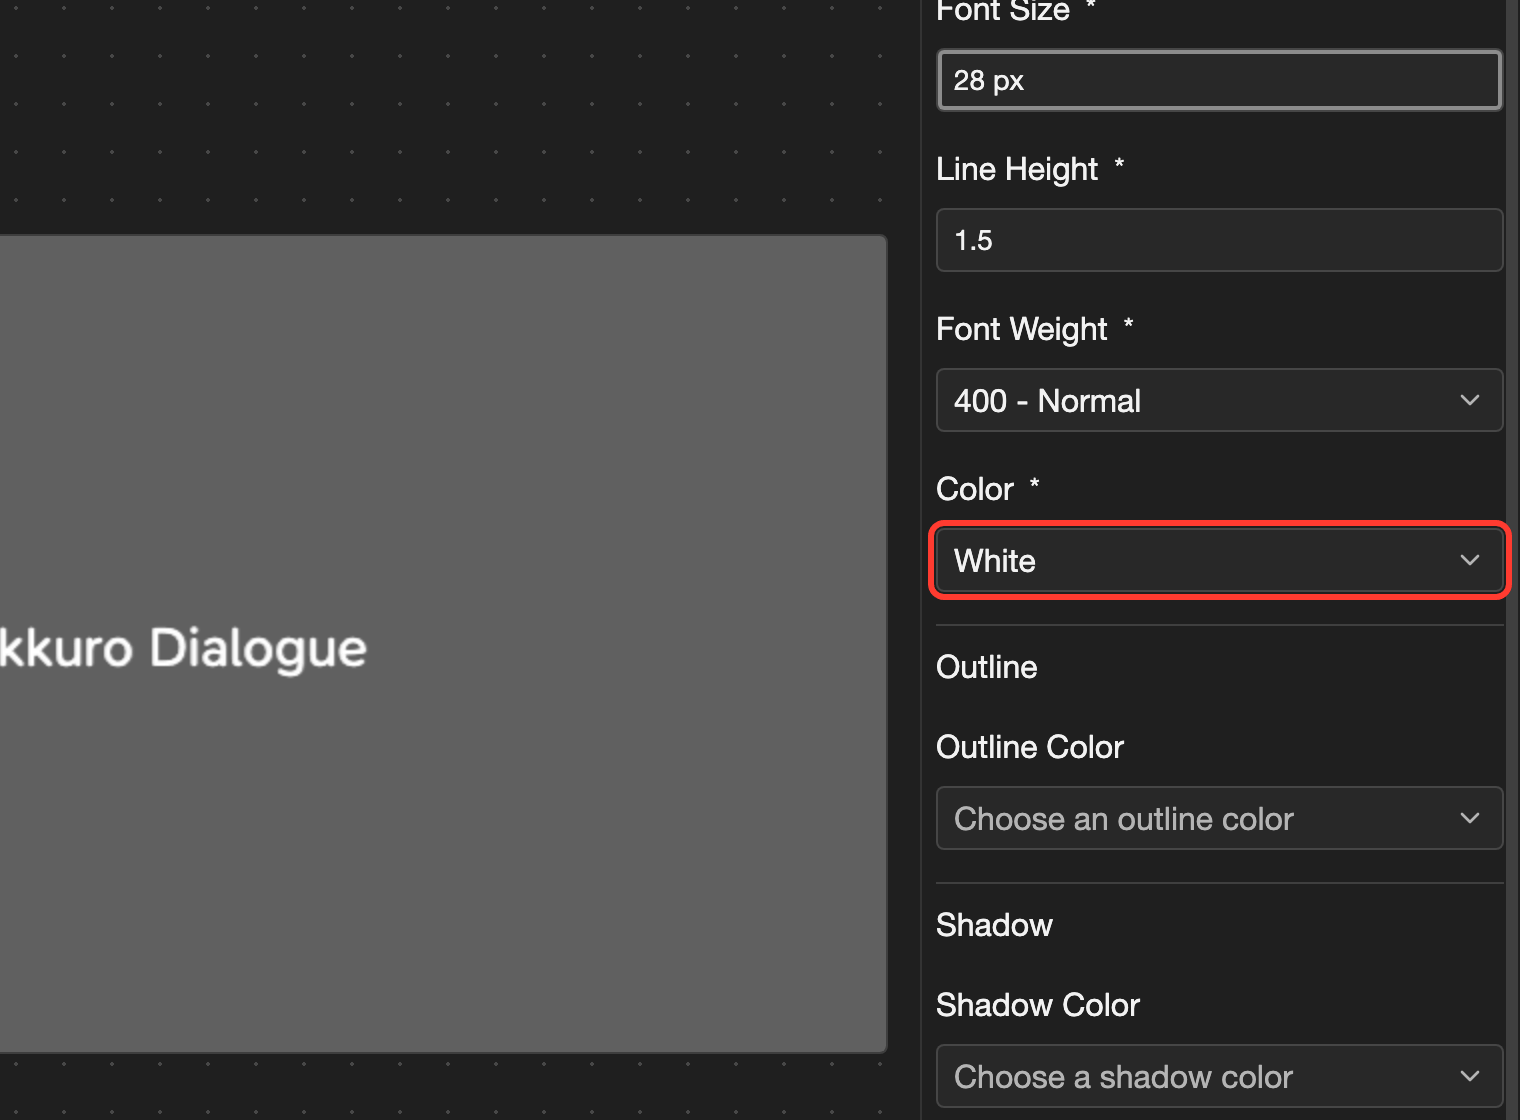
  1. Tap Color.

    The text style editor on a phone. The Color field is marked. The text style editor on desktop. The Color field is marked.

    A list of your colors opens.

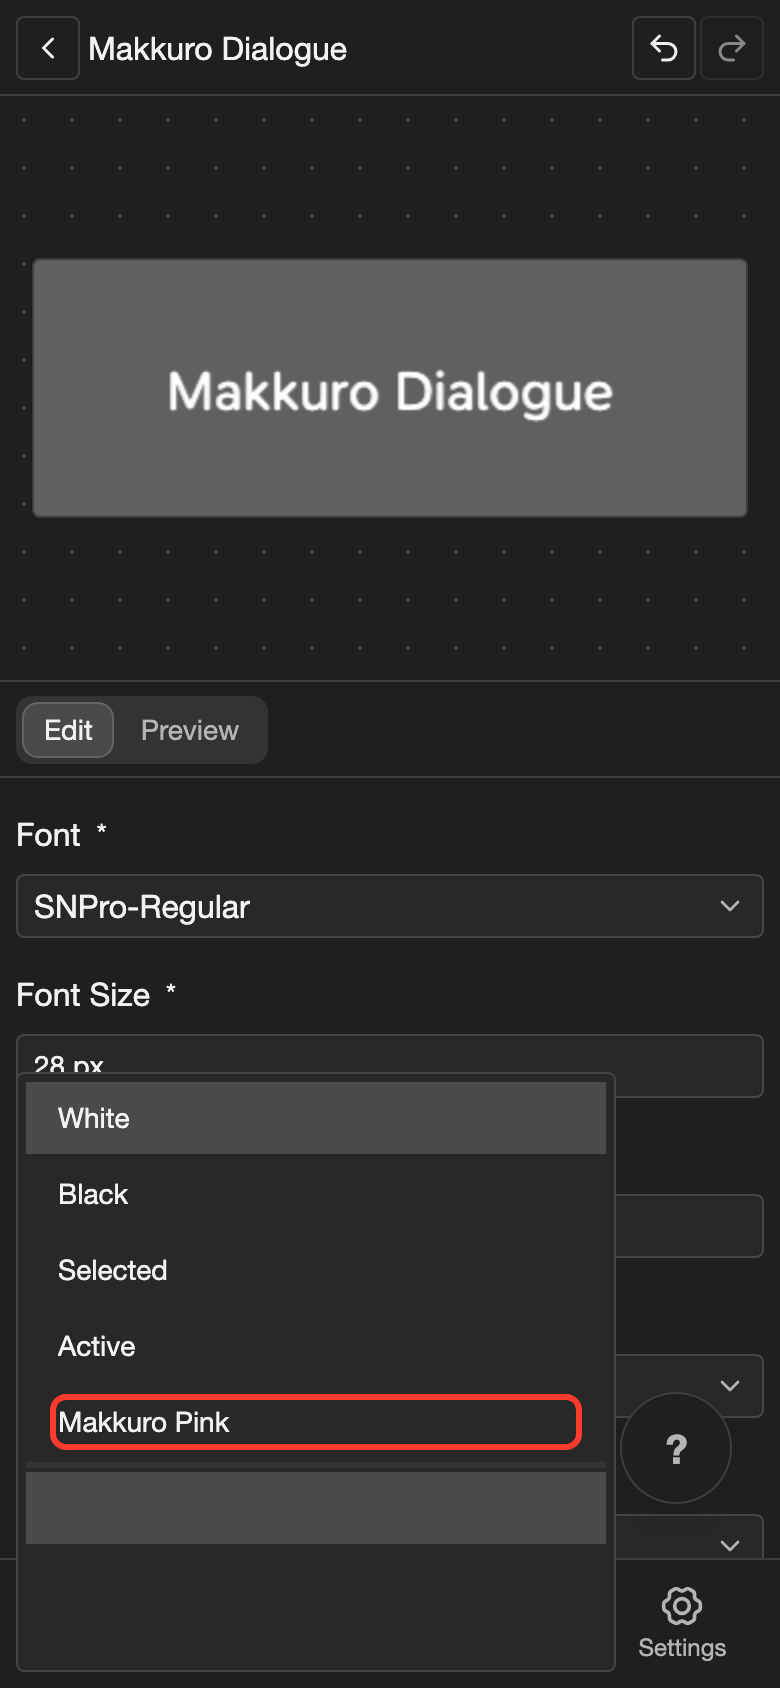
  2. Tap Makkuro Pink.

    The text style editor on a phone with the Color list open. Makkuro Pink is marked. The text style editor on desktop with the Color list open. Makkuro Pink is marked.

Add an outline (optional)

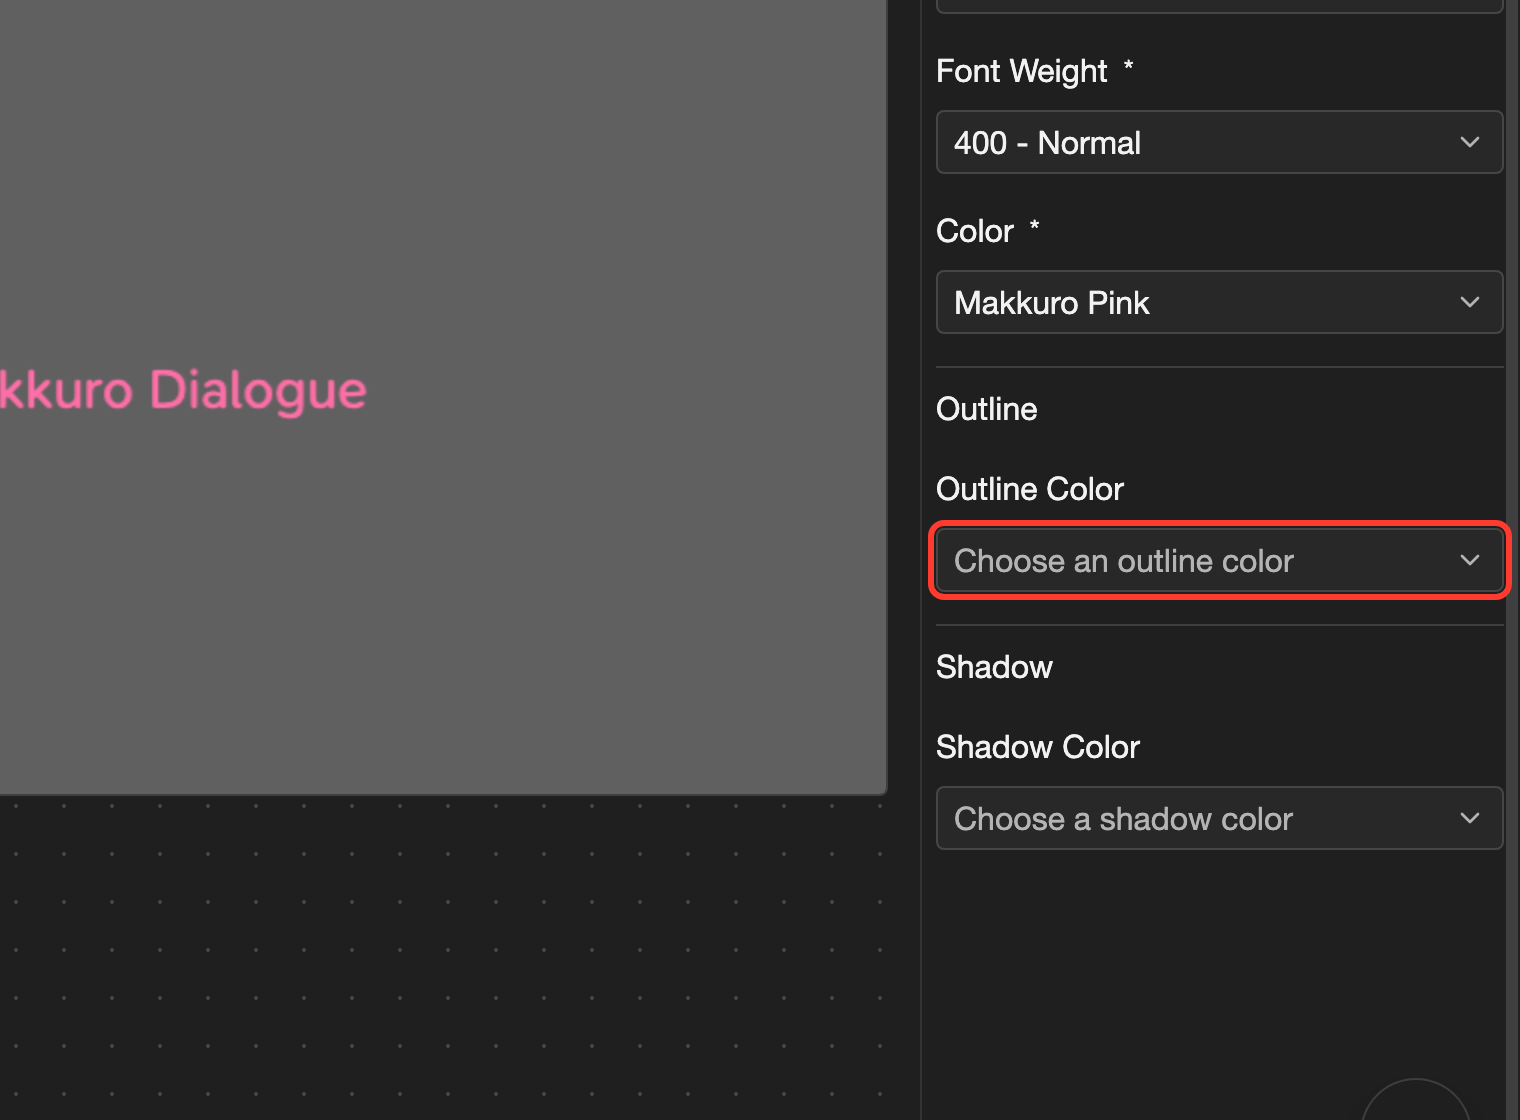
An outline is a border around each letter.

  1. Tap Outline Color, and then tap a color. For example, Black.
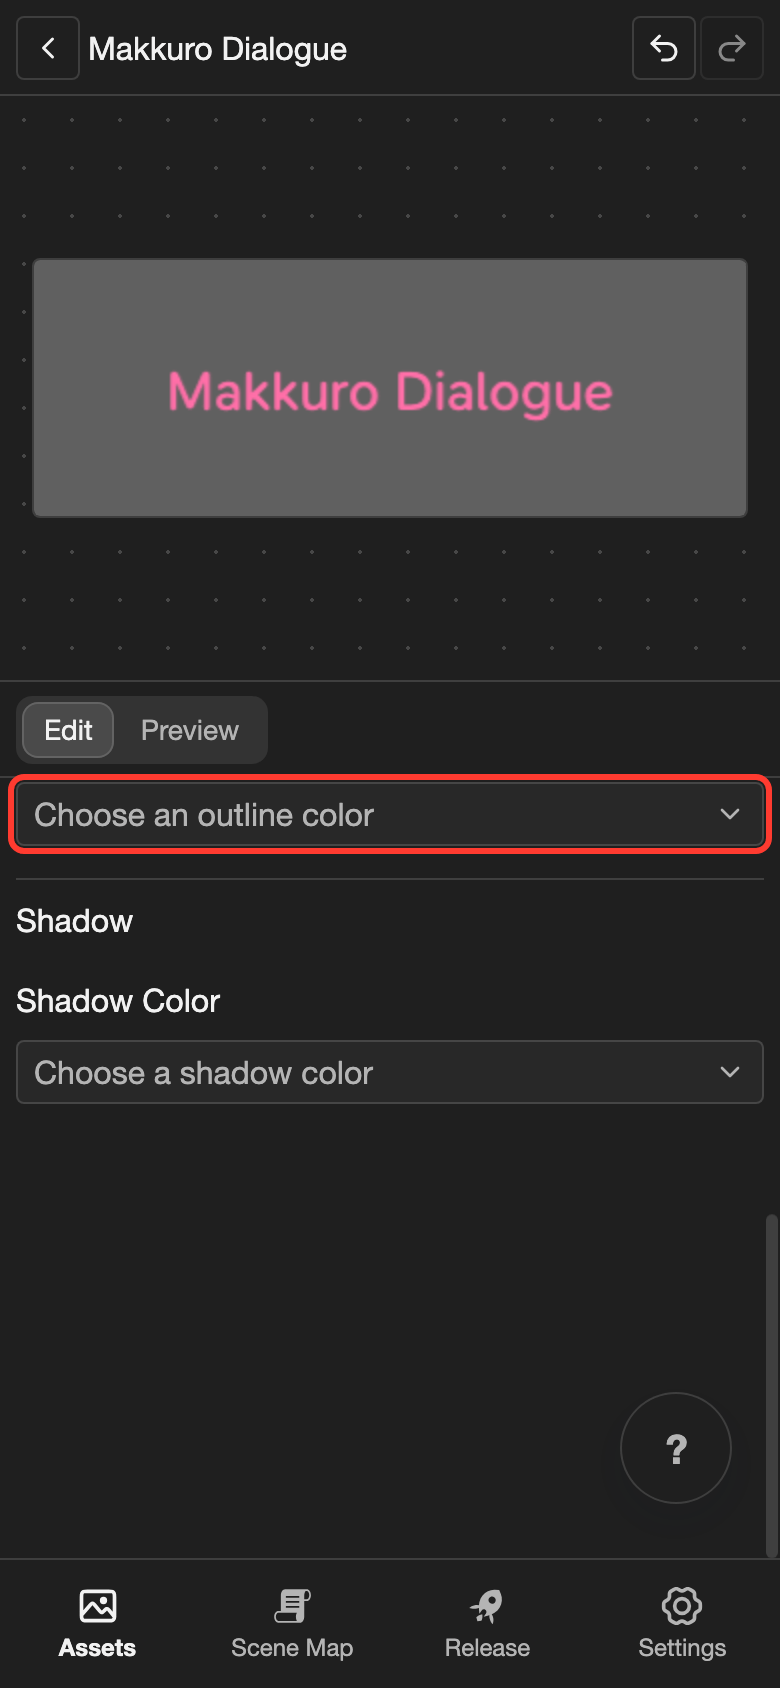
    The text style editor on a phone. The Outline Color field is marked. The text style editor on desktop. The Outline Color field is marked.
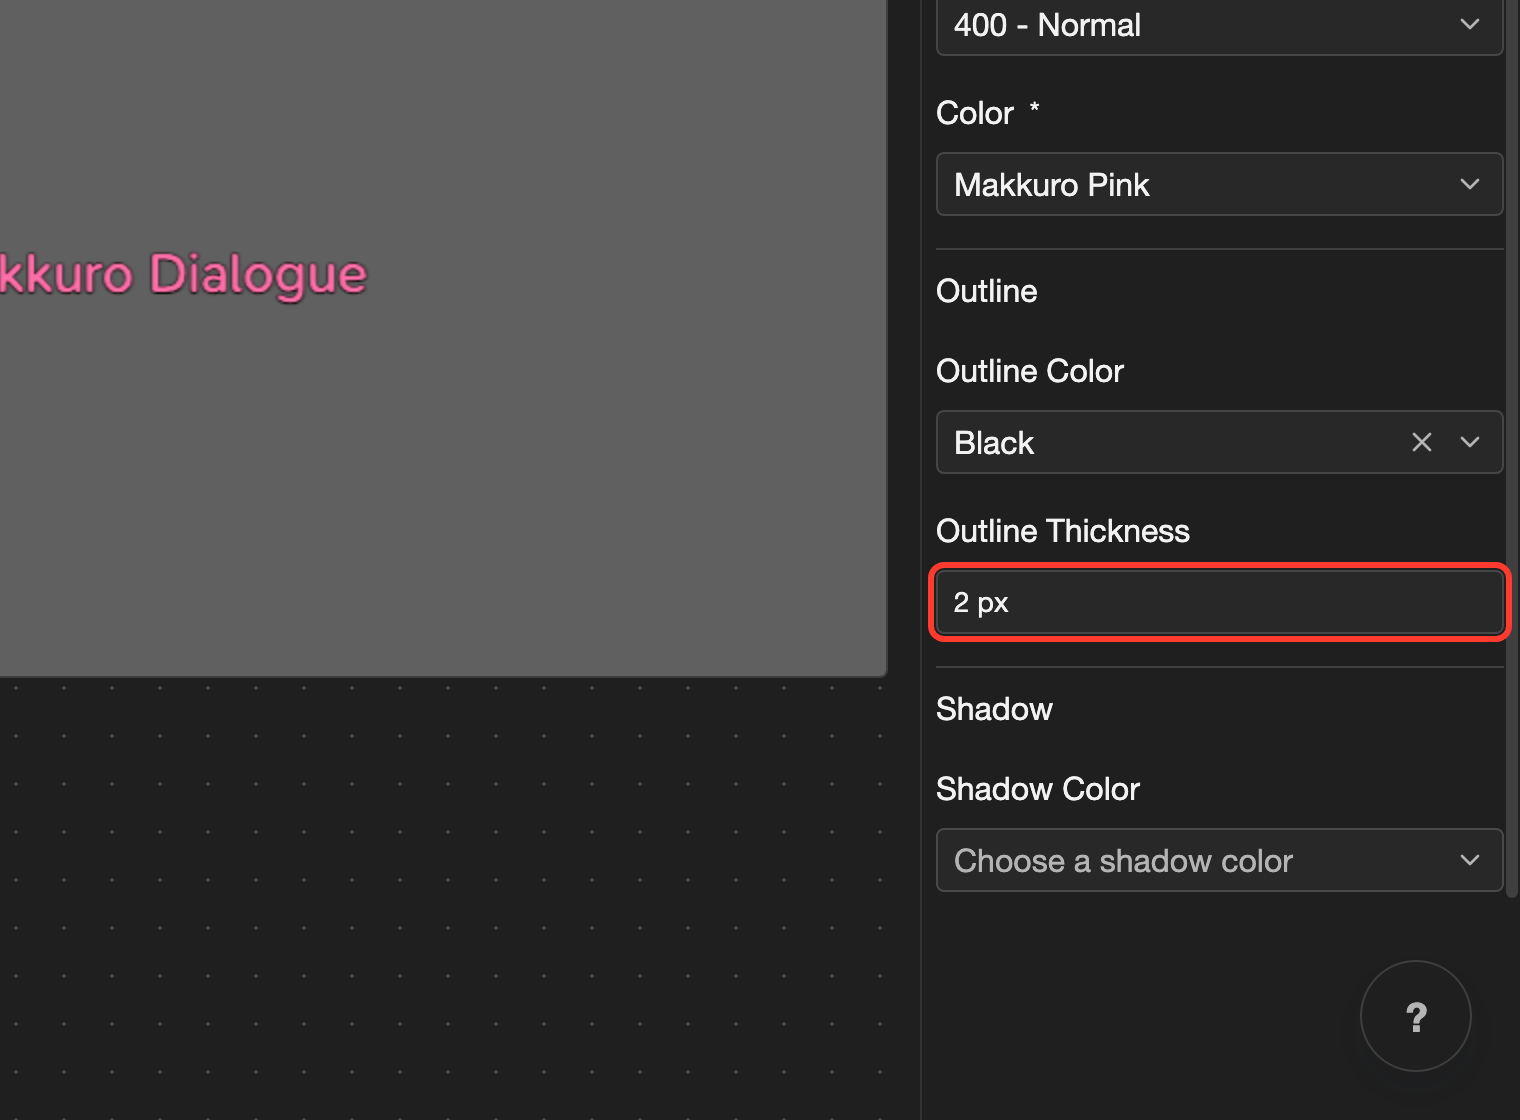
  2. Check Outline Thickness. This sets how thick the outline is in pixels.
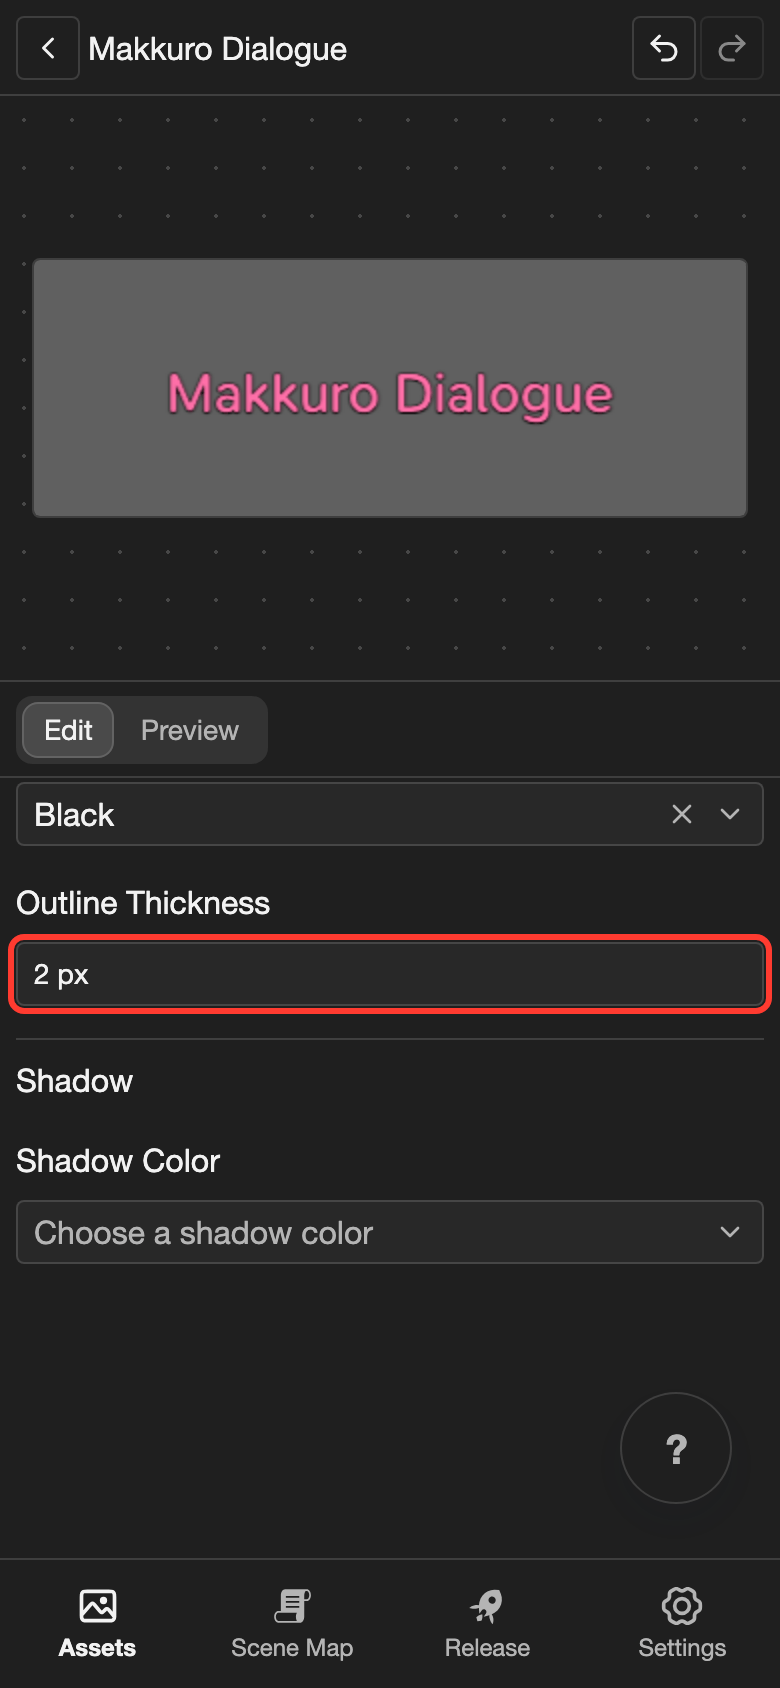
    The text style editor on a phone. The Outline Thickness field, which shows 2 px, is marked. The text style editor on desktop. The Outline Thickness field, which shows 2 px, is marked.

Add a shadow (optional)

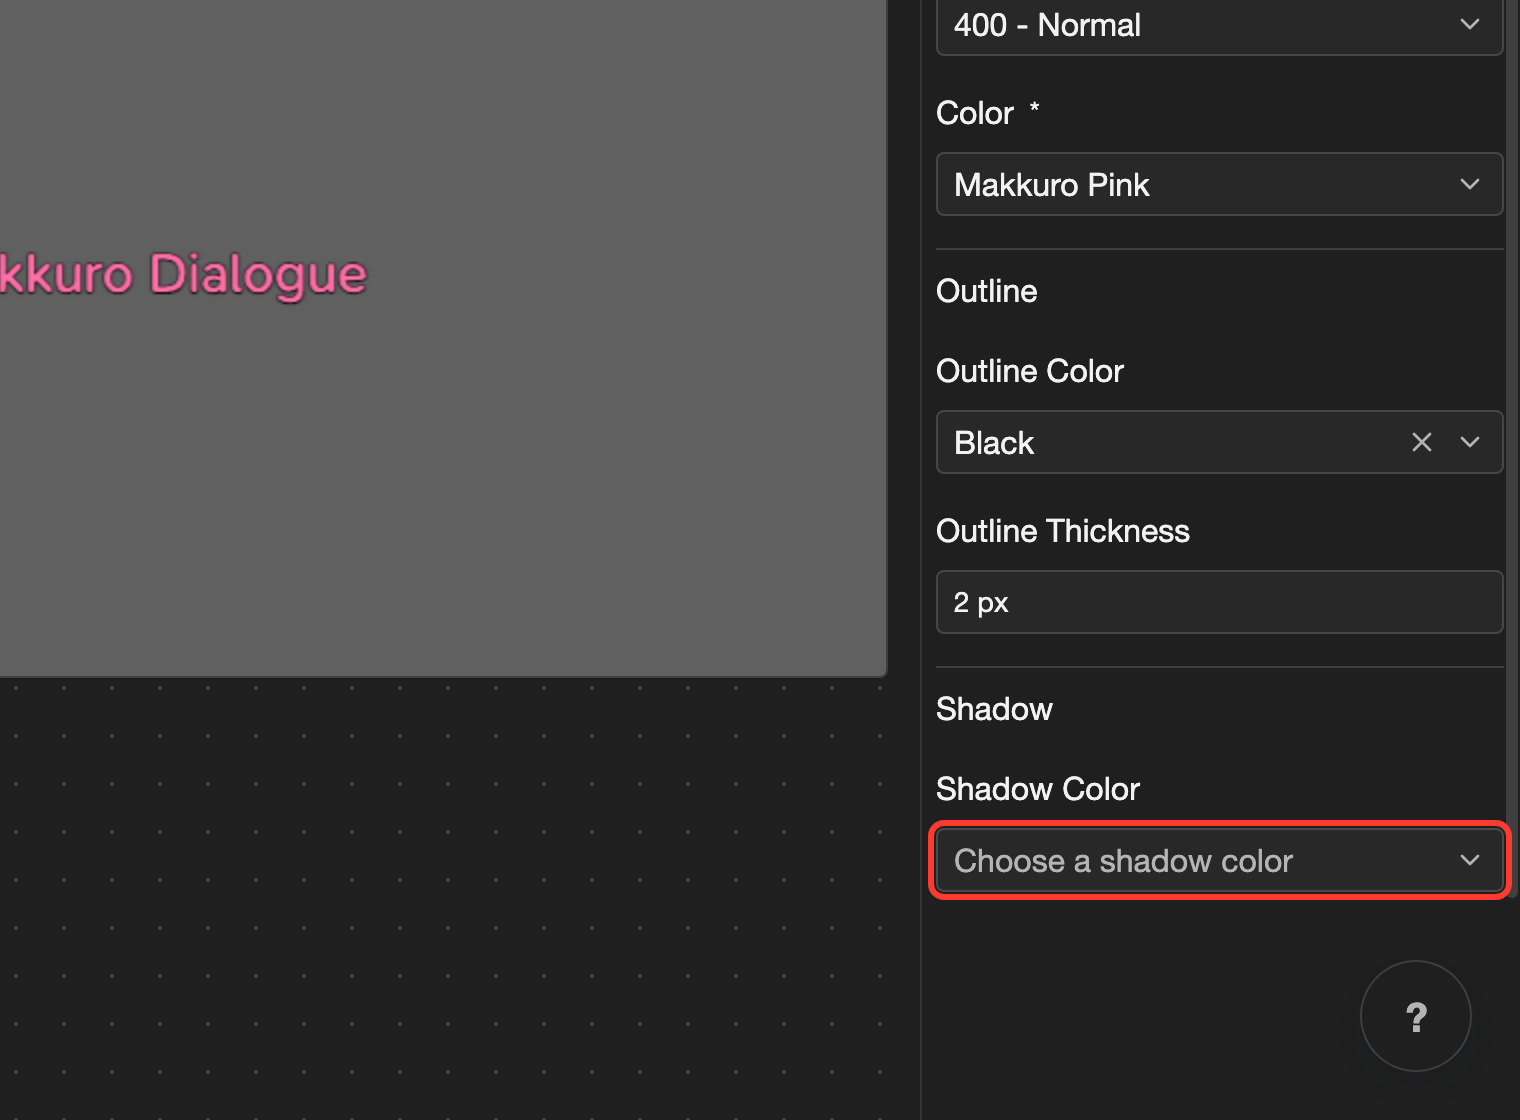
  1. Tap Shadow Color, and then tap a color.
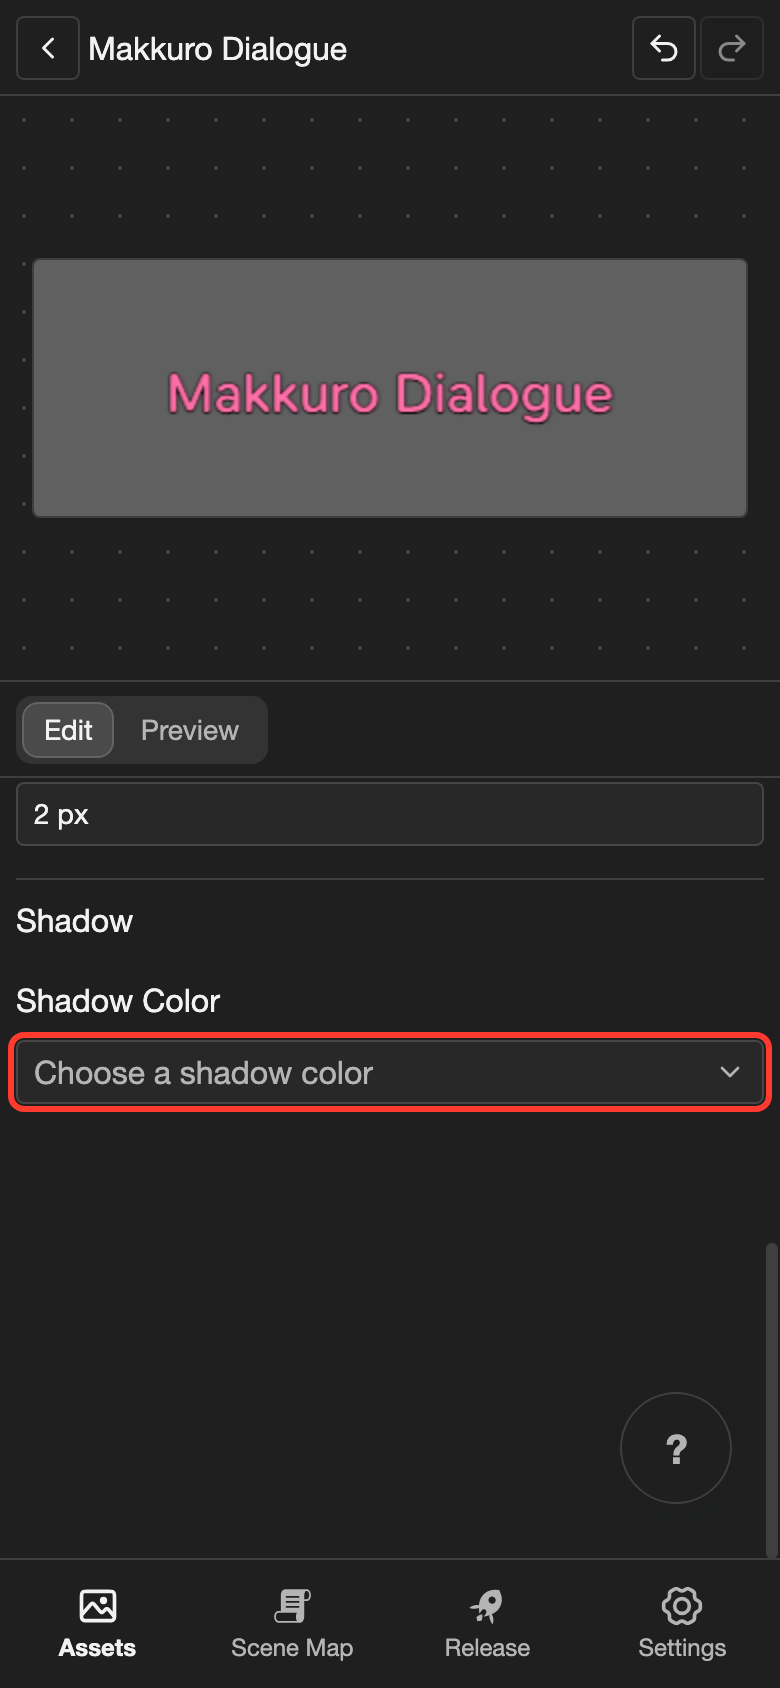
    The text style editor on a phone. The Shadow Color field is marked. The text style editor on desktop. The Shadow Color field is marked.
  2. Change Shadow Opacity, Shadow Blur, Shadow Offset X, and Shadow Offset Y to change the look of the shadow.

Preview the text

  1. Tap Preview at the top of the editor.

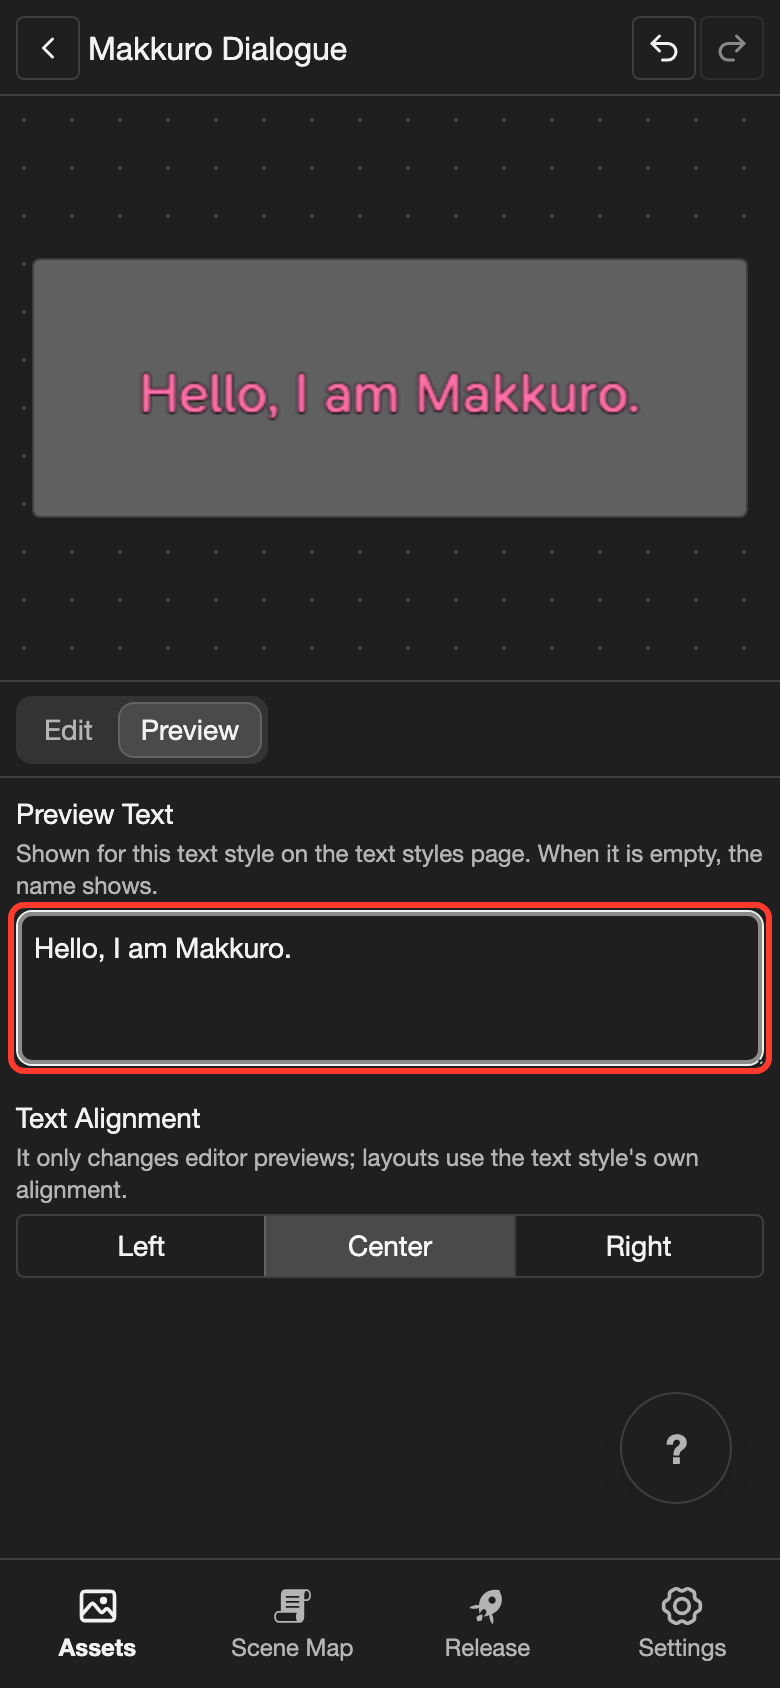
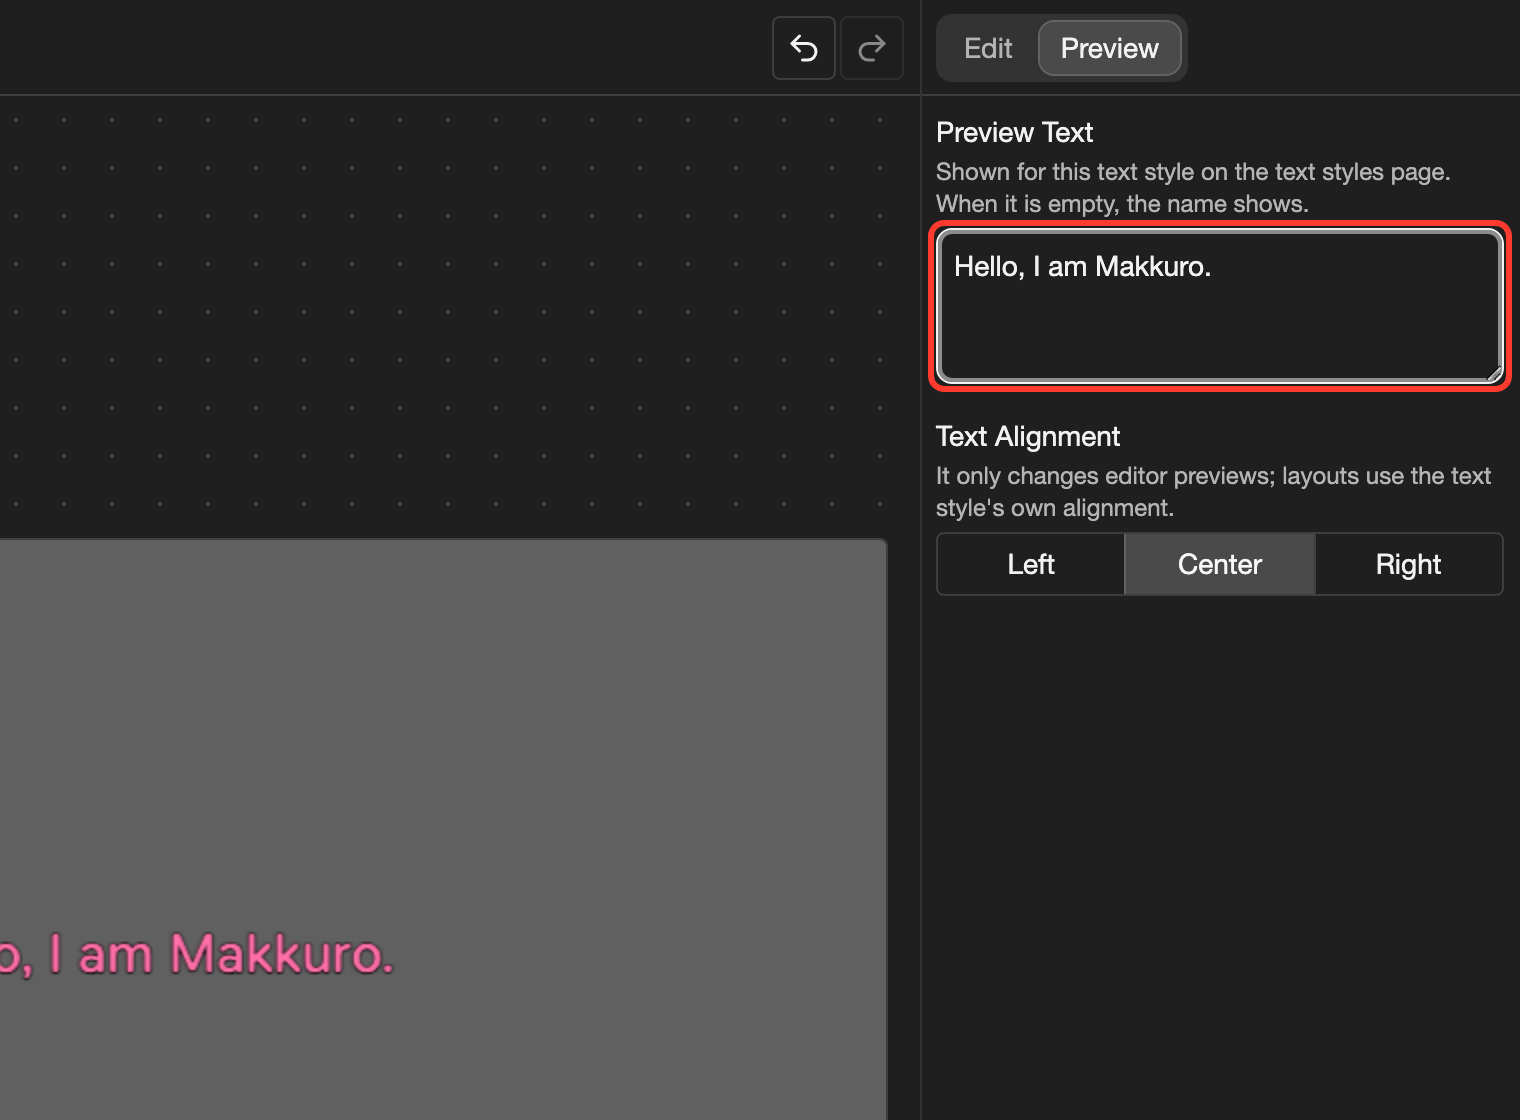
  2. Type a sentence in Preview Text.

    The Preview tab of the text style editor on a phone. The Preview Text box, with a sentence typed in, is marked. The Preview tab of the text style editor on desktop. The Preview Text box, with a sentence typed in, is marked.
    The preview shows the text with your font, color, and effects.
  3. Tap the back arrow at the top left.

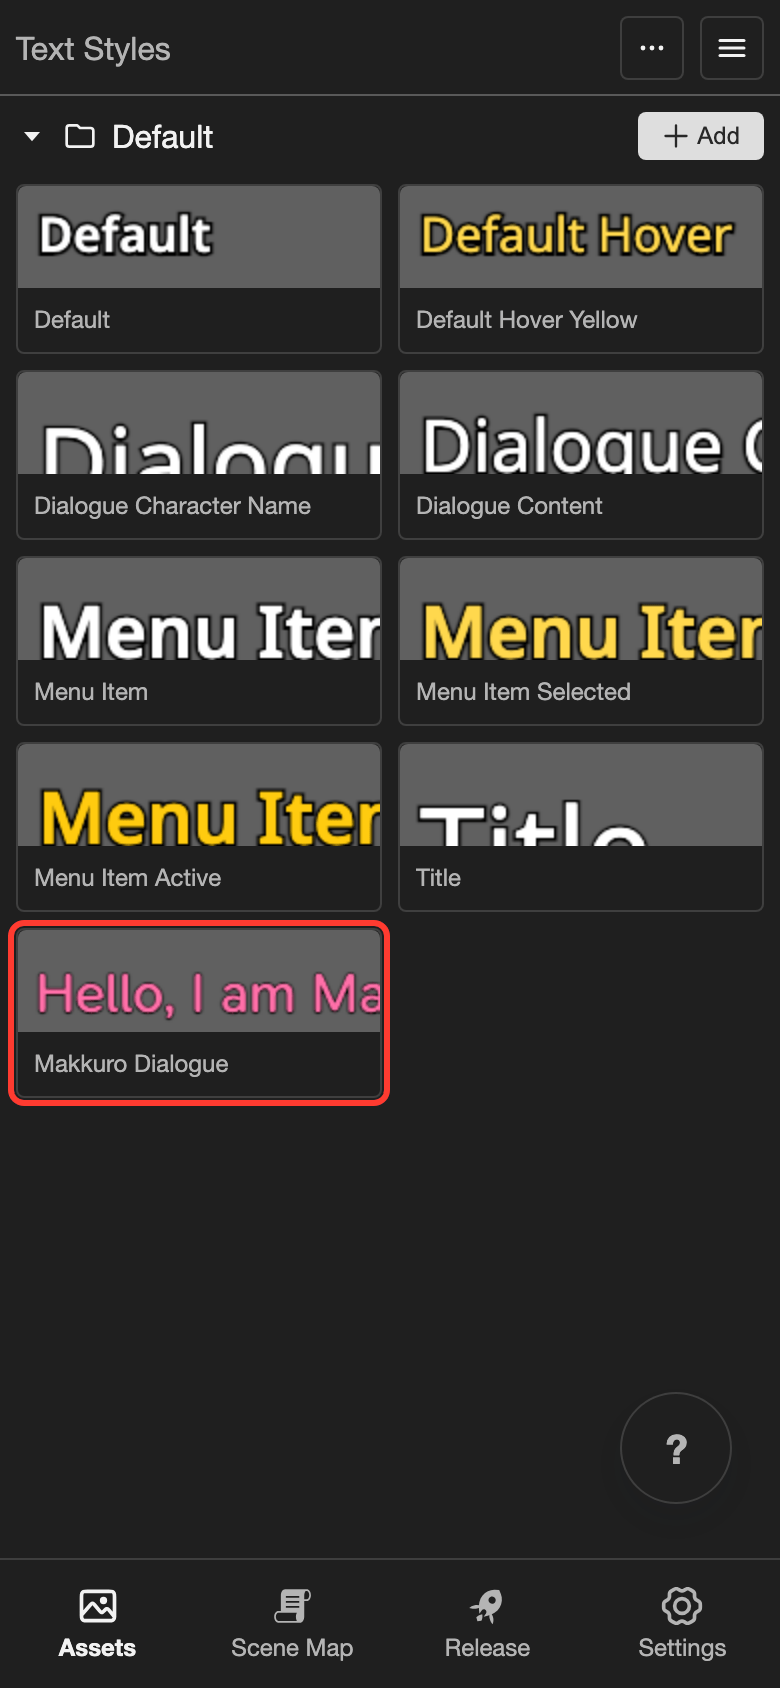
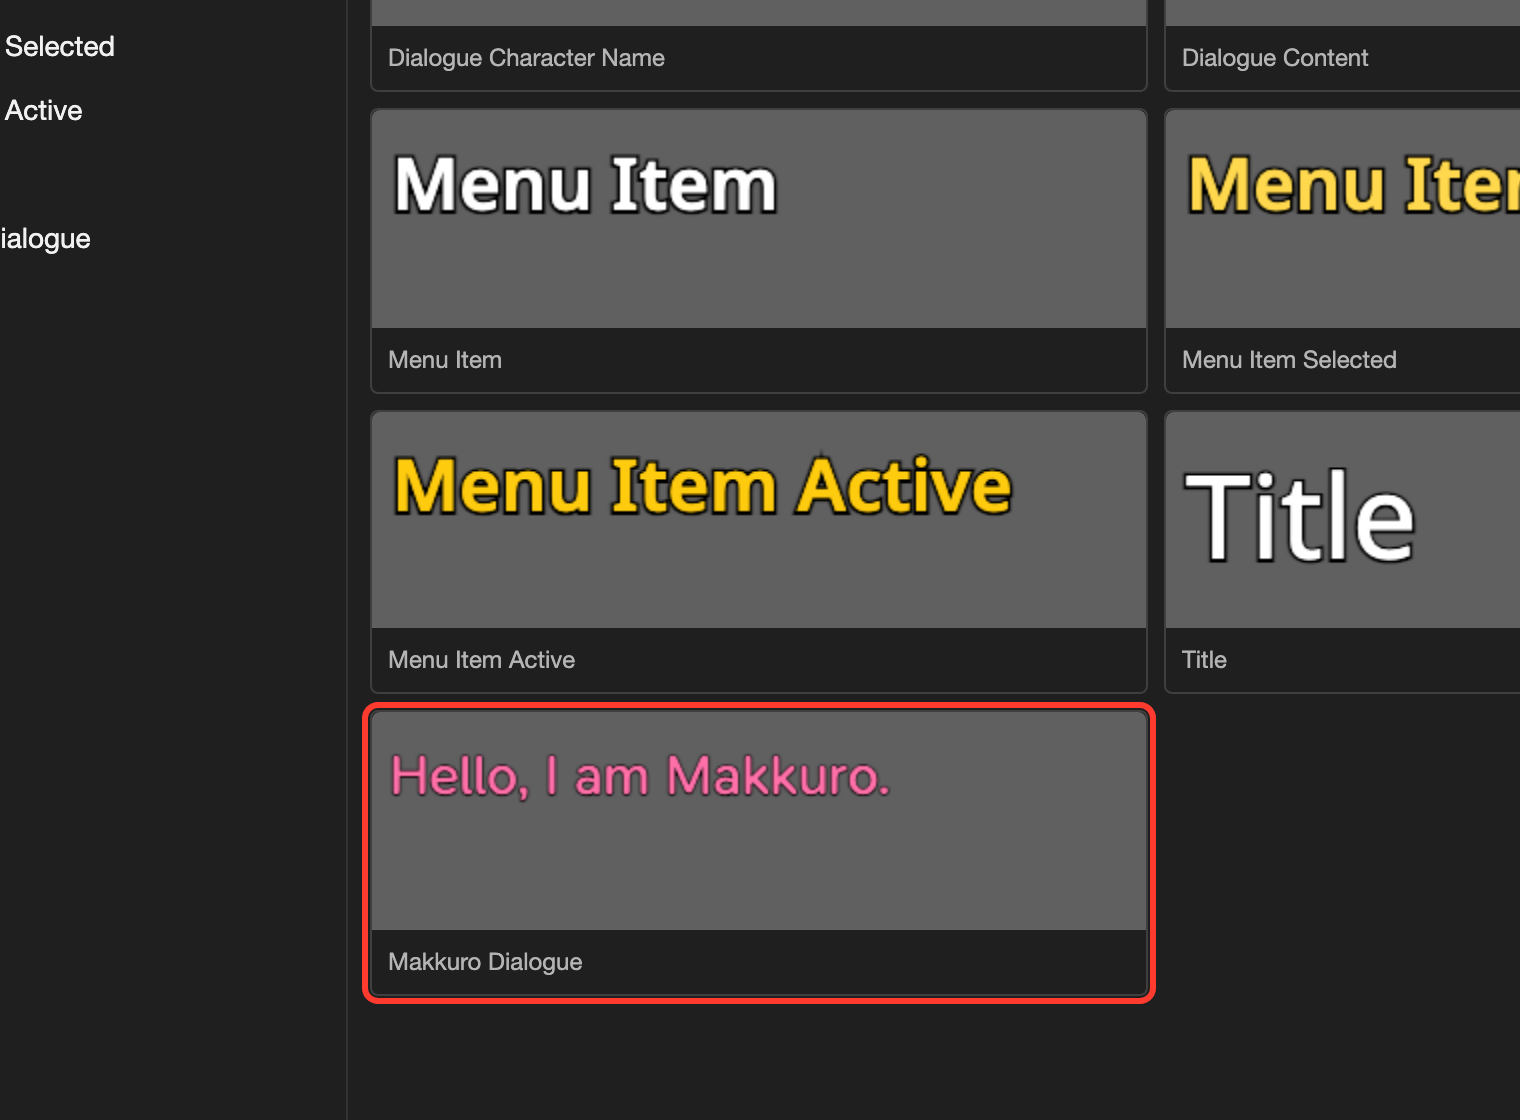
    The Text Styles page on a phone. The new text style Makkuro Dialogue is marked. The Text Styles page on desktop. The new text style Makkuro Dialogue is marked.

The text style appears on the Text Styles page. Its card shows the preview text. If the preview text is empty, the name shows instead.

Use a text style in a layout

Layouts show the text of your visual novel. This example uses the default dialogue layout, Default ADV.

  1. Open the Layouts page.

    • Phone or tablet: Tap Assets at the bottom of the screen, then tap Layouts under User Interface.
    • Desktop: On the far left, click the User Interface button, then click Layouts.
  2. Open Default ADV.

    • Phone or tablet: Long press (touch and hold) Default ADV.
    • Desktop: Double-click Default ADV.
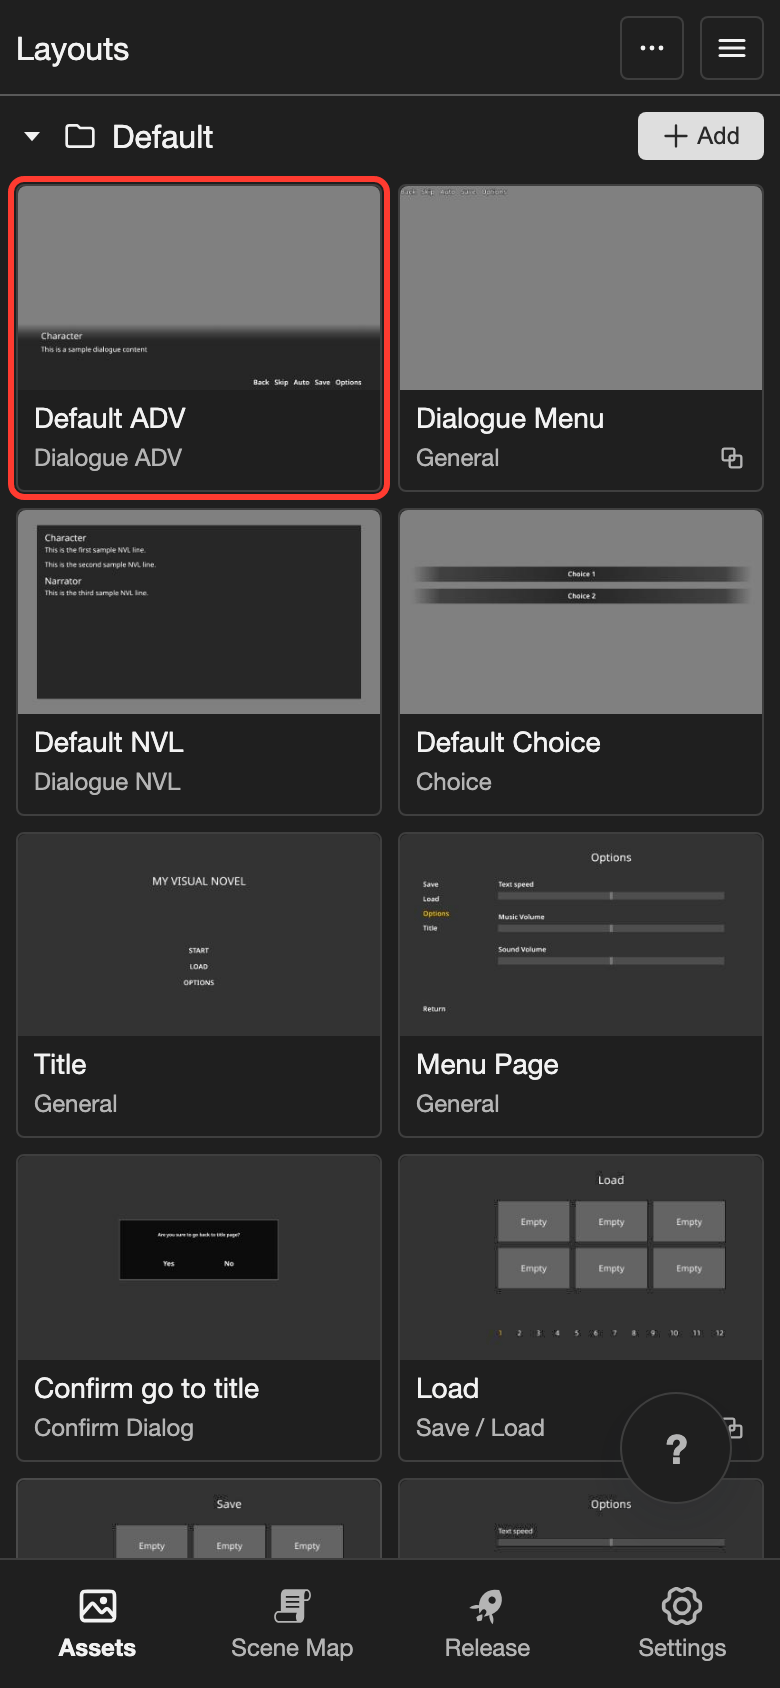
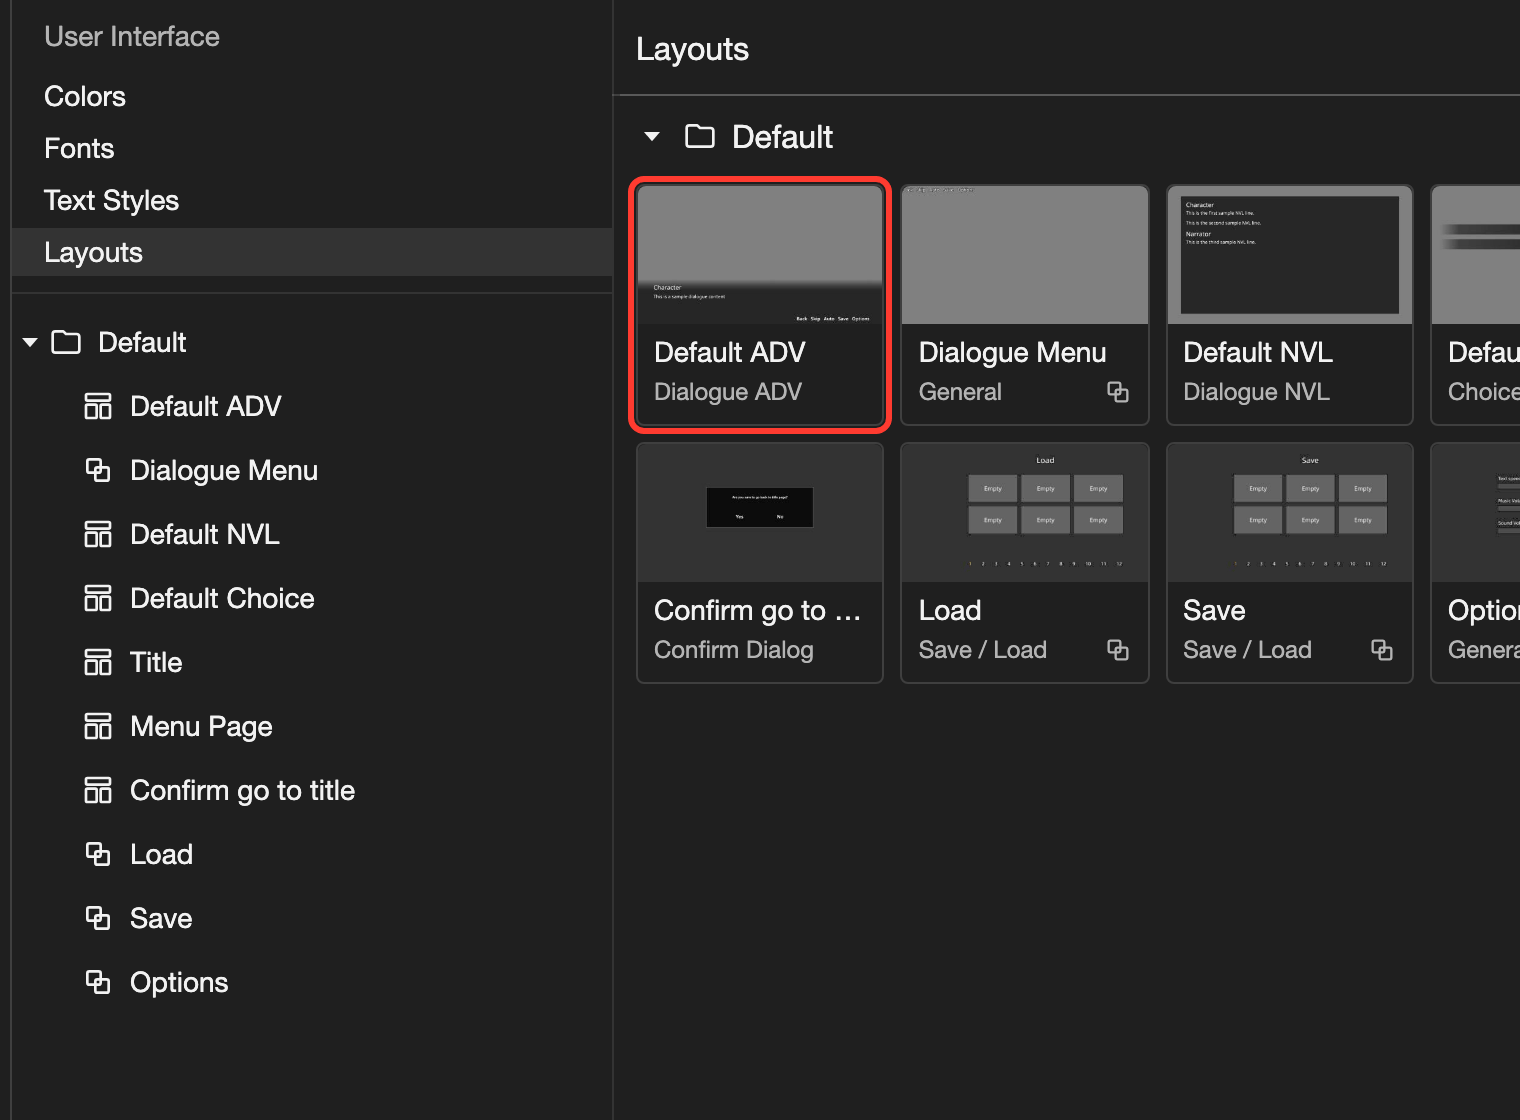
    The Layouts page on a phone. The Default ADV layout, with the Dialogue ADV type, is marked. The Layouts page on desktop. The Default ADV layout, with the Dialogue ADV type, is marked.

    The layout editor opens.

  3. Tap Dialogue Content in the list of elements.
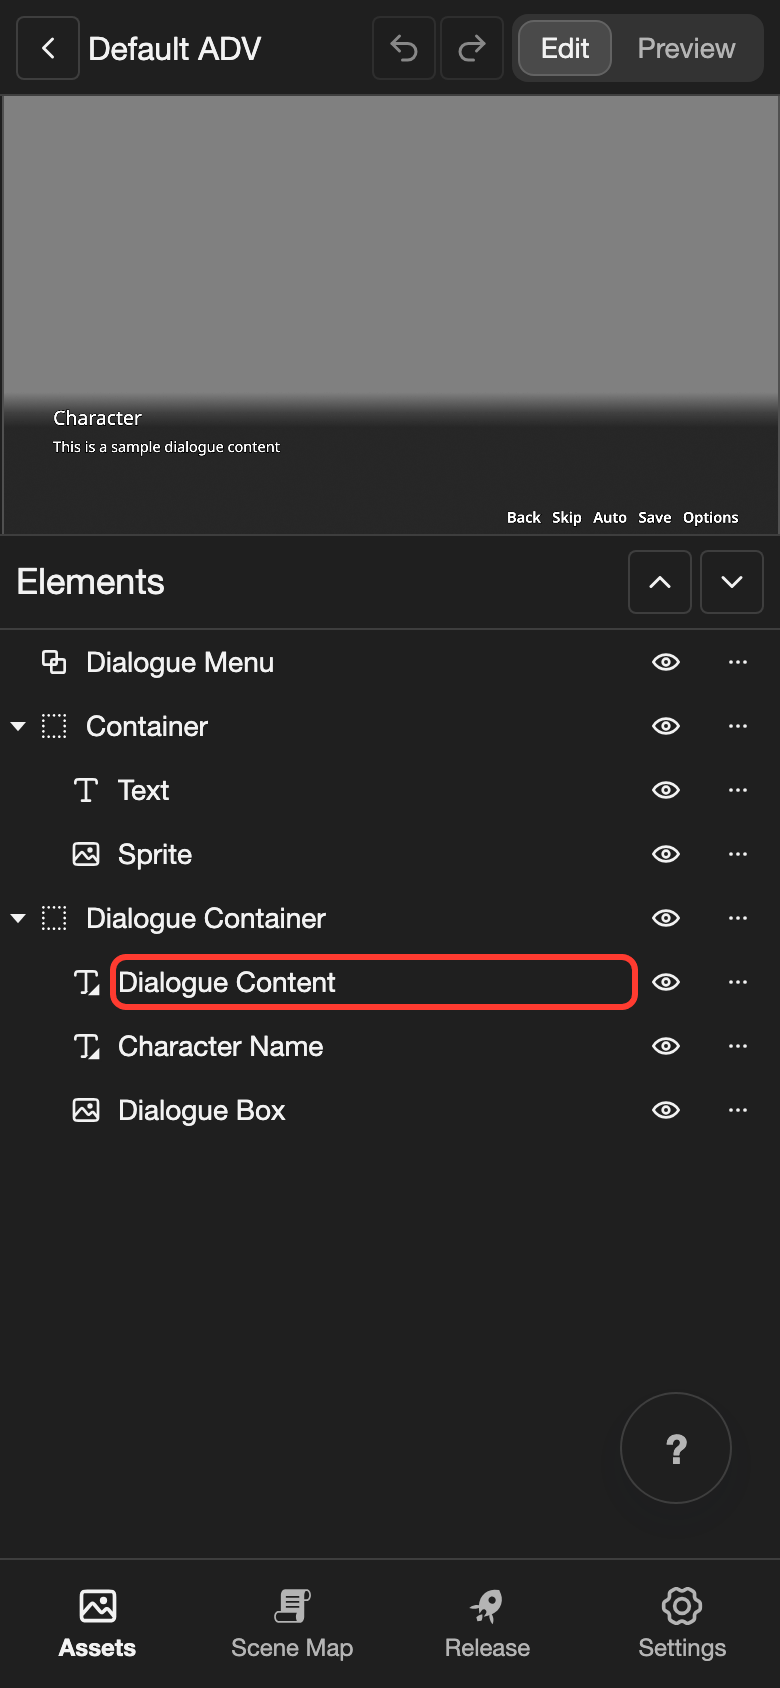
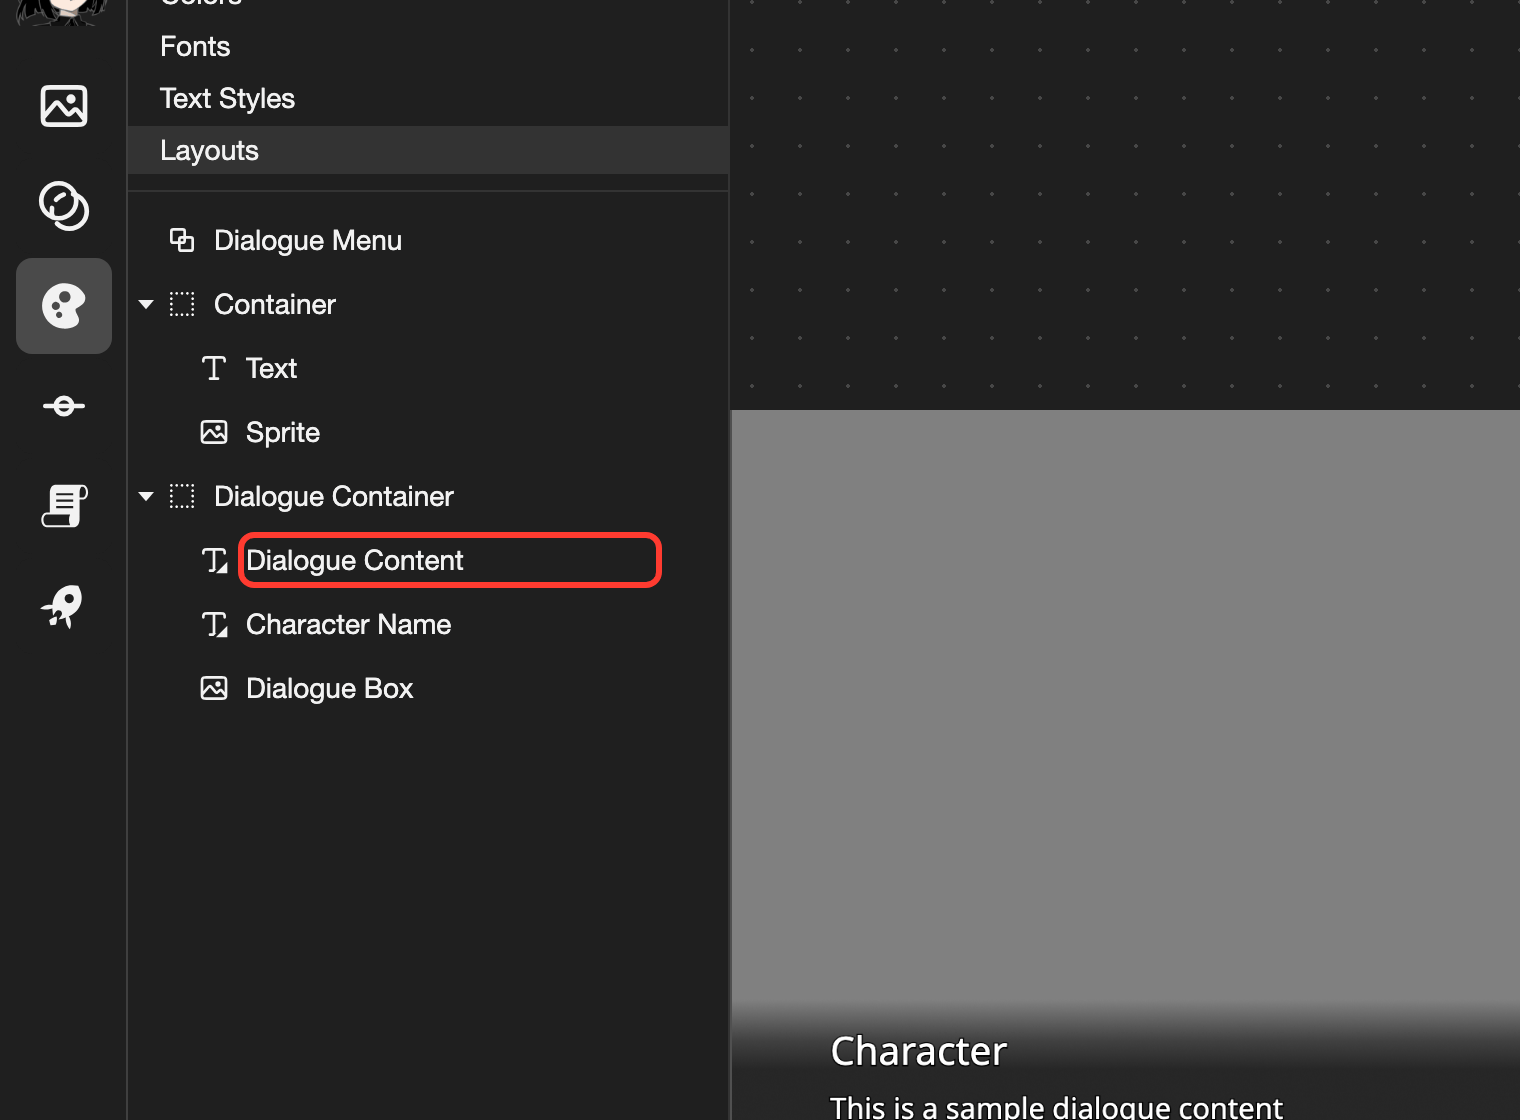
    The layout editor on a phone for Default ADV. Dialogue Content in the list of elements is marked. The layout editor on desktop for Default ADV. Dialogue Content in the list of elements is marked.
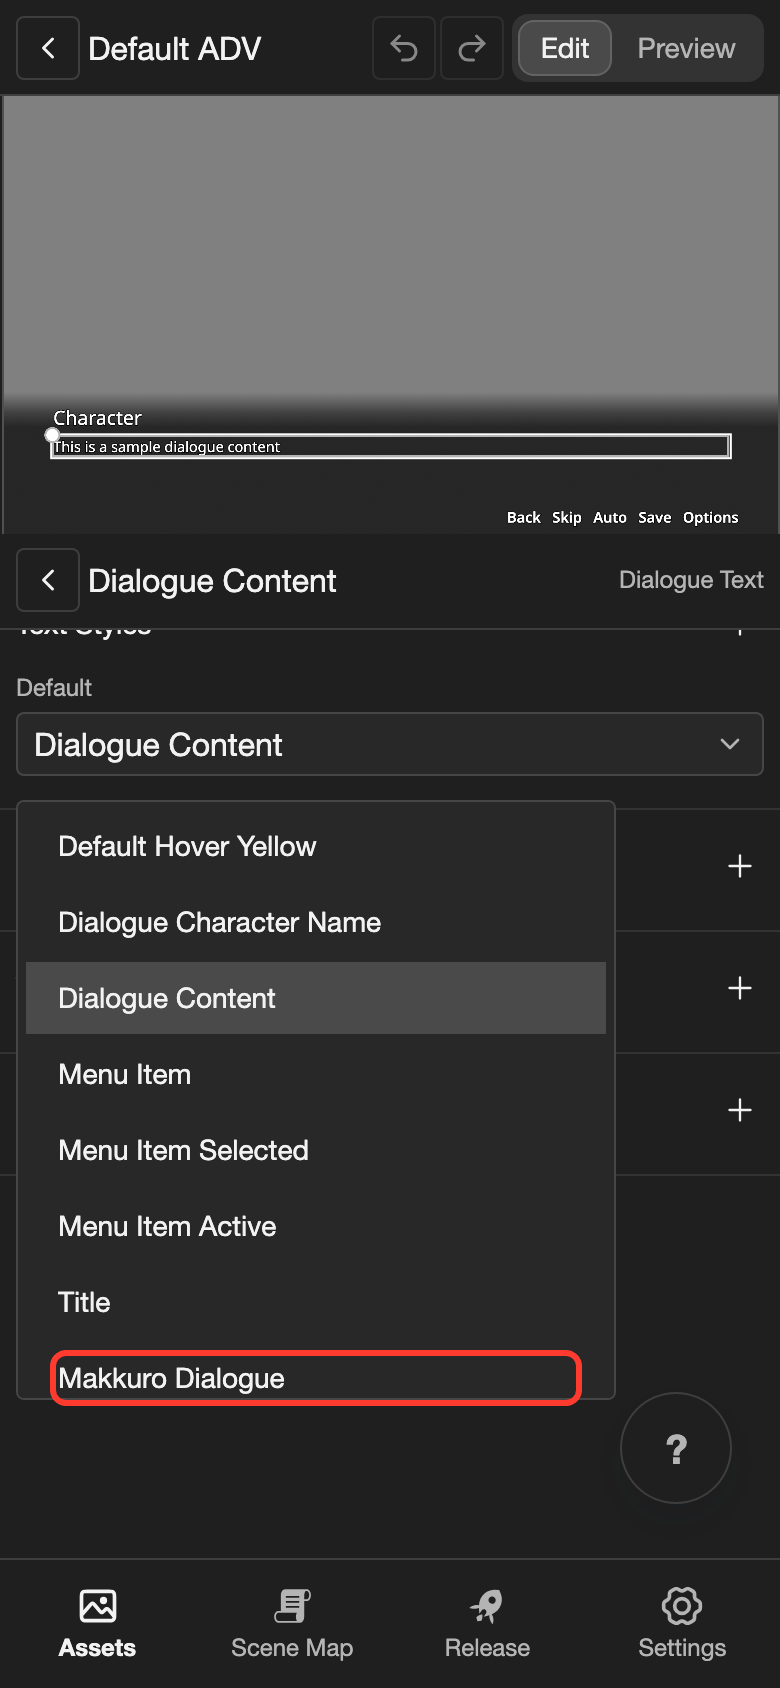
  4. Under Text Styles, tap the Default box.
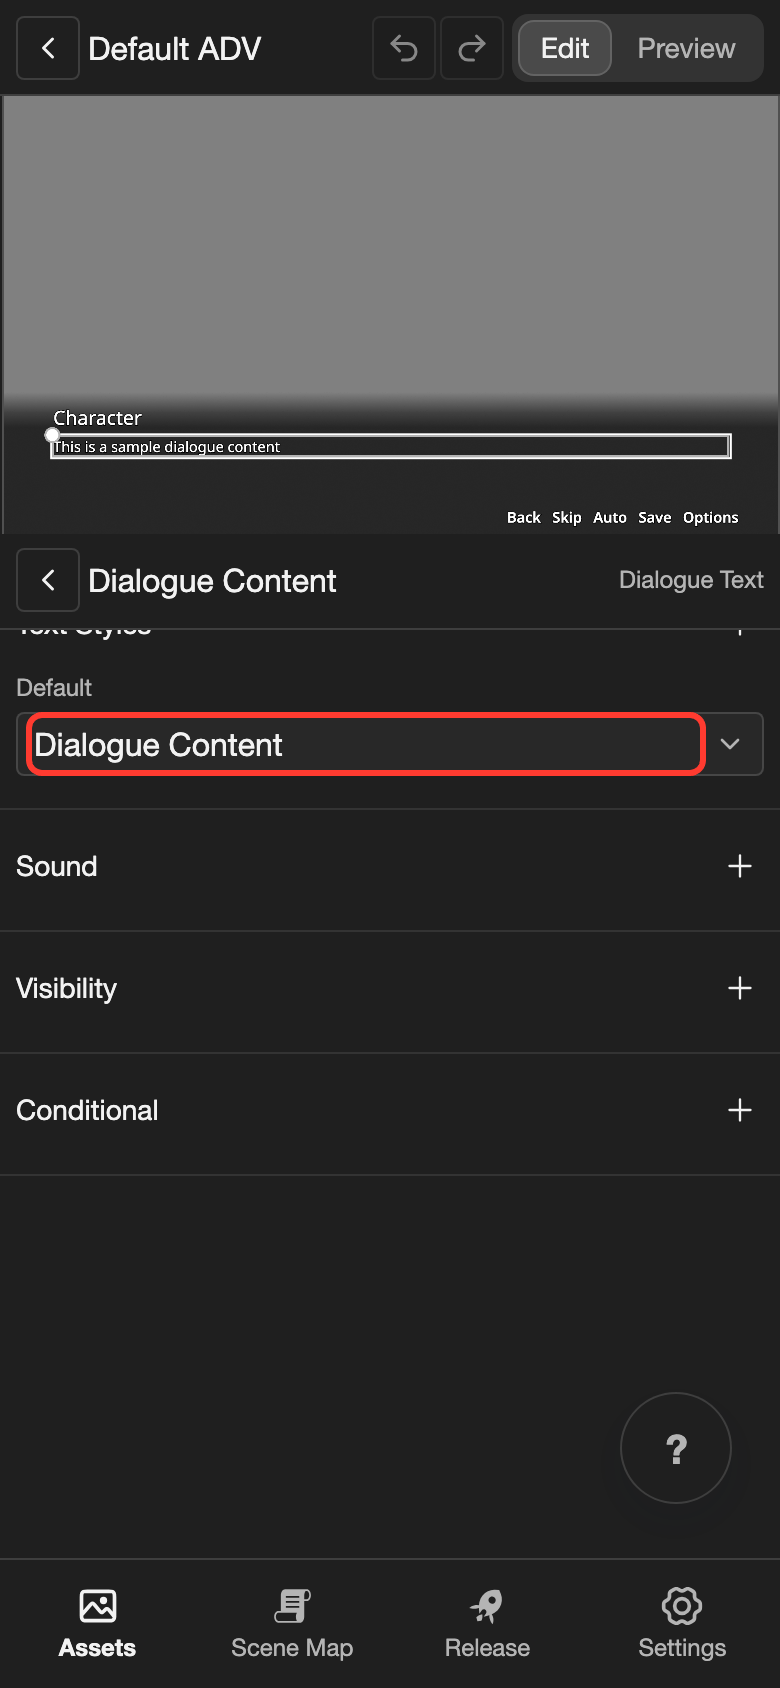
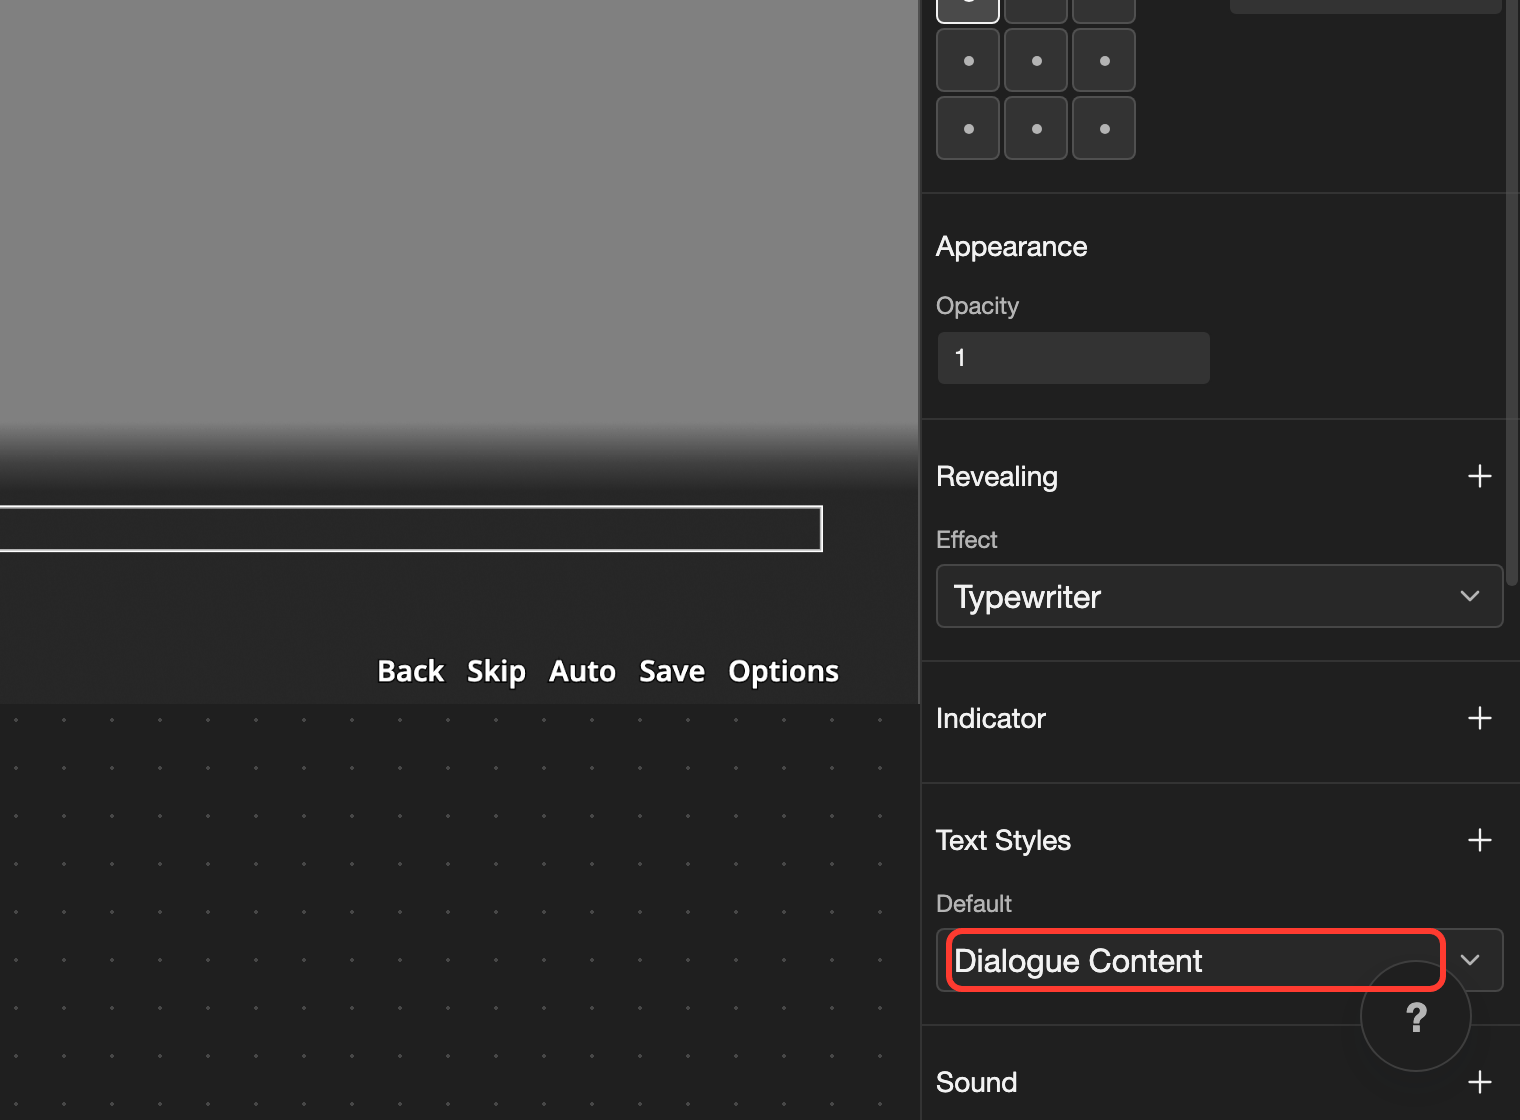
    The layout editor on a phone with Dialogue Content selected. The Text Style field is marked. The layout editor on desktop with Dialogue Content selected. The Text Style field is marked.
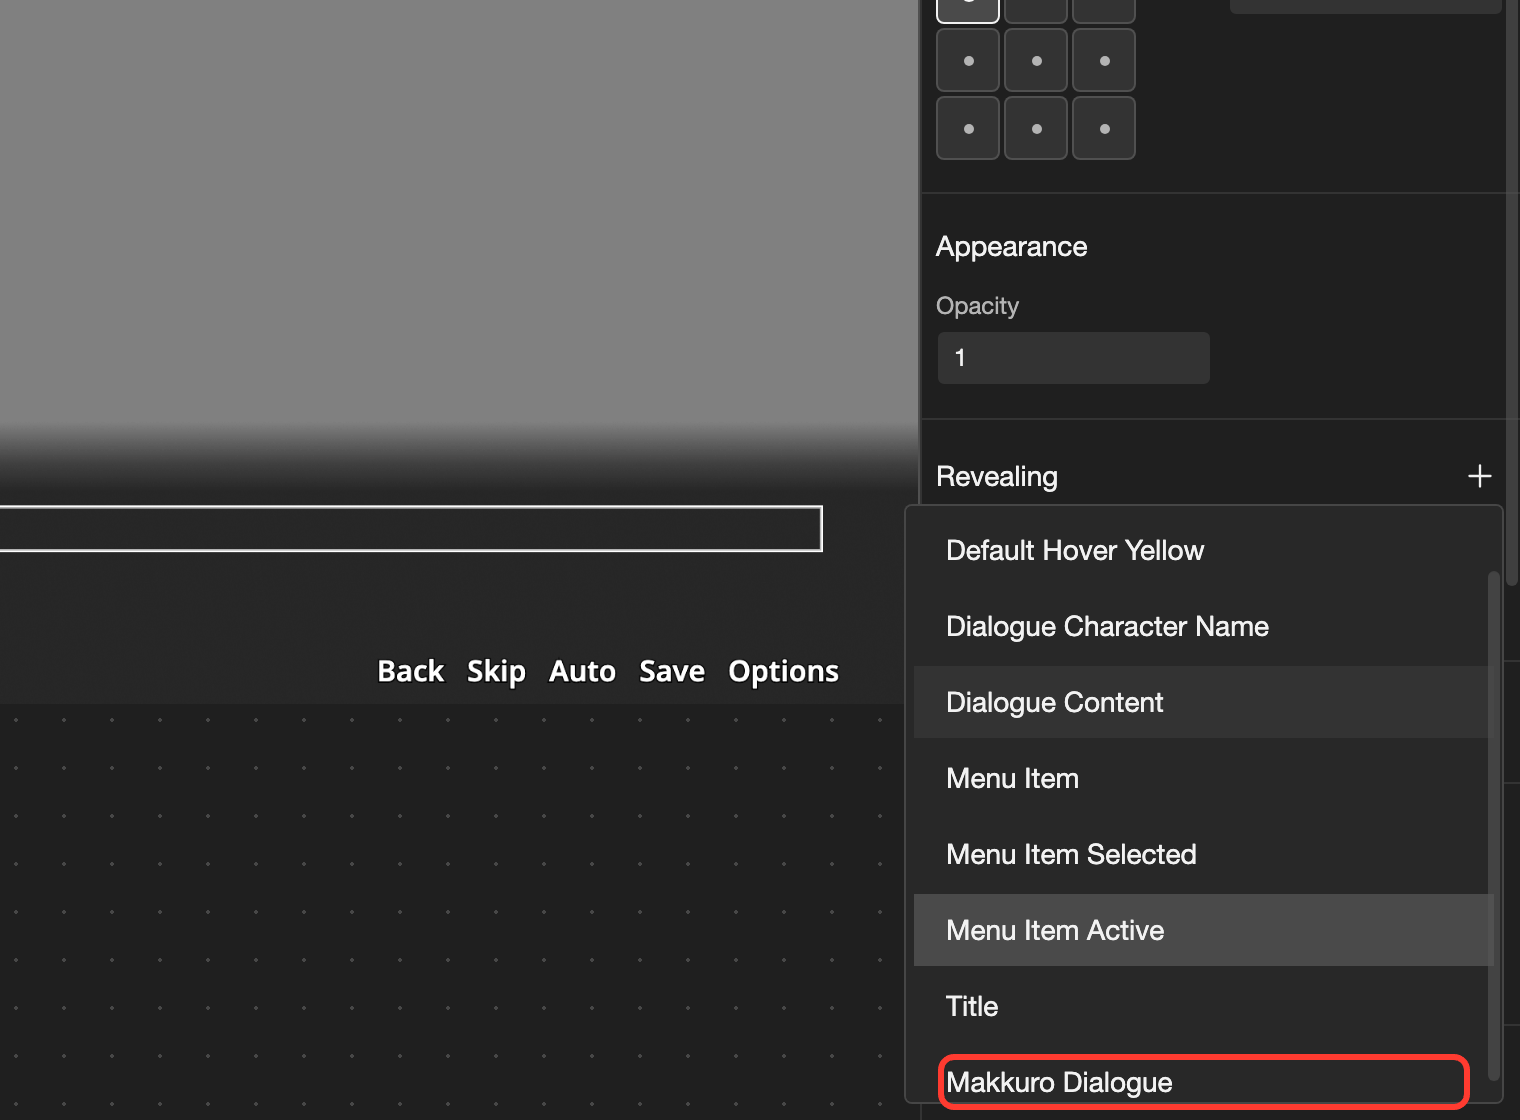
  5. Tap Makkuro Dialogue.

    The Text Style list on a phone. Makkuro Dialogue is marked. The Text Style list on desktop. Makkuro Dialogue is marked.

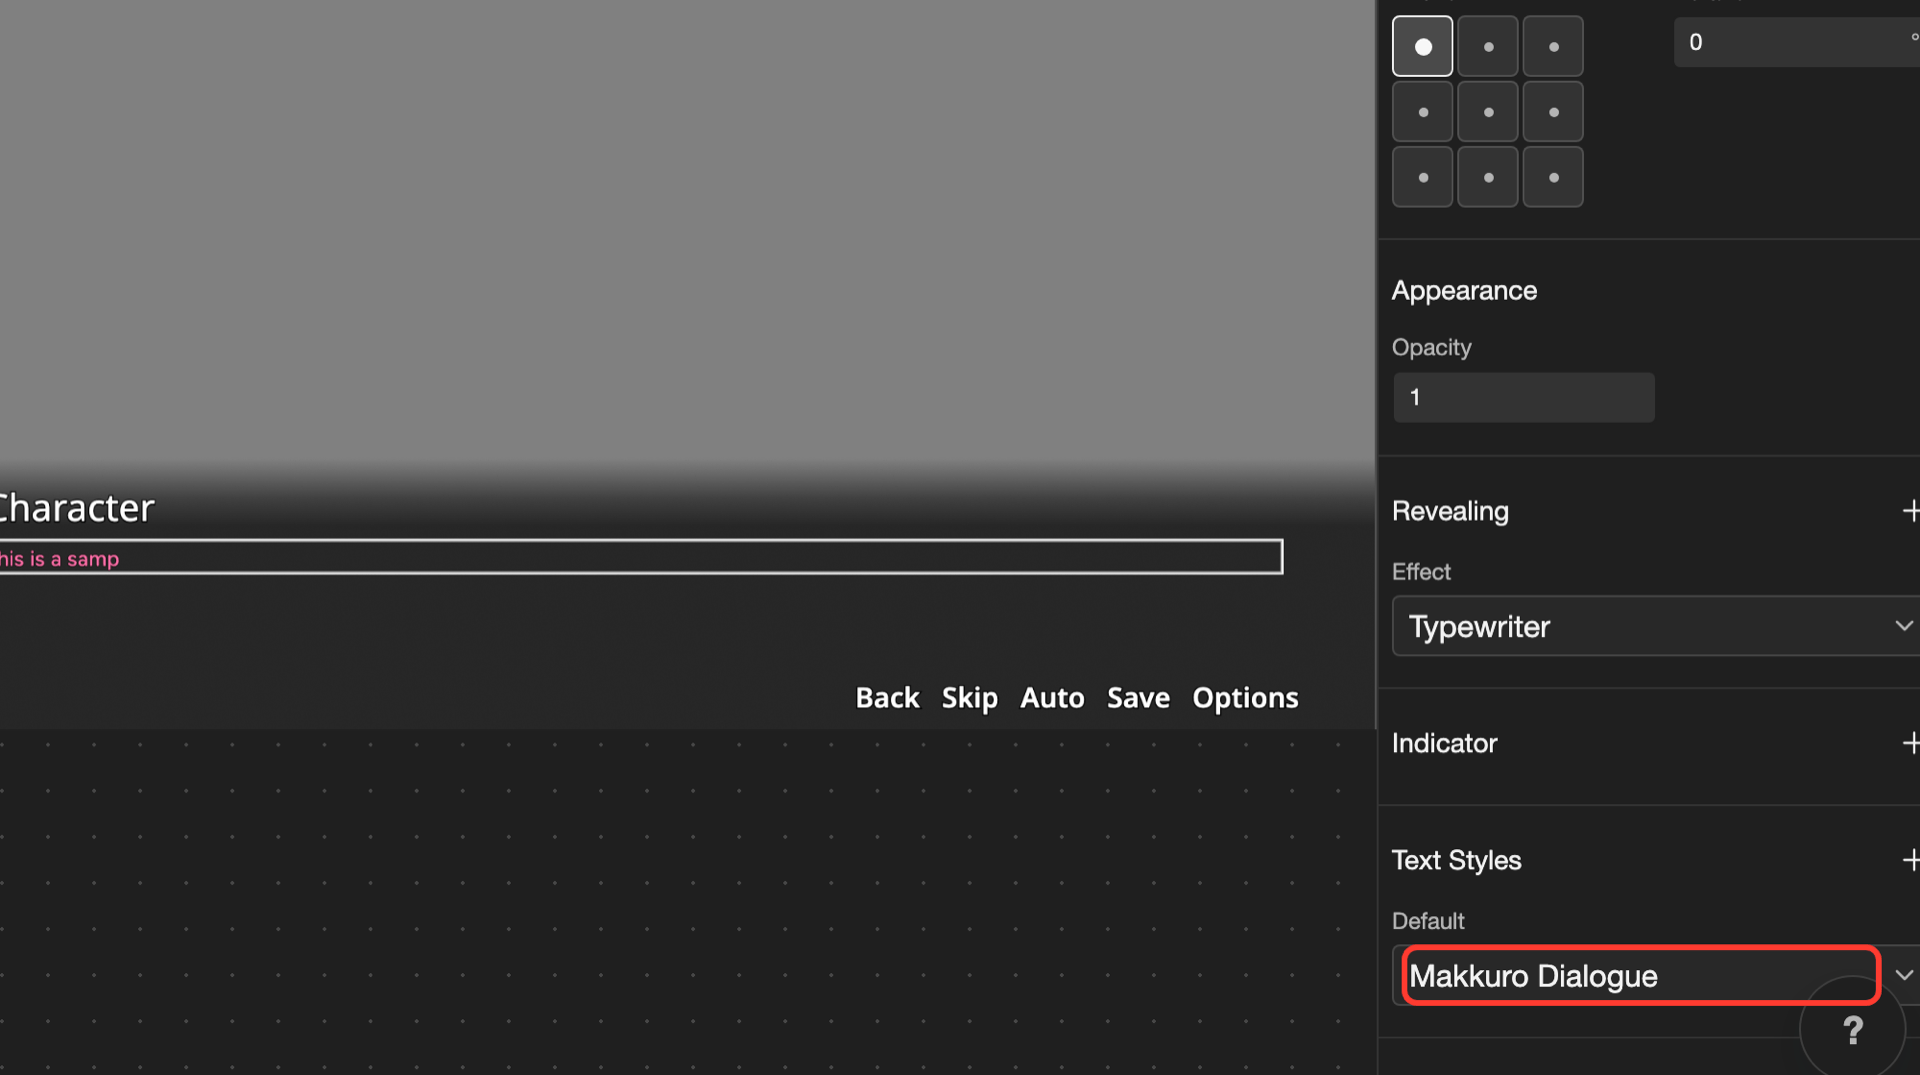
    The dialogue text in the layout uses the new text style.
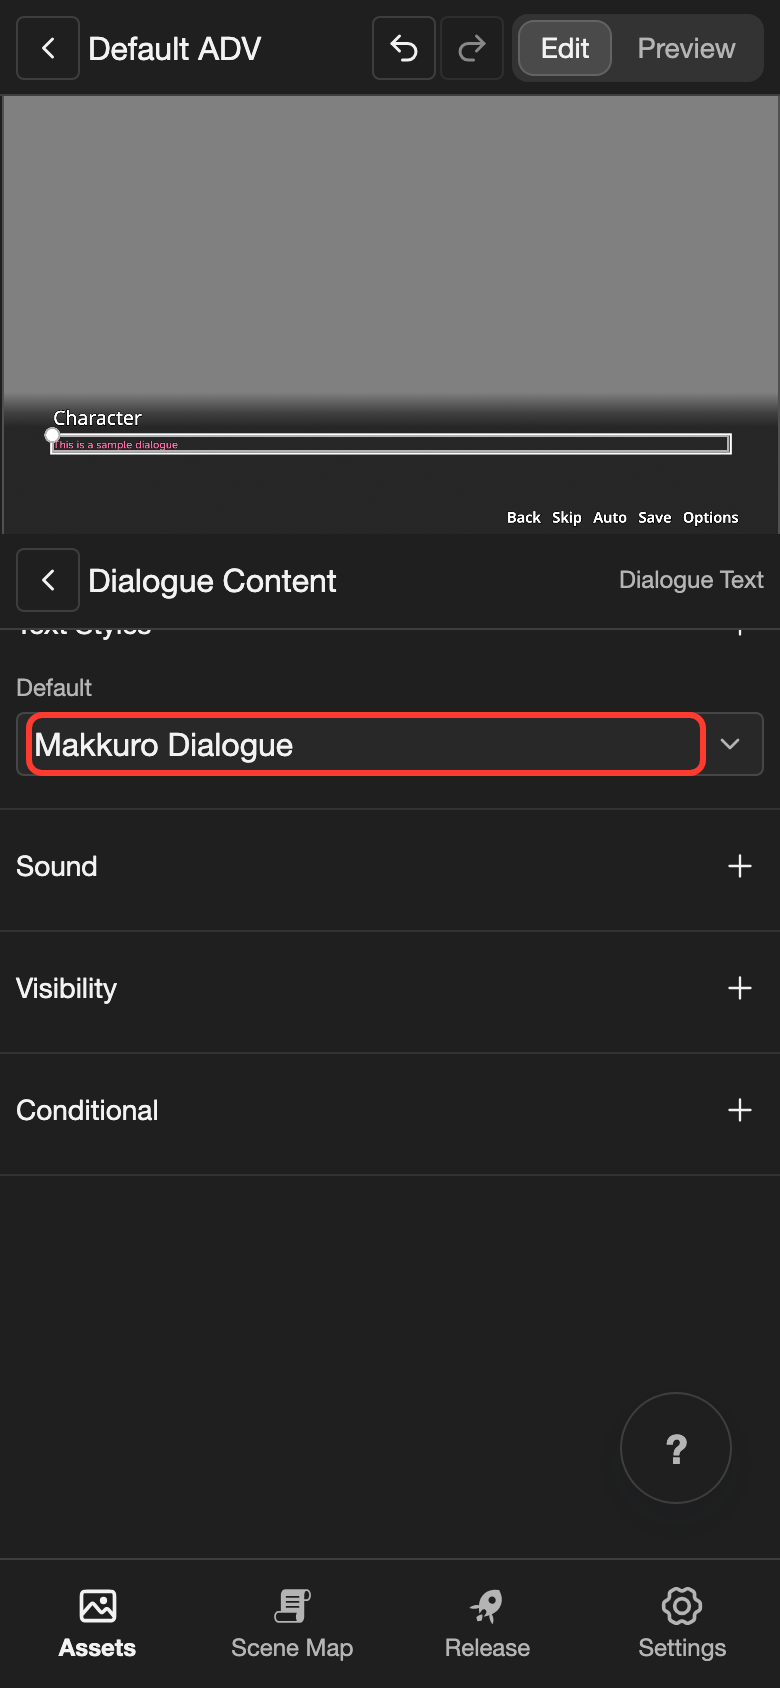
    The layout editor on a phone. The Text Styles field now shows Makkuro Dialogue, and the field is marked. The dialogue text uses this style. The layout editor on desktop. The Text Styles field now shows Makkuro Dialogue, and the field is marked. The dialogue text uses this style.

Good to know

  • A text style uses the font and color that you pick. If you change that font or color, the text style changes too.
  • In the editor, the Text Alignment setting only changes the preview. Layouts use the alignment of the text style itself.
  • A font weight that is not in the font file cannot be picked. Upload a separate font file for bold or italic text. See Bold, italic, and other styles.

Problems and fixes

  • I see "Add a font and a color to the project before adding a text style." Add them on the Fonts and Colors pages first.
  • I see "Text style name is required." Type a name in Name before you tap Add Text Style.
  • I see "Font unavailable." Open Fonts and upload the font file again.

Next steps