Dialogue NVL Layout
A Dialogue NVL layout shows dialogue over the whole screen. The lines add up on the page, one under the other. The Dialogue Box action shows it.
The layout has 3 special elements. One of them repeats once for each line on the page.
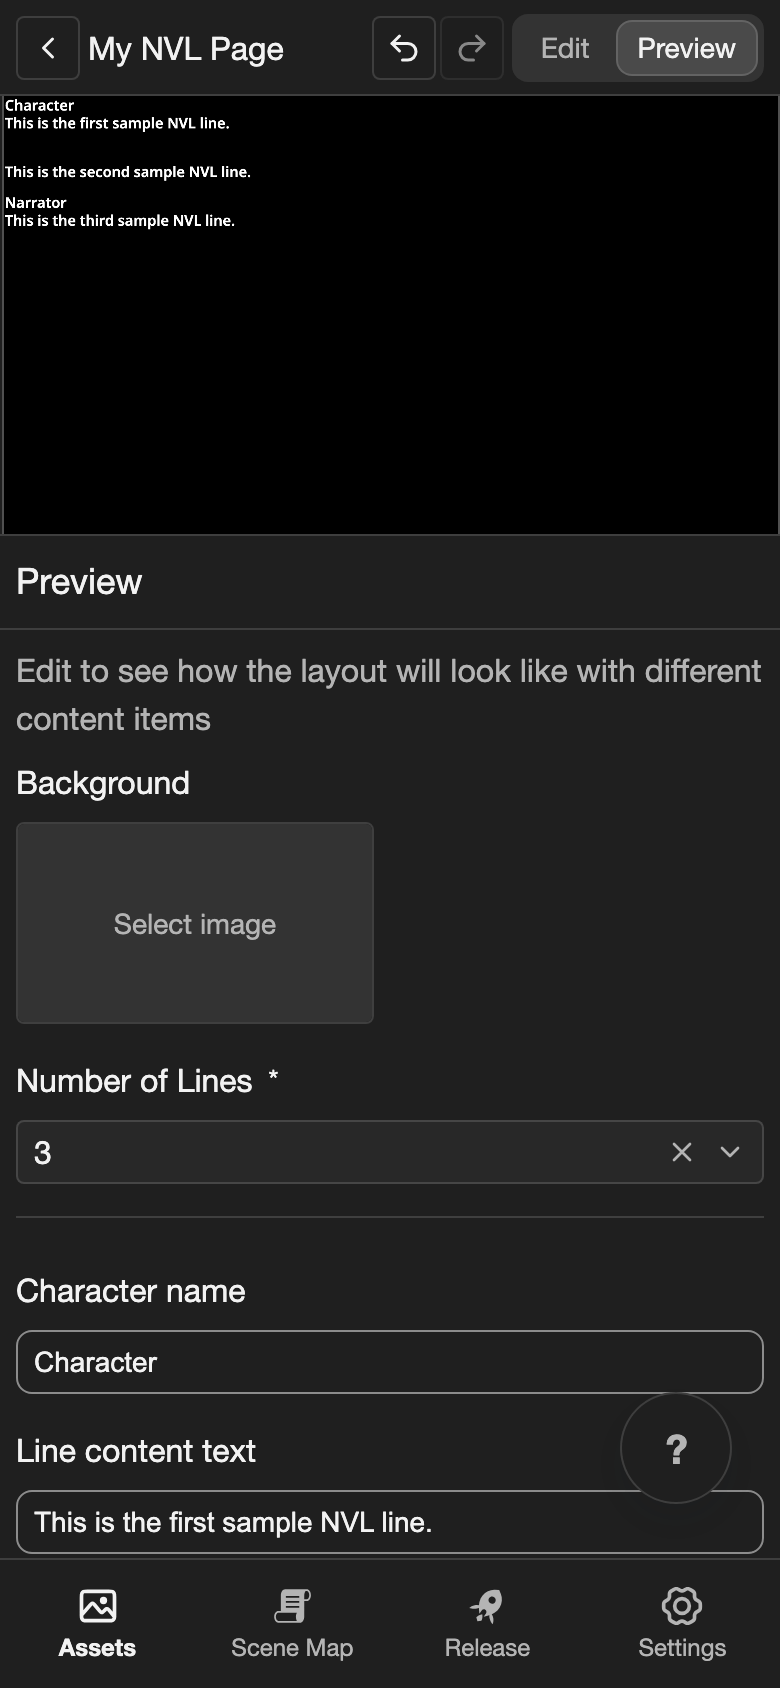
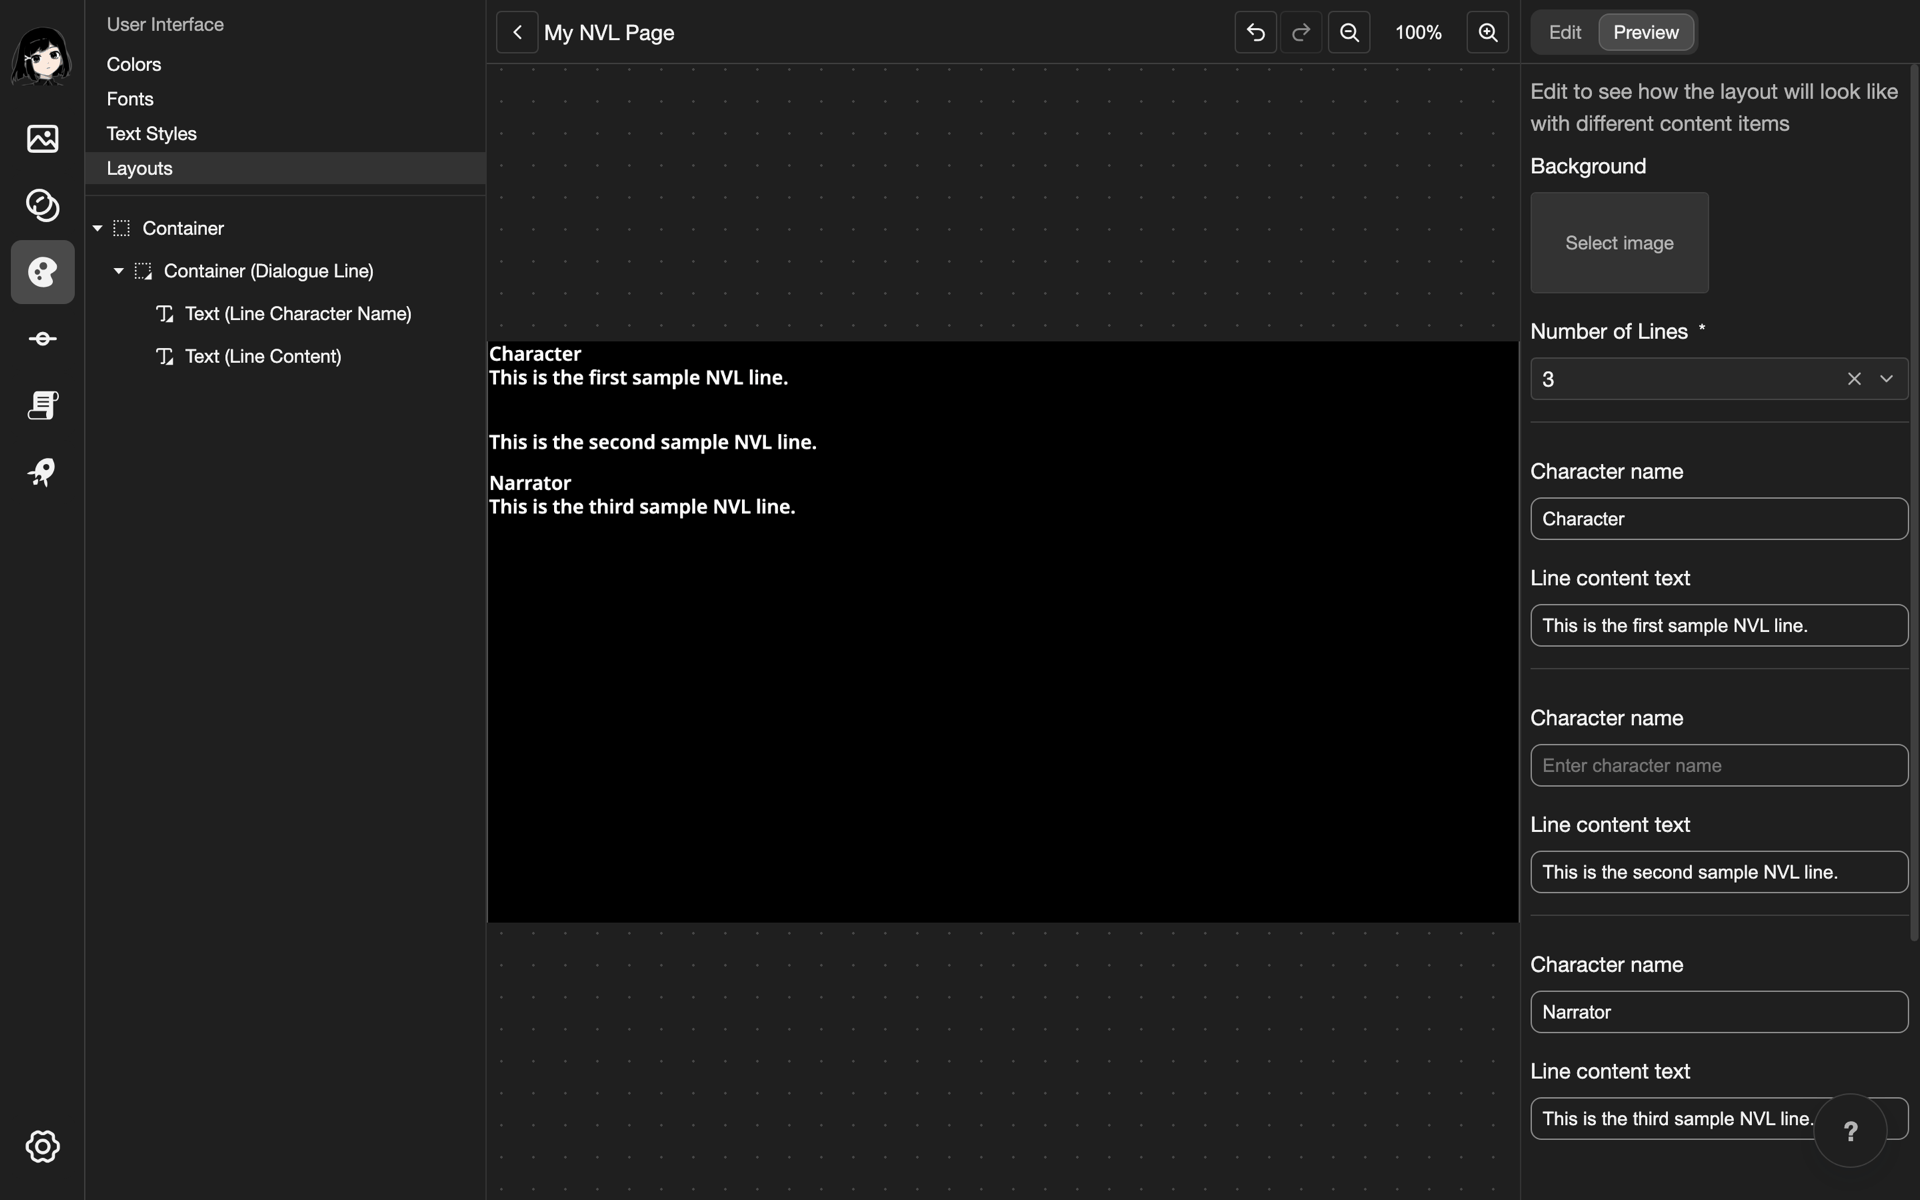
This example makes a simple page of lines in a new layout called My NVL Page.
Create the layout
- Create a layout. Under Layout Type, choose Dialogue NVL. See Create a layout.
- Open the new layout. The Elements list is empty.
Add a column for the lines
The lines need a container that puts them in a column. Without it, all lines show in the same place.
-
Add a Container. See Container.
-
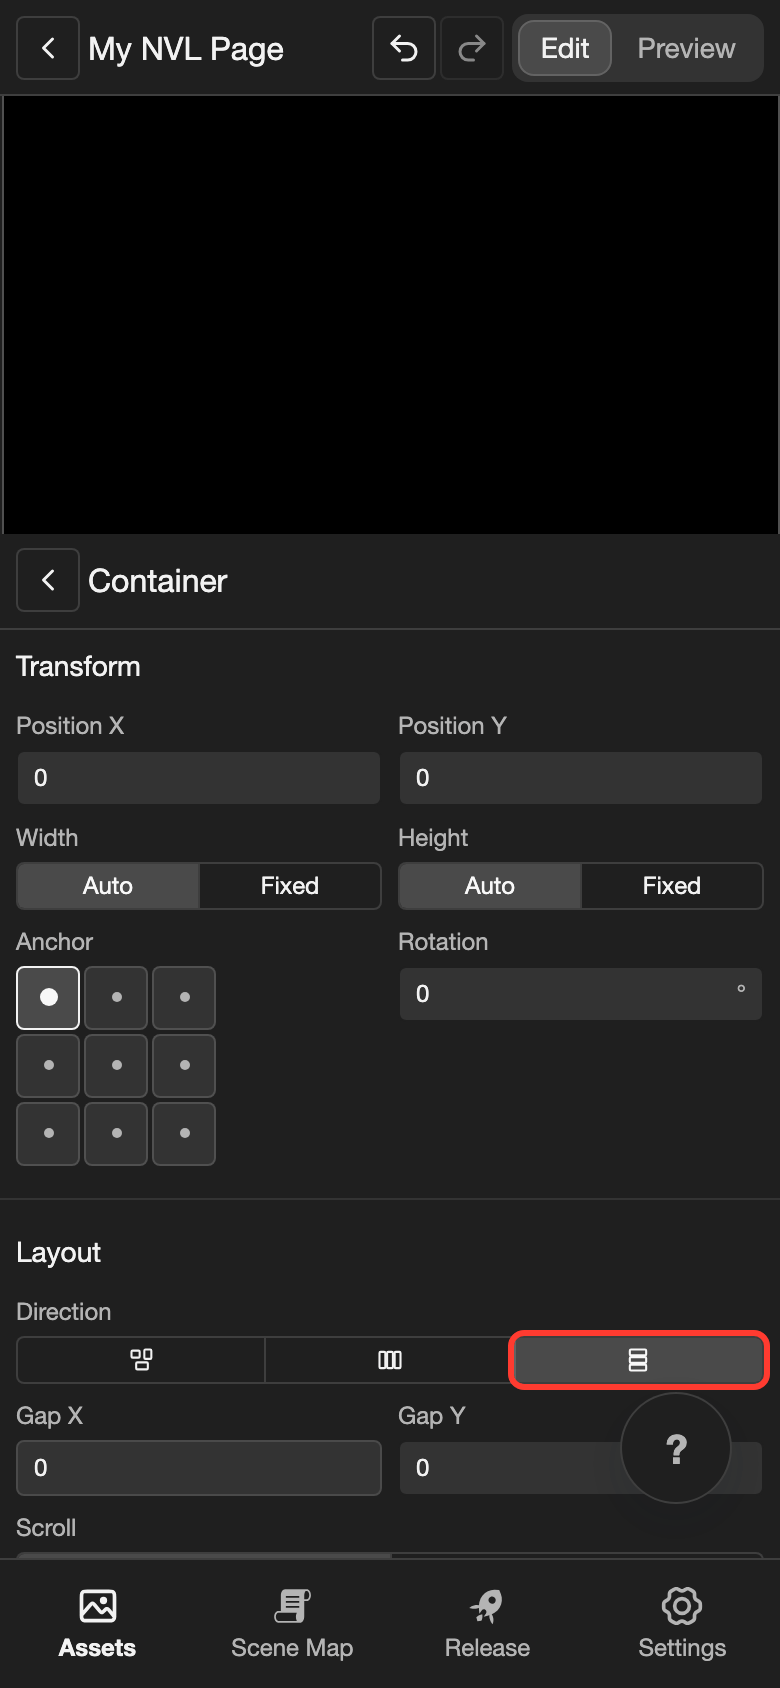
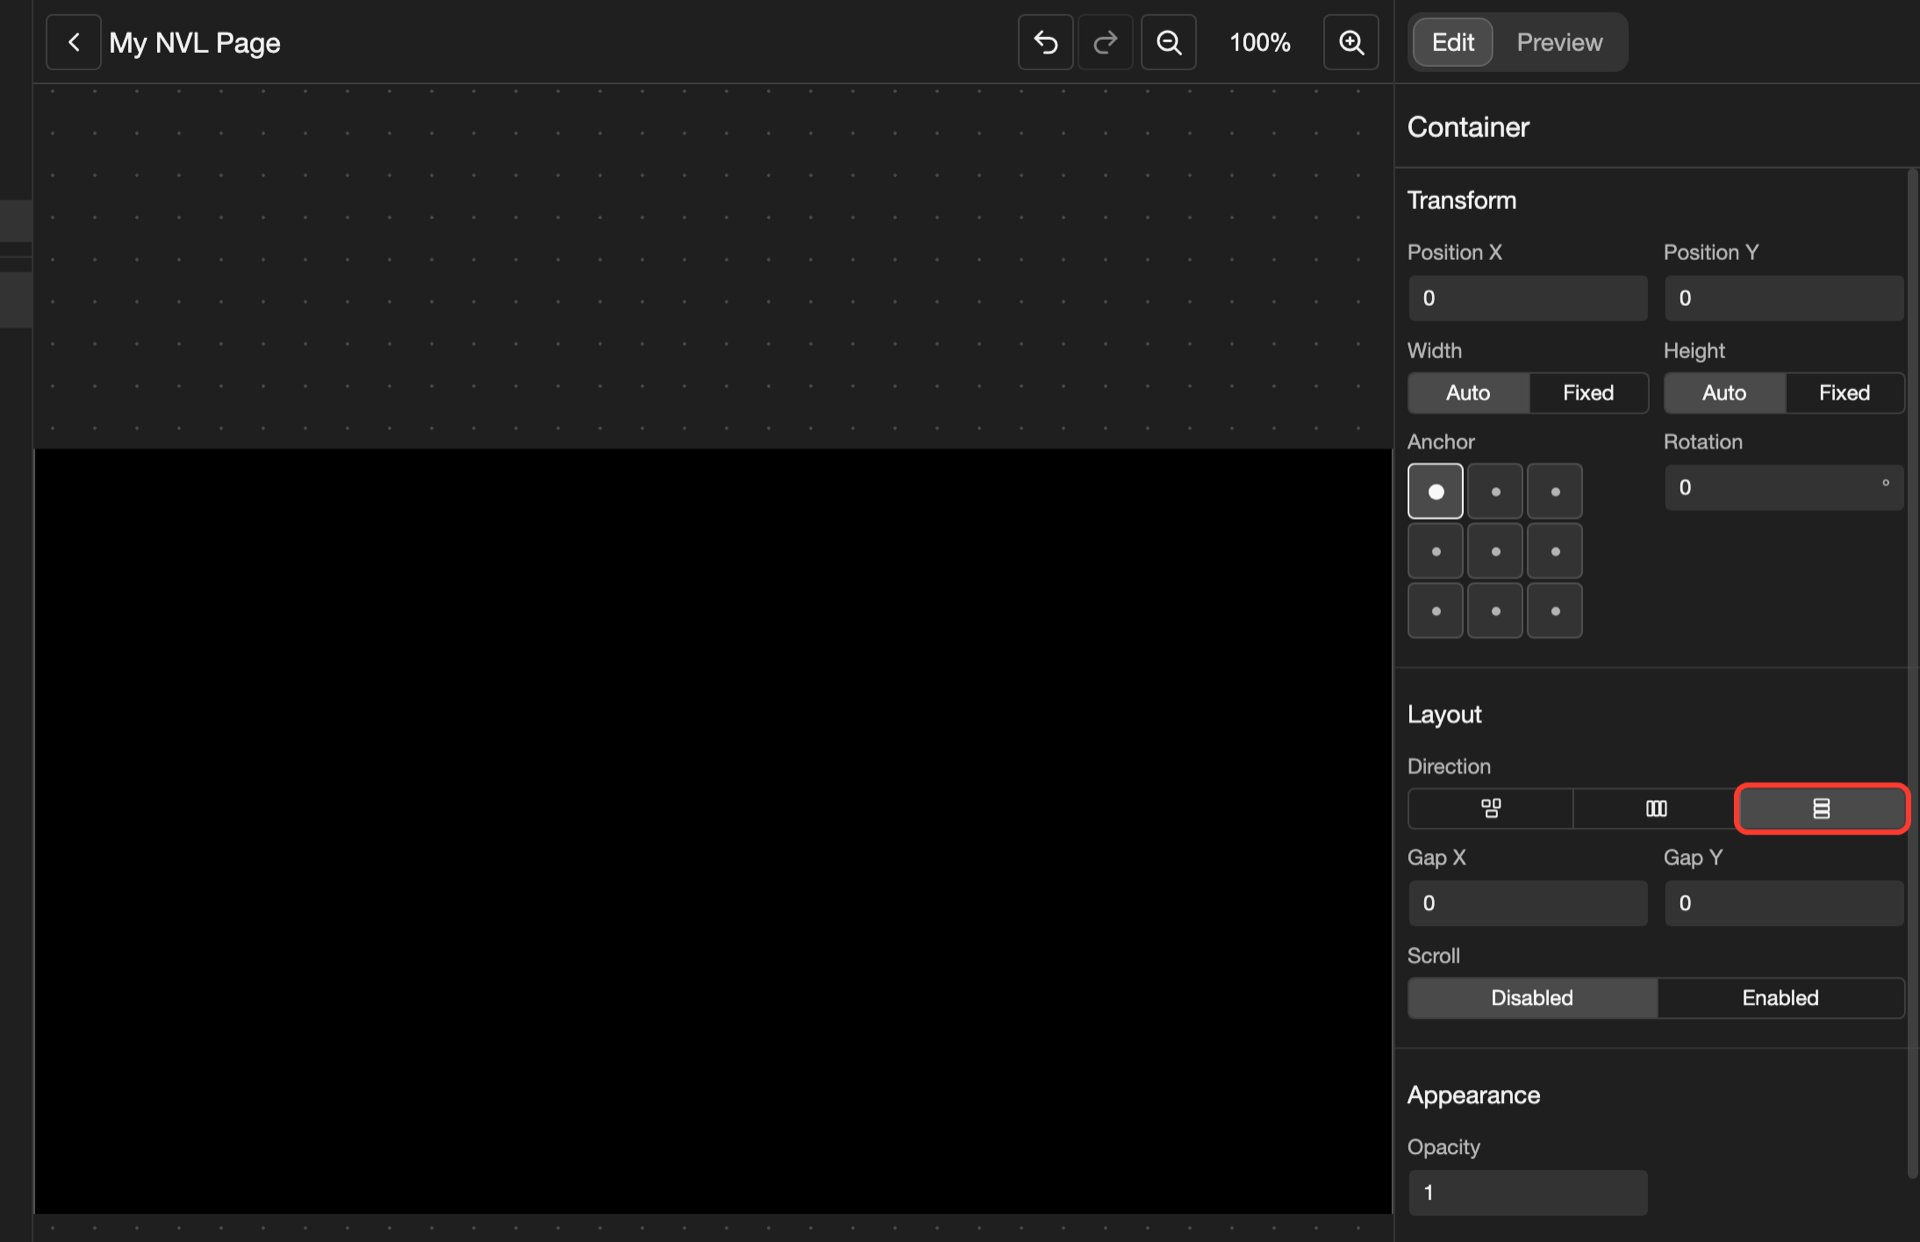
In the Elements list, tap Container. Its settings open.
-
Under Layout, find Direction. Tap the right button.
Add the line
-
Open the menu of Container.
- Phone or tablet: In the Elements list, tap the three dots button next to Container.
- Desktop: In the Elements list, right-click Container.
-
Scroll down the menu. Tap Container (Dialogue Line).
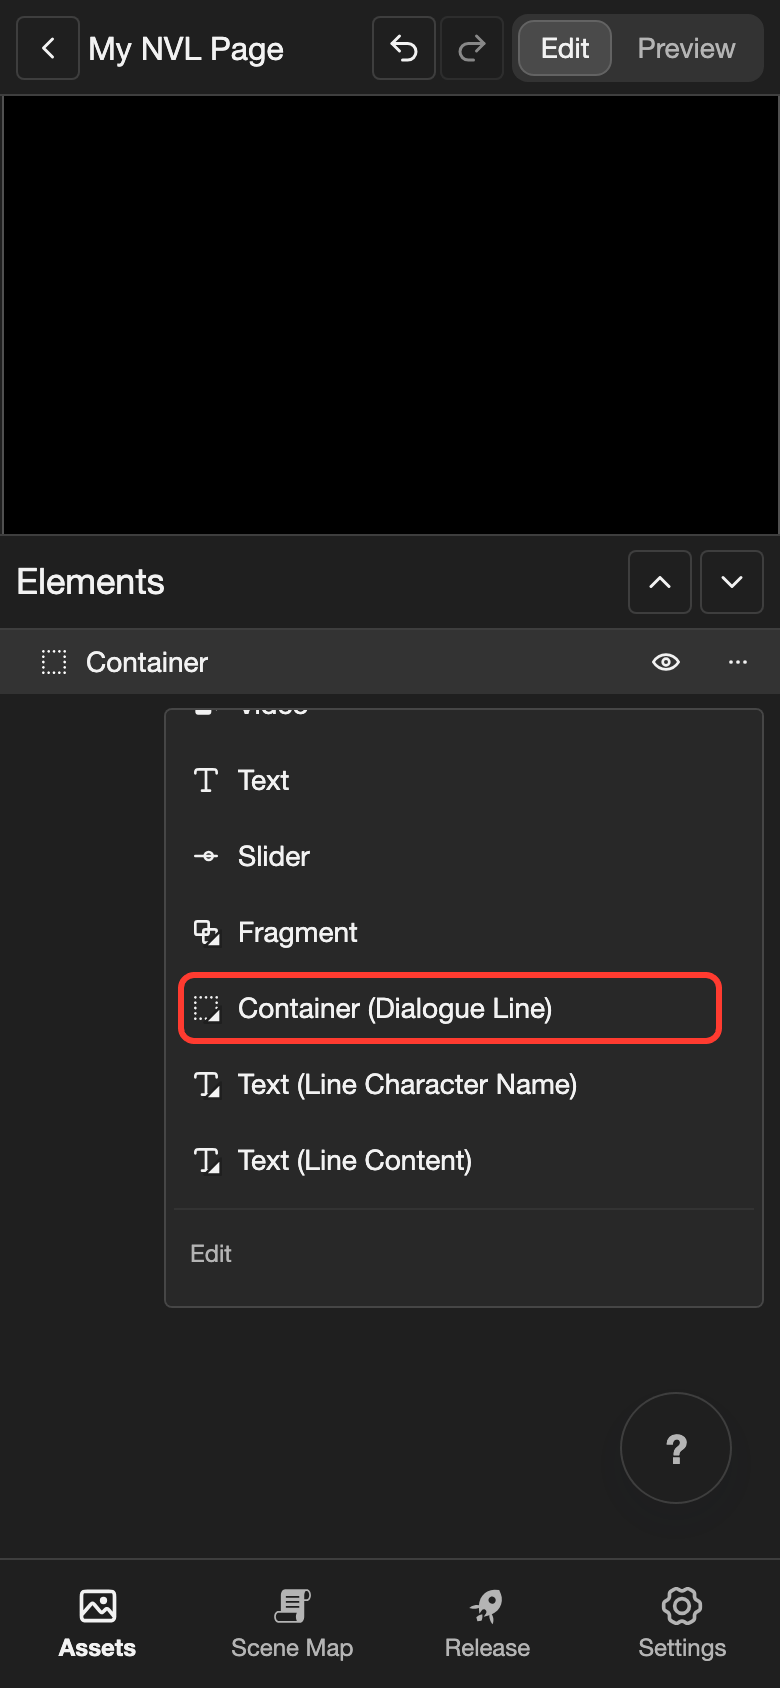
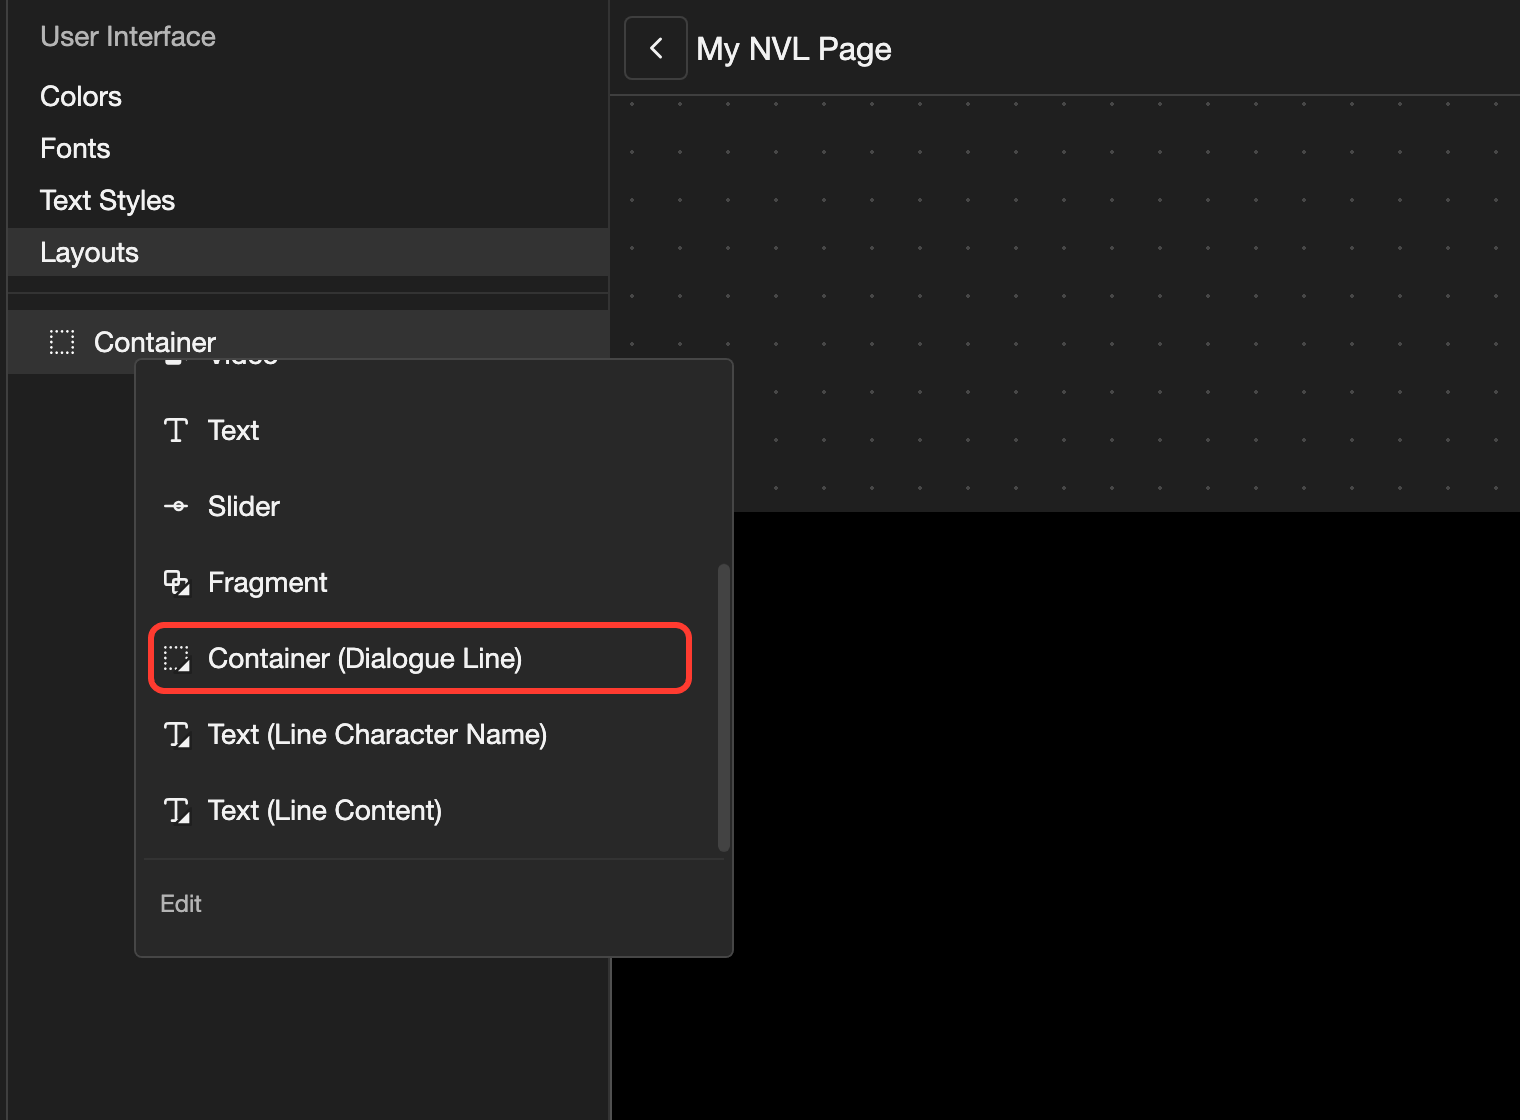
-
Open the menu of Container (Dialogue Line). Scroll down, and tap Text (Line Content).
-
Open the menu of Container (Dialogue Line) again. Scroll down, and tap Text (Line Character Name).
A new element goes first in its container. So the name is now above the words.
The canvas shows 3 sample lines in a column.
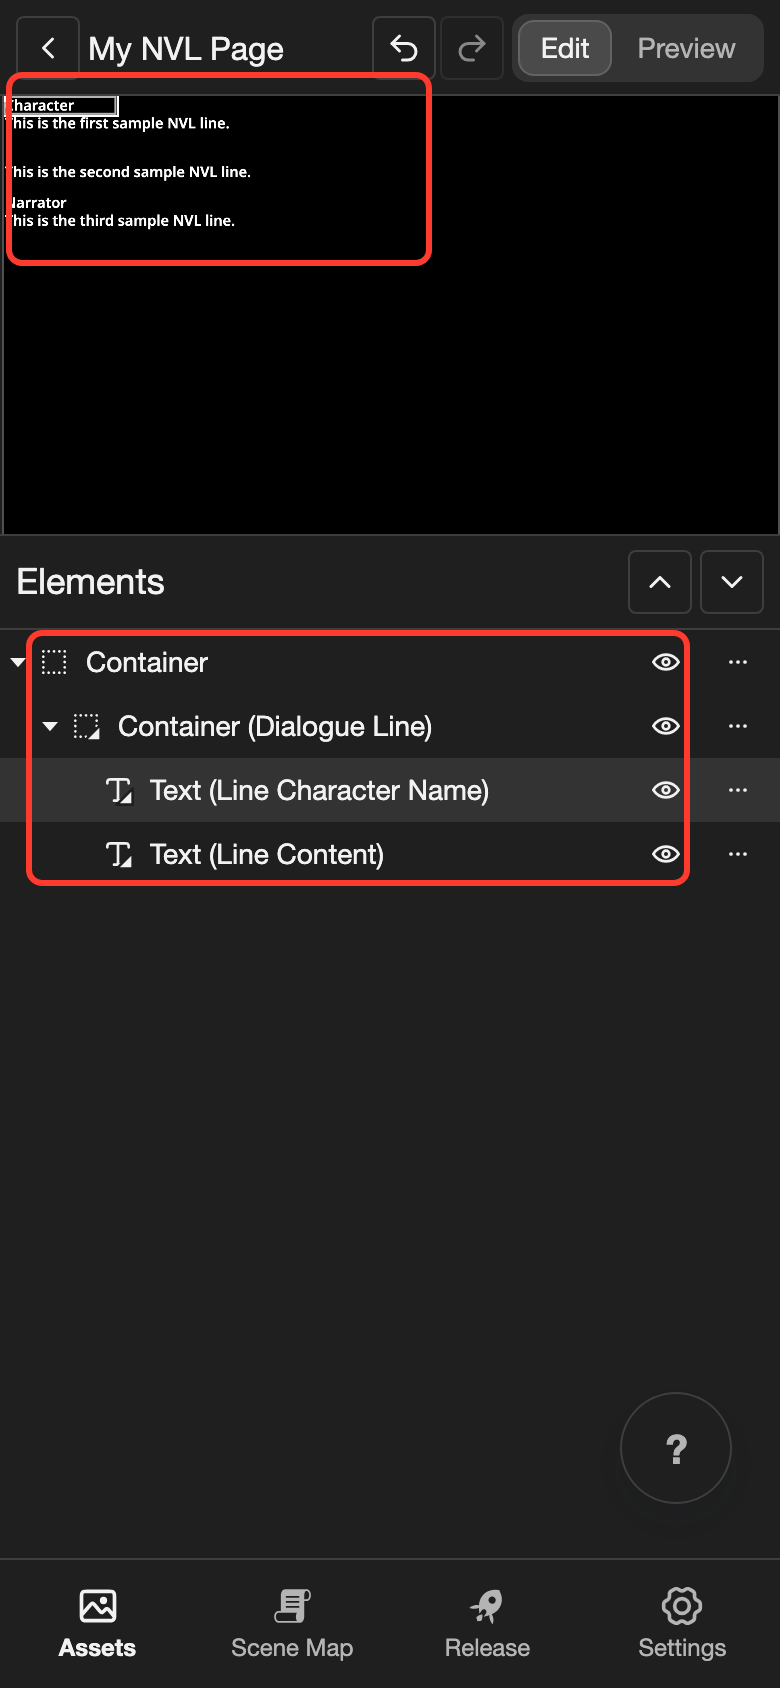
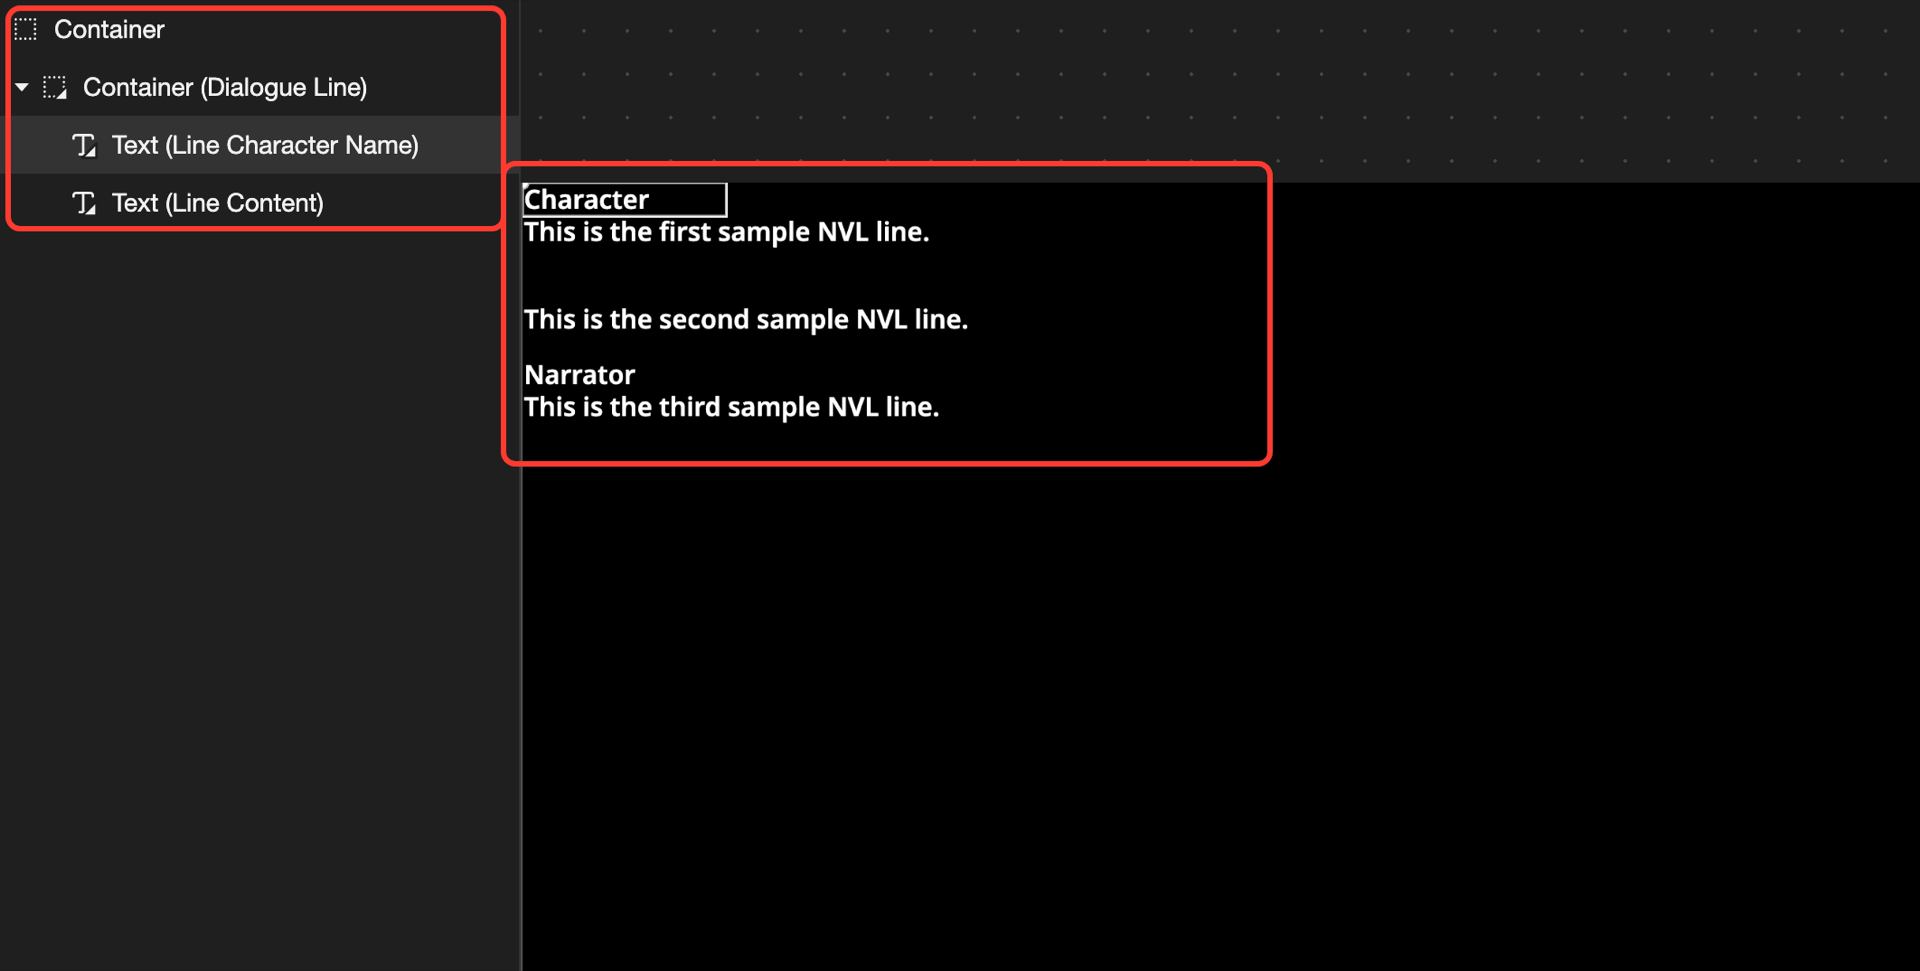
Test it in Preview
- At the top, tap Preview.
- Under Number of Lines, choose how many lines to show, from 1 to 6.
- Under Character name and Line content text, type the name and the words of each line.
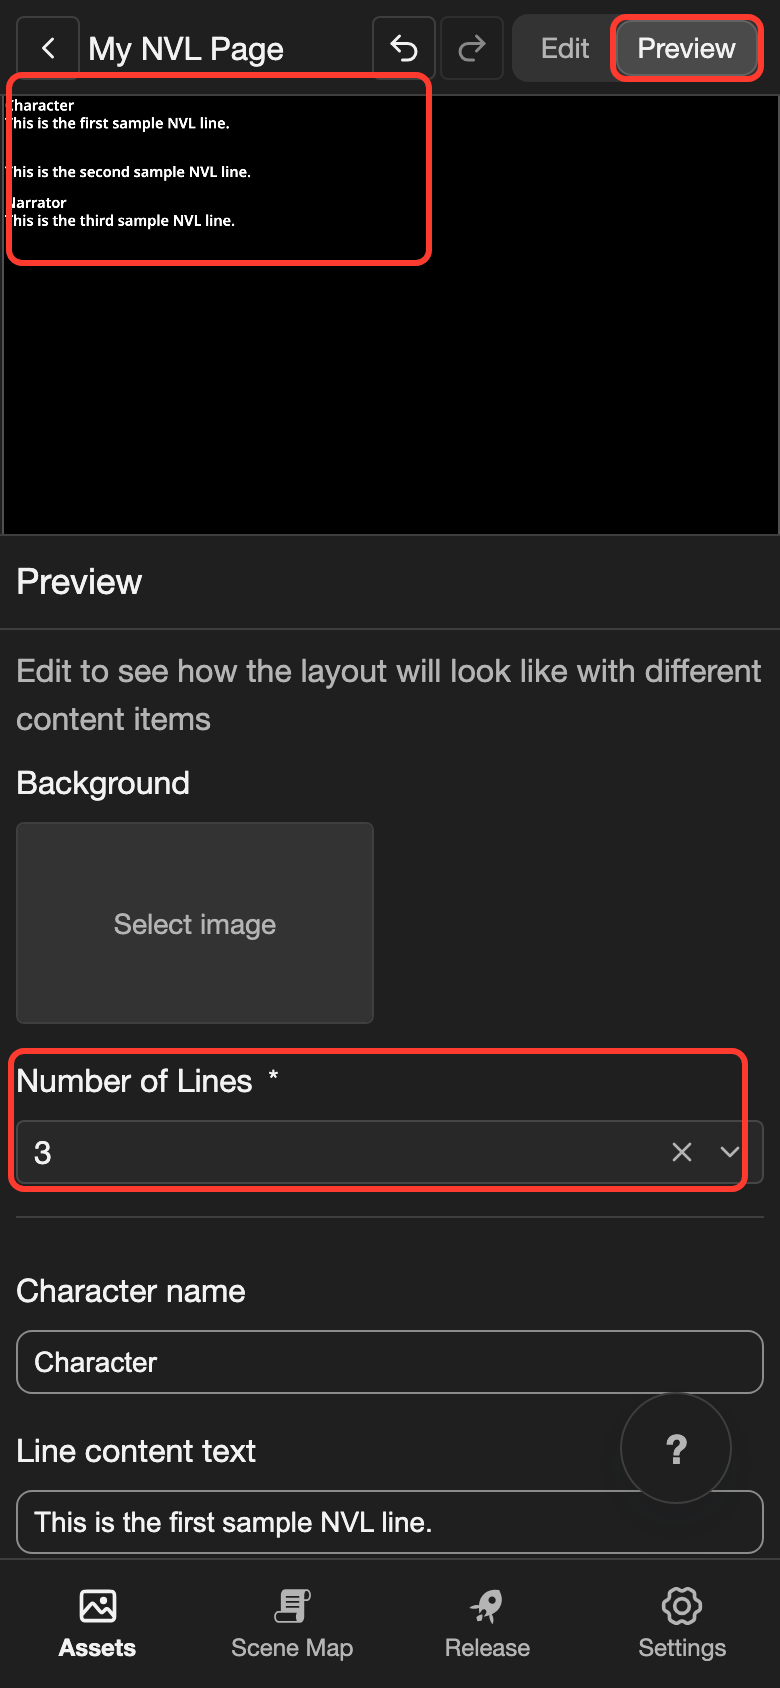
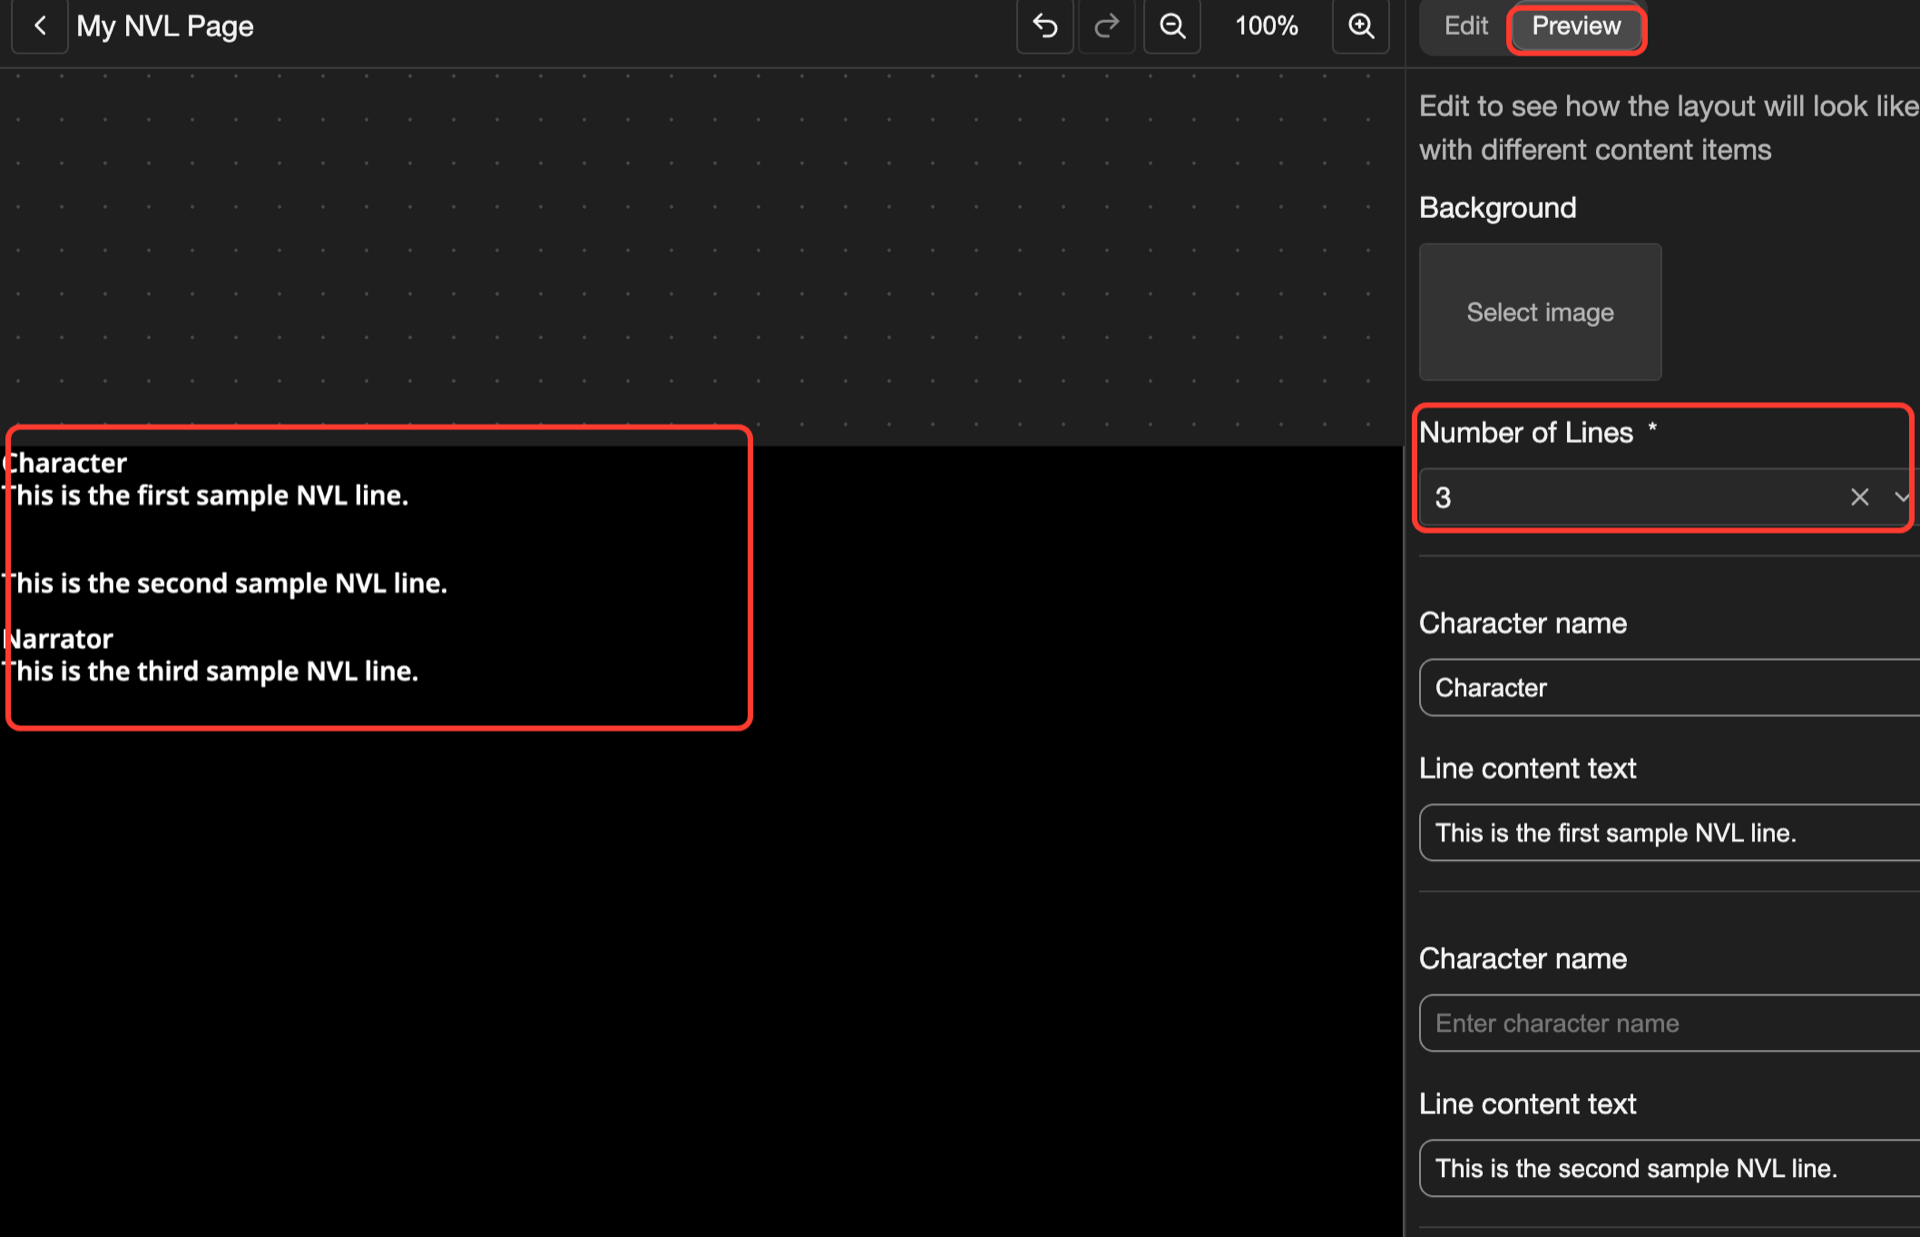
The second sample line has no name. Its Text (Line Character Name) hides by itself.
Special elements
| Element | What it does |
|---|---|
| Container (Dialogue Line) | Repeats once for each line on the page. Put it in a container whose Direction makes a column. |
| Text (Line Character Name) | Shows the name of the character who speaks the line. It hides on lines that nobody speaks. |
| Text (Line Content) | Shows the words of the line. Only the newest line appears letter by letter. |
You cannot type words in these texts. Your visual novel fills them in.
Good to know
- The lines add up until a Dialogue Box action has Clear Page set to Yes. See ADV and NVL.