Dialogue Box
The dialogue box shows the text of your visual novel on the screen. Some other engines call it a message box. The Dialogue Box action sets how the box looks and who is speaking.
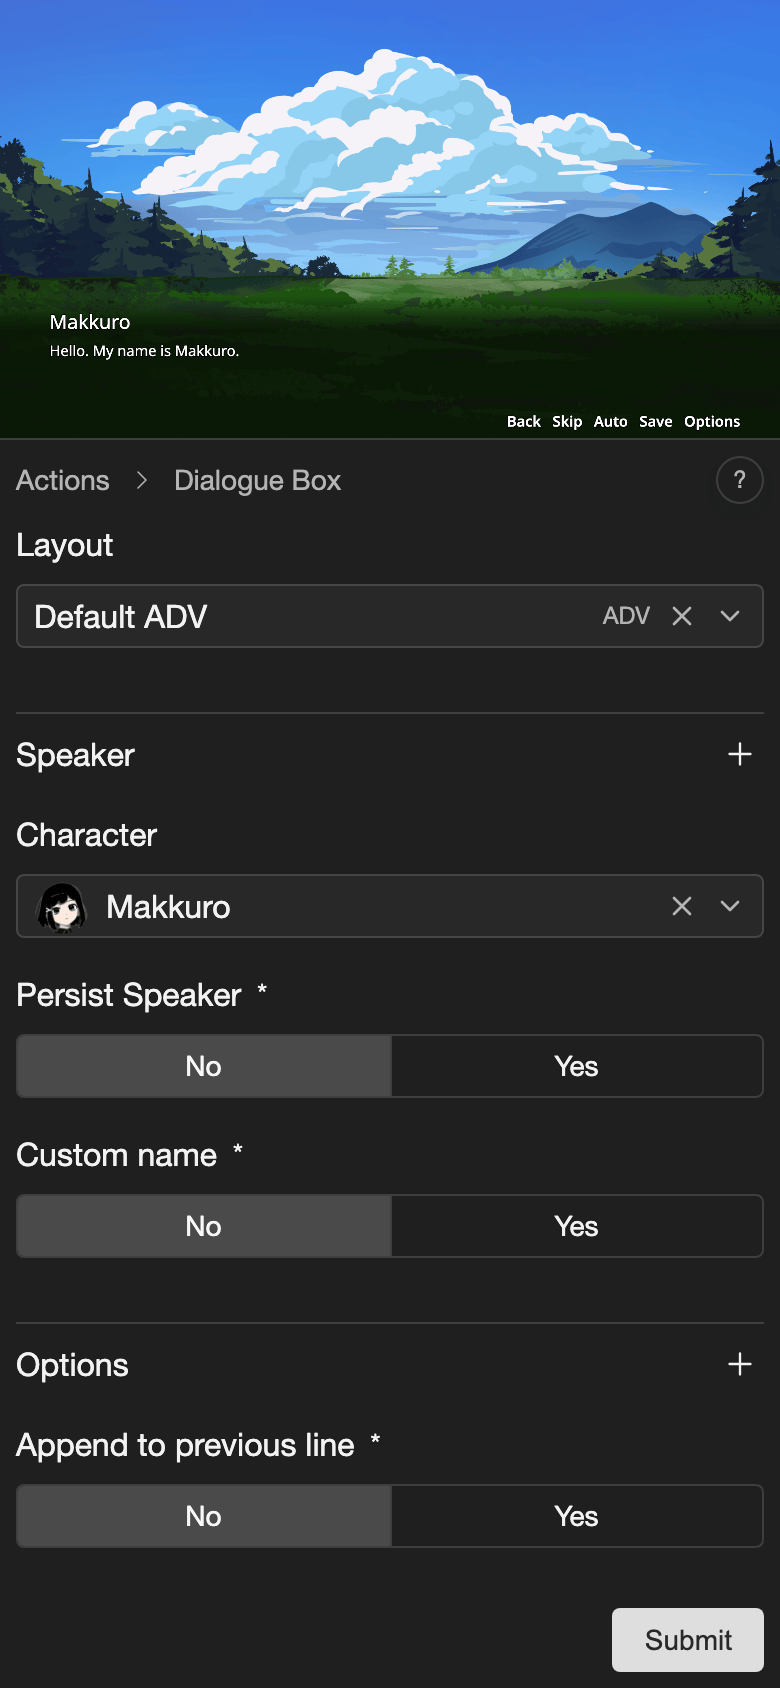
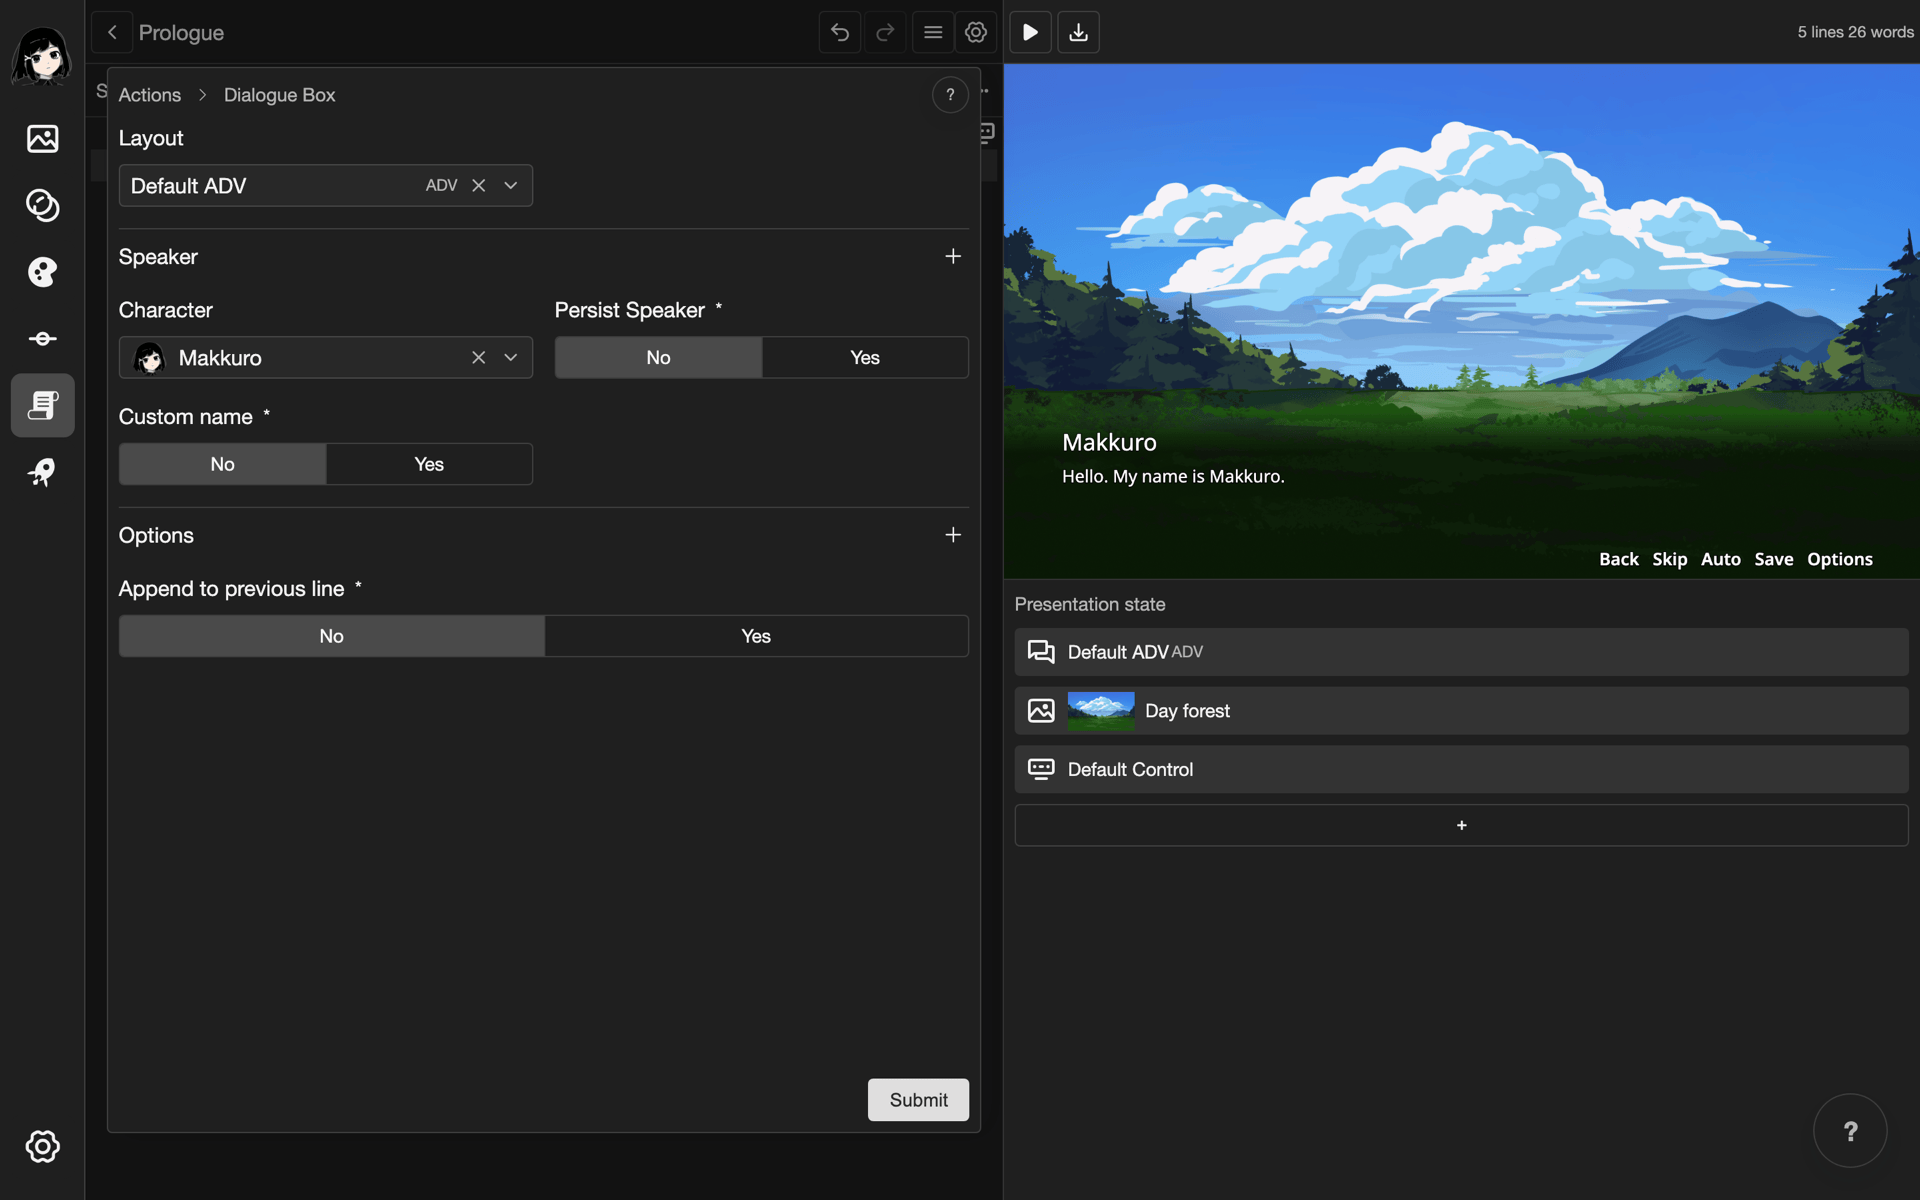
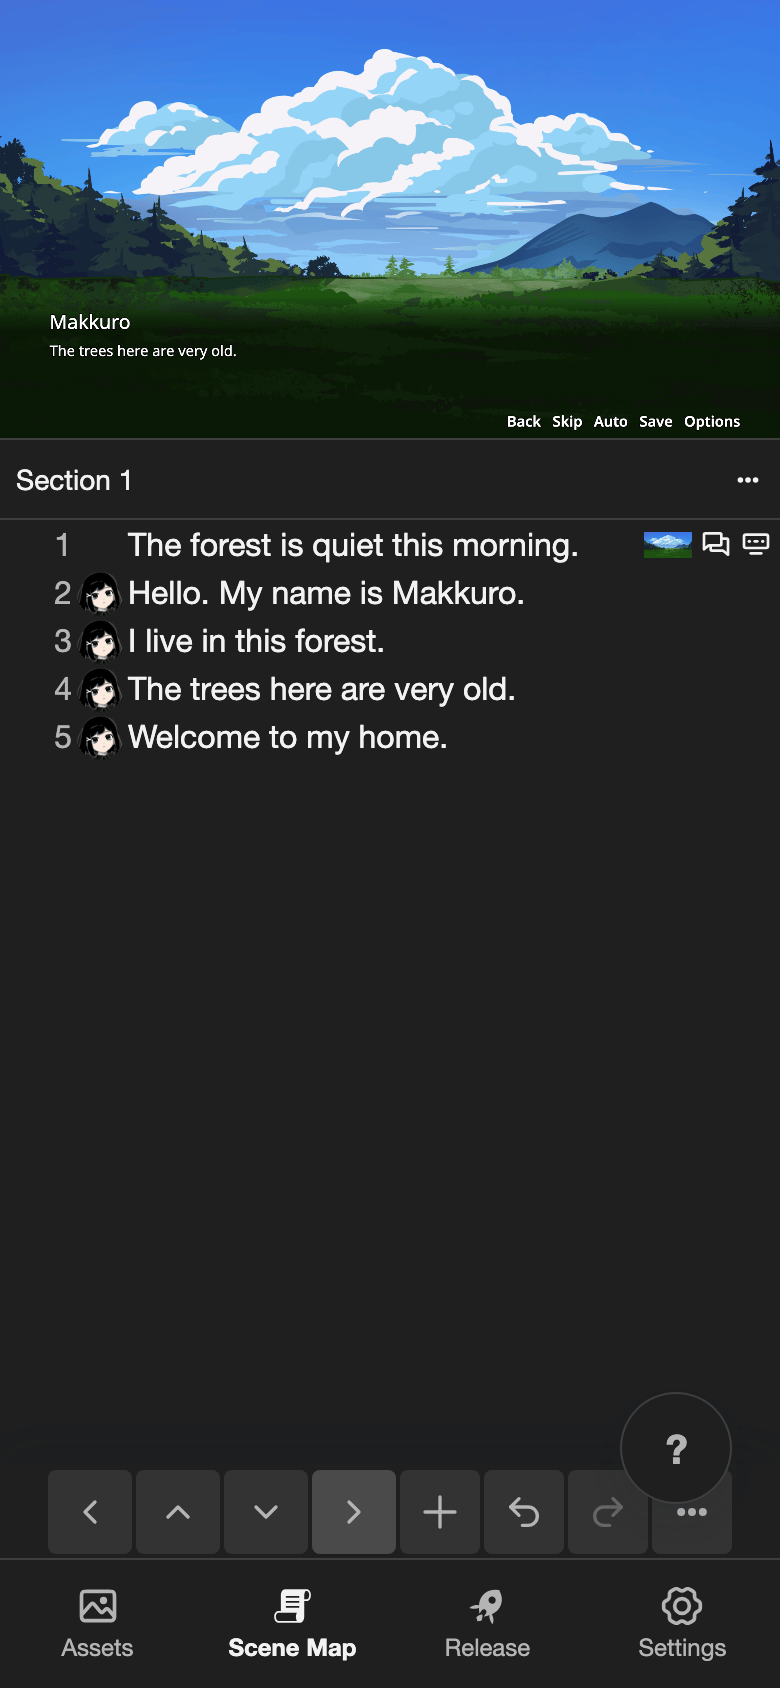
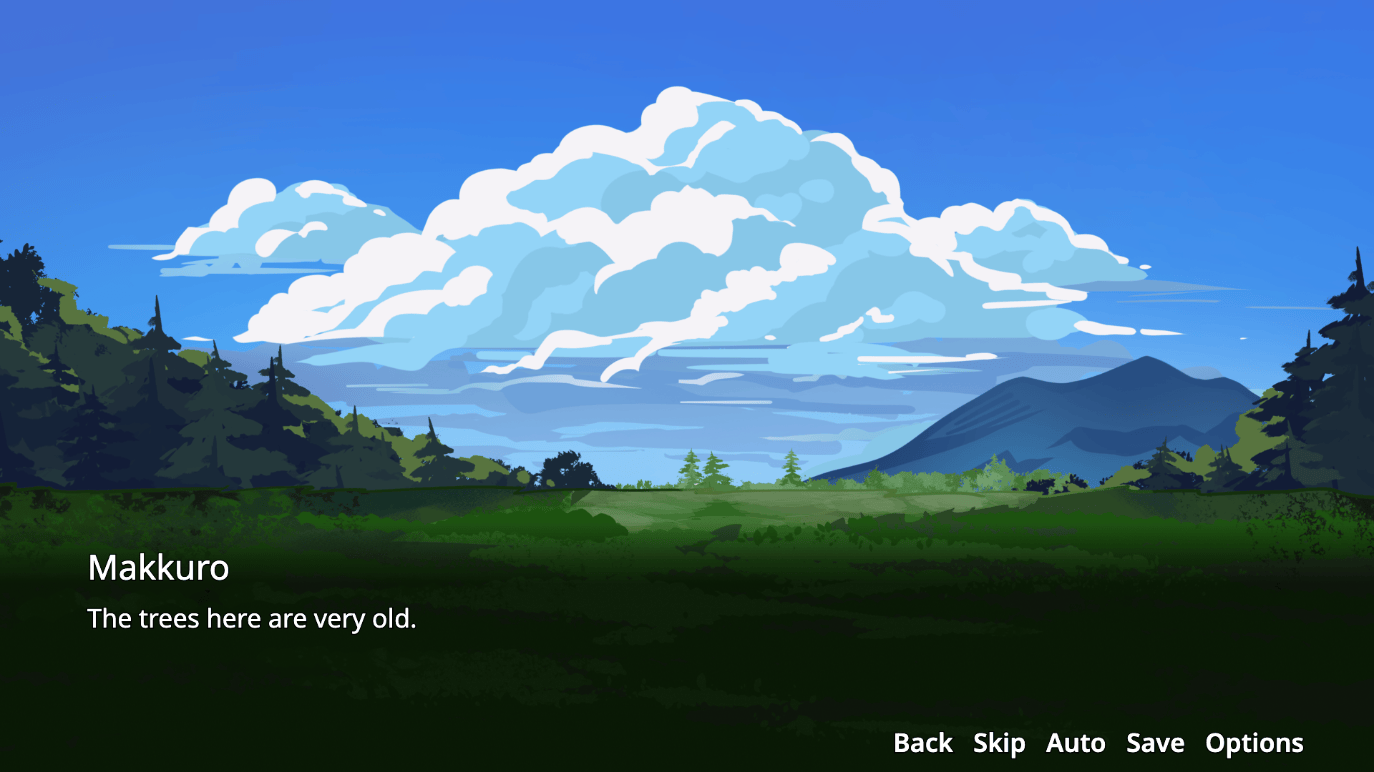
How the dialogue box works
You type the text of each line in the scene editor. The dialogue box shows this text. You do not need an action for it.
The Dialogue Box action changes the box itself. It sets the layout, which is how the box looks. It also sets the speaker.
A new scene already has a Dialogue Box action on line 1. The next lines keep its layout until another Dialogue Box action changes it.
ADV and NVL
Each dialogue layout has a mode: ADV or NVL.
| Mode | What the reader sees |
|---|---|
| ADV | One line at a time. Each new line replaces the last one. |
| NVL | Many lines on one page. Each new line shows under the last one. |
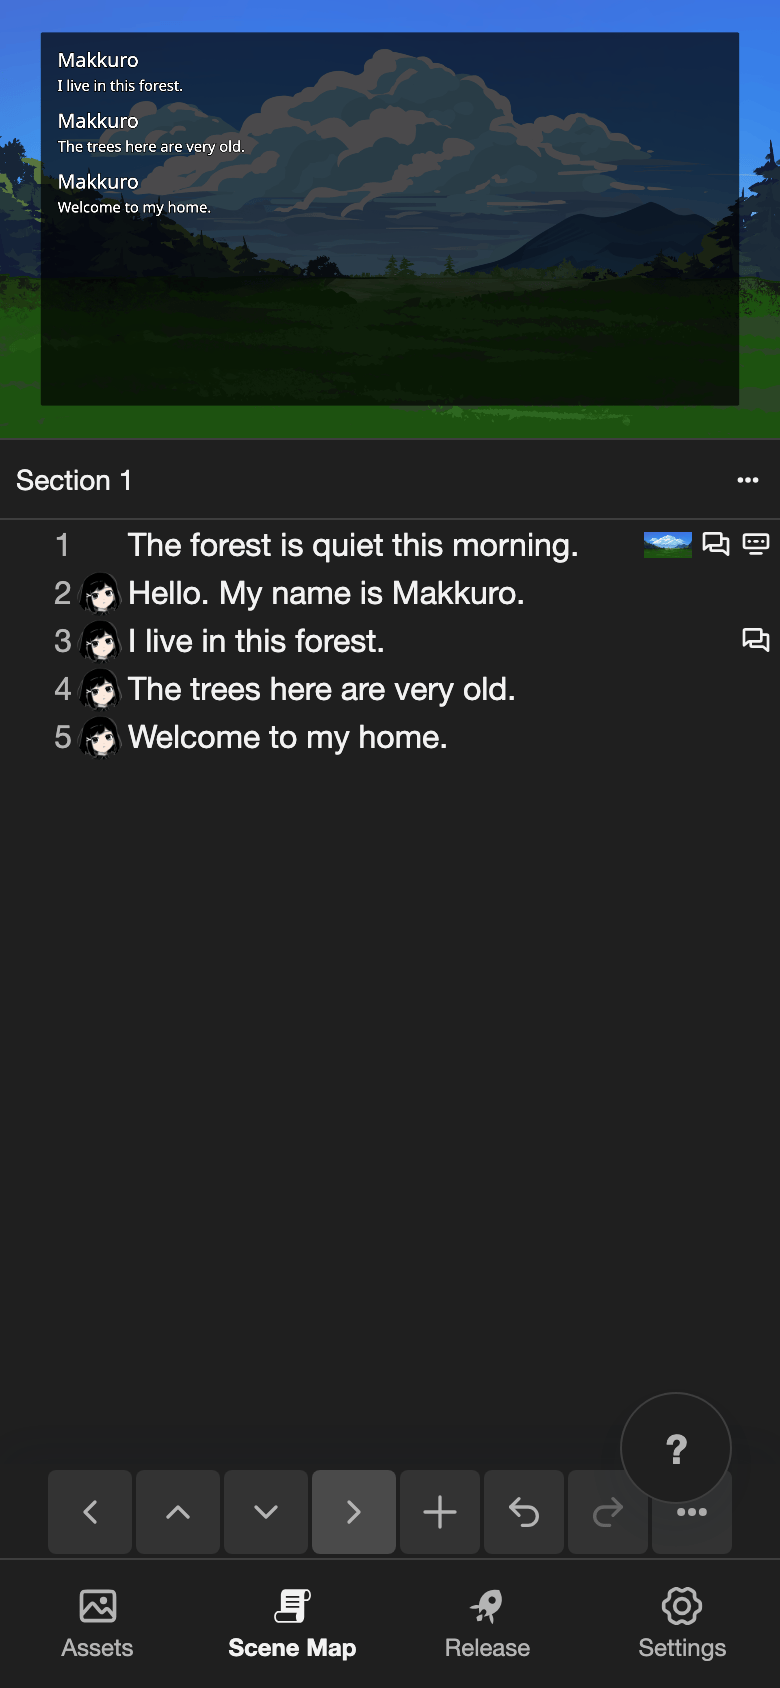
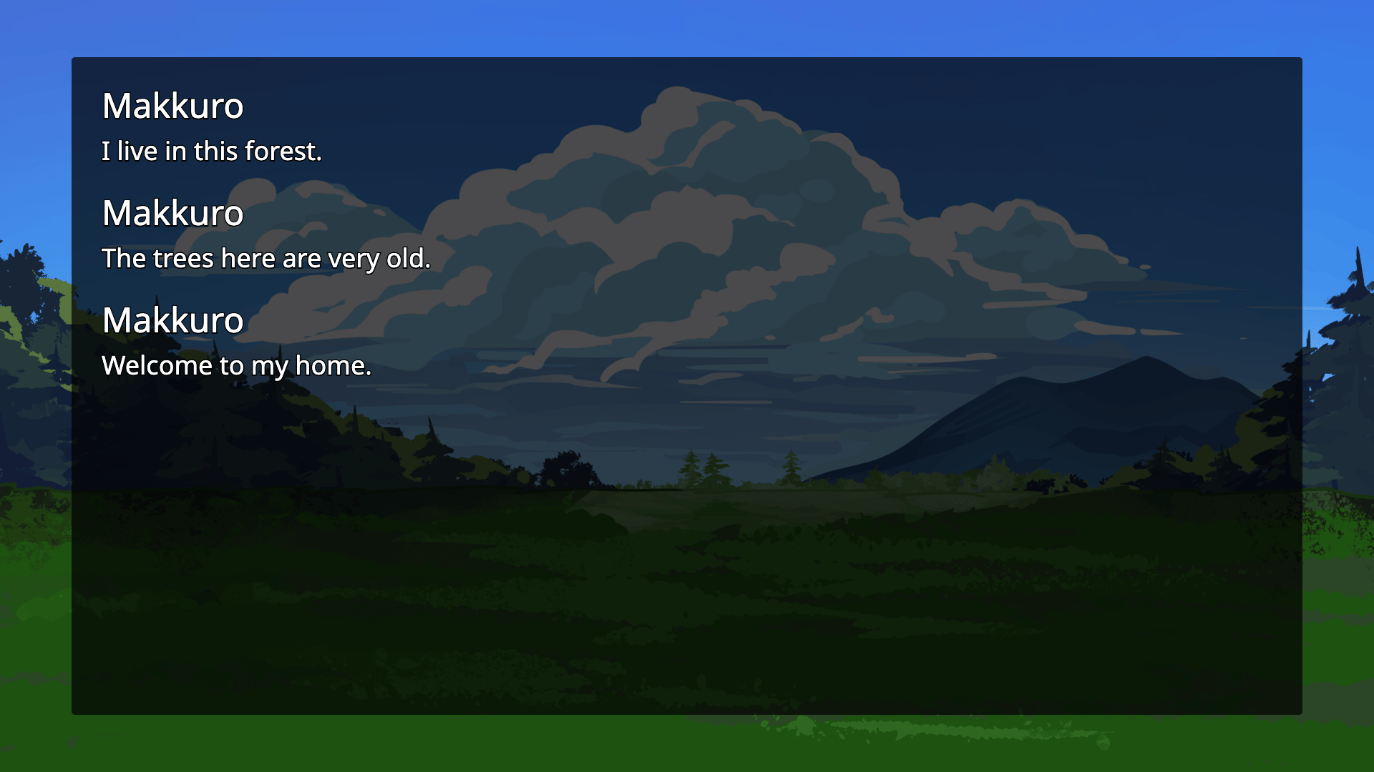
In NVL, the old lines stay on the page. Clear Page starts a new, empty page. Set it to Yes on the first line of the new page.
Open the Dialogue Box action
-
In the scene editor, tap the line where the change starts.
-
Open the Actions menu.
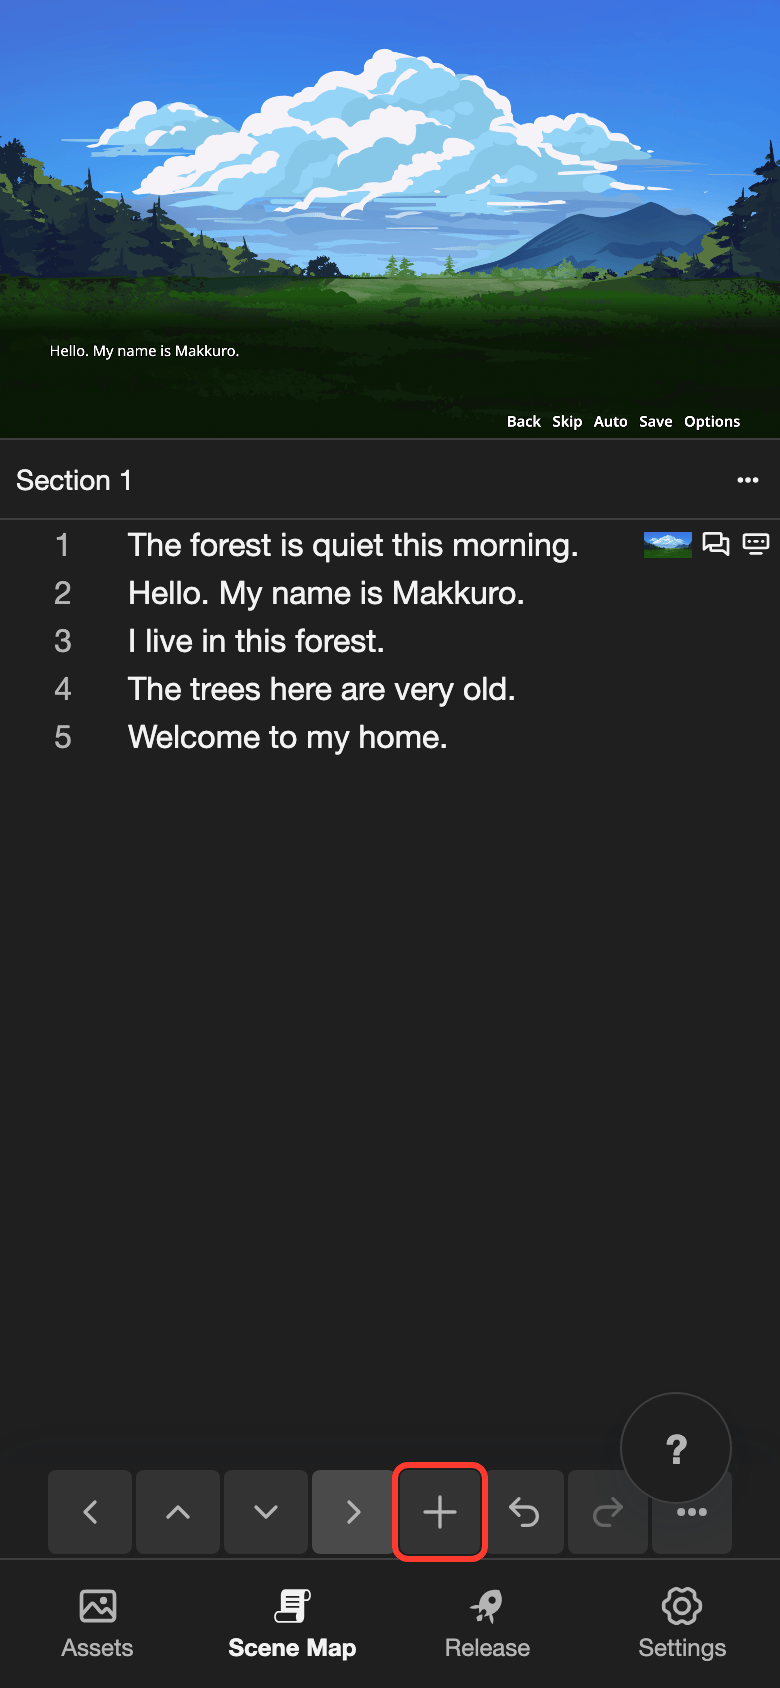
- Phone or tablet: Tap the + button in the bottom bar.
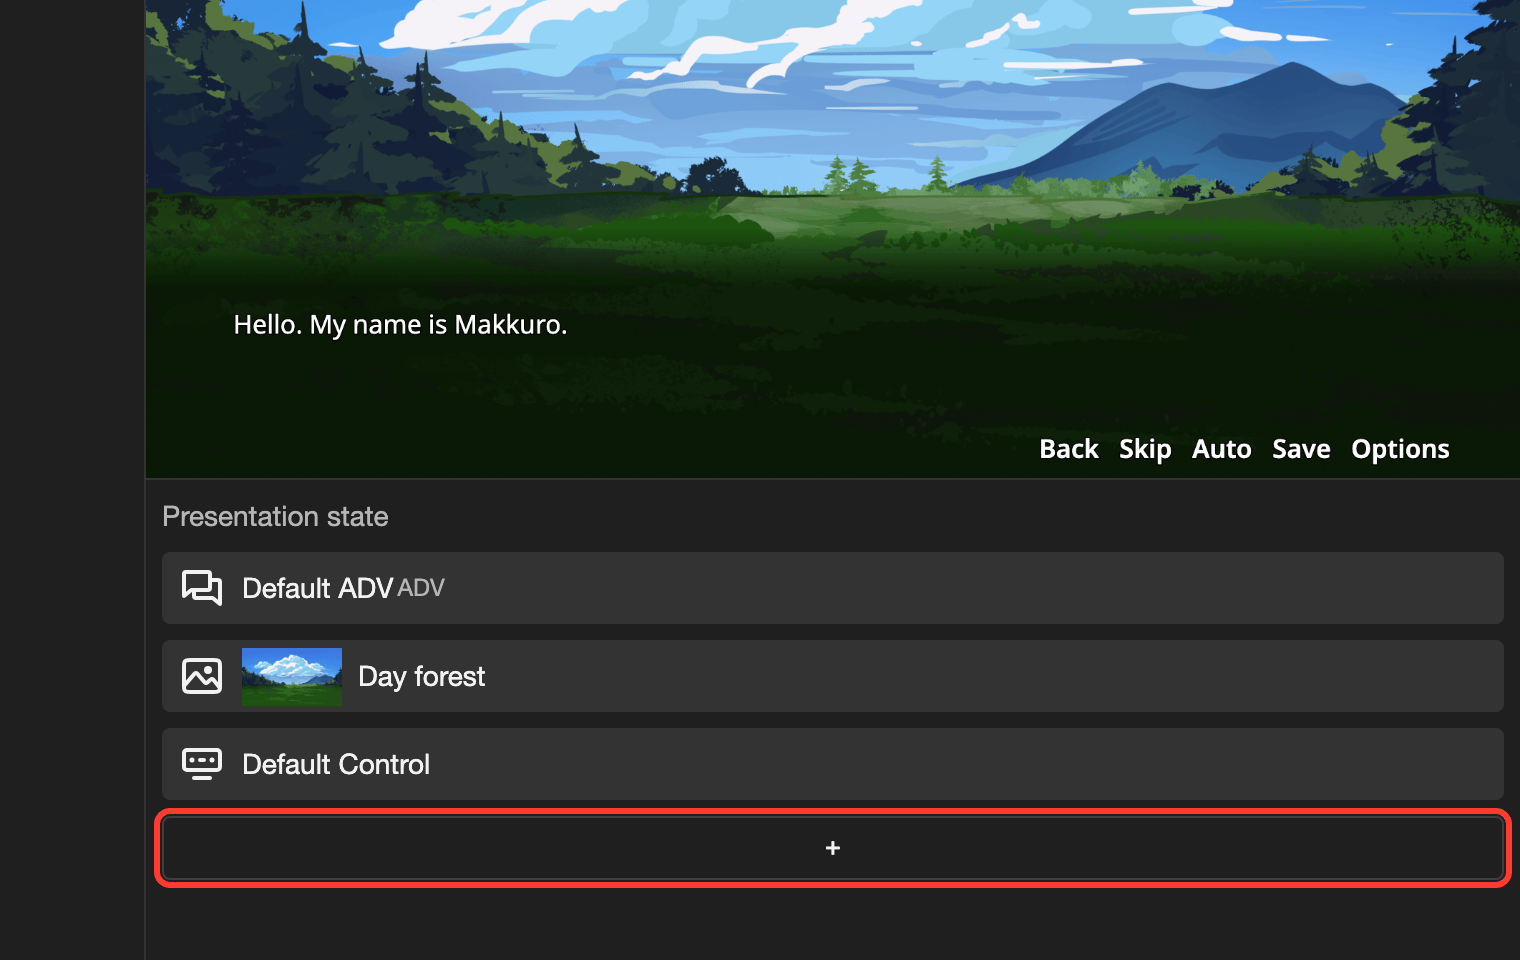
- Desktop: Click the + button under Presentation state.
-
Under Dialogue, tap Dialogue Box.
The Dialogue Box form opens. It shows the settings that the line uses now. Change them, then tap Submit. To learn more about actions, see Scene Editor.
Settings
| Setting | What it does |
|---|---|
| Layout | How the box looks. It also sets ADV or NVL. |
| Character | Who speaks. The name of the character shows in the box. |
| Persist Speaker | Yes keeps the speaker on the next lines. It shows when the line has a speaker. |
| Custom name | Yes shows the name that you type in Speaker Name. |
| Append to previous line | Yes adds this text after the text of the line before. ADV only. |
| Clear Page | Yes removes the old lines from the page first. NVL only. |
Two + buttons add more settings:
- + next to Speaker: Dialogue sprite shows a sprite of the speaker on the dialogue box. See Dialogue sprite.
- + next to Options: Custom text speed sets the text speed of this line.
Choose the layout
-
Open the Dialogue Box action on the line where the new layout starts.
-
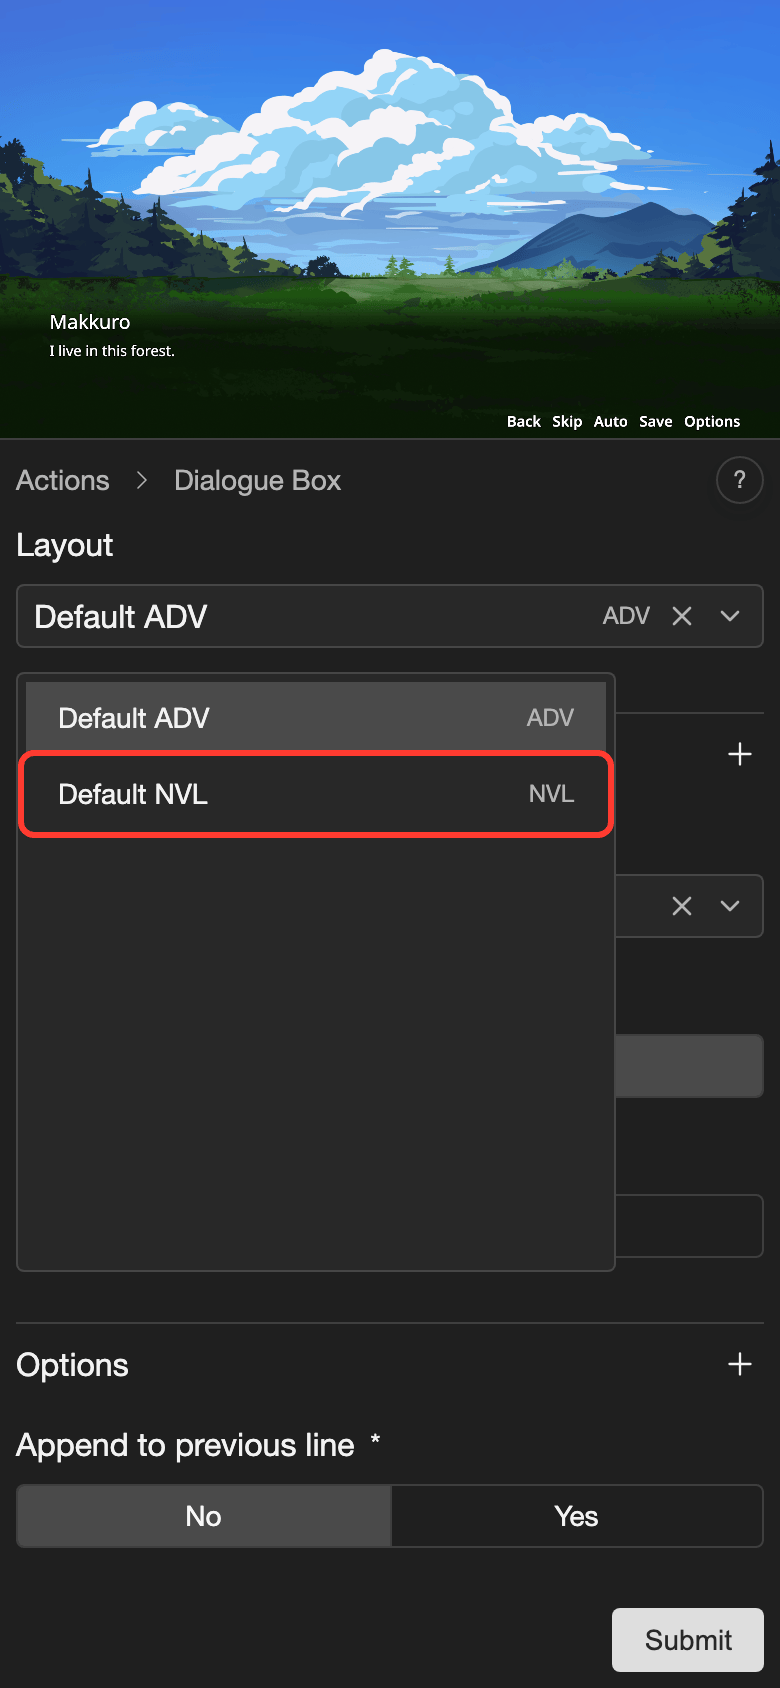
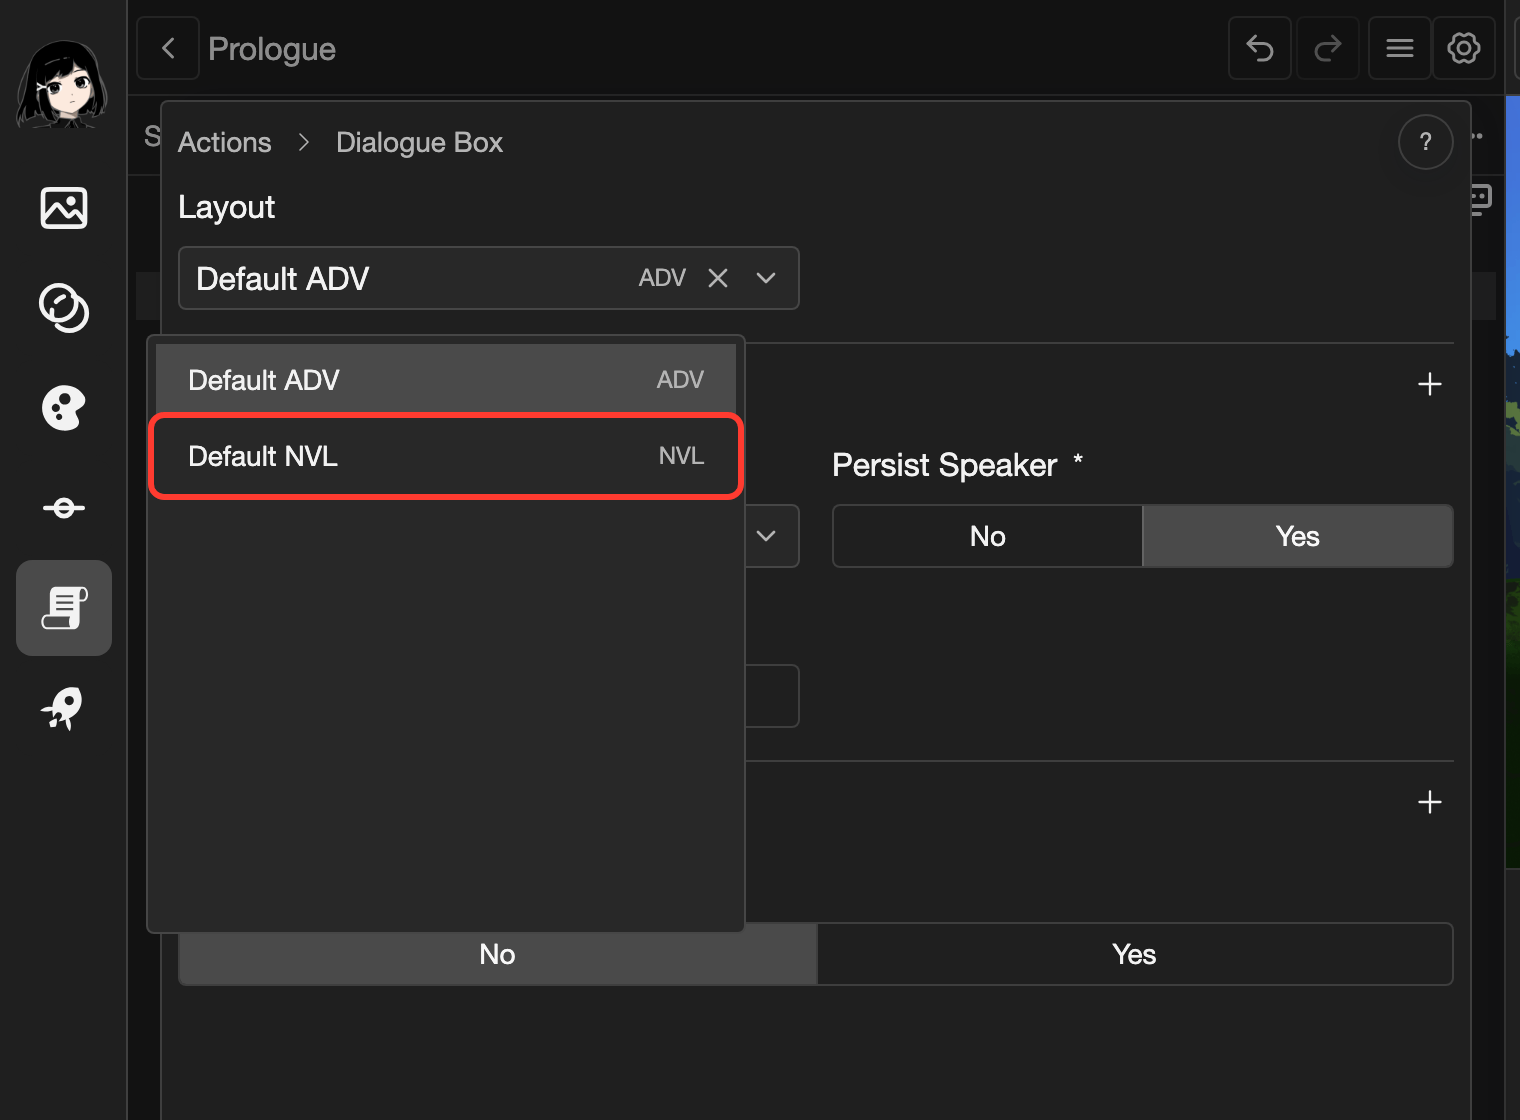
Tap the Layout field.
A list opens. It has only layouts of type Dialogue ADV or Dialogue NVL. The mode shows on the right.
-
Tap a layout, for example Default NVL.
-
Tap Submit.
This line and the next lines use the new layout. See the NVL picture in ADV and NVL.
To make your own layout, see Dialogue ADV Layout or Dialogue NVL Layout.
Choose the speaker
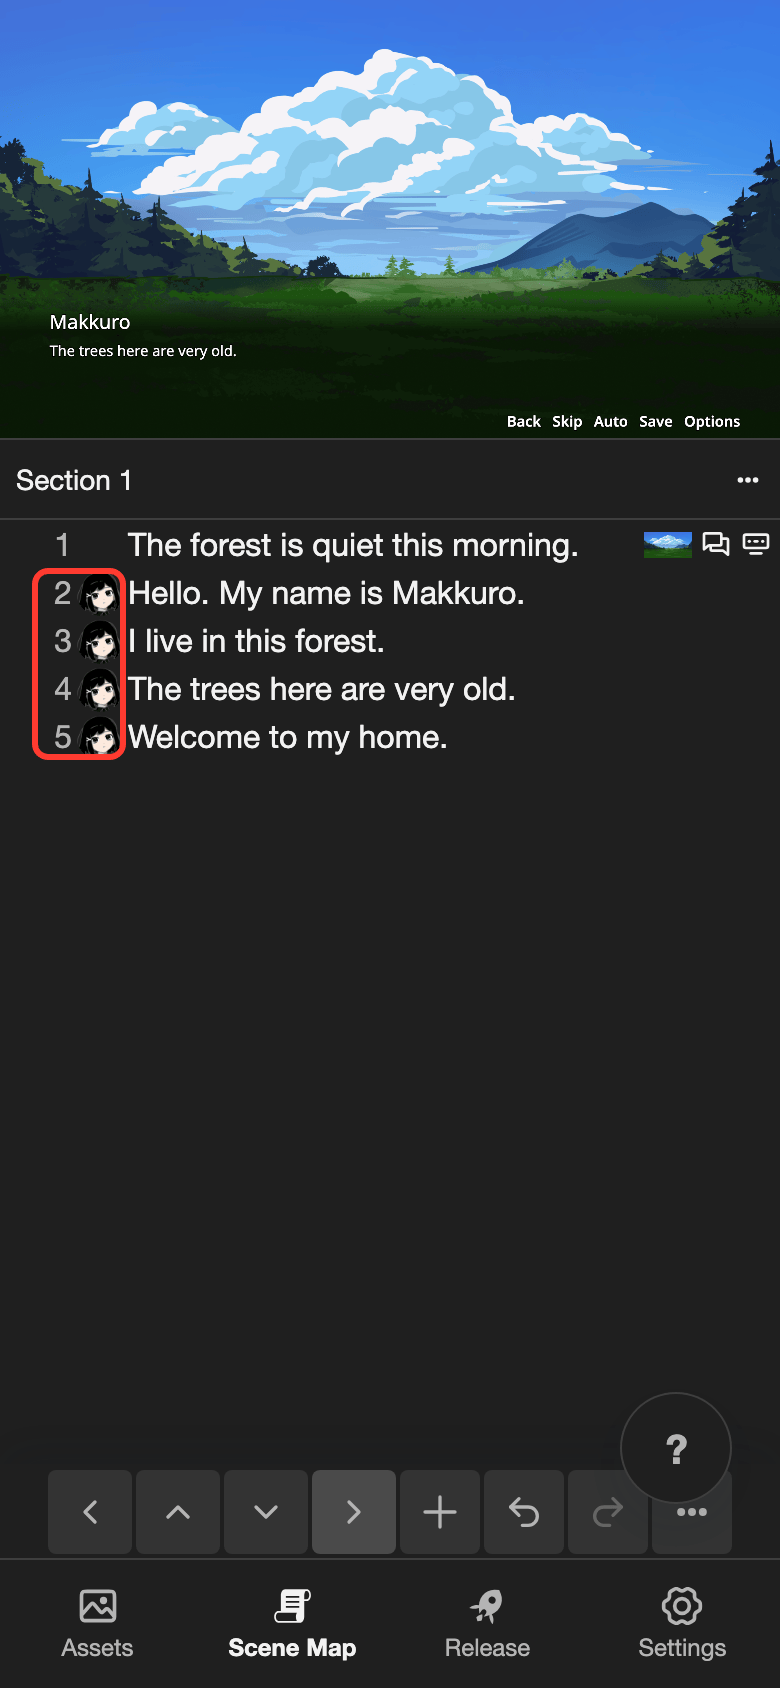
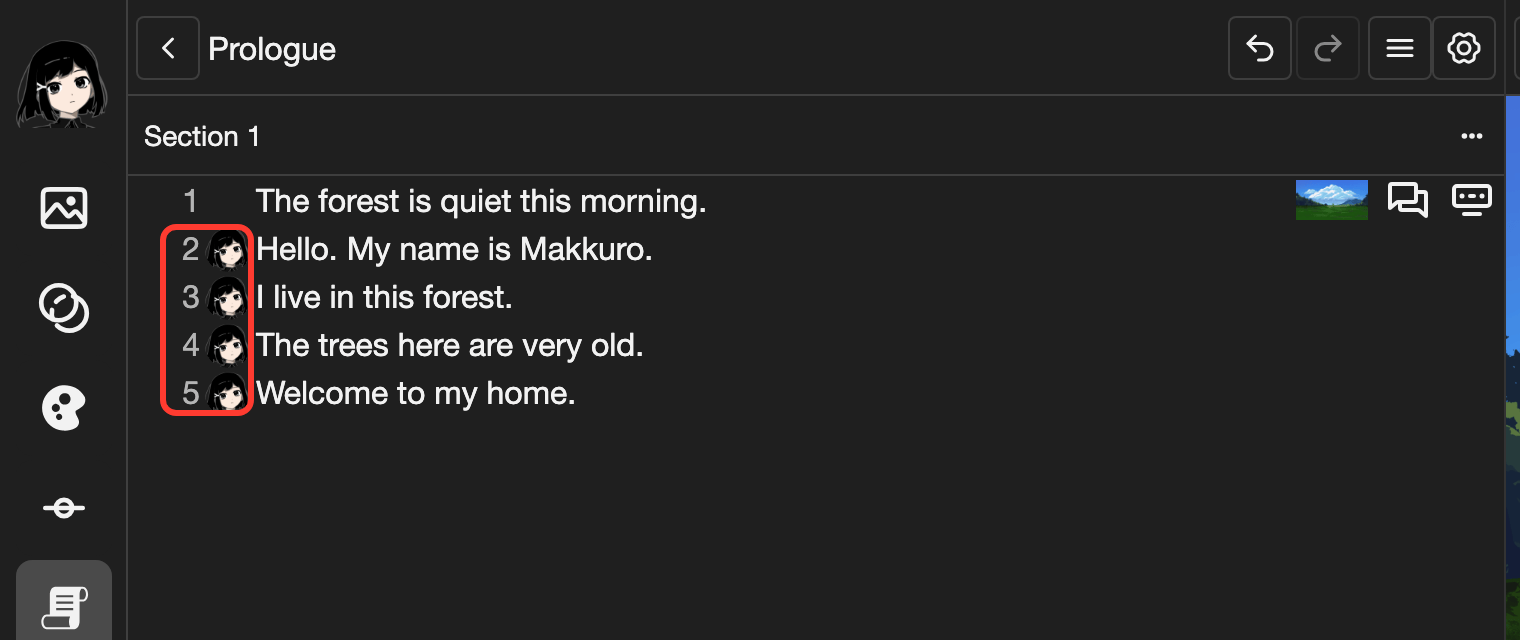
The speaker is the character who says the line. For the steps, see Choose the speaker in dialogue. In the scene editor, the line starts with the avatar of the speaker.
Custom name
To show a different name on one line, set Custom name to Yes. Then type the name in Speaker Name. For example, type ??? before the reader learns the name. The speaker is still the same character. Only the name changes.
Persist Speaker
A speaker shows on one line only. On the next line, the name is gone. To keep the same speaker on the next lines, use Persist Speaker.
- Open the Dialogue Box action on the first line of the speaker.
- In Character, choose the speaker.
- Under Persist Speaker, tap Yes.
- Tap Submit.
The next lines show the avatar of the speaker too. The speaker stays until another Dialogue Box action changes it.
Add dialogue speaker
You can set the speaker with the keyboard, without the form. First, give the character a number in Shortcut. See Shortcut.
-
In the scene editor, tap the line.
-
Press
Esc.The line is highlighted.
-
Type
c, then the shortcut number. For example, typec1for shortcut 1.
The line now has this speaker. To remove the speaker, type c0.
Dialogue sprite
A dialogue sprite is a picture of the speaker on the dialogue box. It shows next to the words of the line. For characters that stand in the scene, use Character Sprites instead.
The character needs sprites first. See Character sprites.
-
Open the Dialogue Box action on the line. See Open the Dialogue Box action.
-
In Layout, choose ADV with Avatar. This layout has room for the sprite next to the words. See Choose the layout.
-
In Character, choose the speaker, for example Makkuro.
-
Next to Speaker, tap +. Then tap Dialogue sprite.
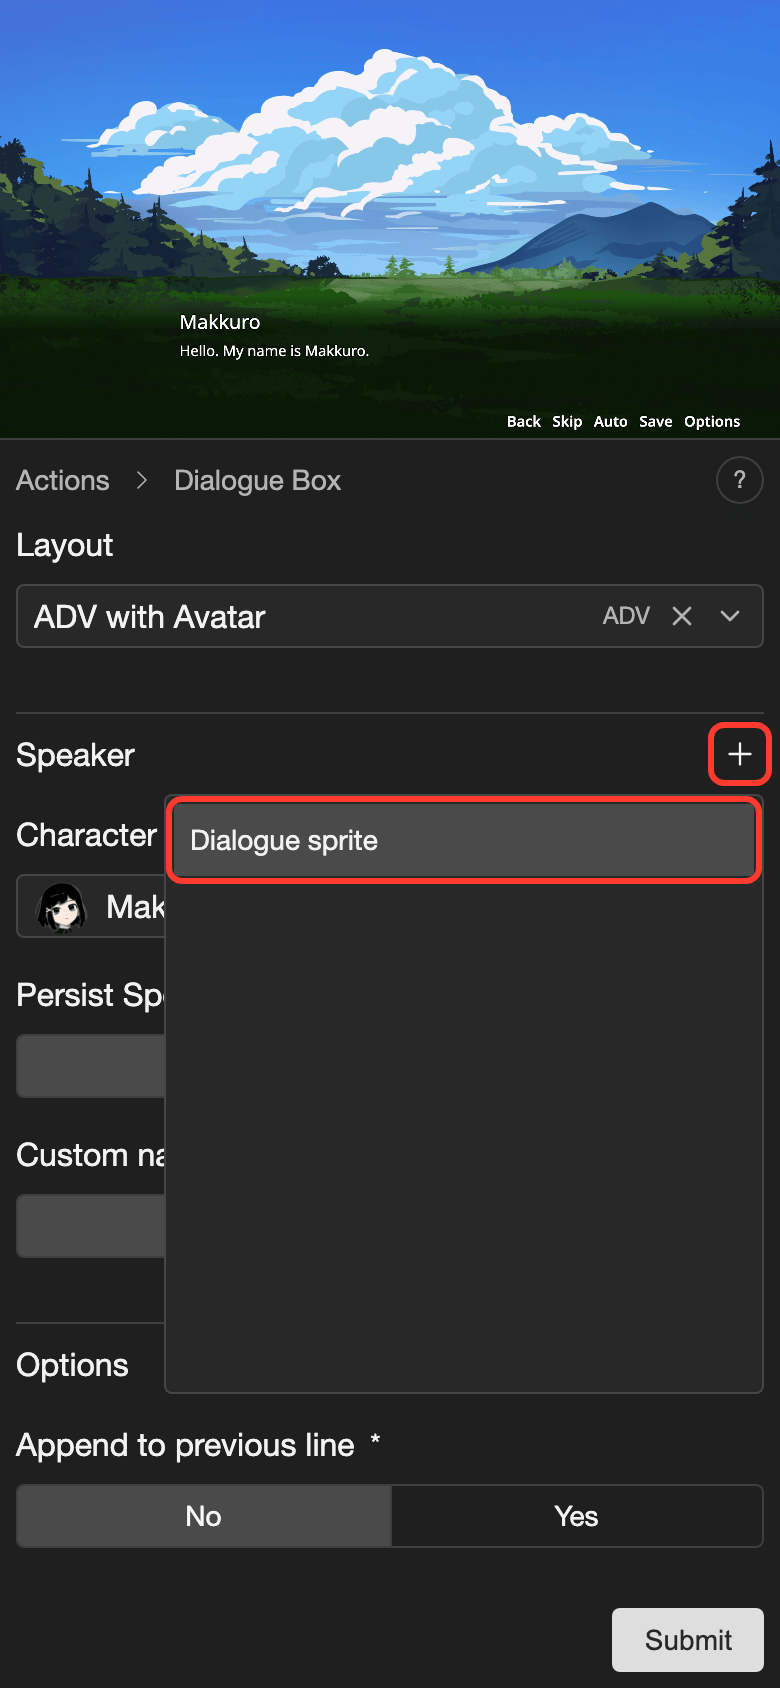
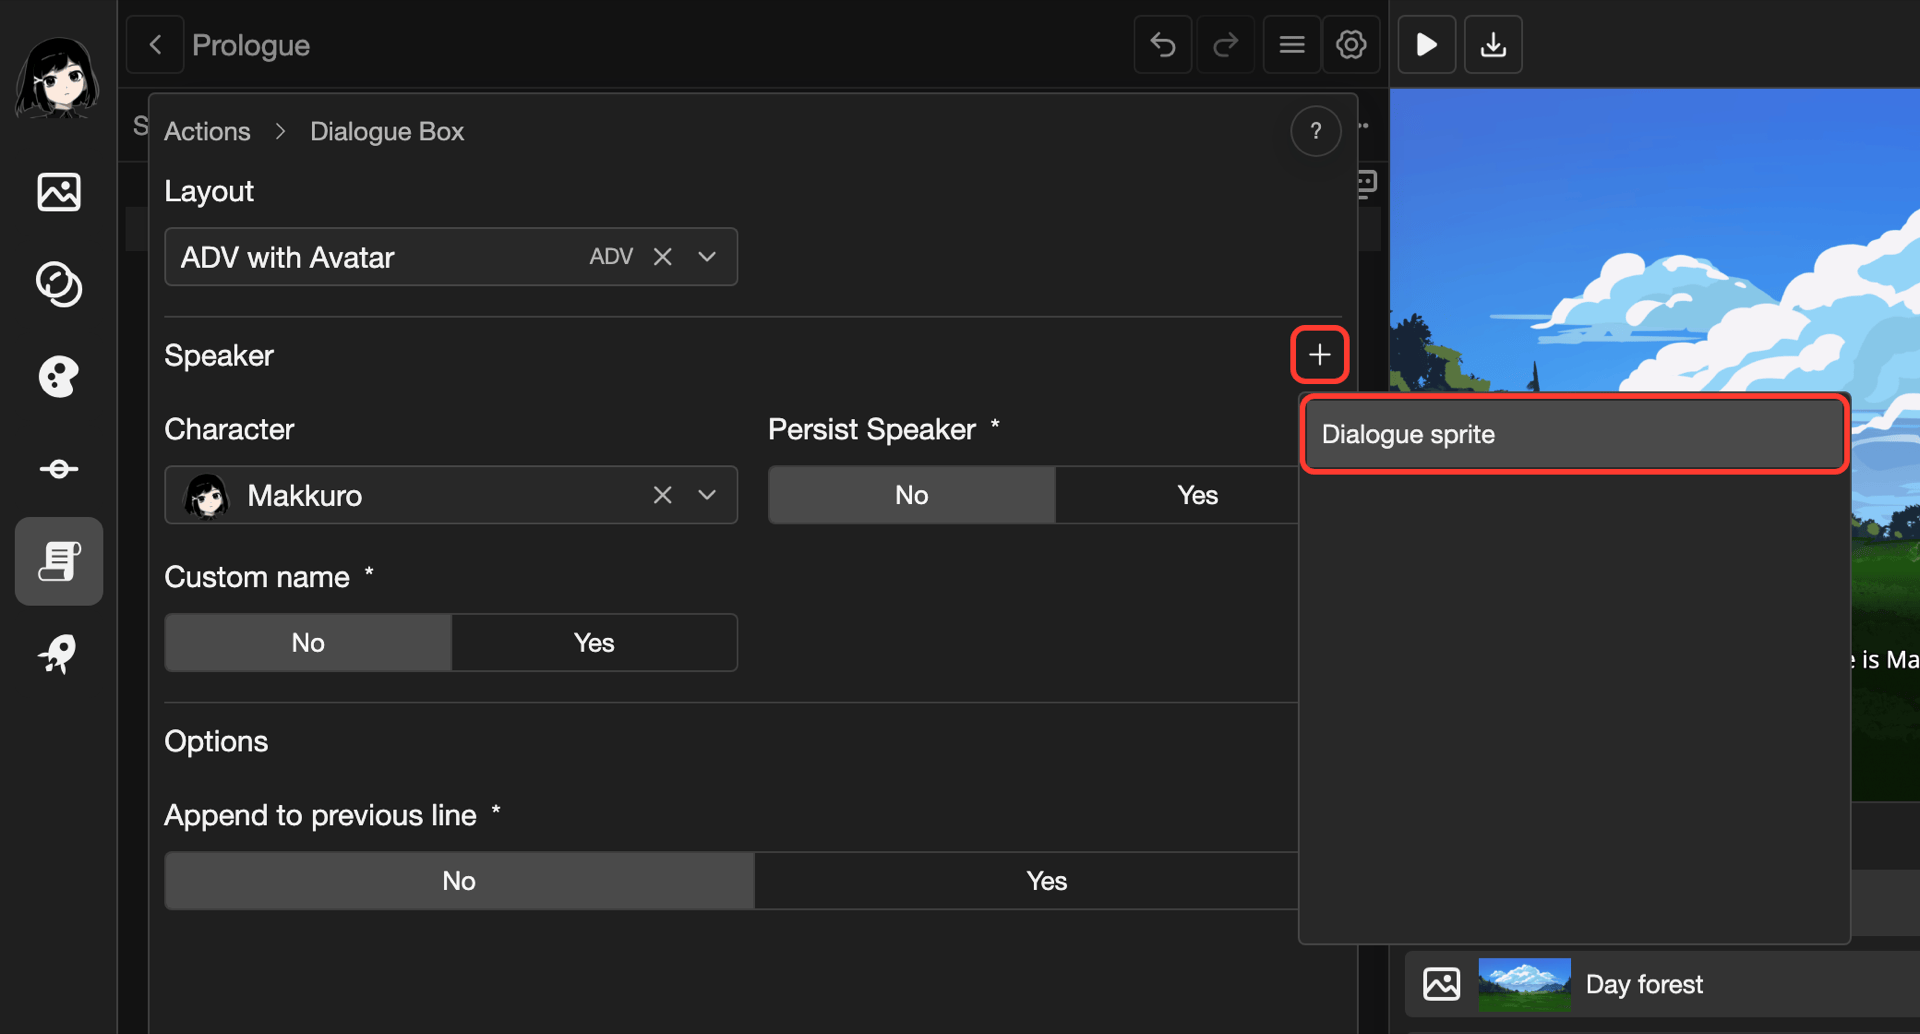
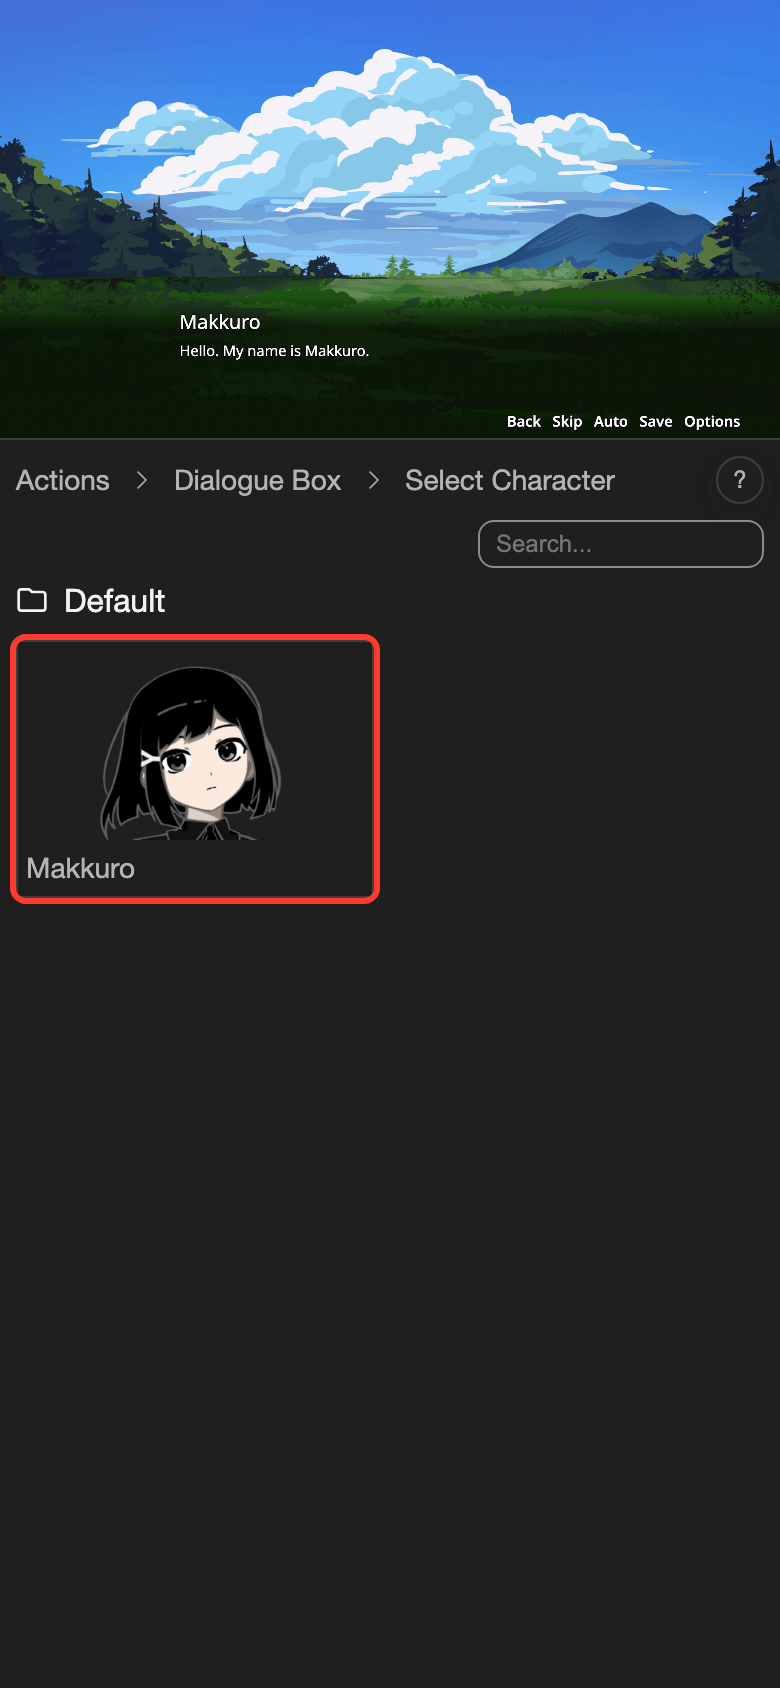
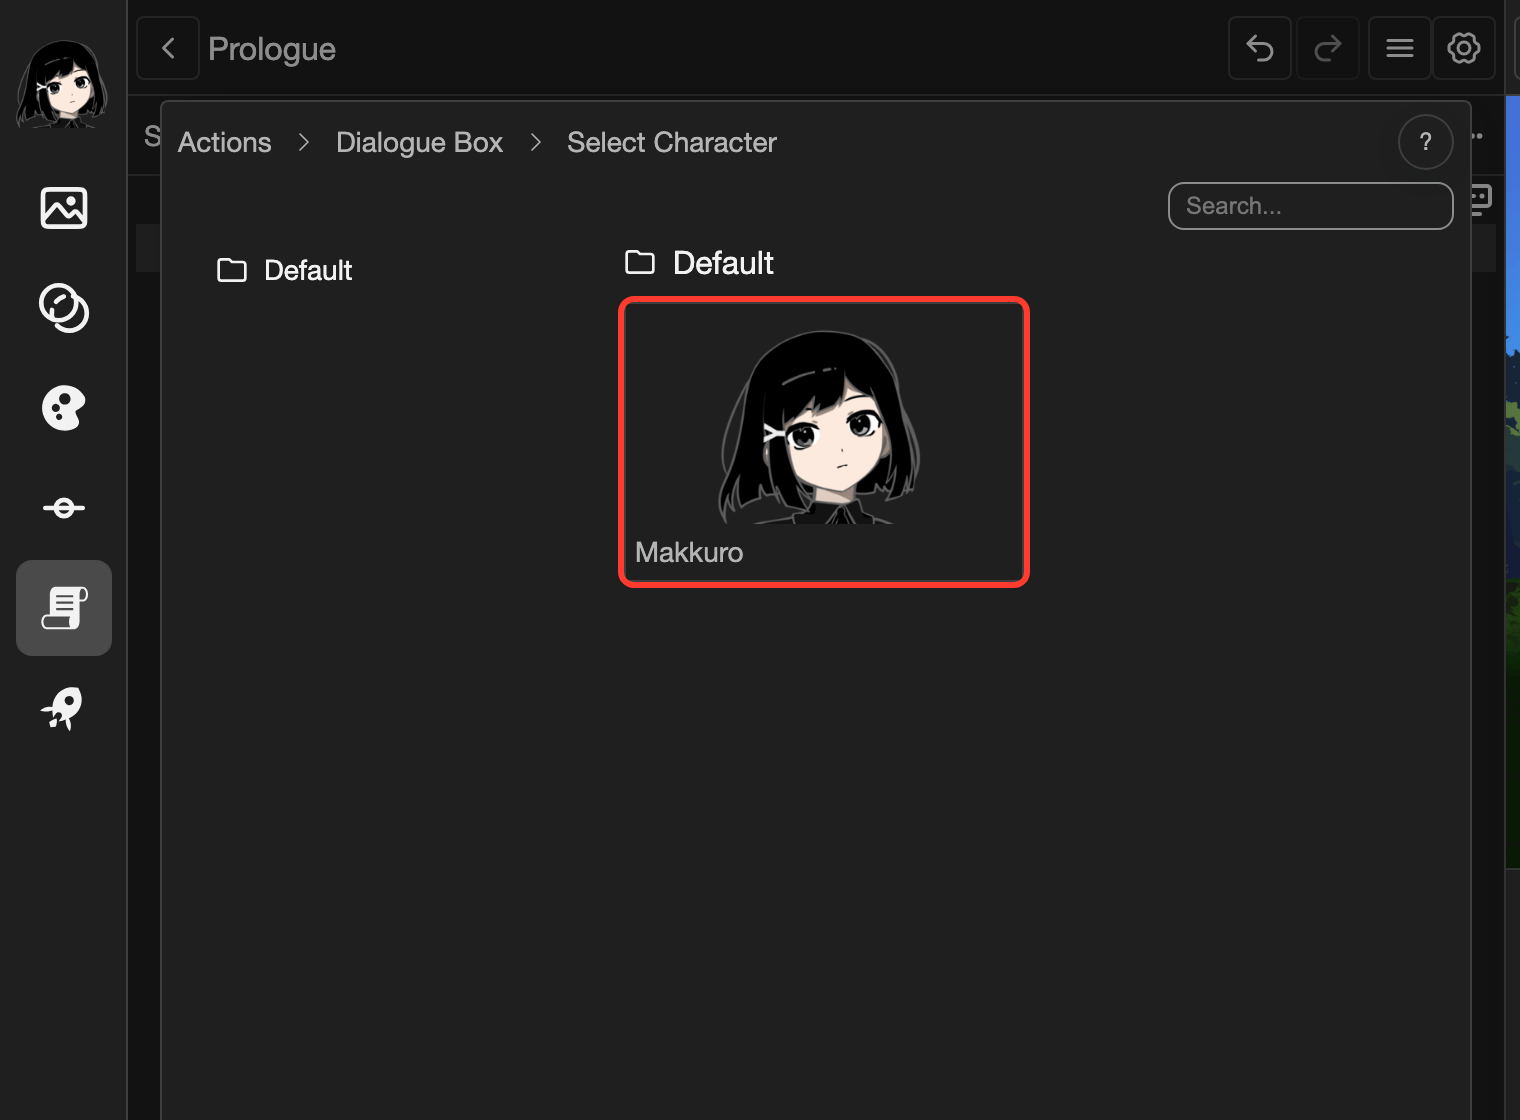
The Select Character page opens.
-
Tap the character, for example Makkuro.
-
Tap a sprite, for example makkuro sprite1 smile. Then tap Select.
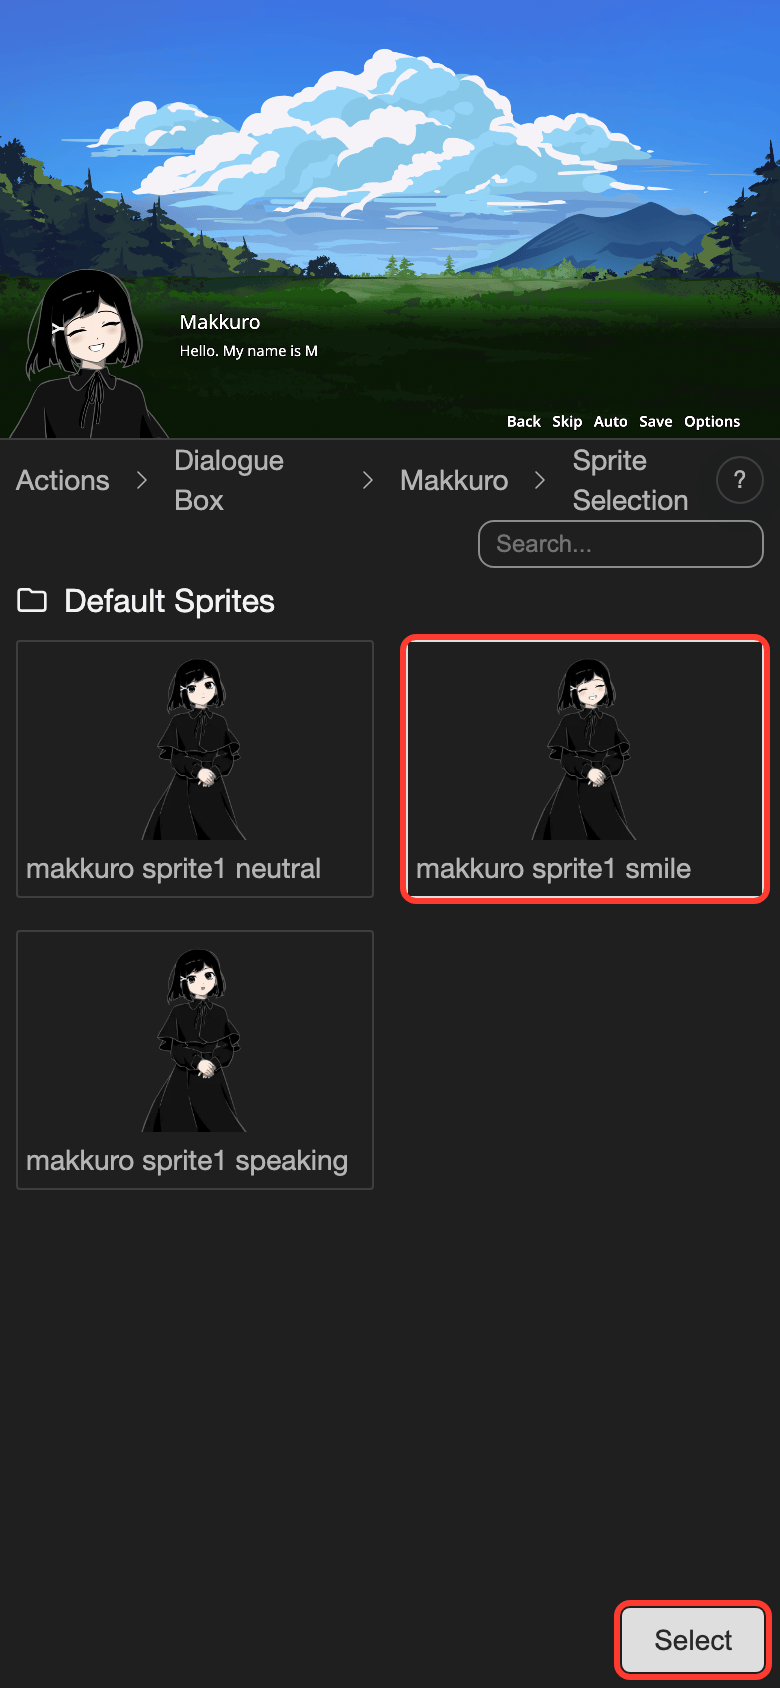
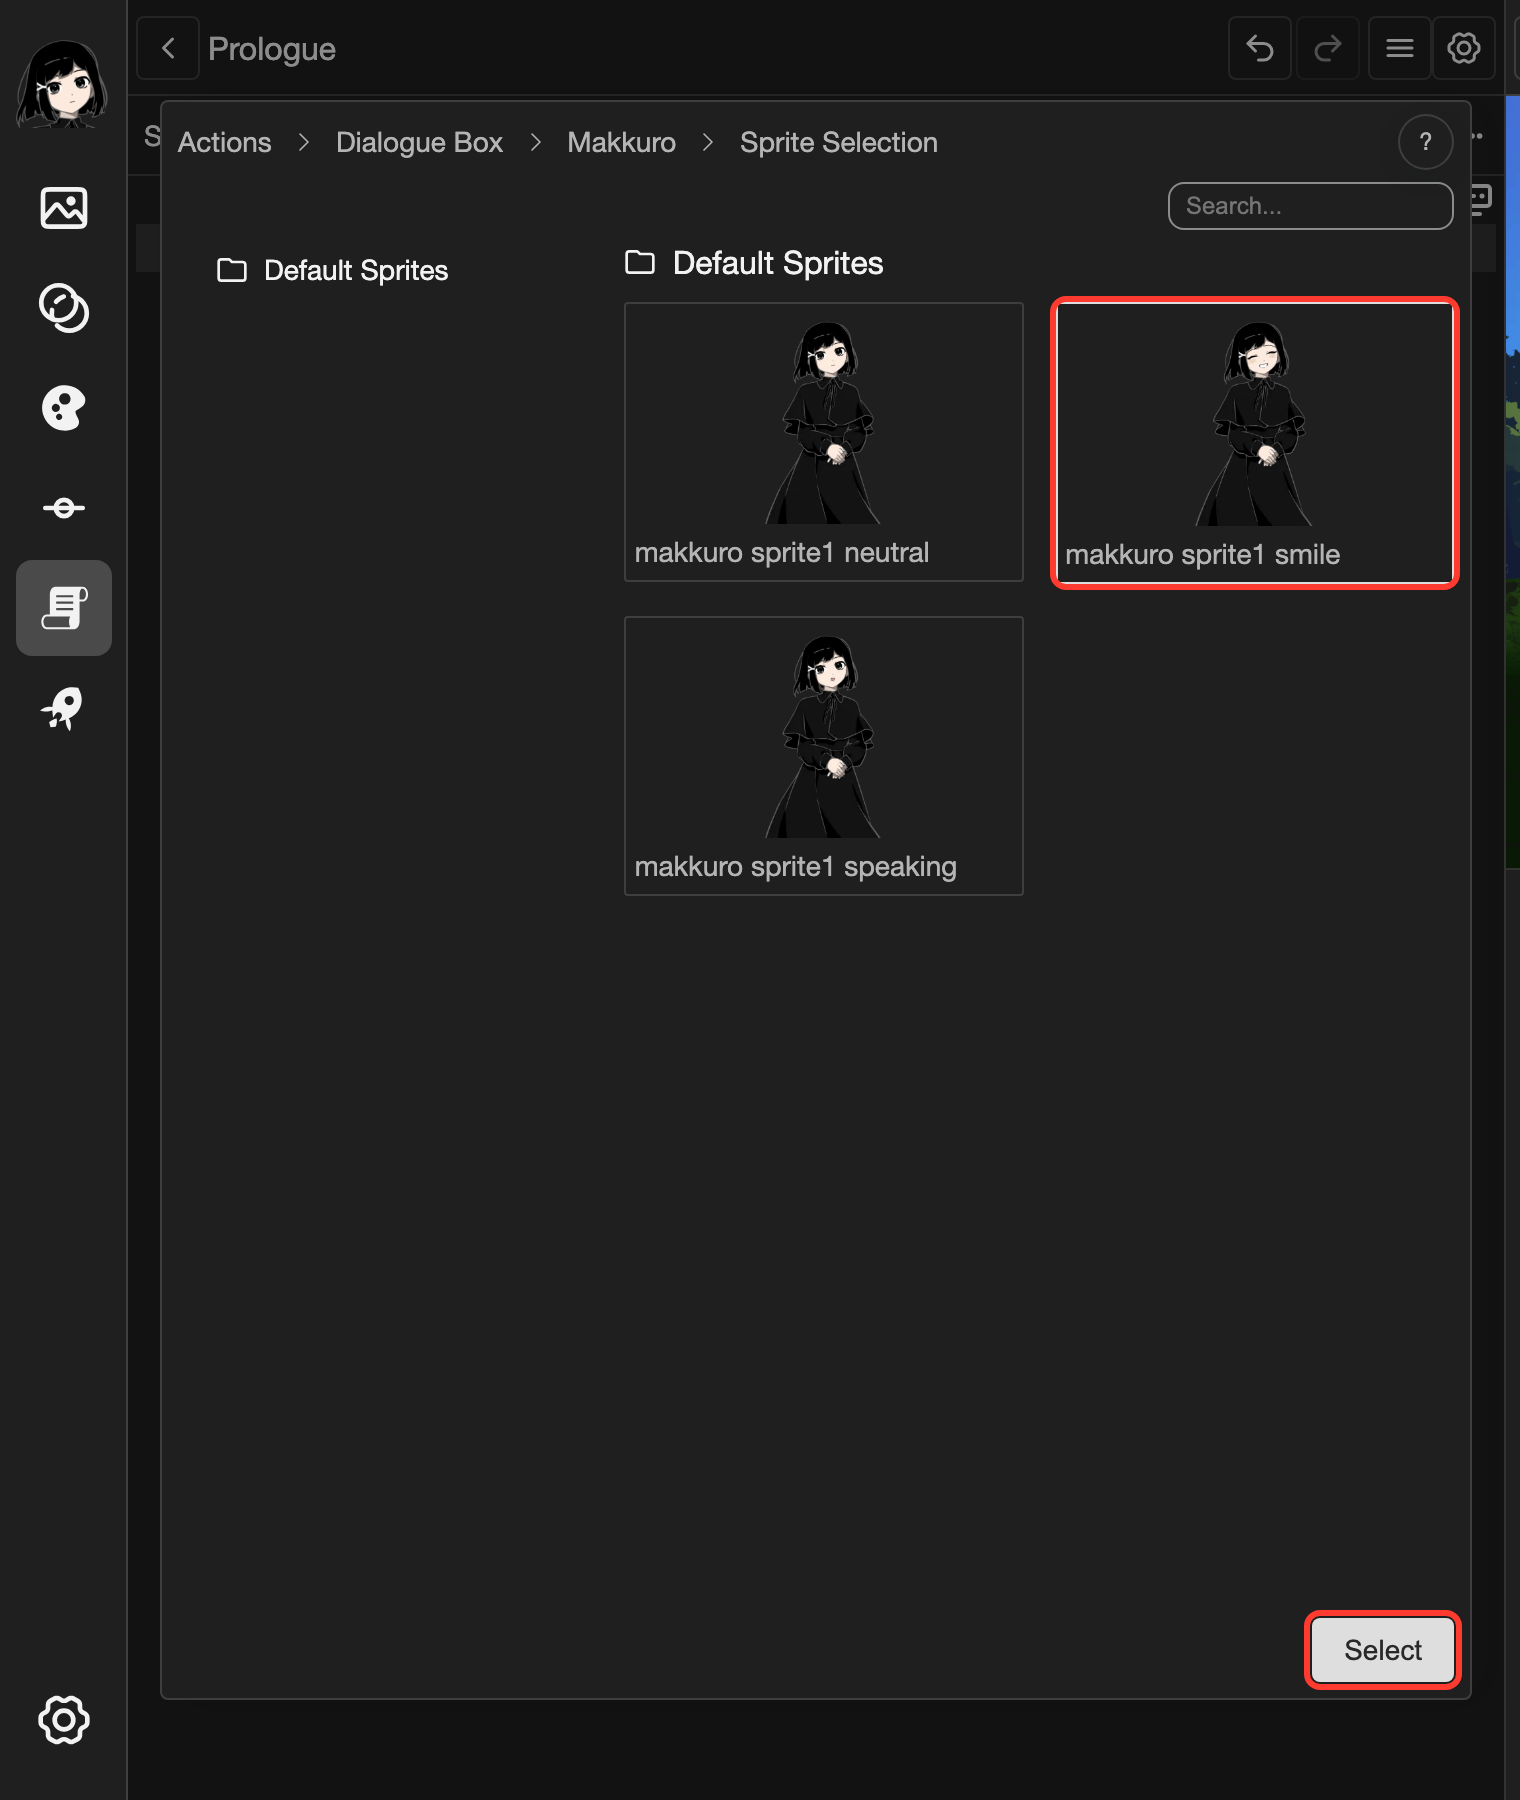
-
Tap Submit.
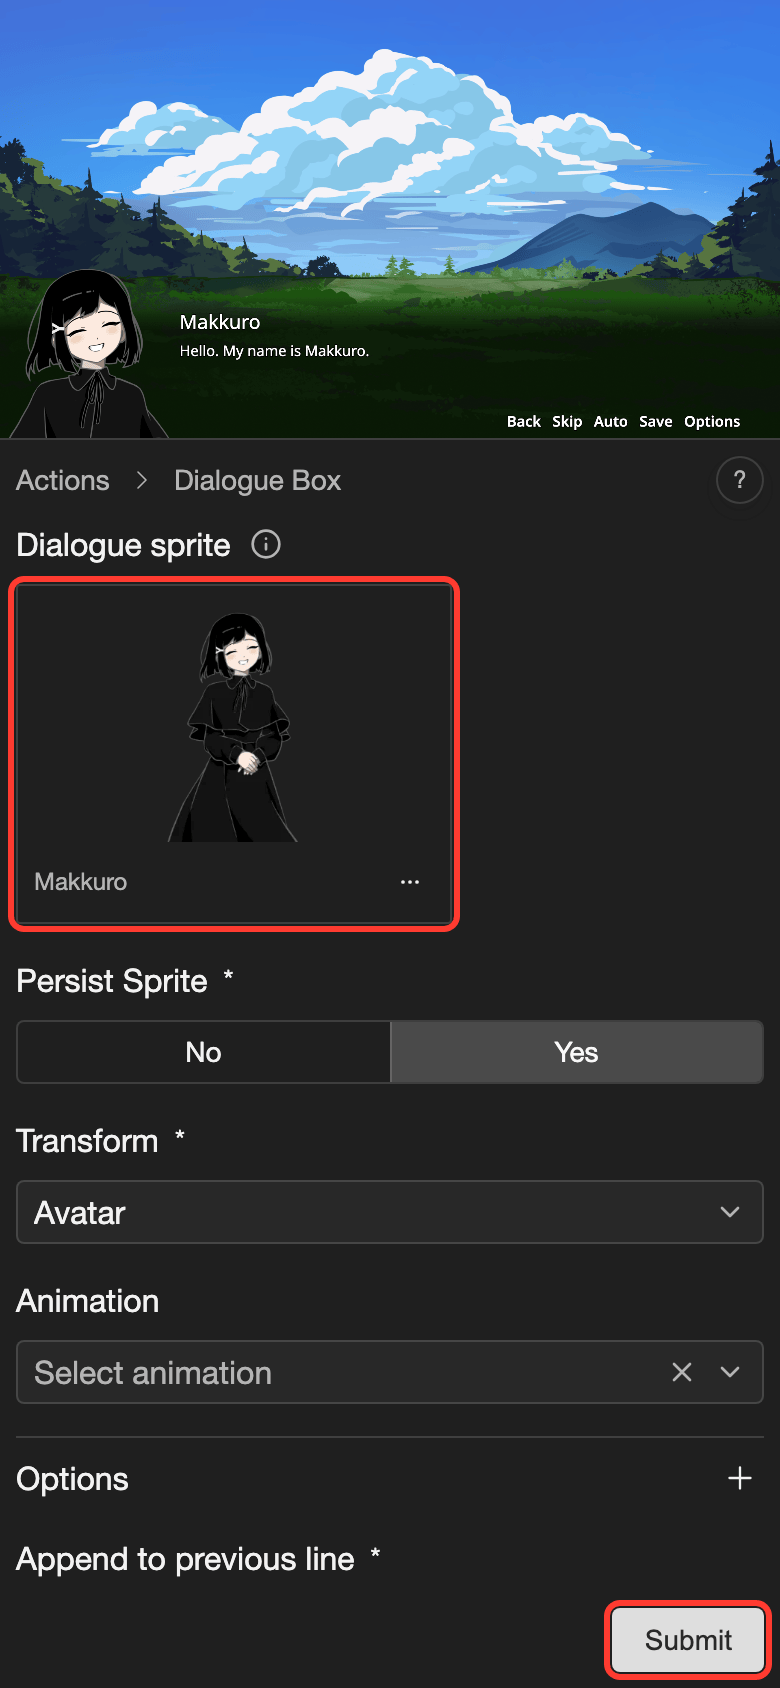
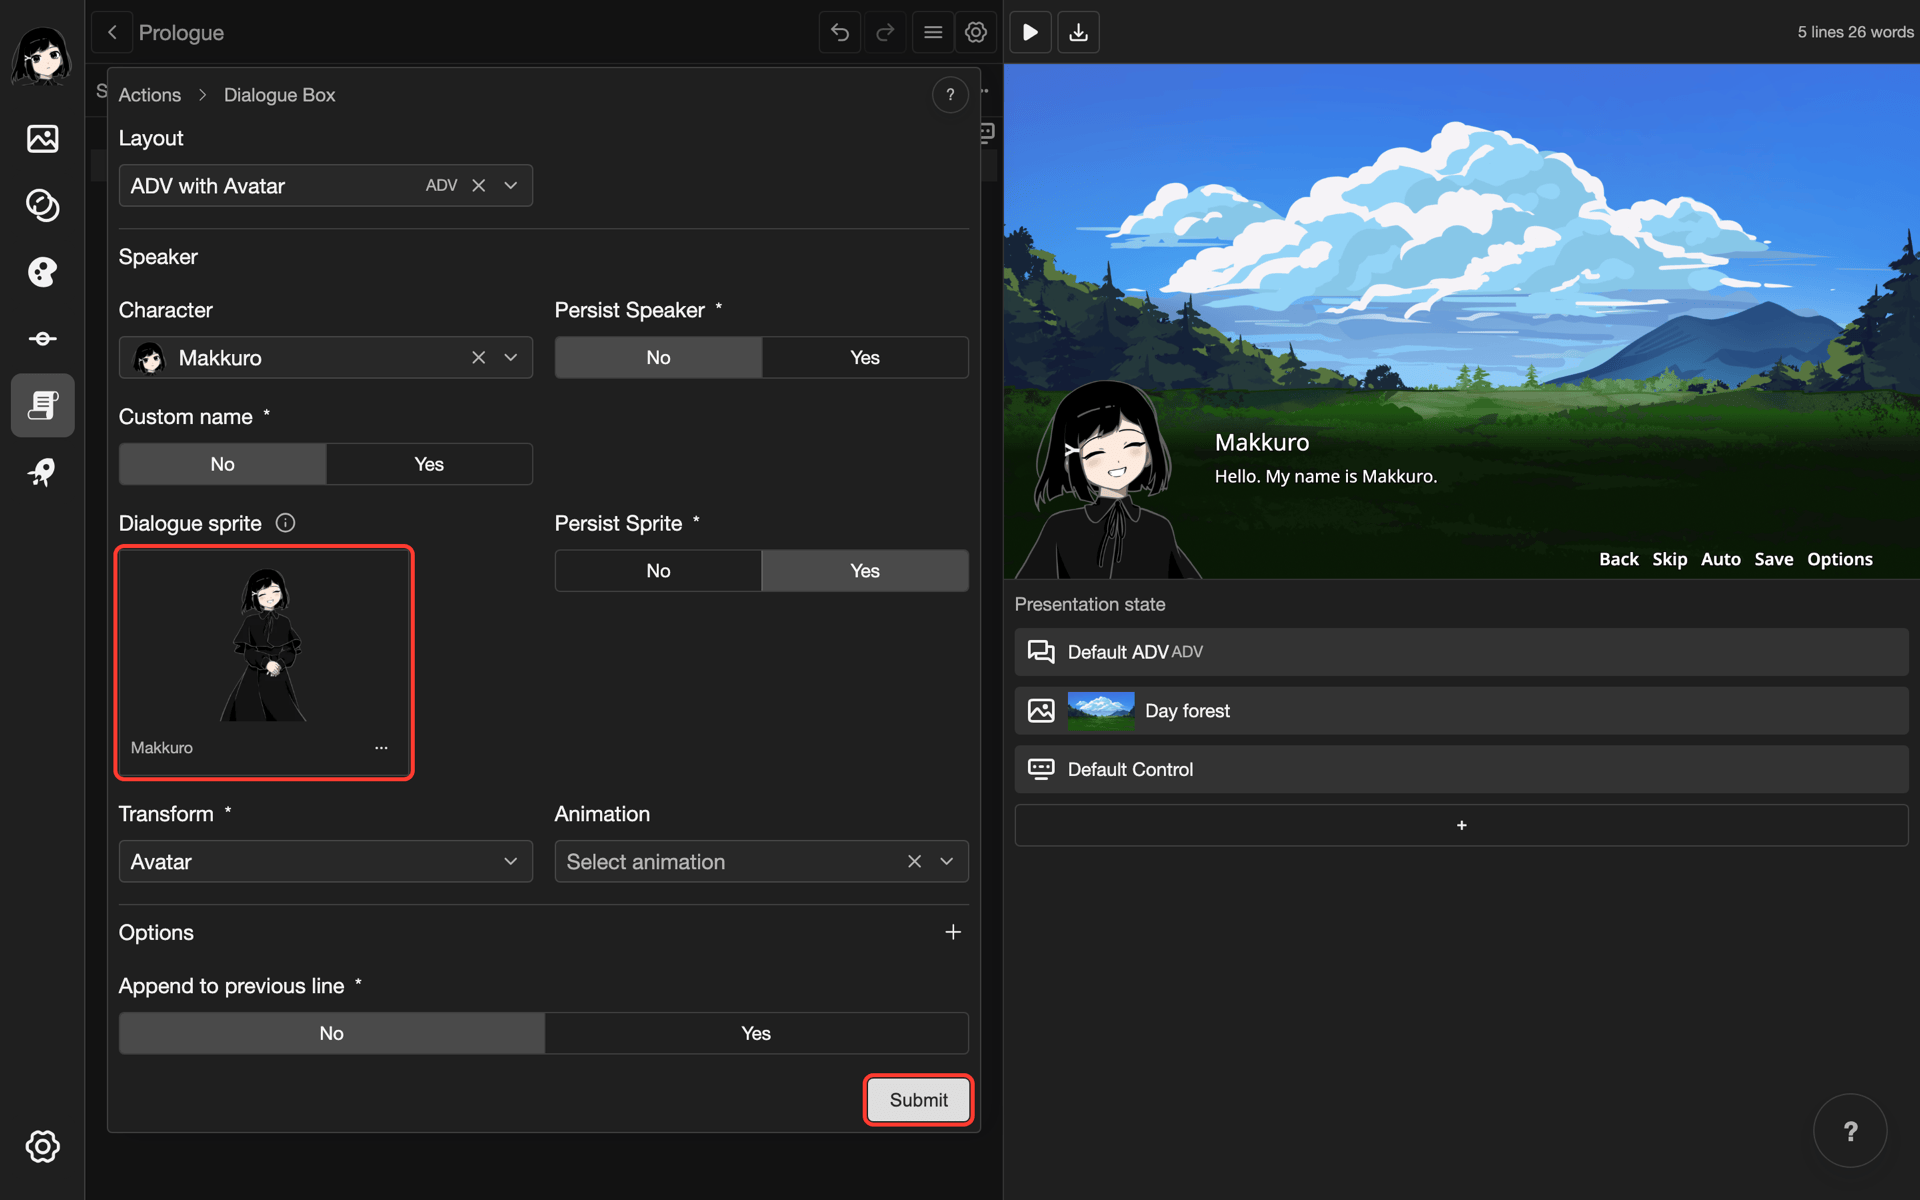
The sprite shows on the left of the dialogue box. Persist Sprite is Yes, so the sprite stays on the next lines too.
| Setting | What it does |
|---|---|
| Persist Sprite | Yes keeps the sprite on the next lines. It is Yes when you add a sprite. |
| Transform | Where the sprite shows on the screen. See Transforms. |
| Animation | Plays an animation on the sprite. See Animations. |
To remove the sprite, tap the ... button on the sprite in the form. Then tap Remove.
Click-to-continue indicator
The click-to-continue indicator is a small image at the end of the text. It tells the reader to tap to go on. You add it in the dialogue layout, not in the Dialogue Box action.
The indicator has 2 states:
- Revealing: shows while the text is still appearing.
- Complete: shows when all the text is on the screen. Use it for click-to-continue.
To add a Complete indicator:
-
Open your dialogue layout in the layout editor. See Layouts.
-
In the list of elements, tap the text that shows the words of the line. In an ADV layout, it is a Text (Dialogue Content) element. In an NVL layout, it is a Text (Line Content) element.
-
Next to Indicator, tap +. You may need to scroll down to see it.
-
Tap Complete.
The Complete Indicator box opens.
-
Tap Select image.
-
Tap Image.
-
Tap your image.
-
Tap Select.
-
Change Width, Height, Offset X, and Offset Y if needed.
-
Tap Save.
Problems and fixes
- I cannot find Clear Page. The layout is ADV. Choose a layout of type Dialogue NVL.
- The name is gone on the next line. Set Persist Speaker to Yes.
- The shortcut does nothing. Press
Escfirst. Also check that the character has a Shortcut number. - The dialogue sprite covers the words. Choose a layout with room for the sprite, such as ADV with Avatar. In your own layout, move the texts to make room. See Dialogue ADV Layout.
- I cannot choose a dialogue sprite. The character has no sprites. See Character sprites.