Quickstart
This page helps you install RouteVN Creator, change its language, and keep it up to date.
Install
Go to the download page. Then follow the steps for your device below.
Windows
- On the download page, click Download for Windows. An
.exefile downloads. - Open the
.exefile. - Follow the steps in the installer.
Windows SmartScreen may say that the app is unrecognized. This can happen when few people have downloaded an app. The warning should go away when more people download RouteVN Creator. To continue, click More info. Then click Run anyway.
To check the installer, follow these steps:
- Right-click the installer file.
- Click Properties.
- Open the Digital Signatures tab.
- Check that the signer is Yuusoft Pte. Ltd. The certificate comes from Certum.
macOS
- On the download page, click Download for macOS. A
.dmgfile downloads. - Double-click the
.dmgfile. A window opens. - In the window, drag the RouteVN Creator icon onto the Applications folder.
- Open RouteVN Creator from the Applications folder or from any app launcher.
Linux
RouteVN Creator for Linux is an AppImage. An AppImage runs without a system-wide installation.
-
On the download page, click Download for Linux (AppImage). An
.AppImagefile downloads. -
Make the AppImage executable and run it. The AppImage guide shows both ways:
-
When the Add to Applications? box opens, click Add to Applications.
RouteVN Creator then does these things:
- It copies the AppImage to
~/Applications/RouteVN-Creator.AppImage. Future updates replace this same file. - It adds the app icon and a launcher entry.
- It opens again from the copy.
Android, iPhone, and iPad
- On the download page, tap Get it on Google Play or Download on the App Store.
- In the store, install RouteVN Creator.
Change the language
The app starts in English. You can also use it in Japanese, Simplified Chinese, Spanish, Thai, Russian, Portuguese, French, or Vietnamese.
-
At the bottom of the Projects page, tap the version number. It says RouteVN Creator and the version, with a gear icon.
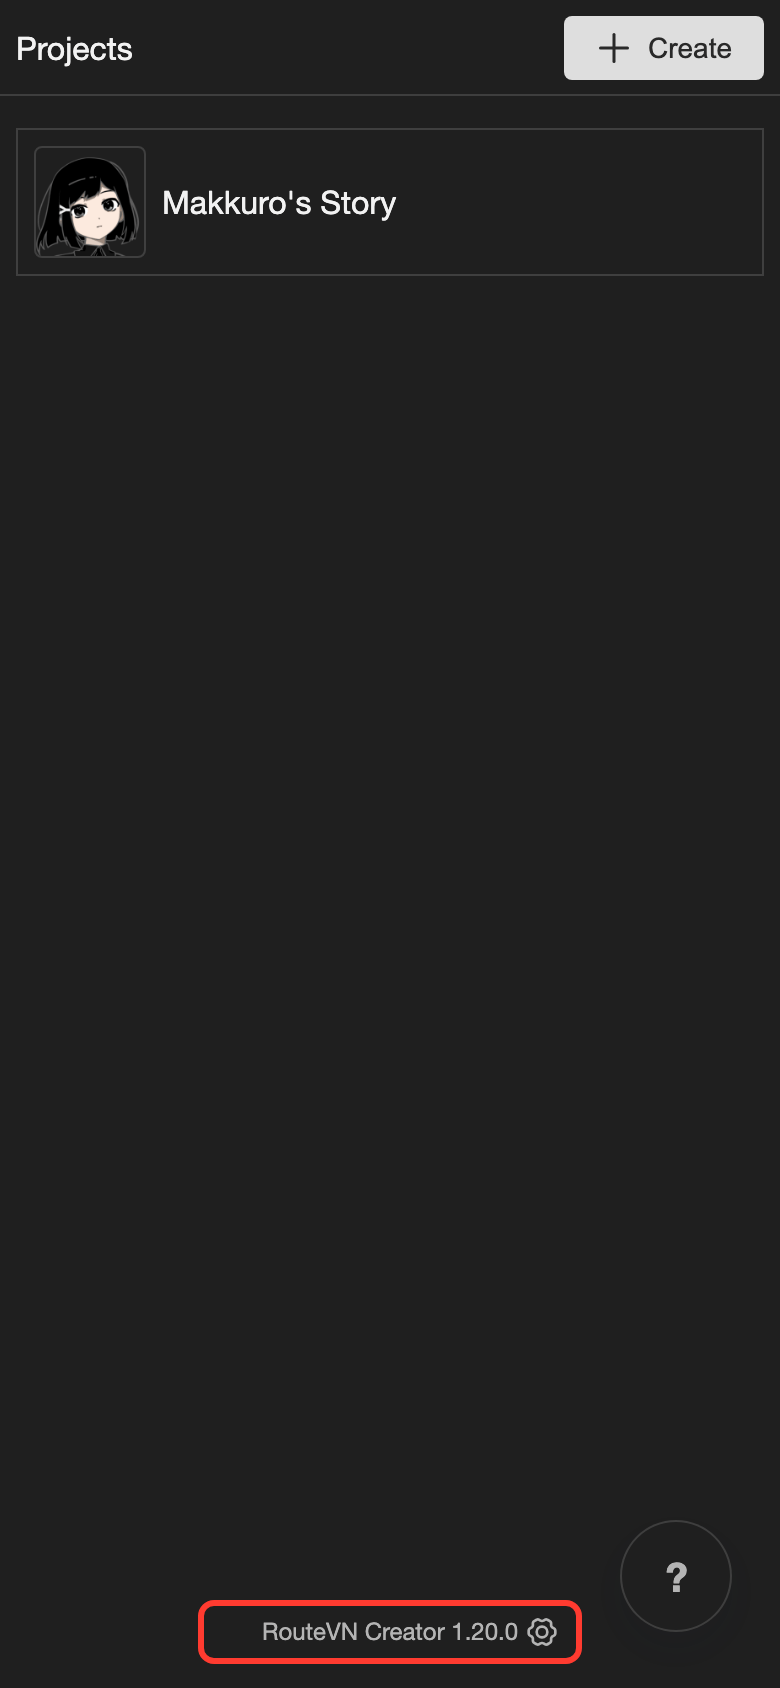
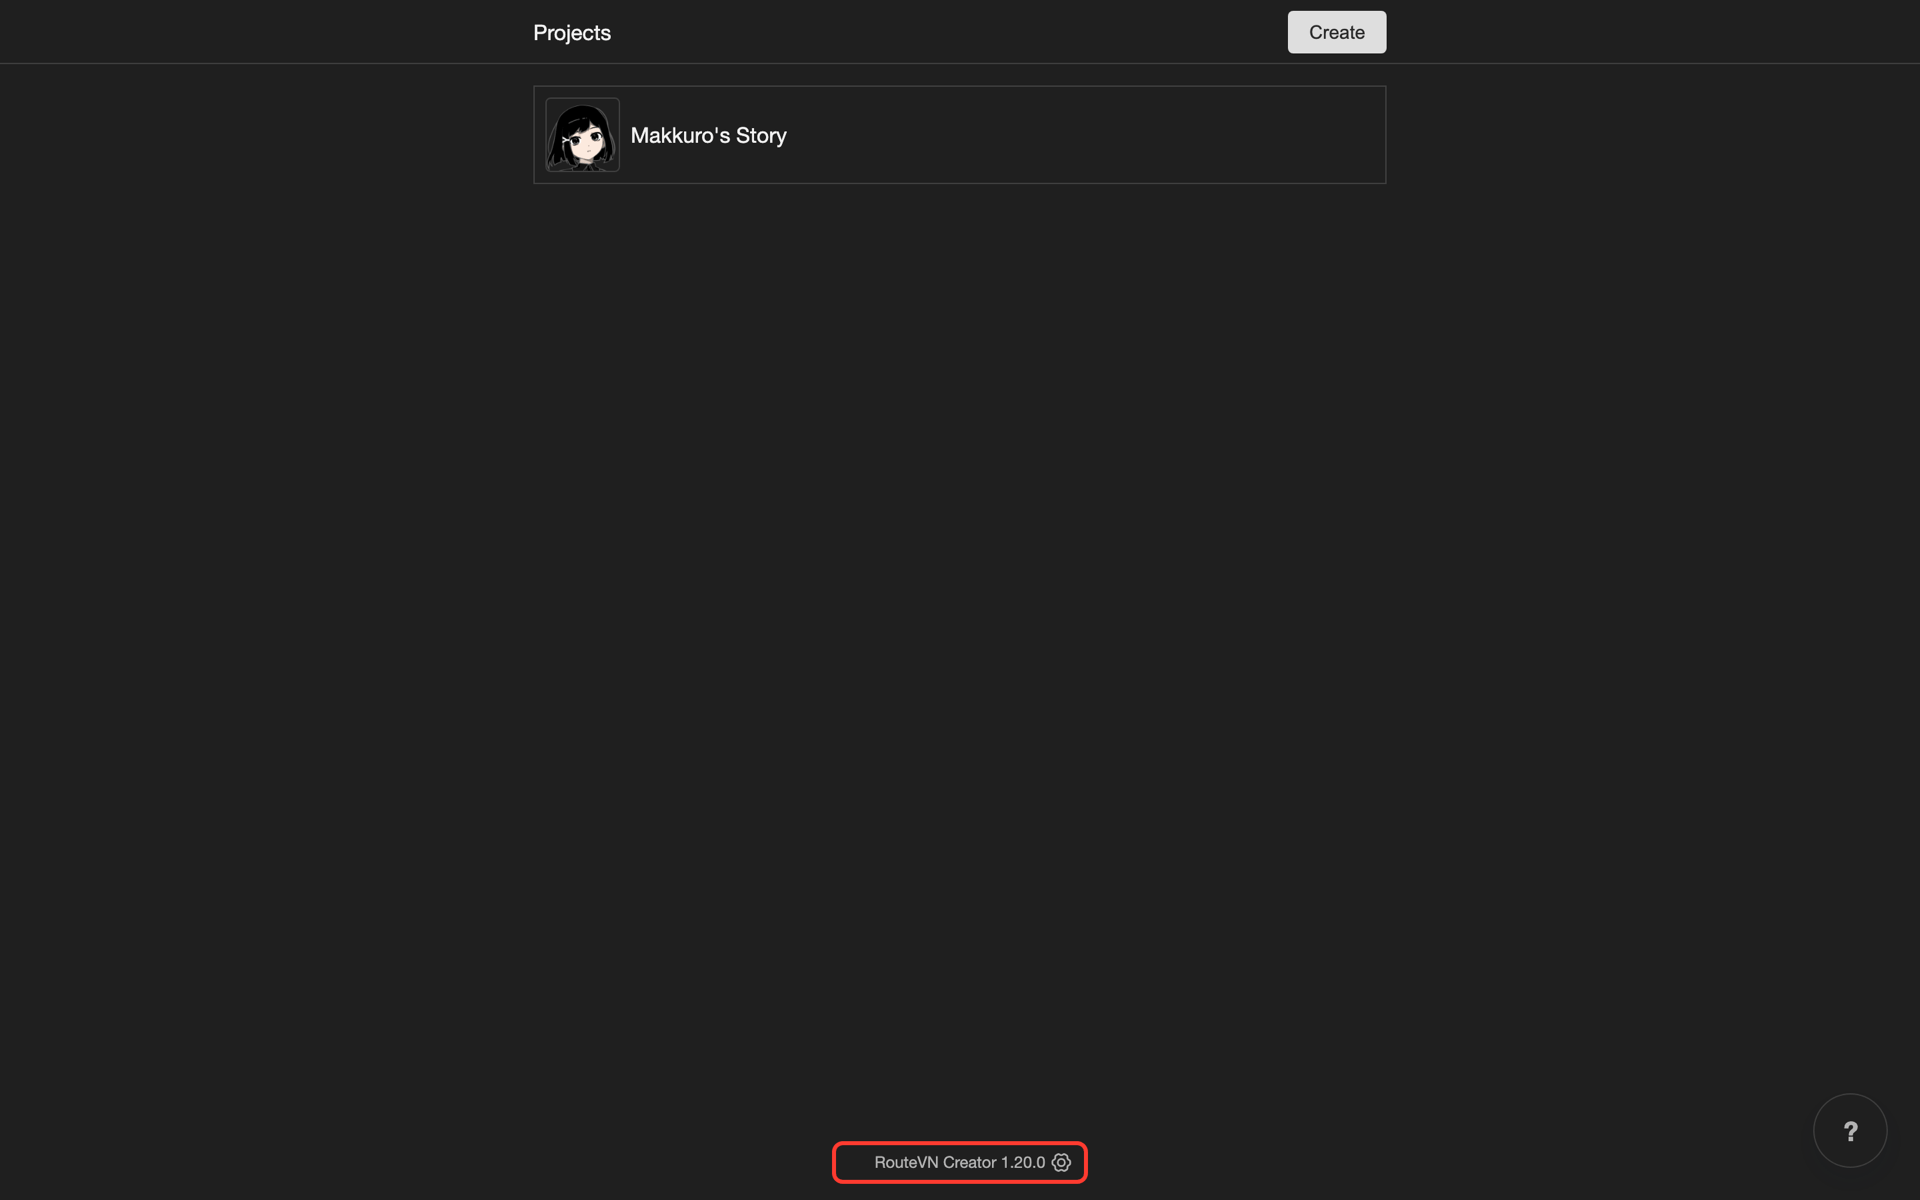
A menu appears.
-
Tap Language.
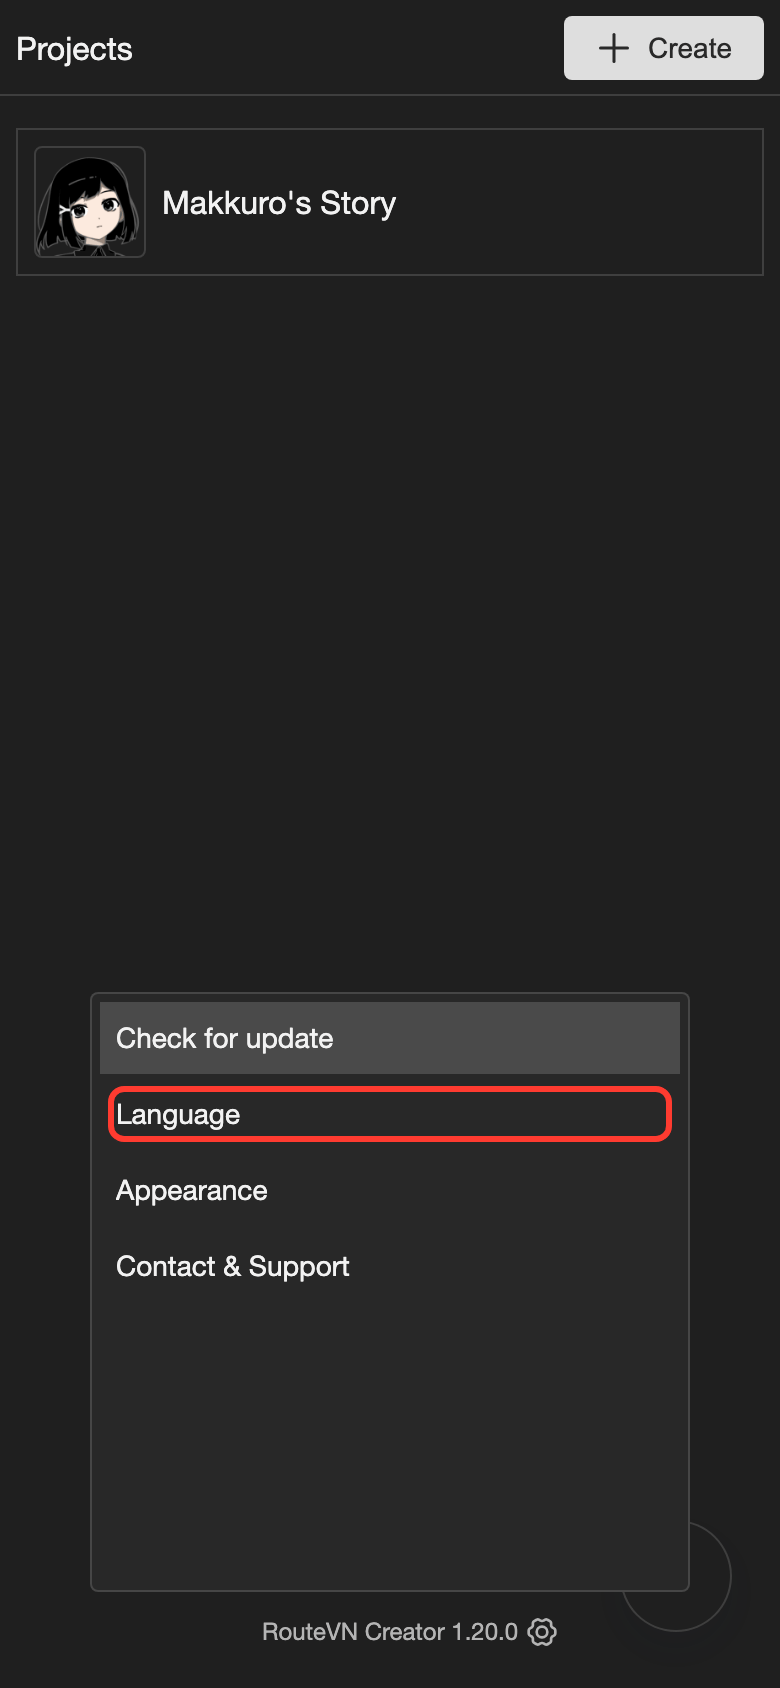
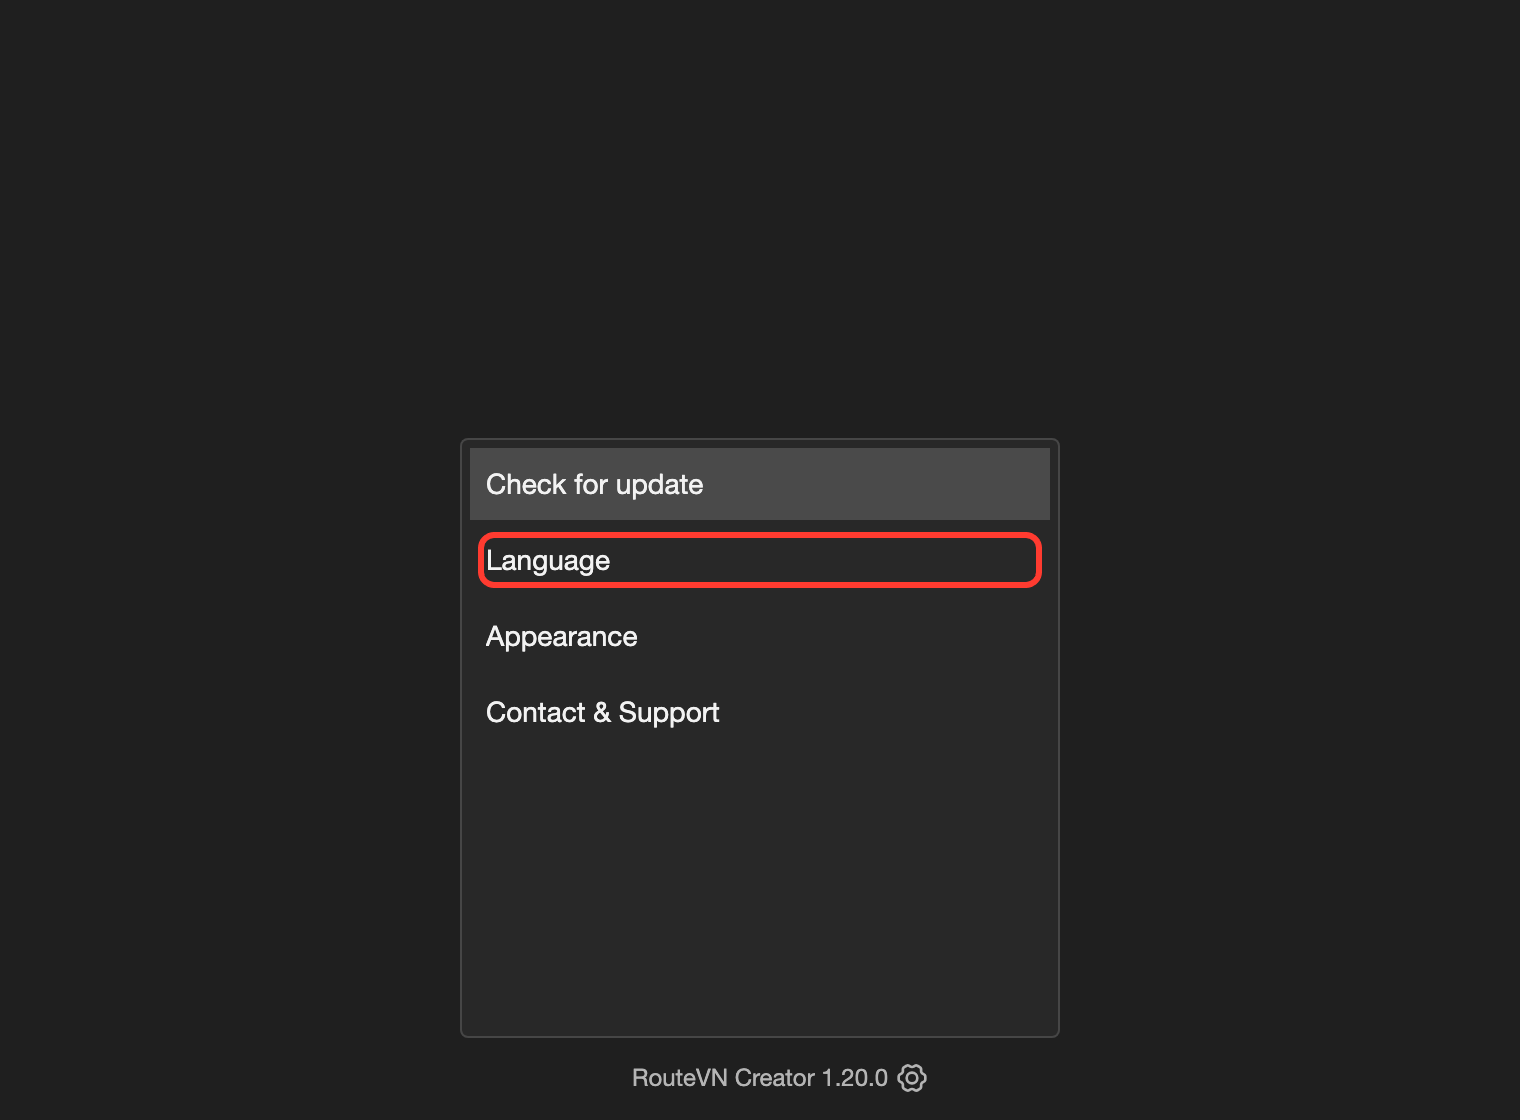
The Language box opens.
-
Tap the Language list.
-
Tap your language. Each language shows in its own language, for example Español for Spanish.
-
At the bottom right of the box, tap Save.
The app now shows your language. (Beta) next to a language means its translation is new, so some words may not be right yet.
To change back, follow the same steps. They work even when you cannot read the app:
- The version number is always in English.
- Language is always the third item from the bottom of the menu.
- English is always at the top of the list.
You can also change the language inside a project, on the Config page. See Settings.
Update RouteVN Creator
RouteVN Creator checks for updates by itself. When there is a new version, the Update Available box opens. Tap Update Now. On desktop, the app restarts when the update is ready. On a phone or tablet, the store page opens.
To check for updates yourself, go to the Projects page. At the bottom, tap the version number. Then tap Check for update.
To see what is new, read the Changelog.
Next steps
- Make your first project
- Set up storage and backups on a phone or tablet
- Find a page in the app
- Watch the video tutorials