Transforms
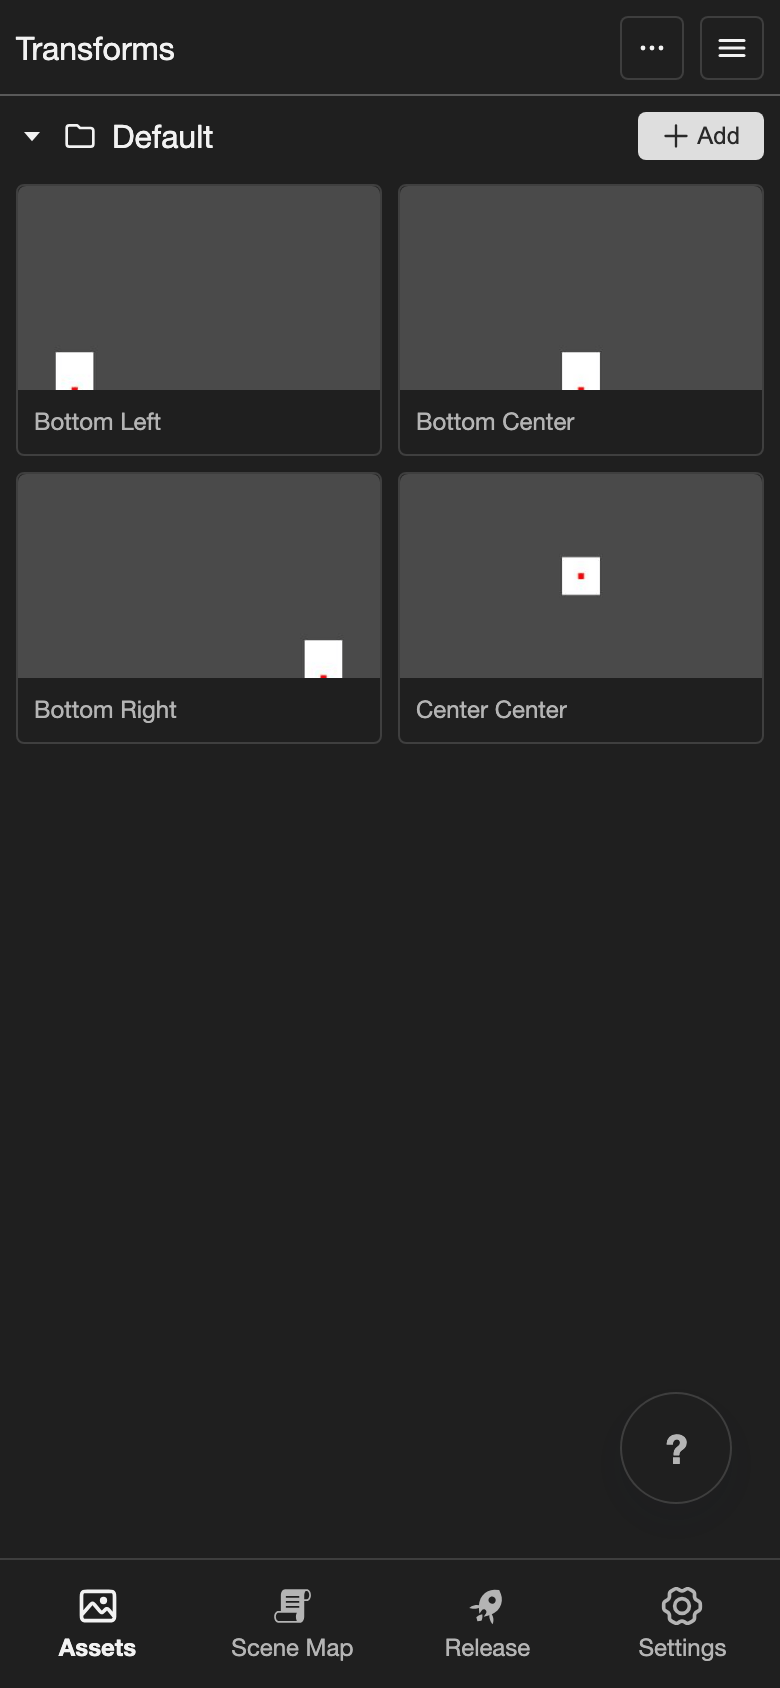
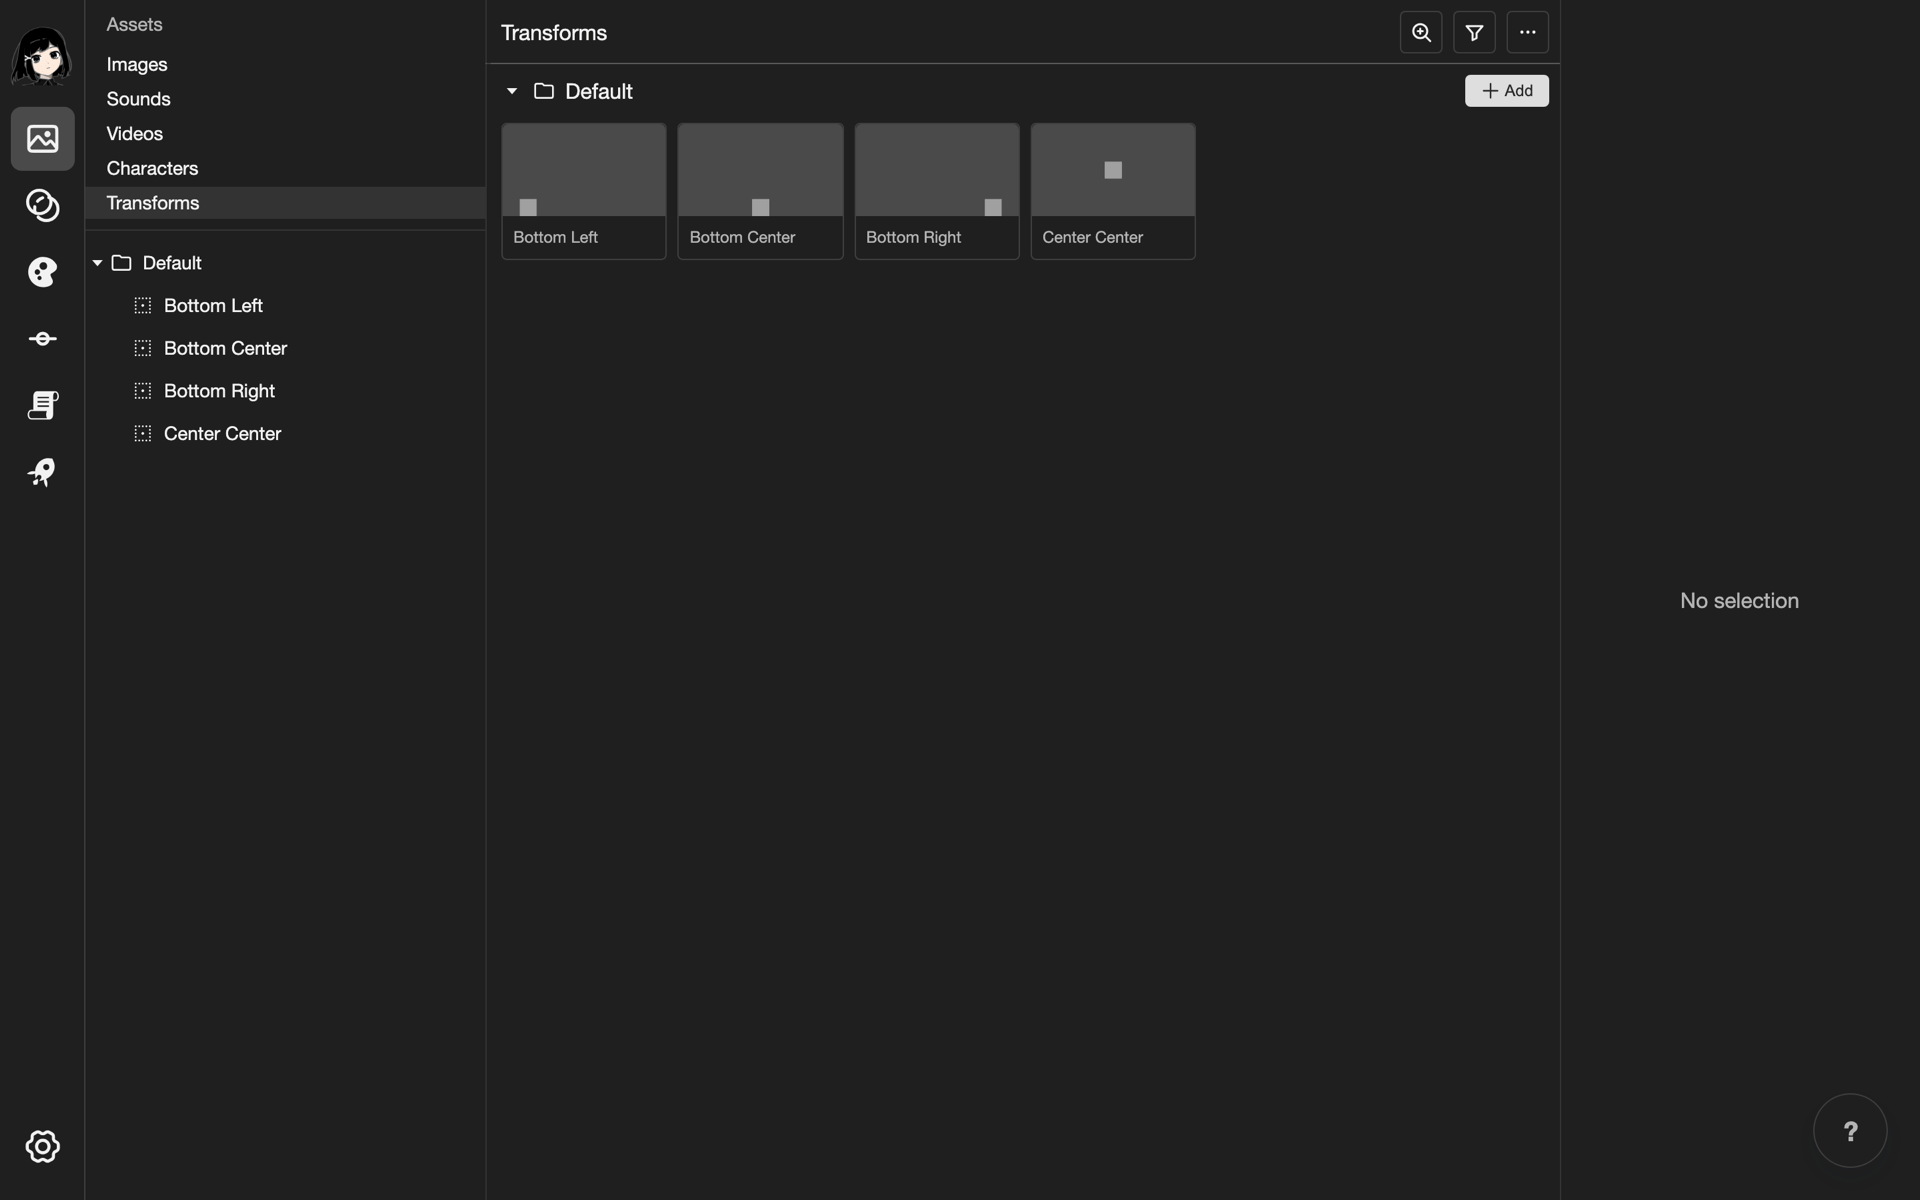
A transform sets where a visual or character appears on the screen, and how big it is. Make a transform once, then use it again in many places, so every picture stays in the same spot.
Words to know
- Position: Where the picture is on the screen. Position X moves it left and right. Position Y moves it up and down.
- Scale: How big the picture is.
1is normal size.1.5is 150%, which is one and a half times bigger. - Anchor: The point on the picture that sits on the position. For example, Center means the middle of the picture sits on the position.
- Rotation: How much the picture turns, in degrees.
0is straight. Positive numbers turn it clockwise.
Open the Transforms page
-
Open your project. See Projects.
-
Go to the Transforms page.
- Phone or tablet: Tap Assets in the bottom bar. Then tap Transforms in the list.
- Desktop: In the left list, click Transforms.
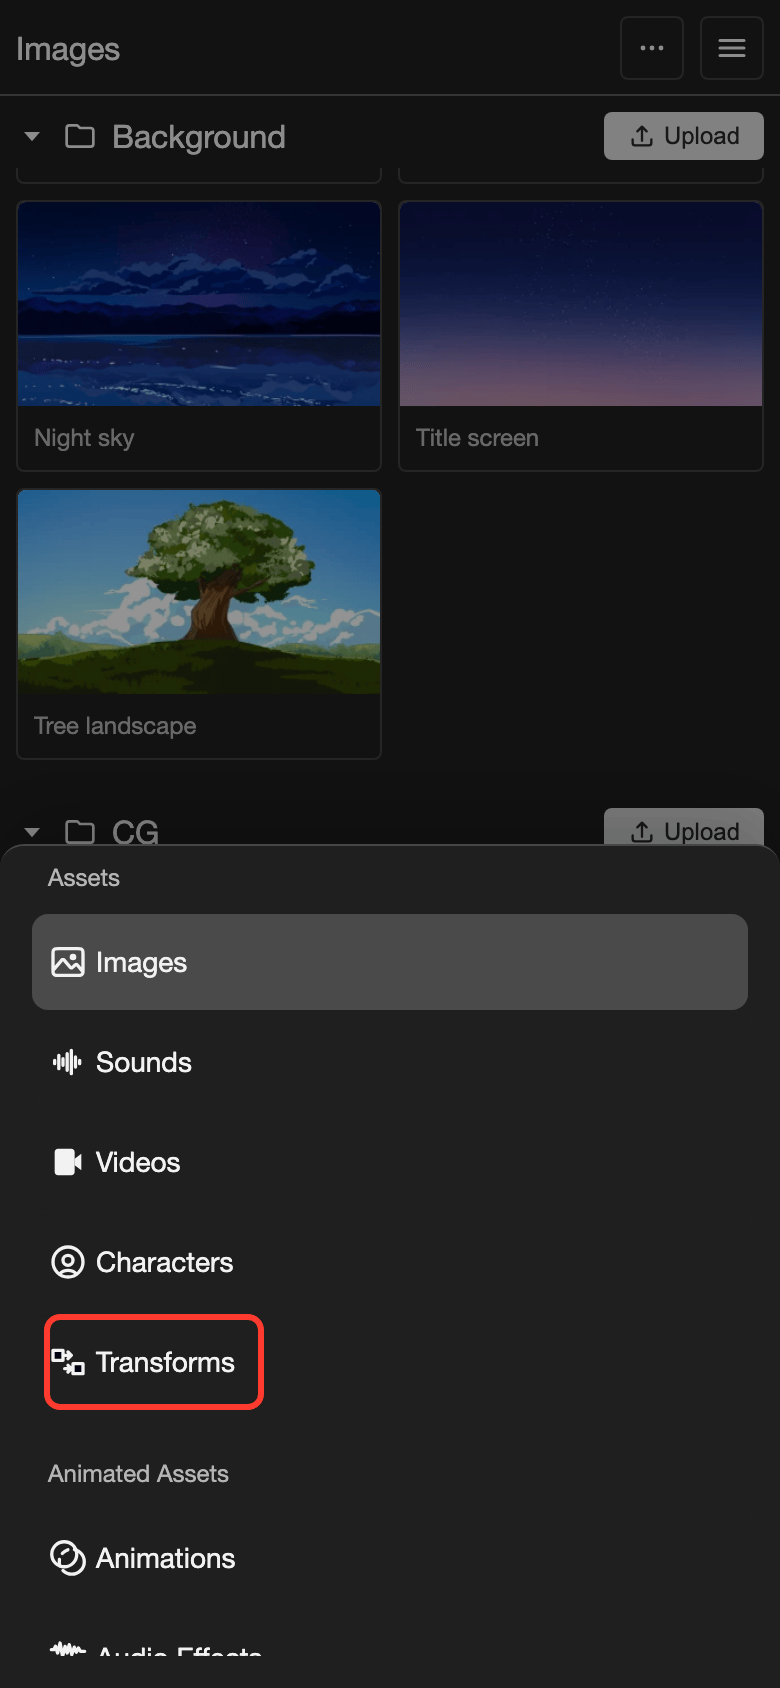
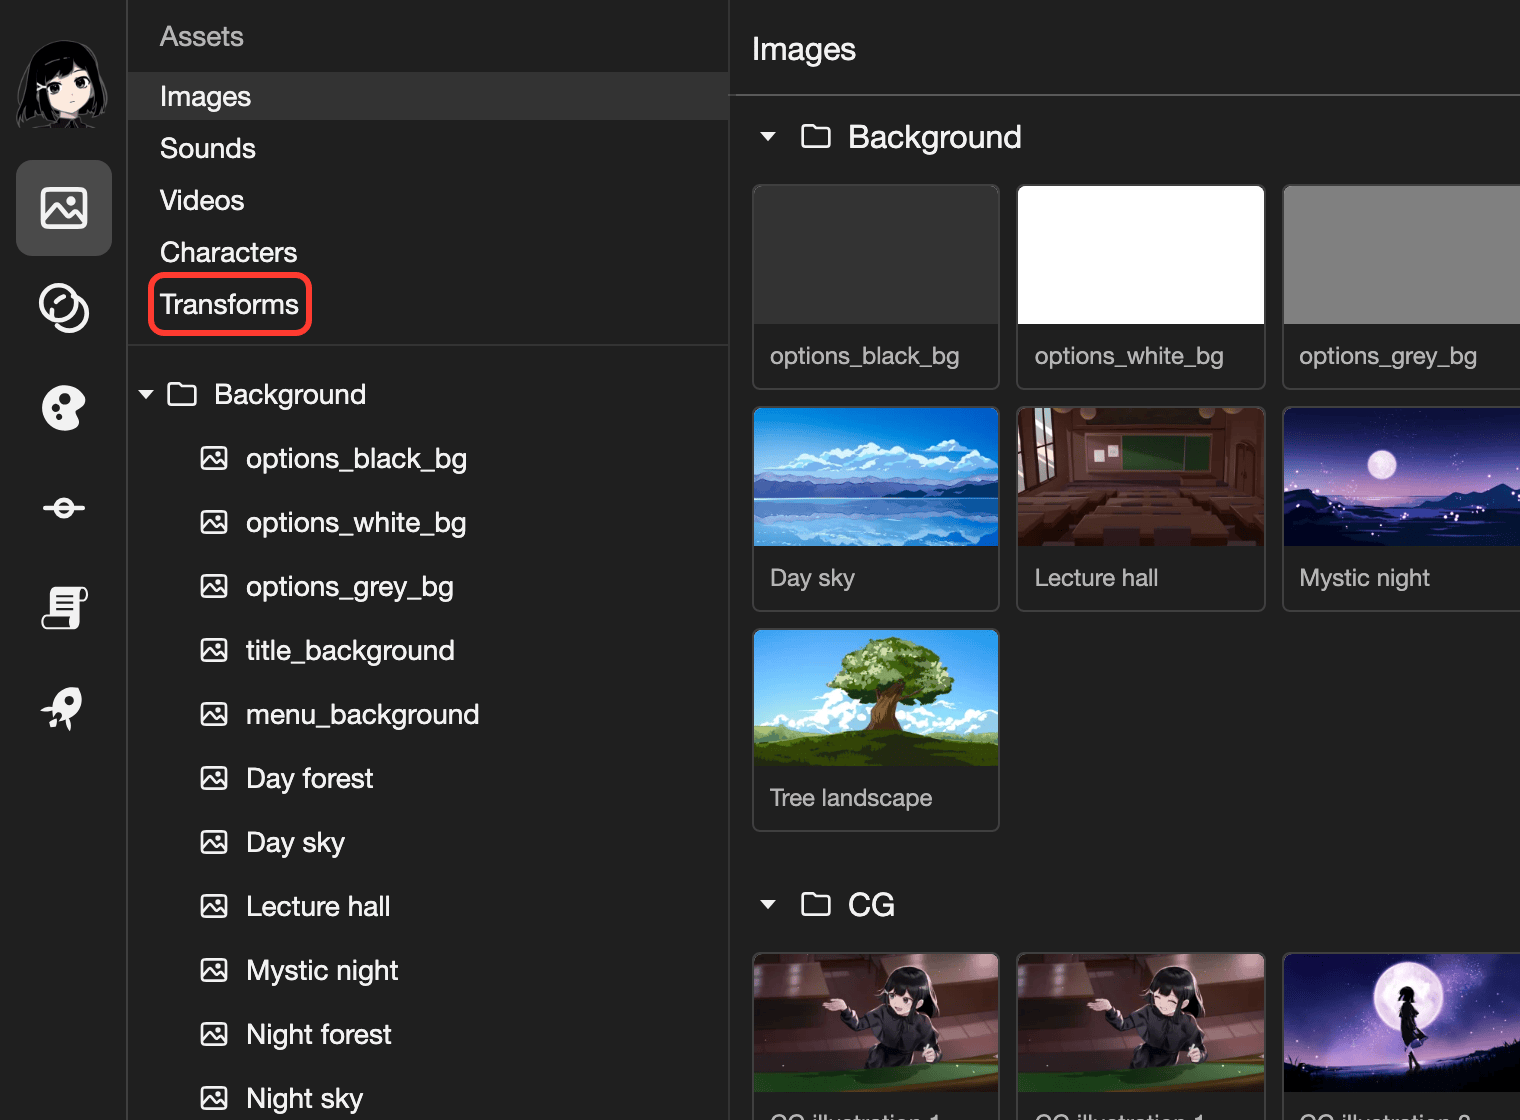
Transforms is in the list of pages. The Transforms page opens.
Create a transform
-
Tap Add.
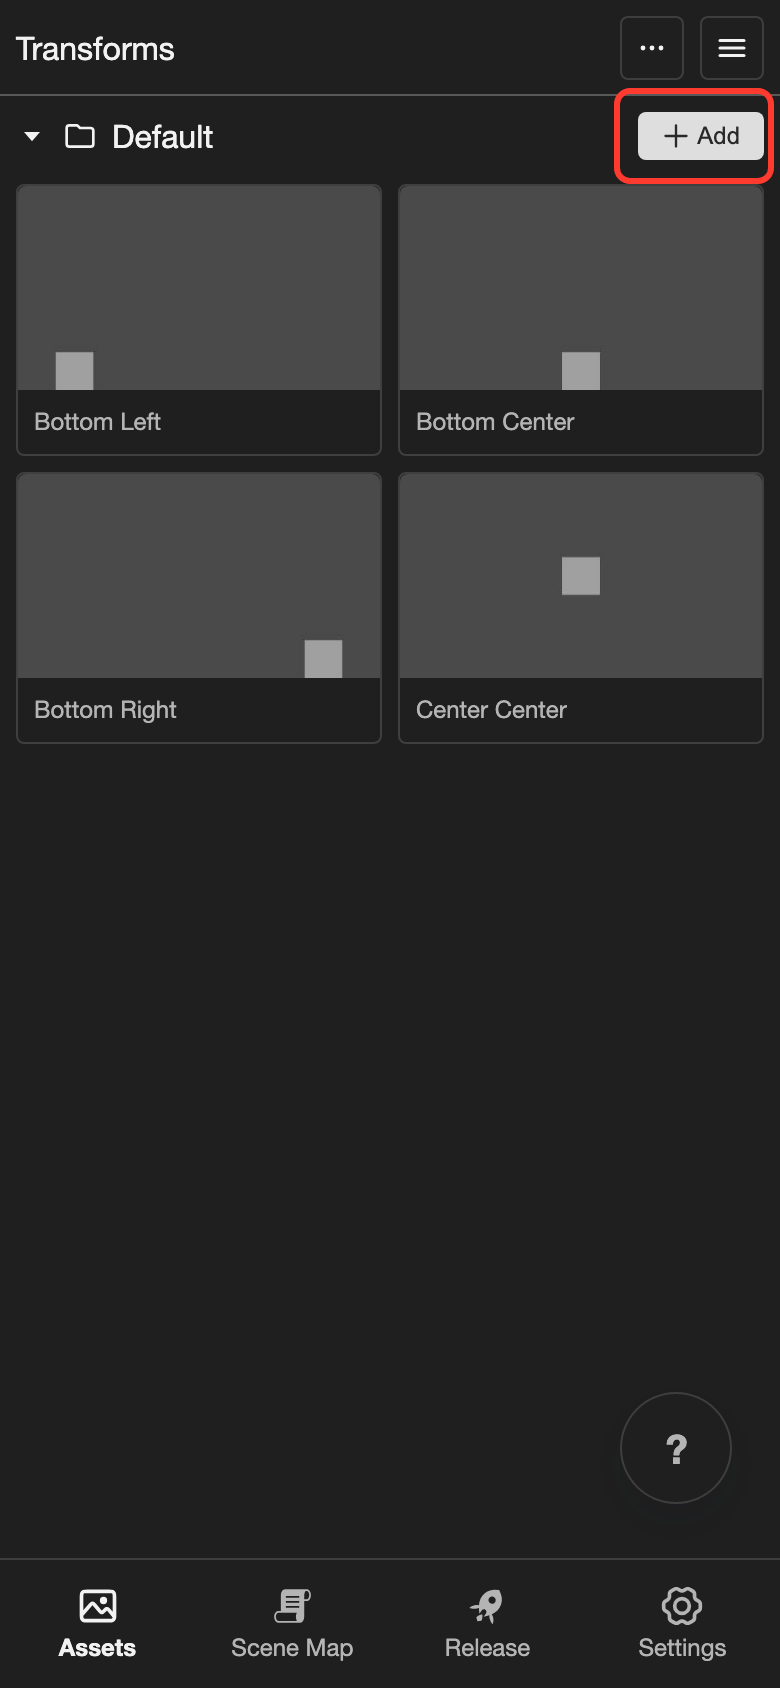
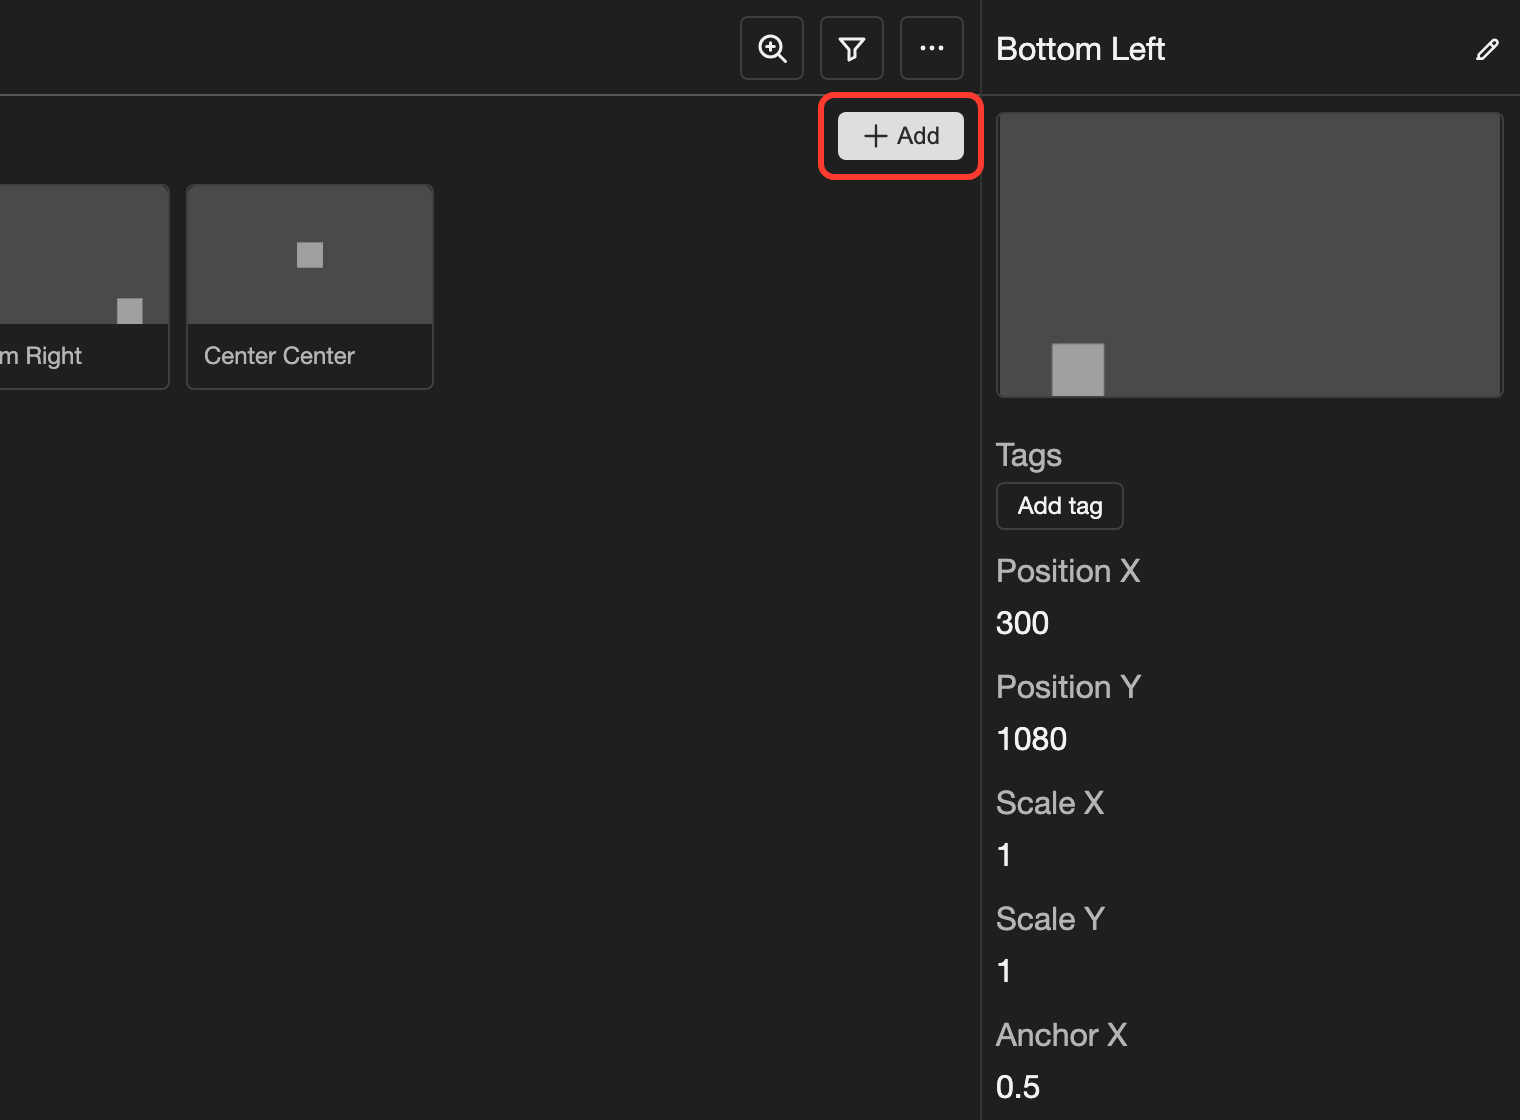
The Add button is on the same row as the folder name. -
In Name, type
Close up. Then tap Add Transform.You can use any name. This page uses Close up as the example.
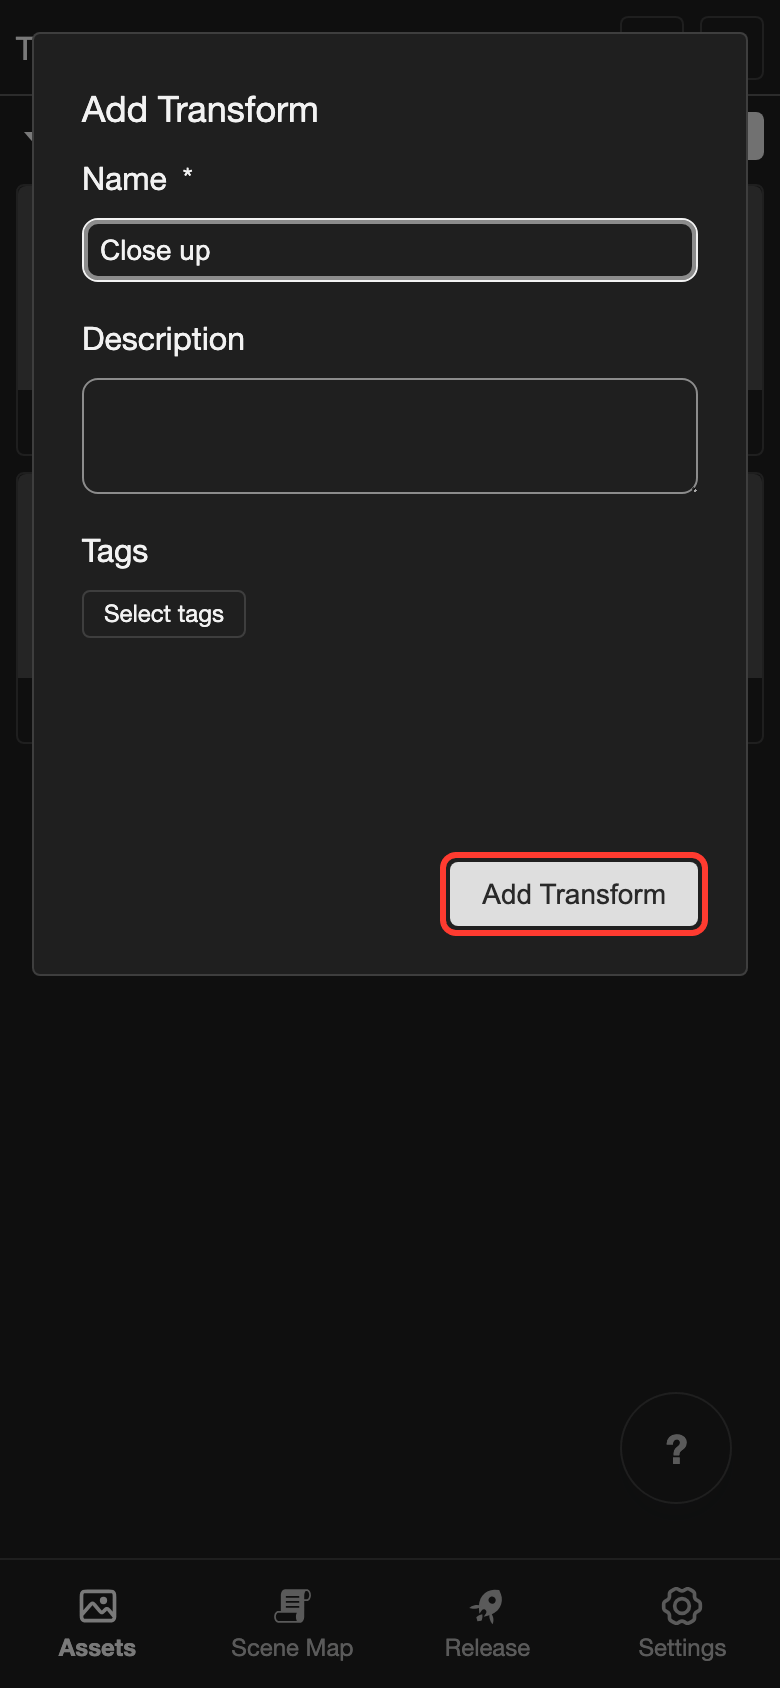
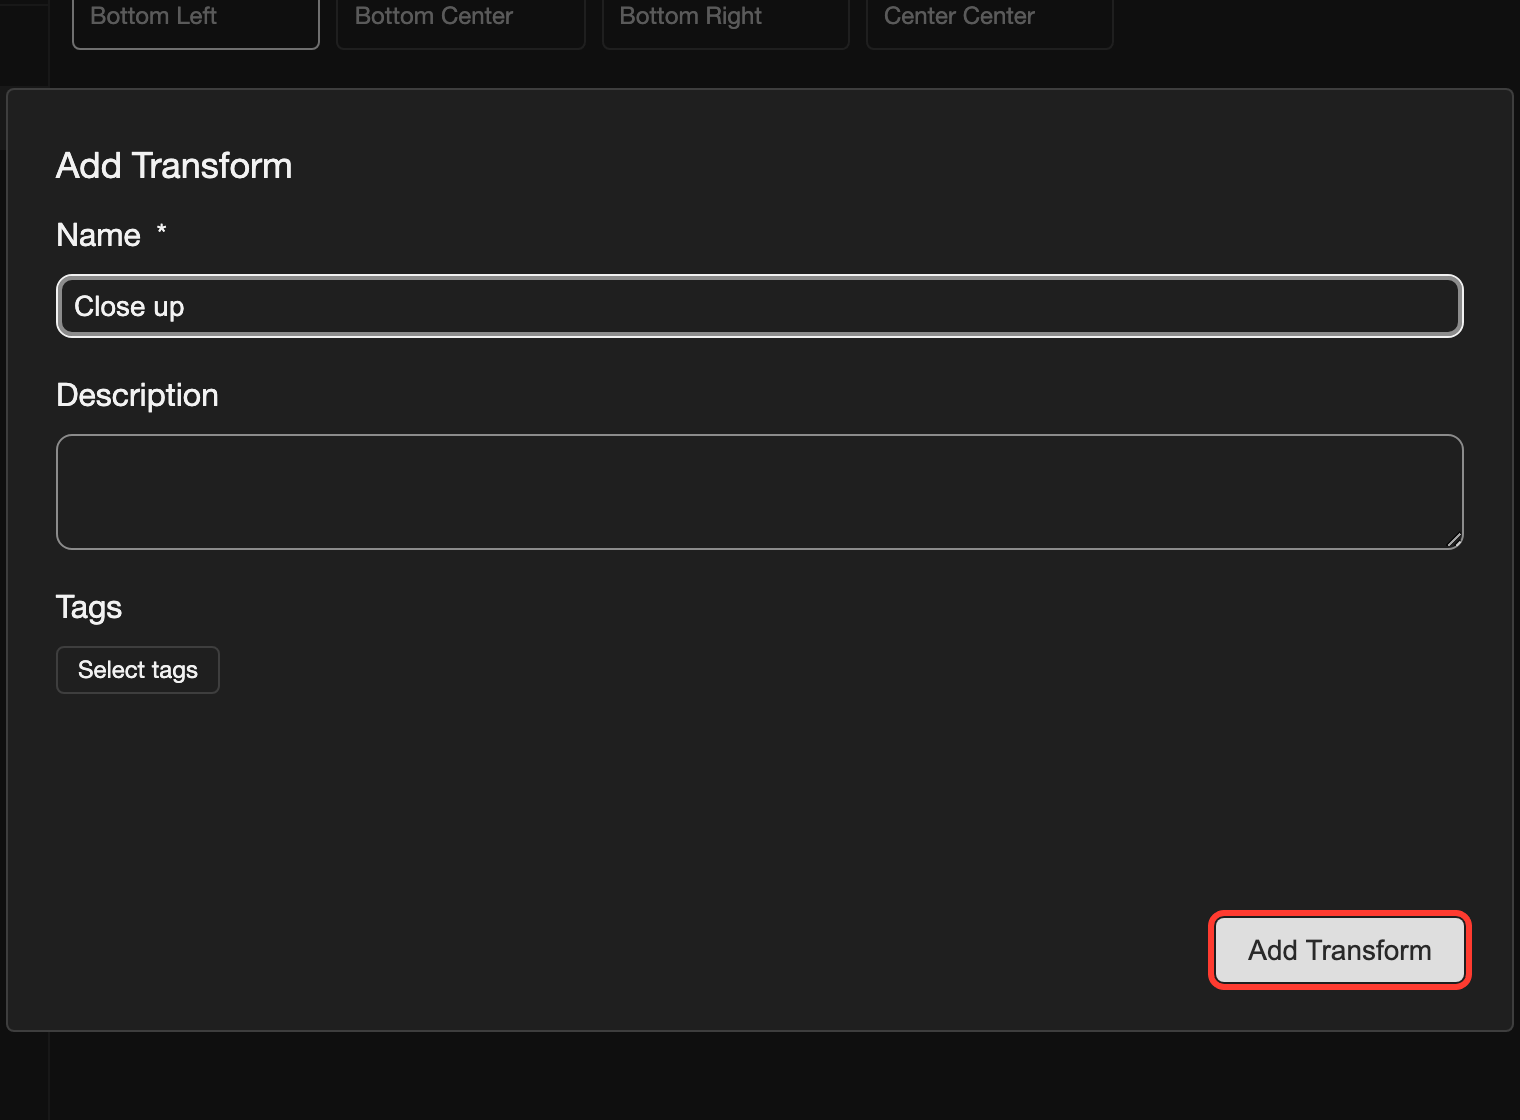
Type the name. Then tap Add Transform.
The new transform Close up appears at the end of the list.
Open the transform editor
The transform editor is where you set the values of a transform. It has 2 modes. Edit changes the values. Preview shows a picture behind the transform.
-
Open Close up.
- Phone or tablet: Tap Close up. Then tap Open at the bottom of the screen.
- Desktop: Double-click Close up.
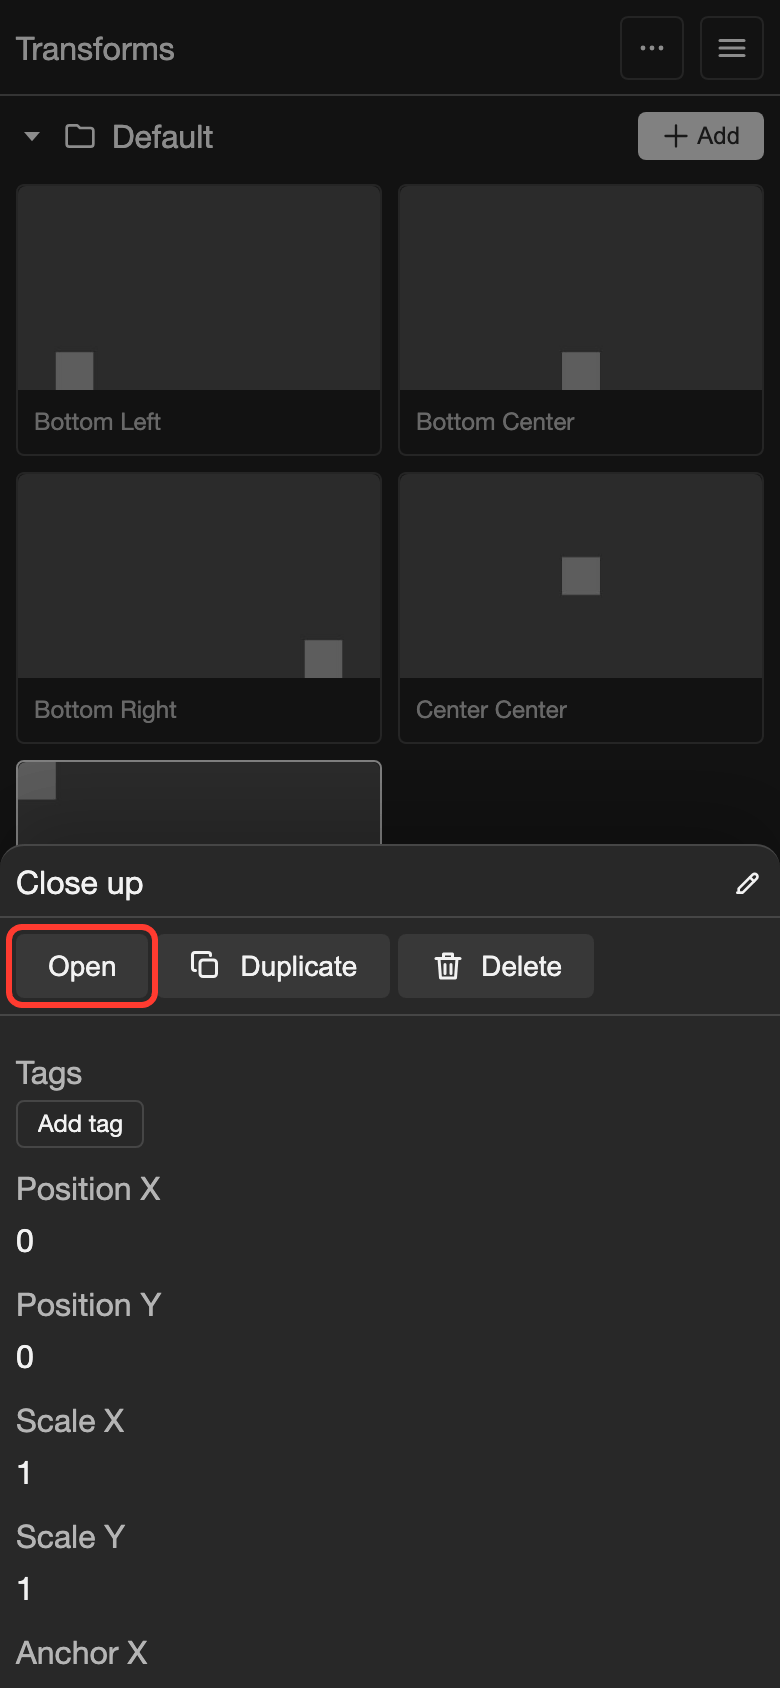
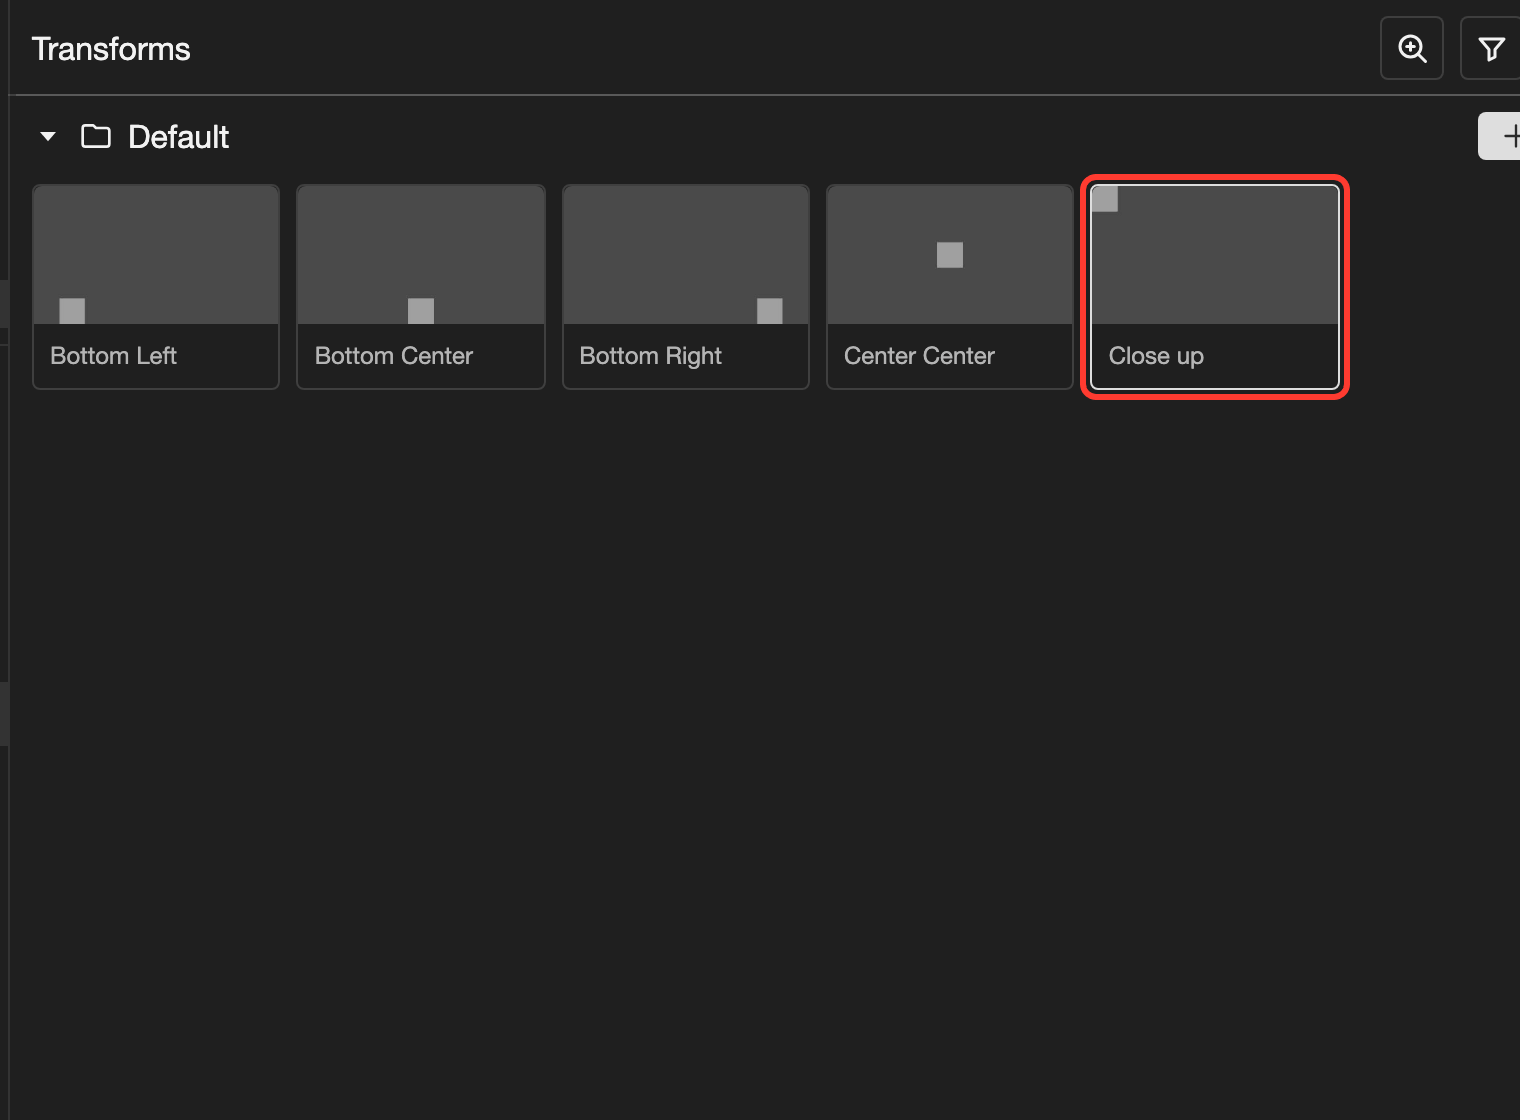
Open the Close up transform.
The transform editor opens.
Parts of the transform editor
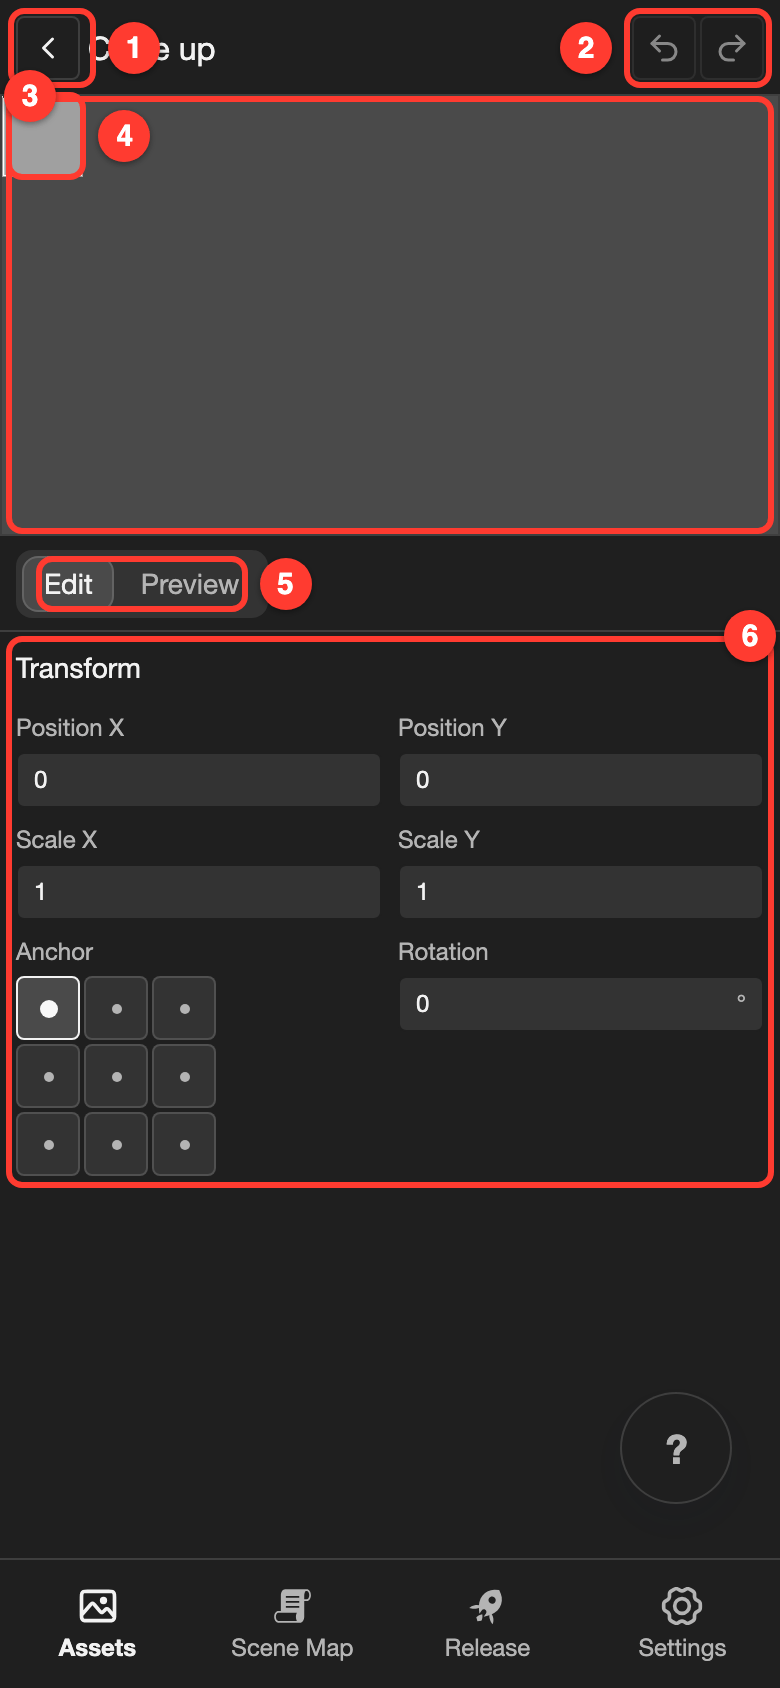
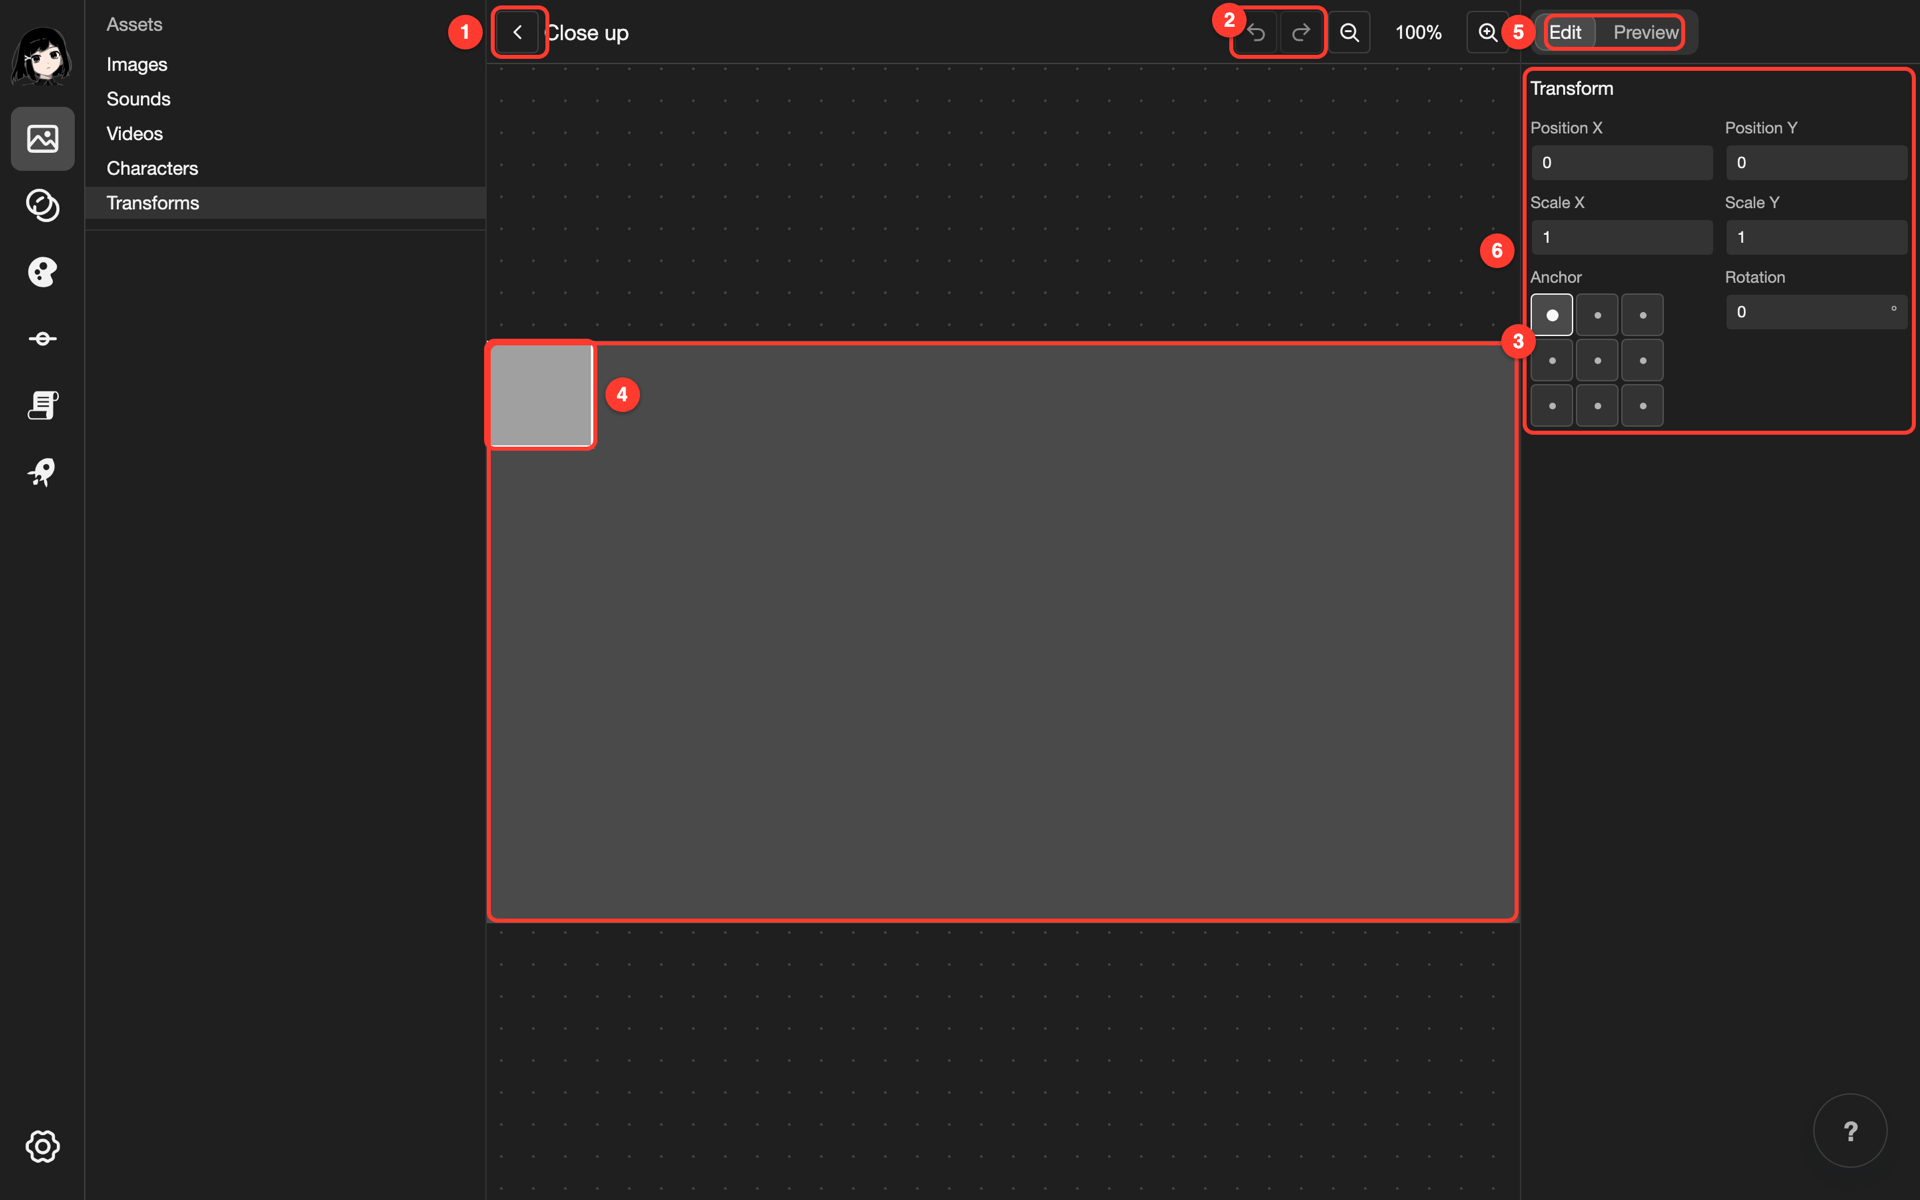
- Back button: Goes back to the Transforms page. Your changes save when you go back.
- Undo and redo: Undo the last change, or redo it.
- Canvas: The screen of your project. The transform changes what you see here.
- Box: The gray square on the canvas. It is the picture that the transform moves, scales, and turns.
- Edit and Preview: The 2 modes of the editor.
- Settings: The values of the transform: Position X, Position Y, Scale X, Scale Y, Anchor, and Rotation.
Change the values
Each value in the Settings has its own box. This example changes Position X.
-
Tap the value under Position X.
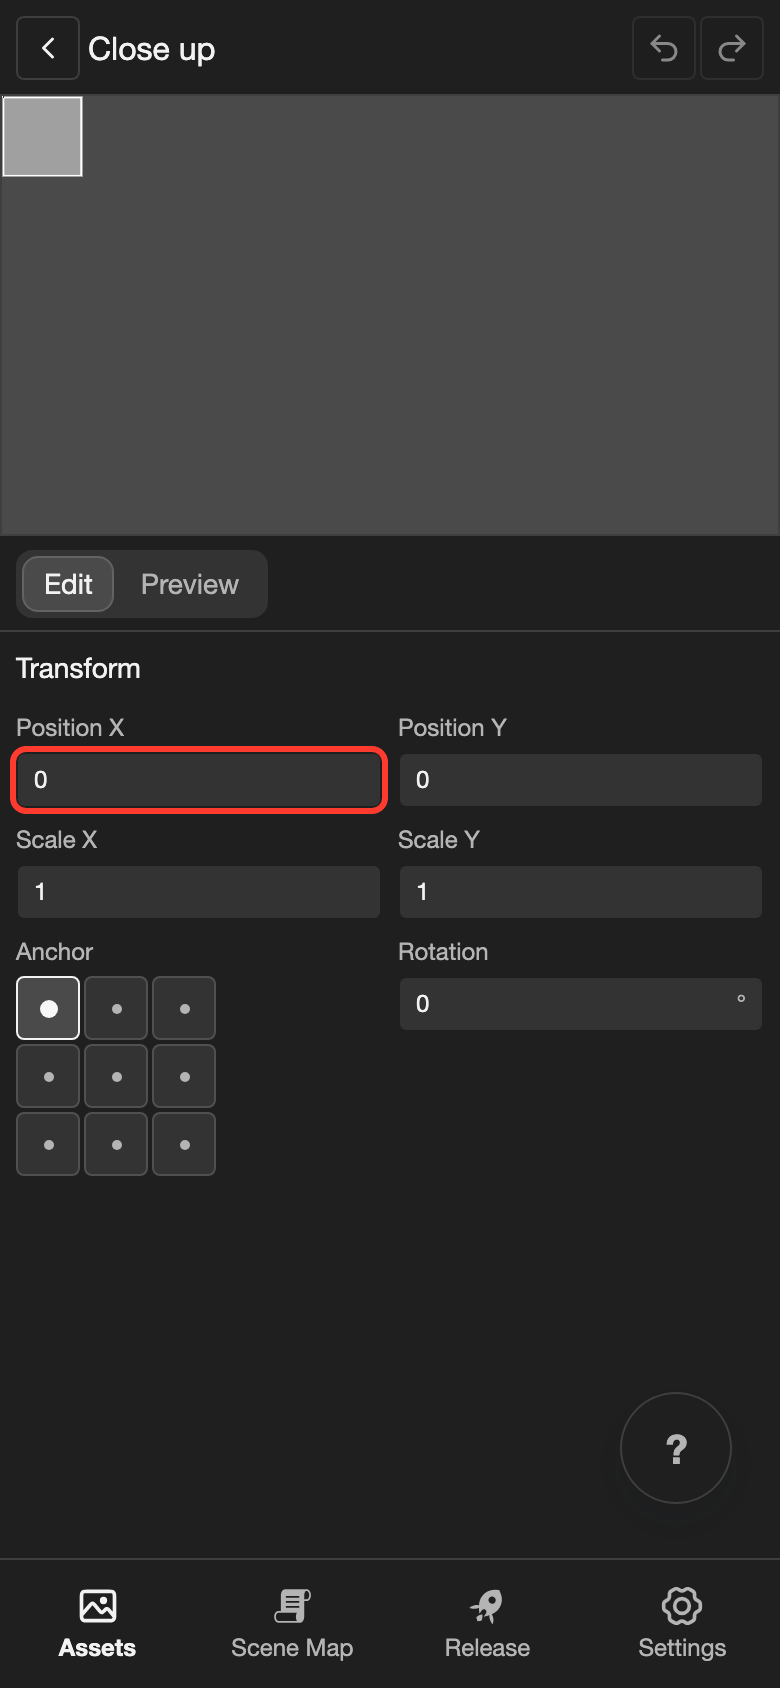
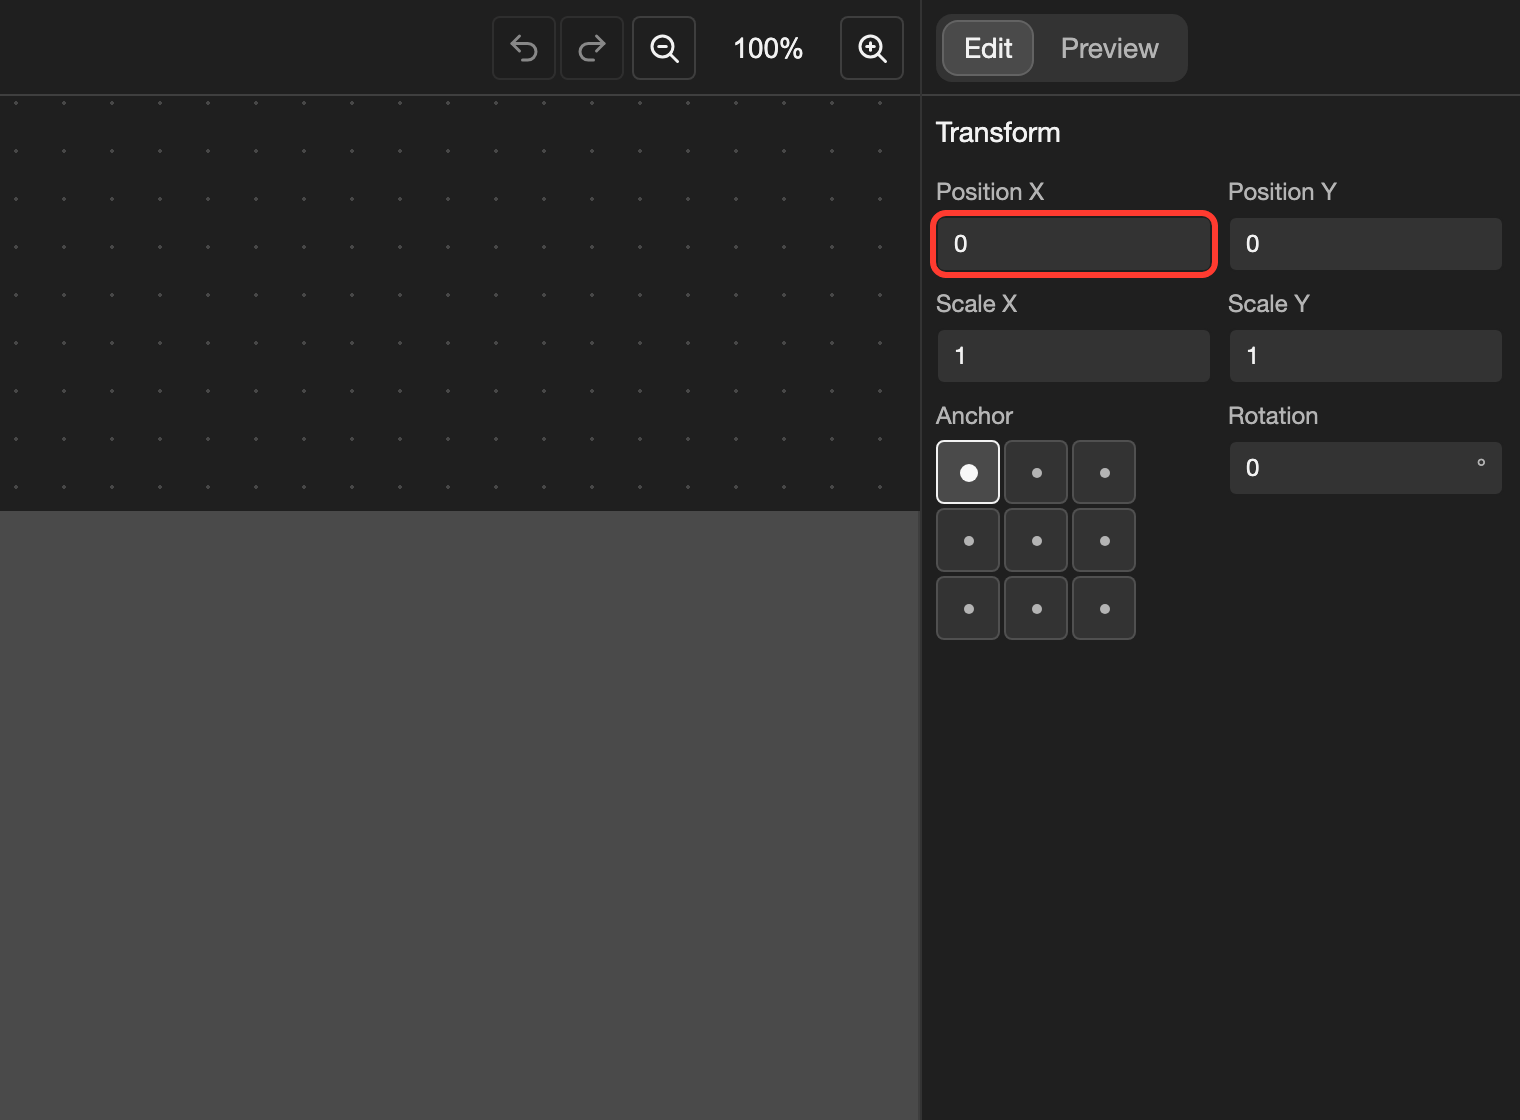
The value is 0. Tap it to change it. -
Change the number. A box opens with tools to help you.
- Type a number, or drag the slider.
- Tap −10, −1, +1, or +10 to change the number a little at a time.
- Tap the Presets button to pick a ready-made value. For example, 1/2 is half of the project width, which is 960.
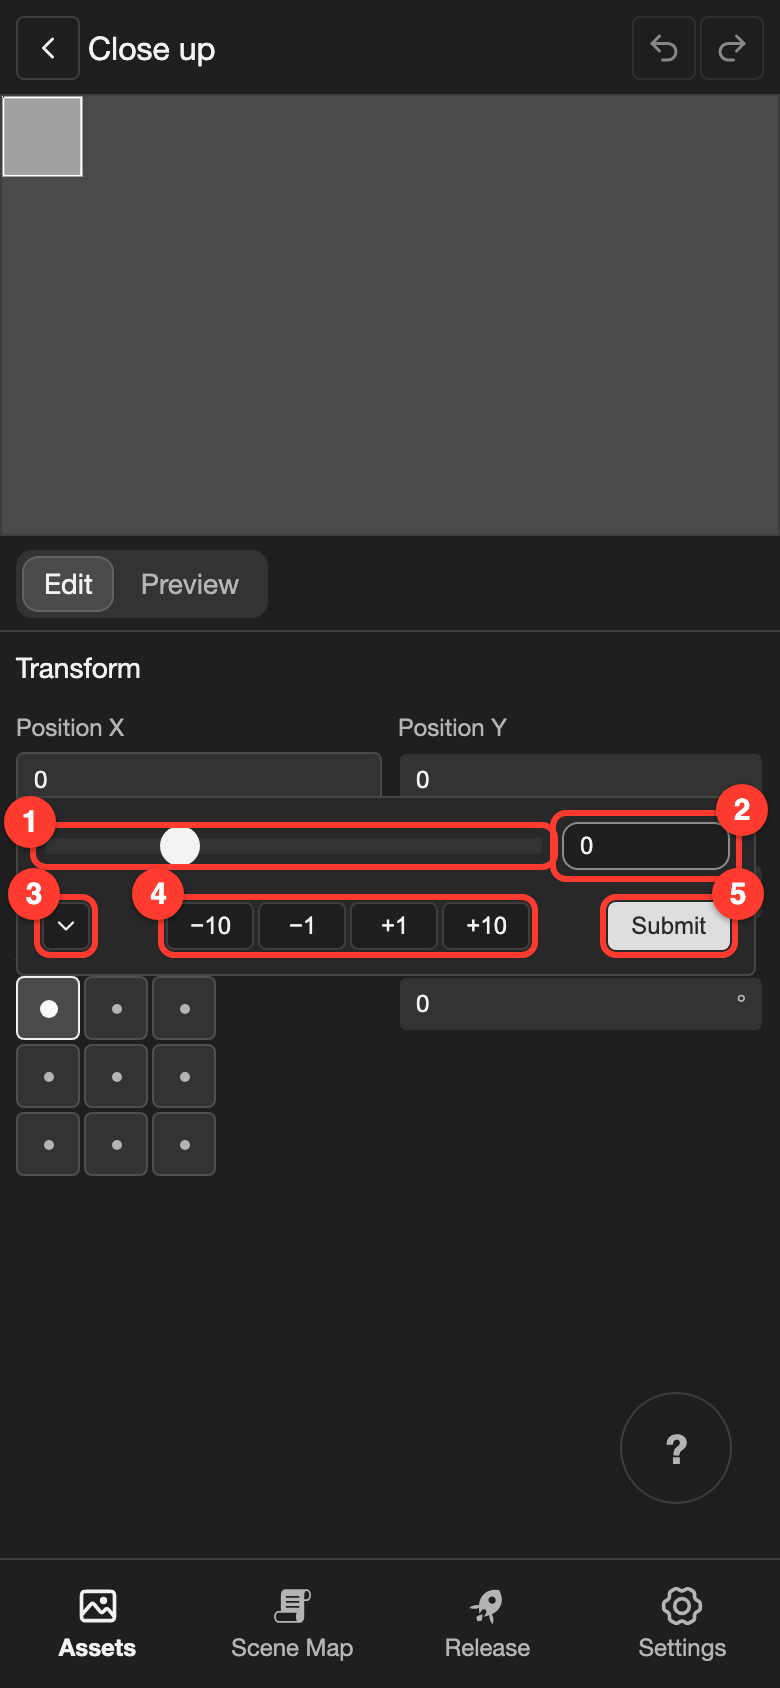
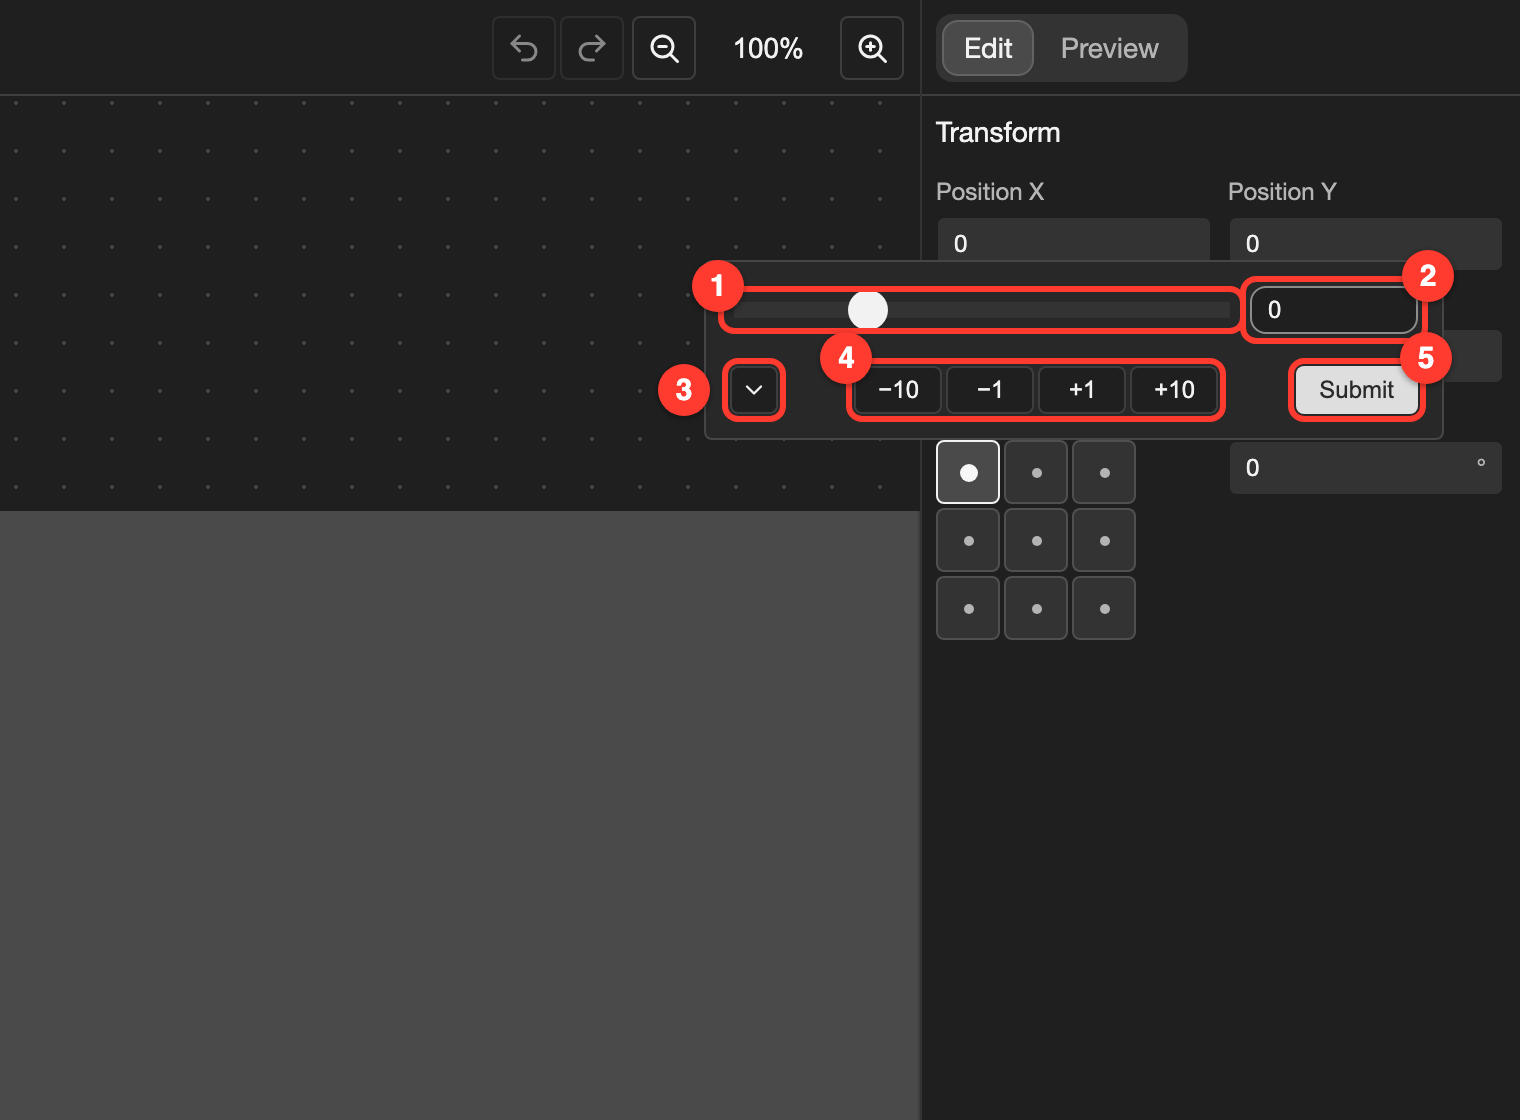
1 is the slider, 2 the number box, 3 the Presets button, 4 the step buttons, and 5 the Submit button. -
Tap Submit.
The gray box moves to the new position.
The other values work the same way:
- Position Y: Tap the value, then change it. Position X 960 and Position Y 540 put the box in the middle of the project screen.
- Scale X and Scale Y: Tap the value, then tap Presets and choose a size, such as 150%. With Keep aspect ratio checked, both values change together.
- Anchor: Tap one of the 9 squares. The grid shows top left, top center, top right, center left, center, center right, bottom left, bottom center, and bottom right. The middle square is Center.
- Rotation: Tap the value, then tap +15 to turn the box 15 degrees clockwise.
Move the box with your finger or mouse
You can also drag the box. Position X and Y change while you drag.
- Phone or tablet: Touch and hold the box. Then move your finger without lifting it.
- Desktop: Click the box, hold the mouse button, and move the mouse. You can also press an arrow key to move the box by 1. Hold Shift to move it by 10.
Undo a change
Tap the undo button at the top of the editor. It is number 2 in Parts of the transform editor. The last change goes away. Tap the redo button next to it to bring the change back.
Preview a transform
Use Preview to see the transform with a picture. Preview images only help you see the result. They do not change the values of the transform.
-
Tap Preview.
-
Tap the box under BG Image. Choose an image, such as Lecture hall. Then tap OK.
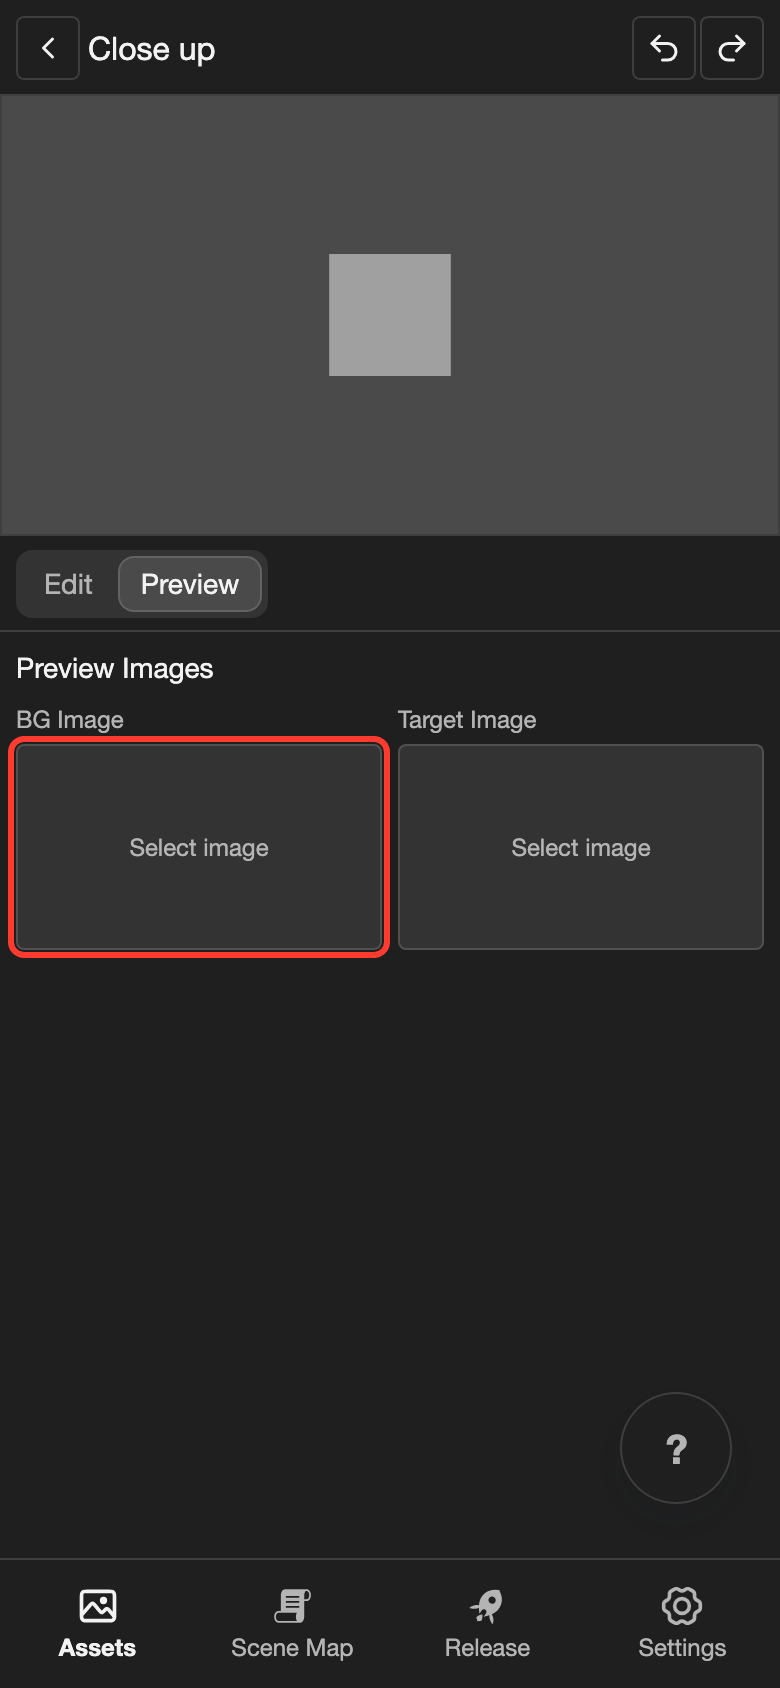
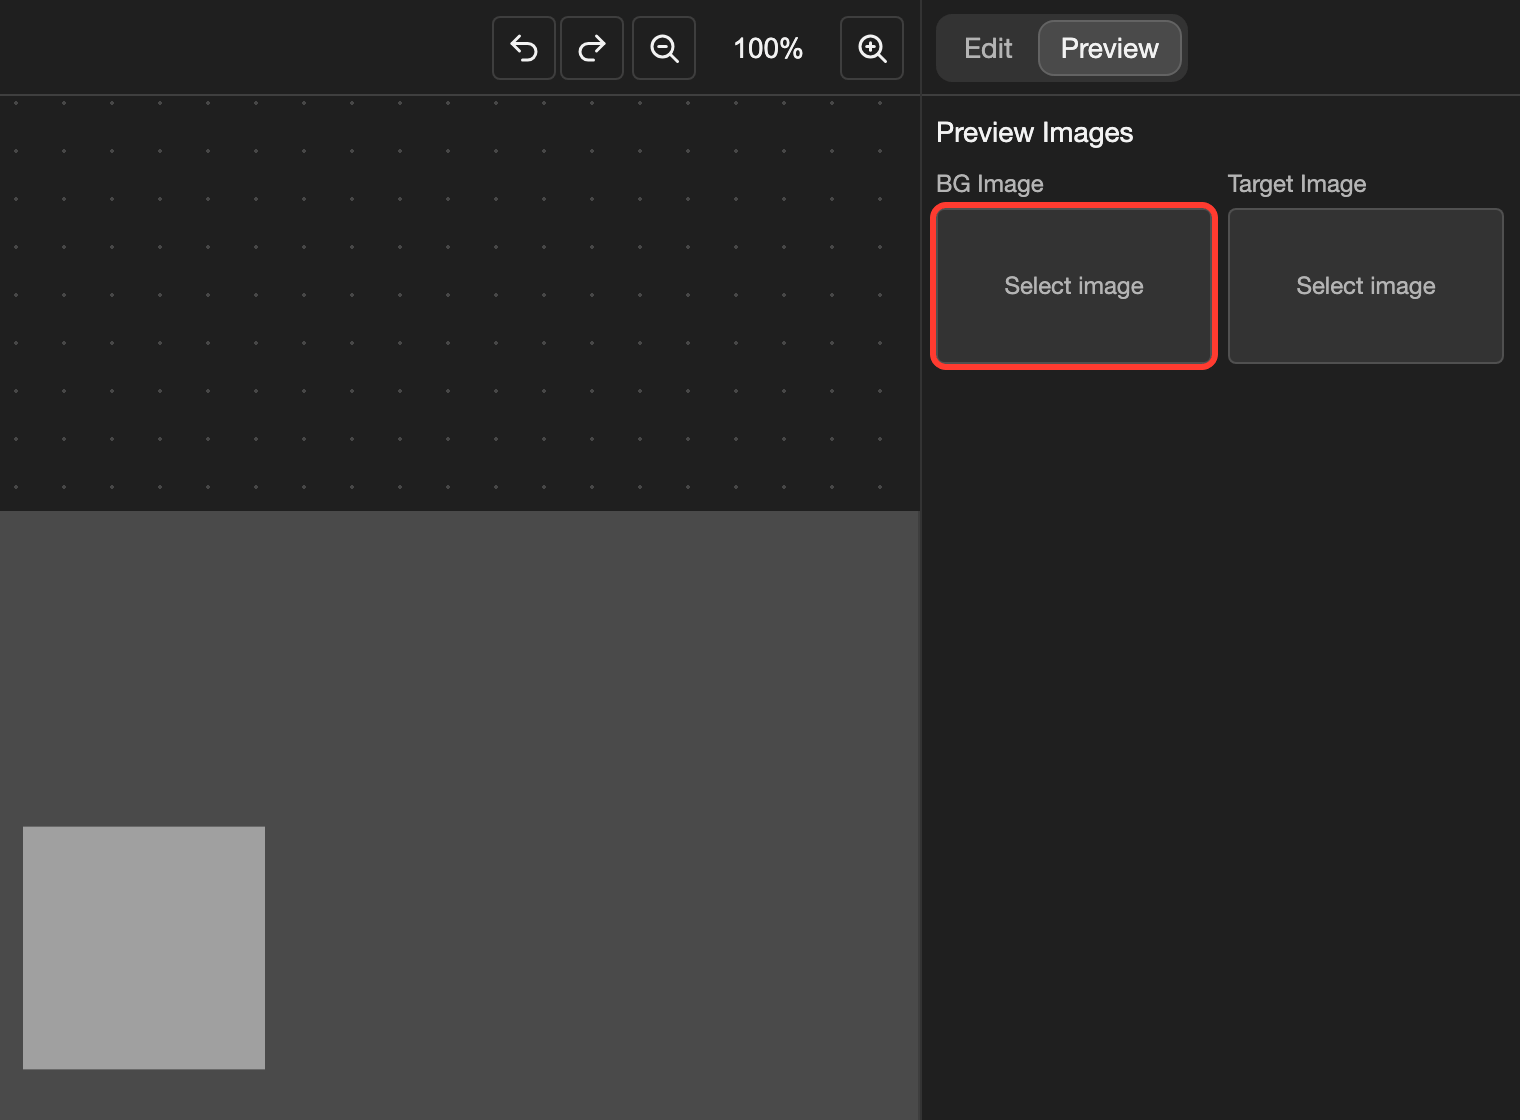
Tap the box under BG Image to choose a background. -
Tap the box under Target Image. Tap Character Sprite. Choose a character, such as Makkuro, and one of its sprites. Then tap OK.
Target Image is the picture that the transform moves in the preview. You can also choose Image.
The canvas now shows the background and the character, with the transform applied.
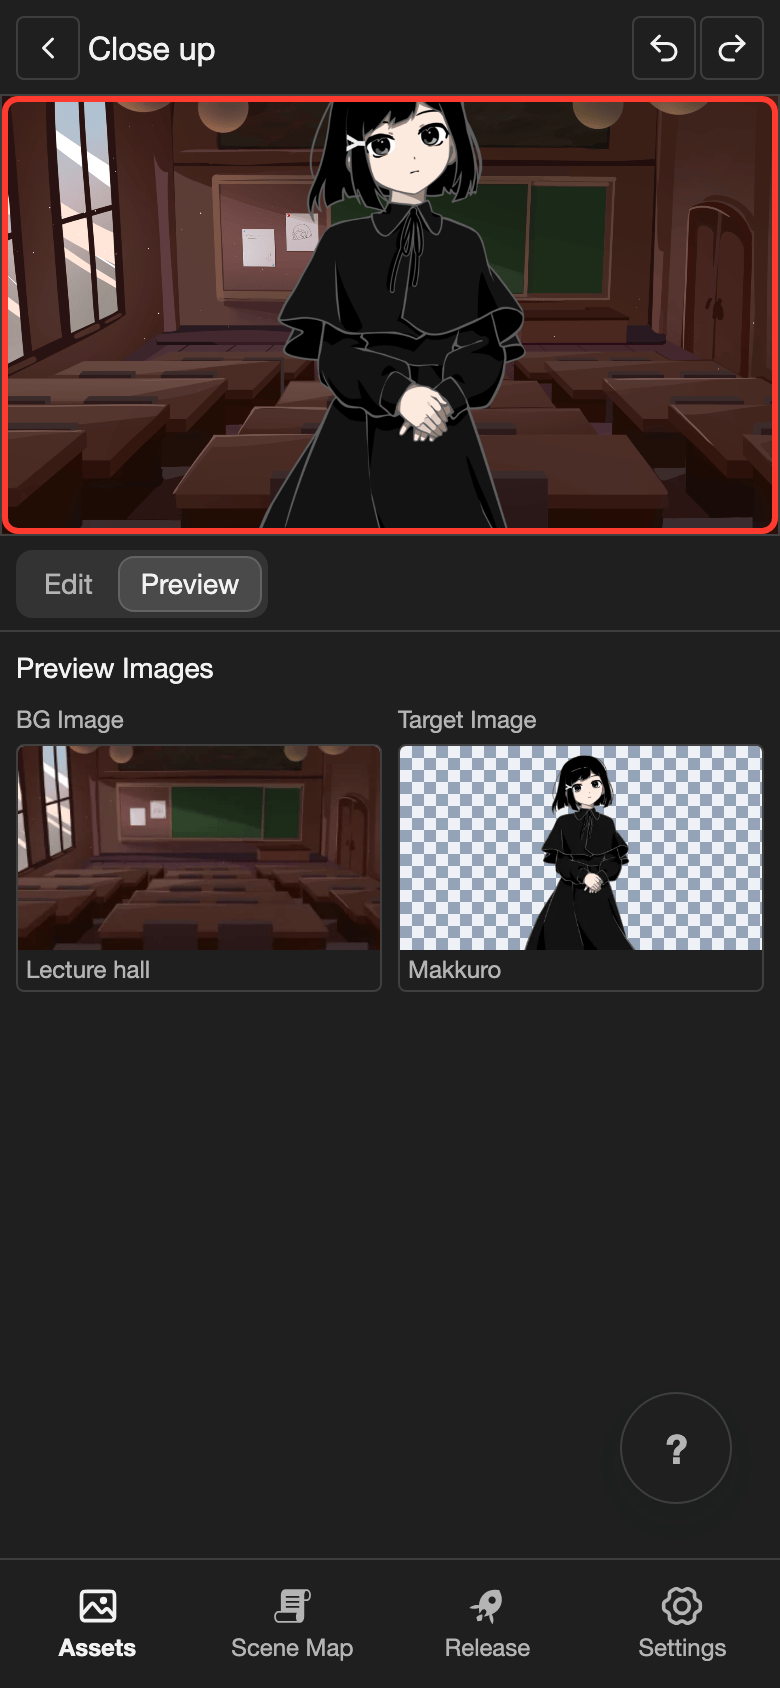
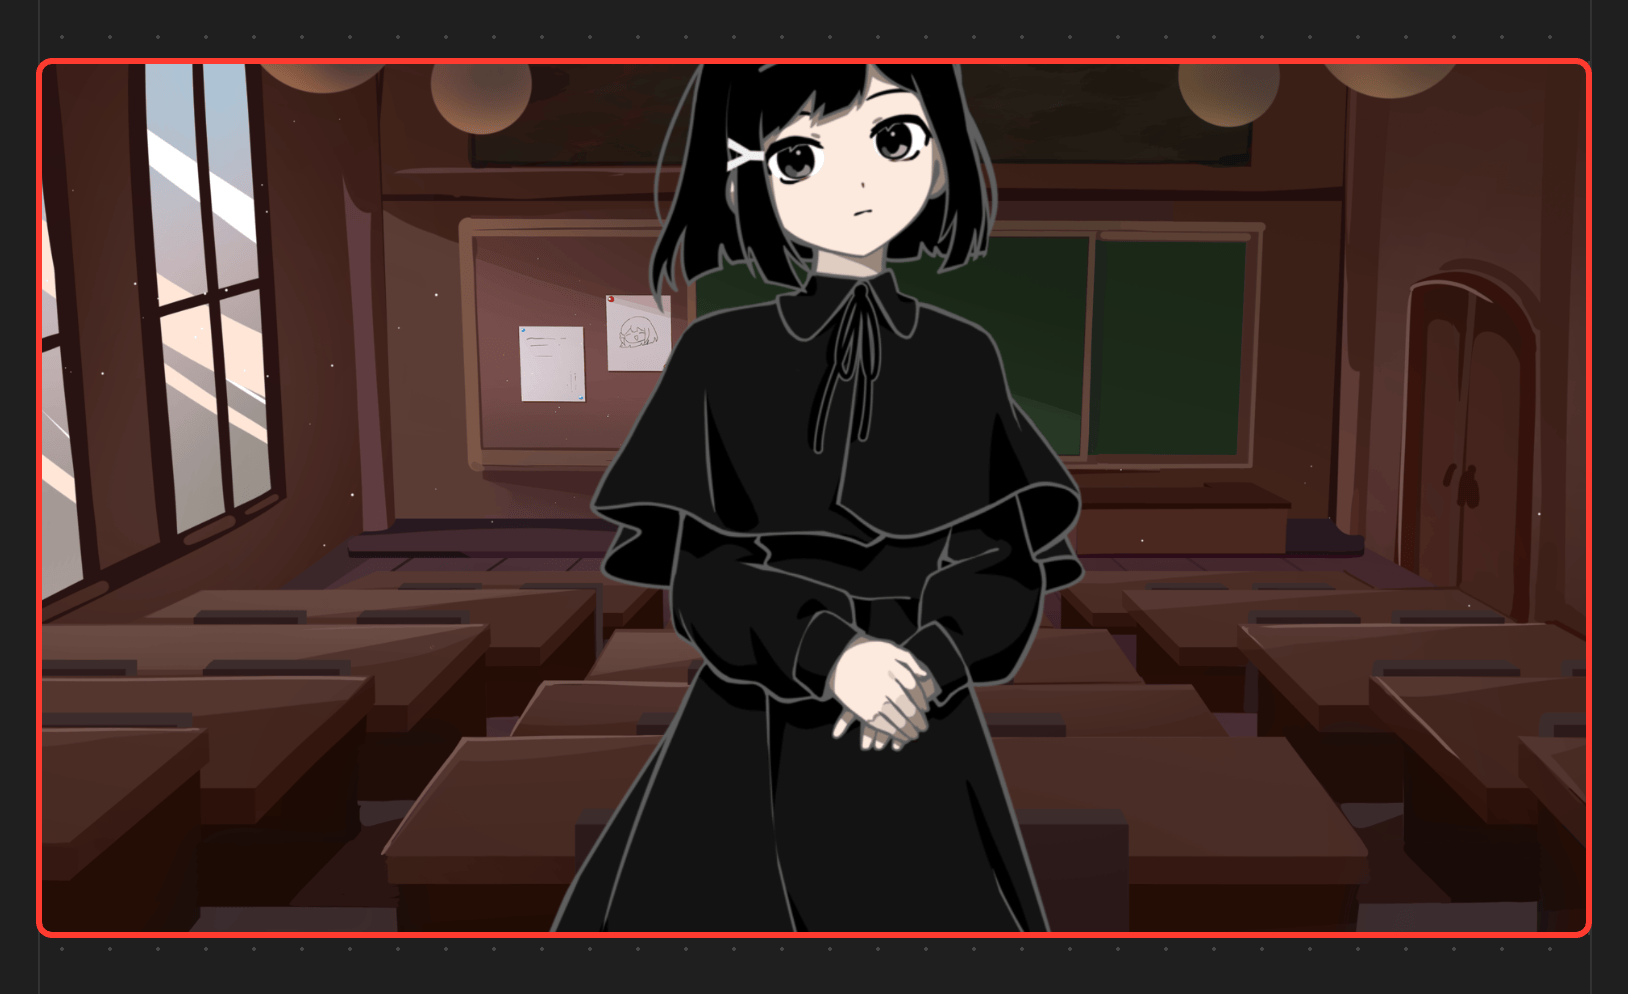
Save the thumbnail
The thumbnail is the small picture of a transform on the Transforms page. It updates when you leave the editor.
- Tap the back button.
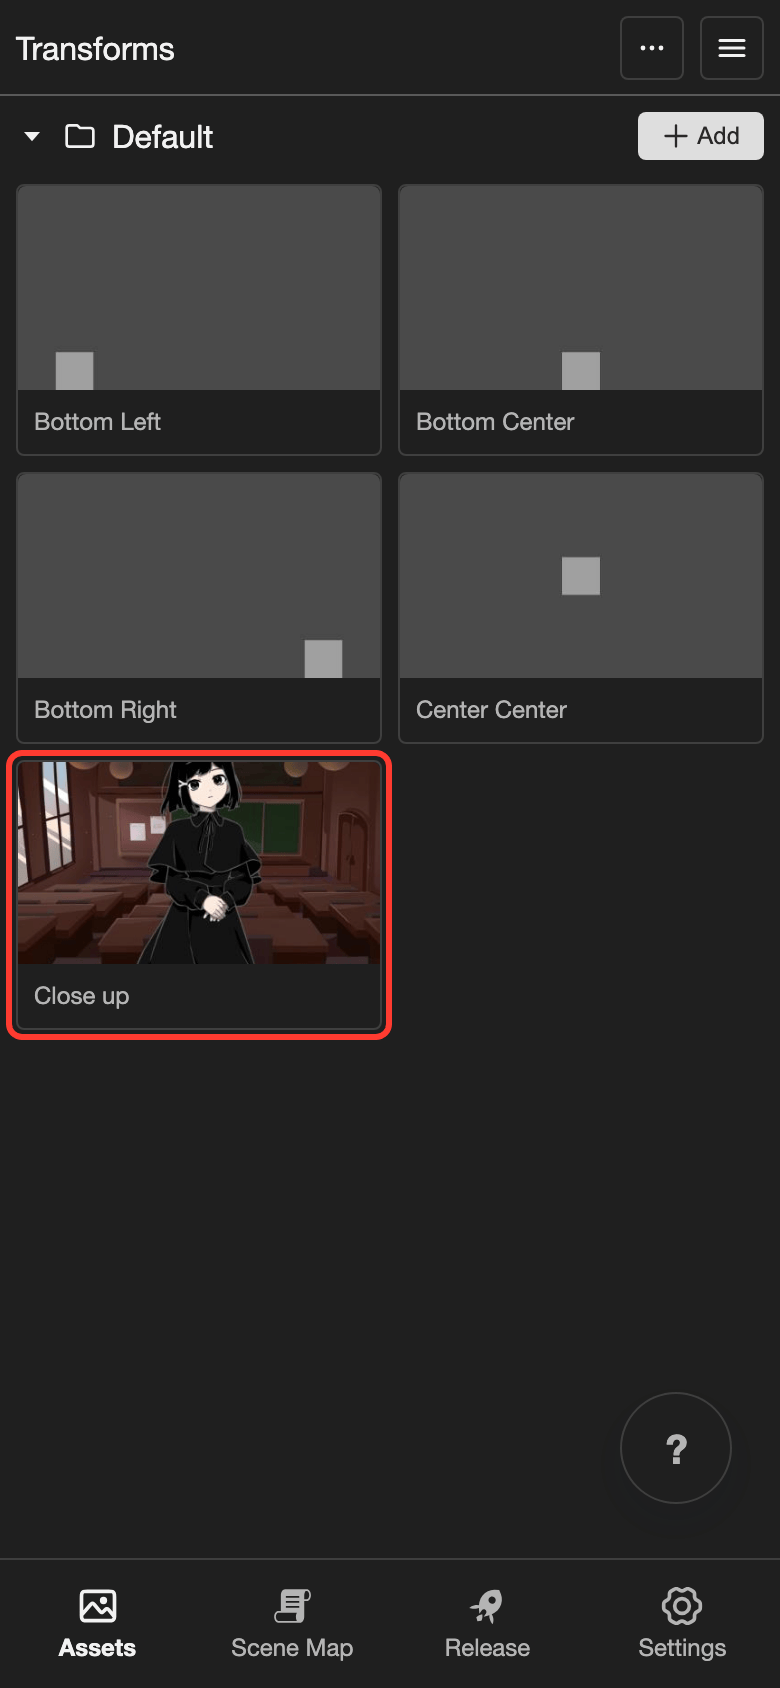
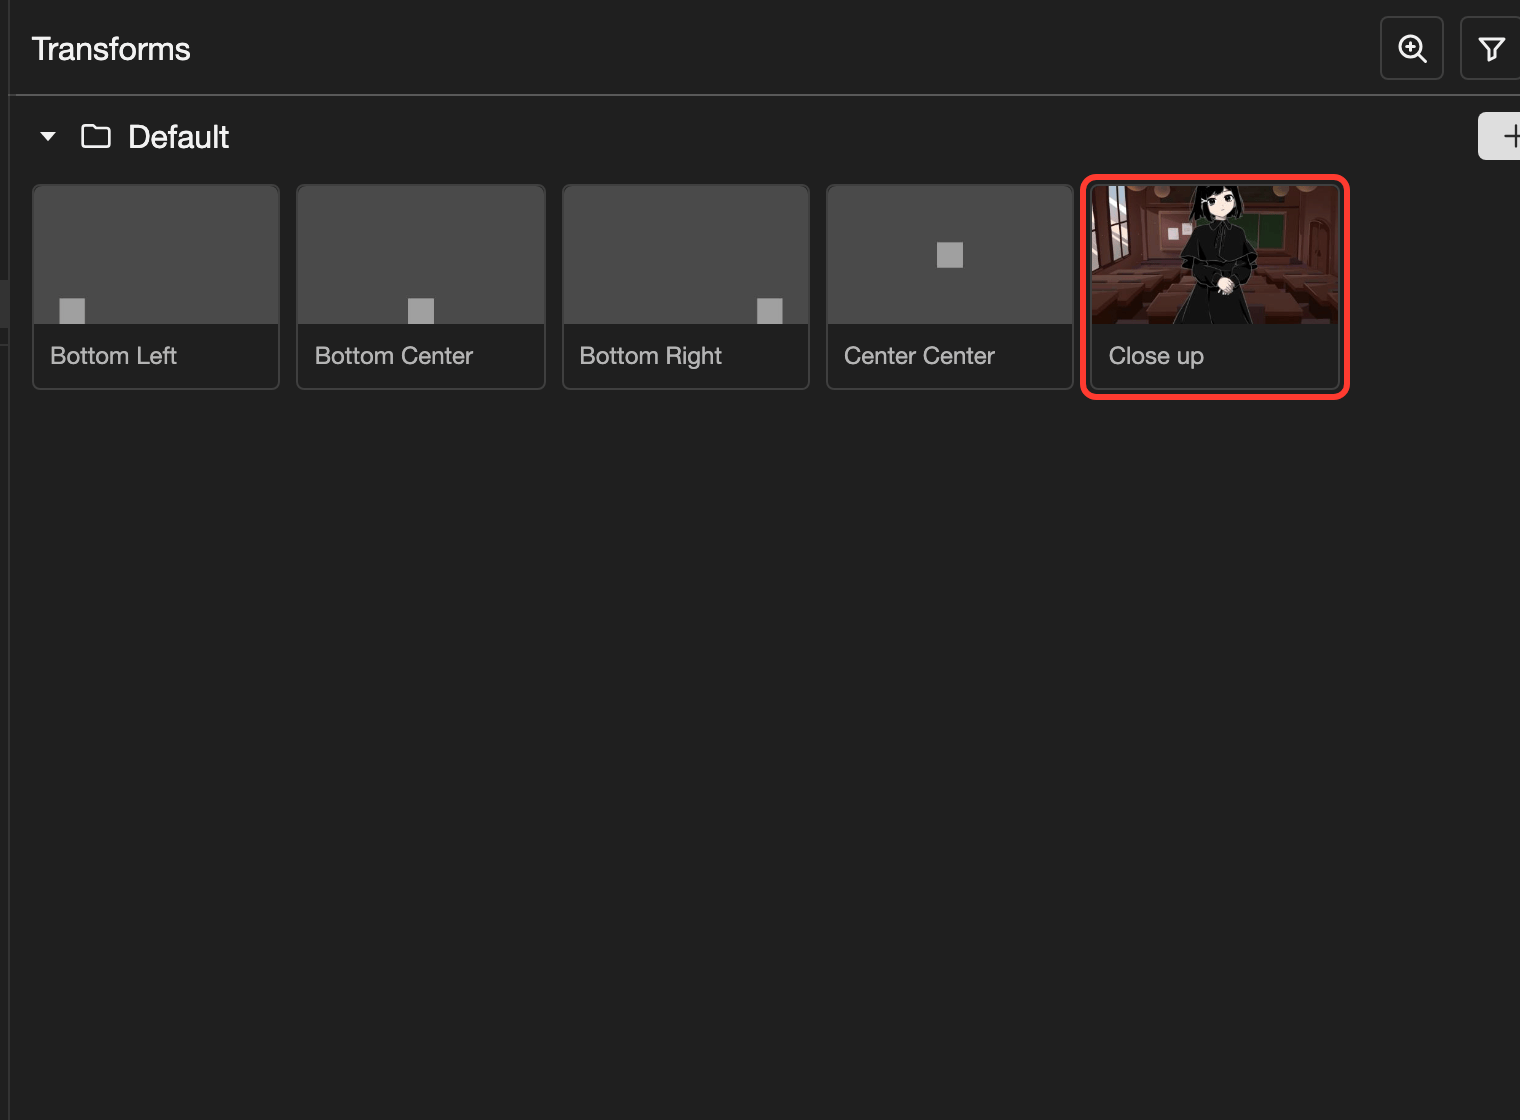
The Transforms page opens. The thumbnail of Close up now shows Makkuro in front of the Lecture hall.
Change a transform later
You can open any transform and change its values again. The steps are the same as for a new transform.
- Open the transform. See Open the transform editor.
- Change a value, such as Scale X. See Change the values.
- Tap the back button. The thumbnail updates.
Use a transform in a scene
You choose a transform when you add a character or a visual to a scene. This example uses a character. Visuals work the same way.
-
Add a character to a scene. See Line action: Characters. When the list of transforms opens, tap Close up.
-
Look at the box under Predefined Transform. It shows the transform of the character.
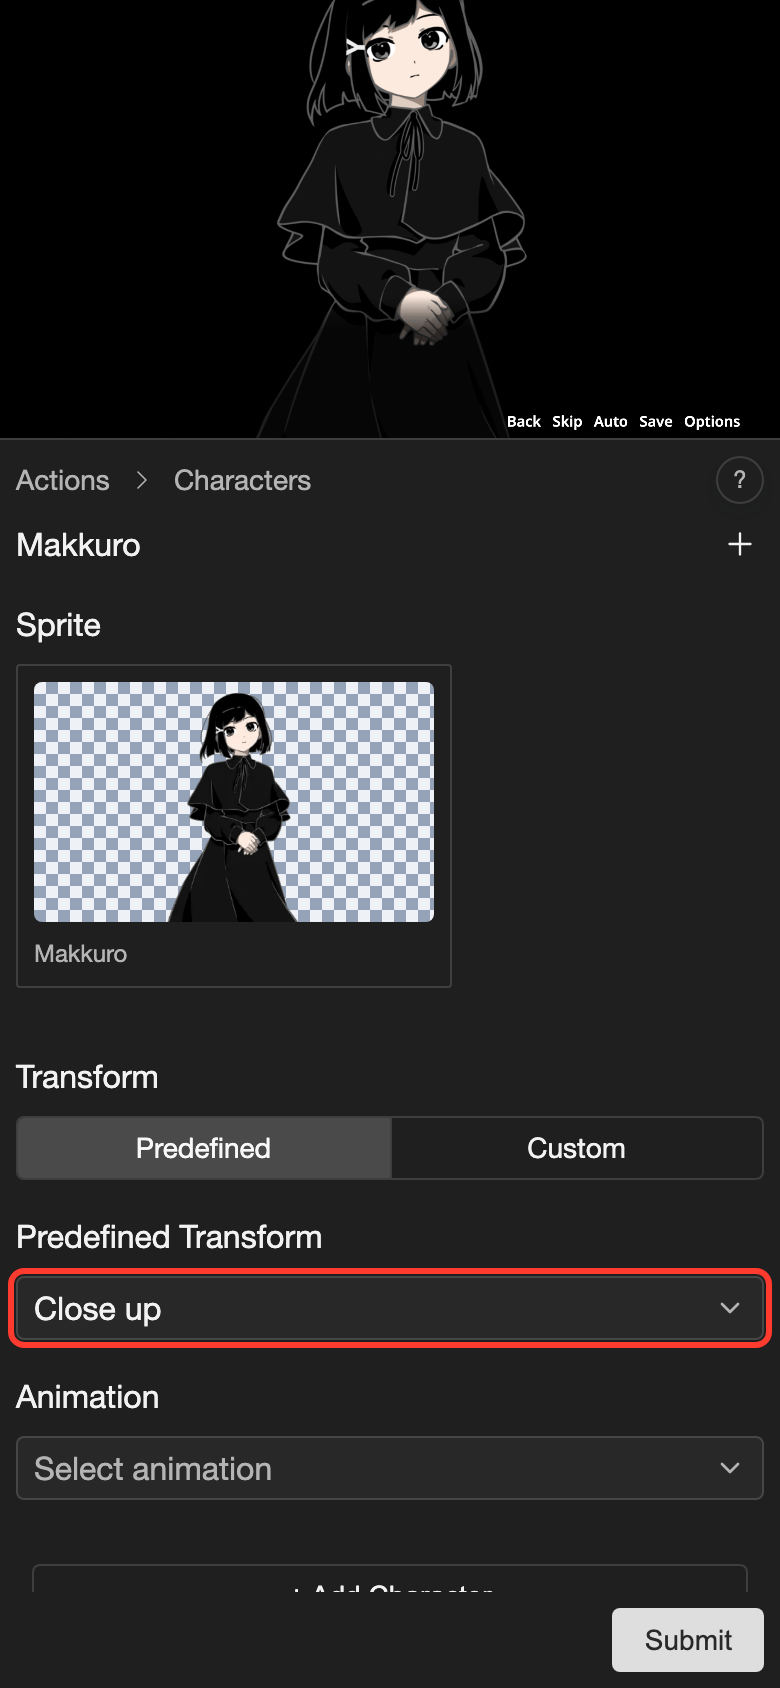
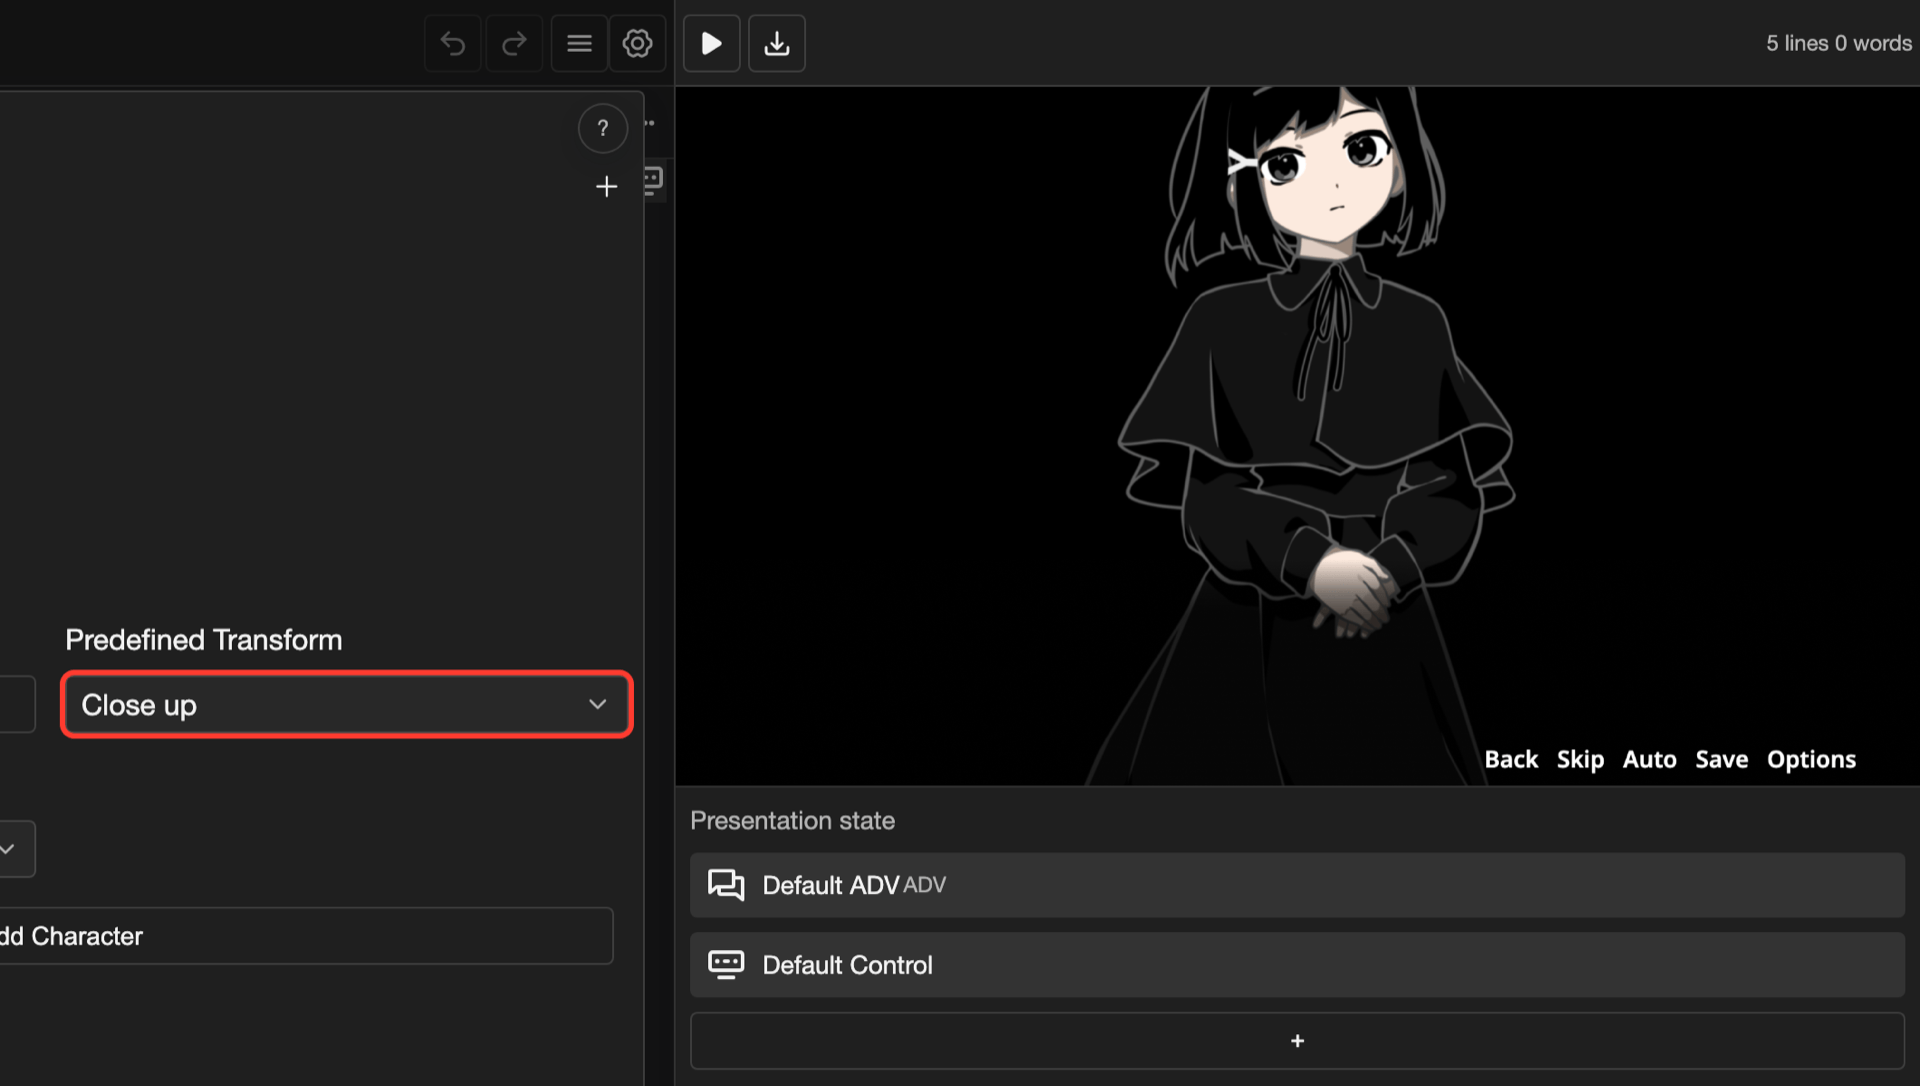
The box under Predefined Transform shows Close up. To use a different transform, tap the box. Then tap another transform, such as Bottom Left.
-
Tap Submit.
Use a custom transform for one character
Use Custom when you need a change for only this character in this one action.
-
Tap Custom, next to Predefined. Then tap the box under Custom.
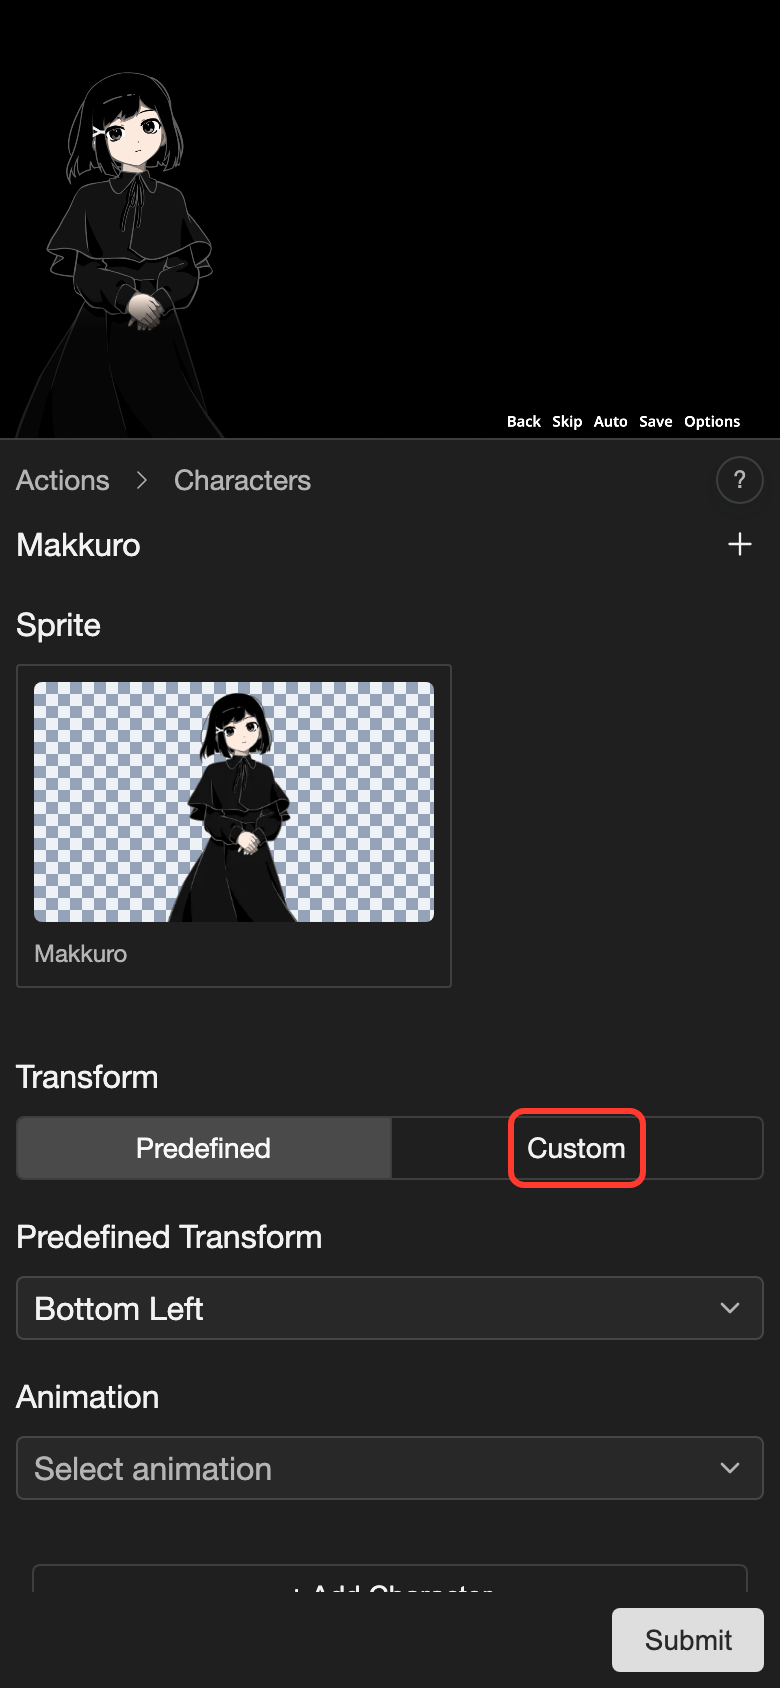
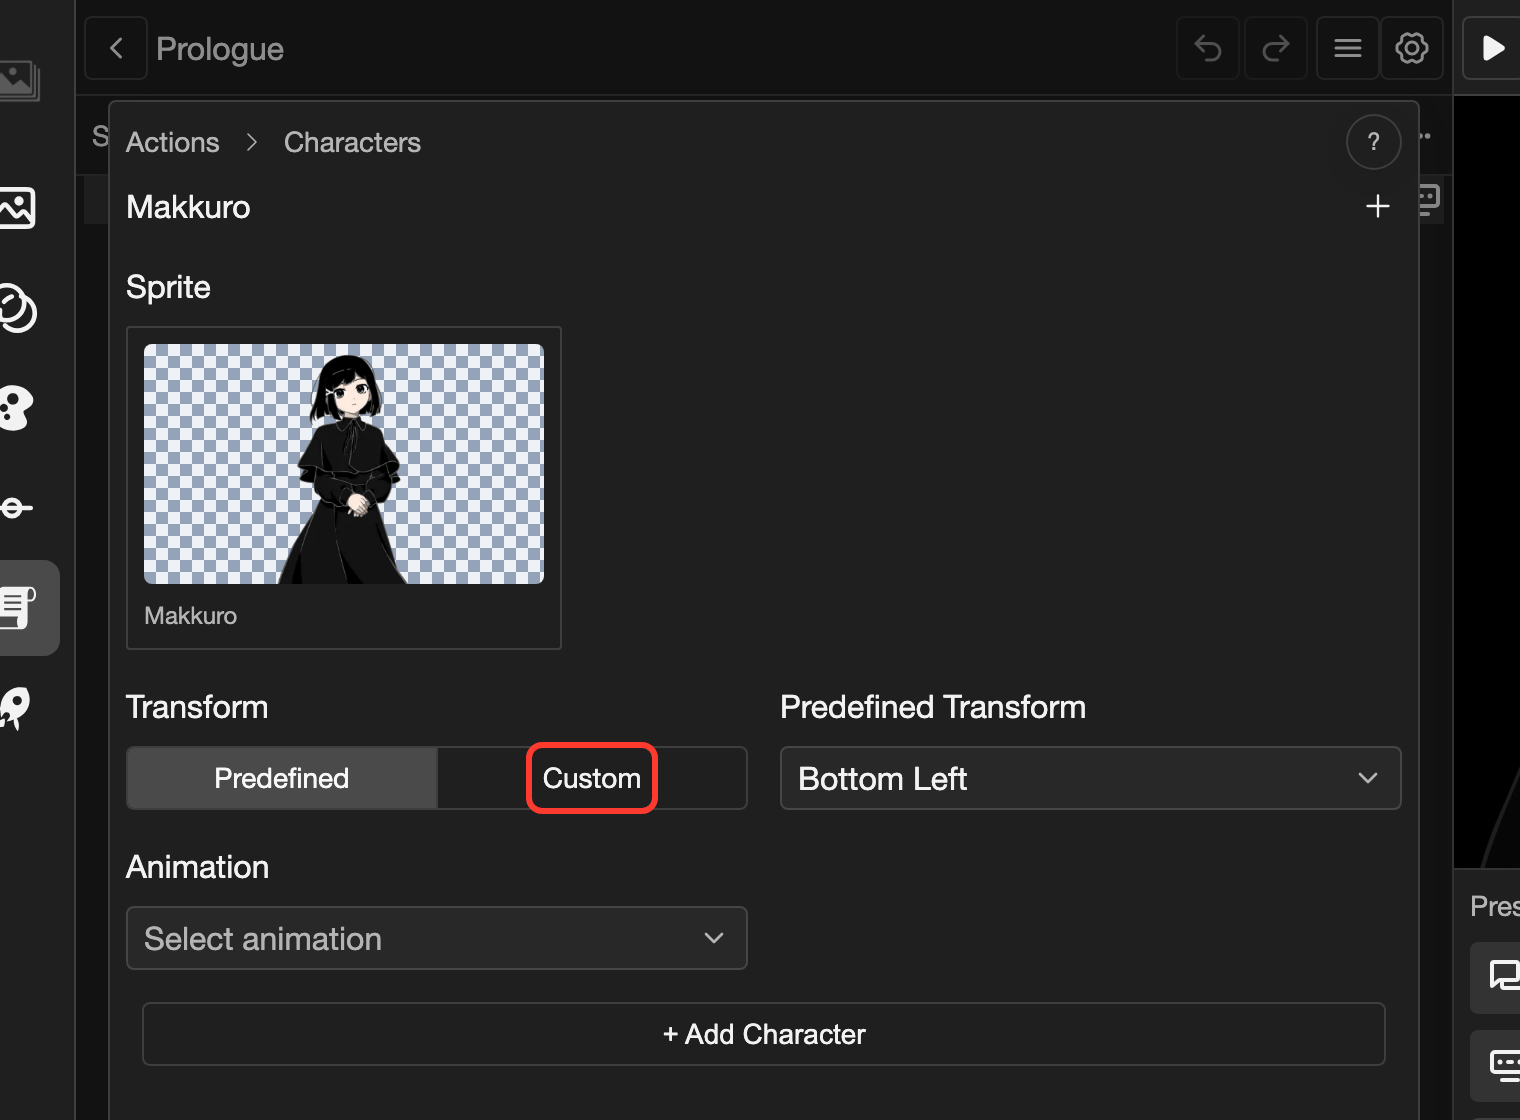
The box under Custom shows the values of the transform, which you can change. -
Drag the character to a new place.
- Phone or tablet: Touch and hold the character, then drag it.
- Desktop: Click the character, hold the mouse button, and move the mouse.
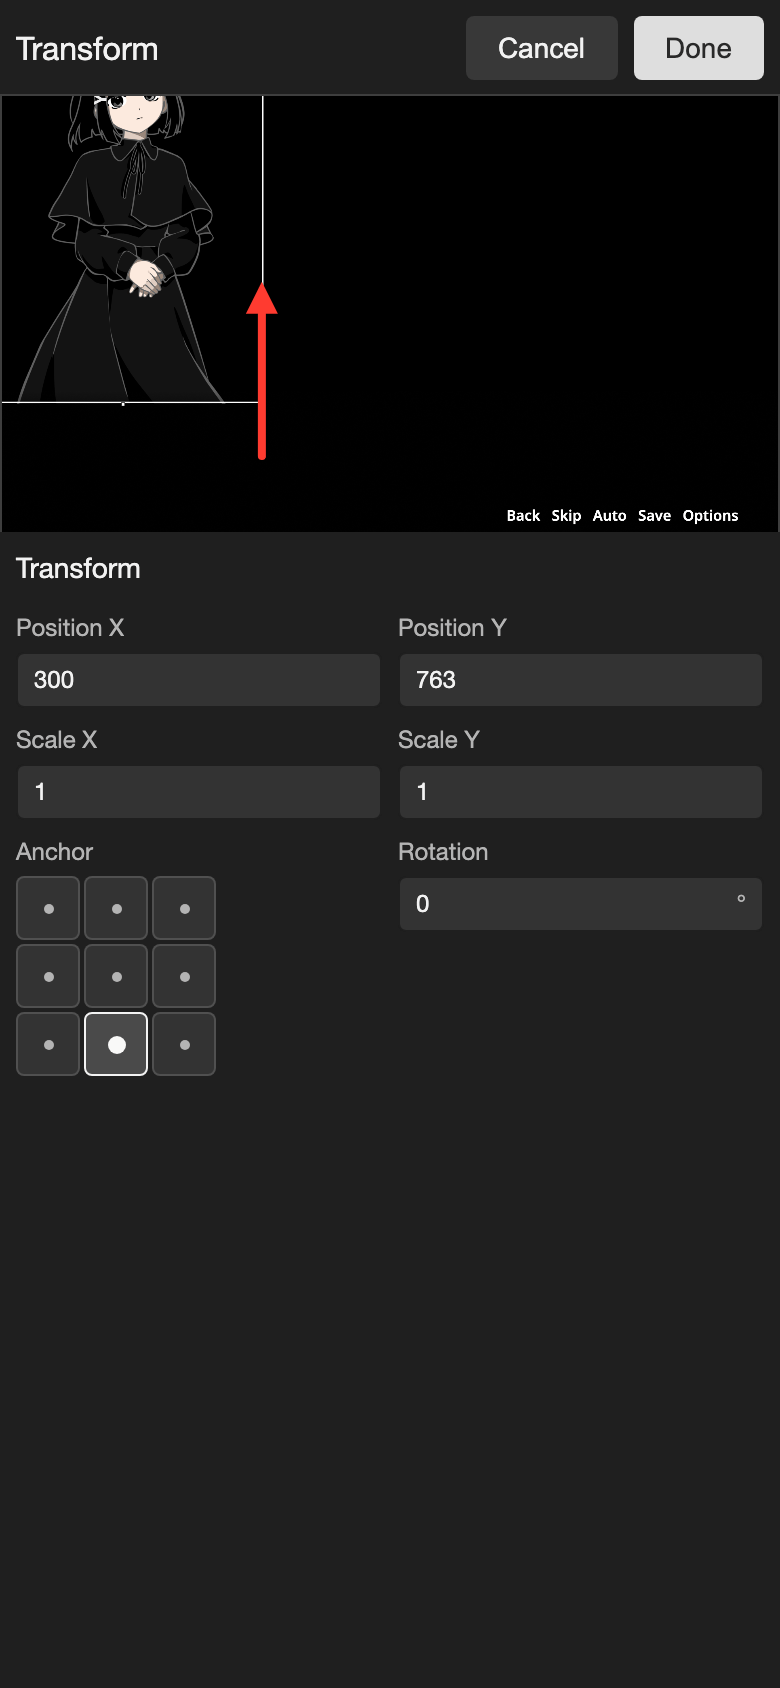
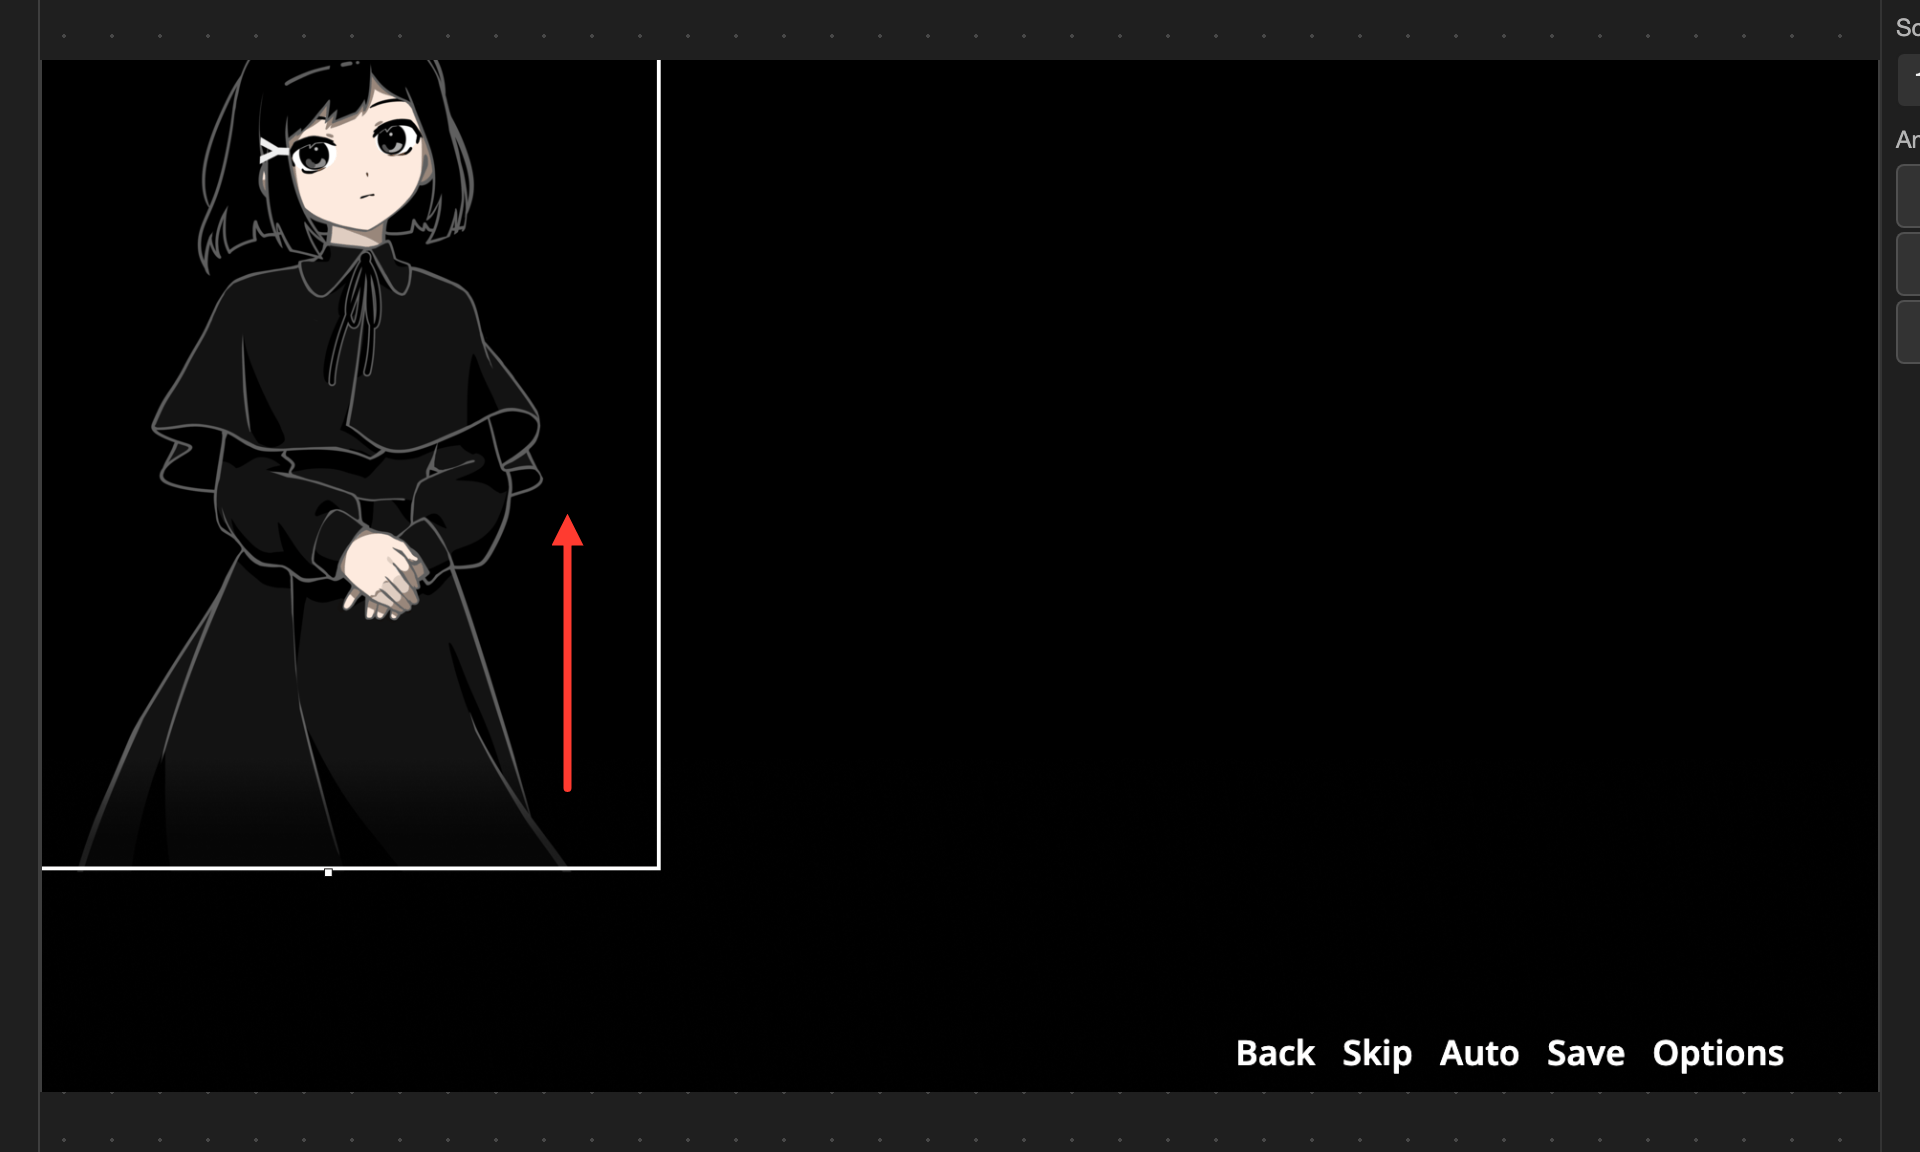
An arrow shows the drag. The character moves up. -
Tap Done. Then tap Submit.
Good to know
- Predefined uses a transform from the list. Use it when you need the same place many times.
- Custom changes only one character or visual, in one action.
- Changes save when you tap the back button.
- Preview images only help you see the result. They do not change the values.
Problems and fixes
- The box does not move when I change a value. Check that Edit is selected at the top of the editor. Preview only shows pictures.
- The thumbnail shows a gray square, not my picture. Choose a BG Image and a Target Image in Preview, then tap the back button.
- I cannot find Custom. Custom is next to Predefined, under Transform, when you edit a character or visual in a scene.