Export for Web
A Web export is a ZIP file with your visual novel inside. People read it in a web browser, on a phone, a tablet, or desktop.
You can make it in the desktop app and in the phone and tablet apps. The web version cannot make it.
Before you start
Create a version of your visual novel. See Versions.
Start the export
-
On the Versions page, tap the version you want to export. Its details open.
-
In the details, tap Export. The Export for box opens.
-
Tap Web.
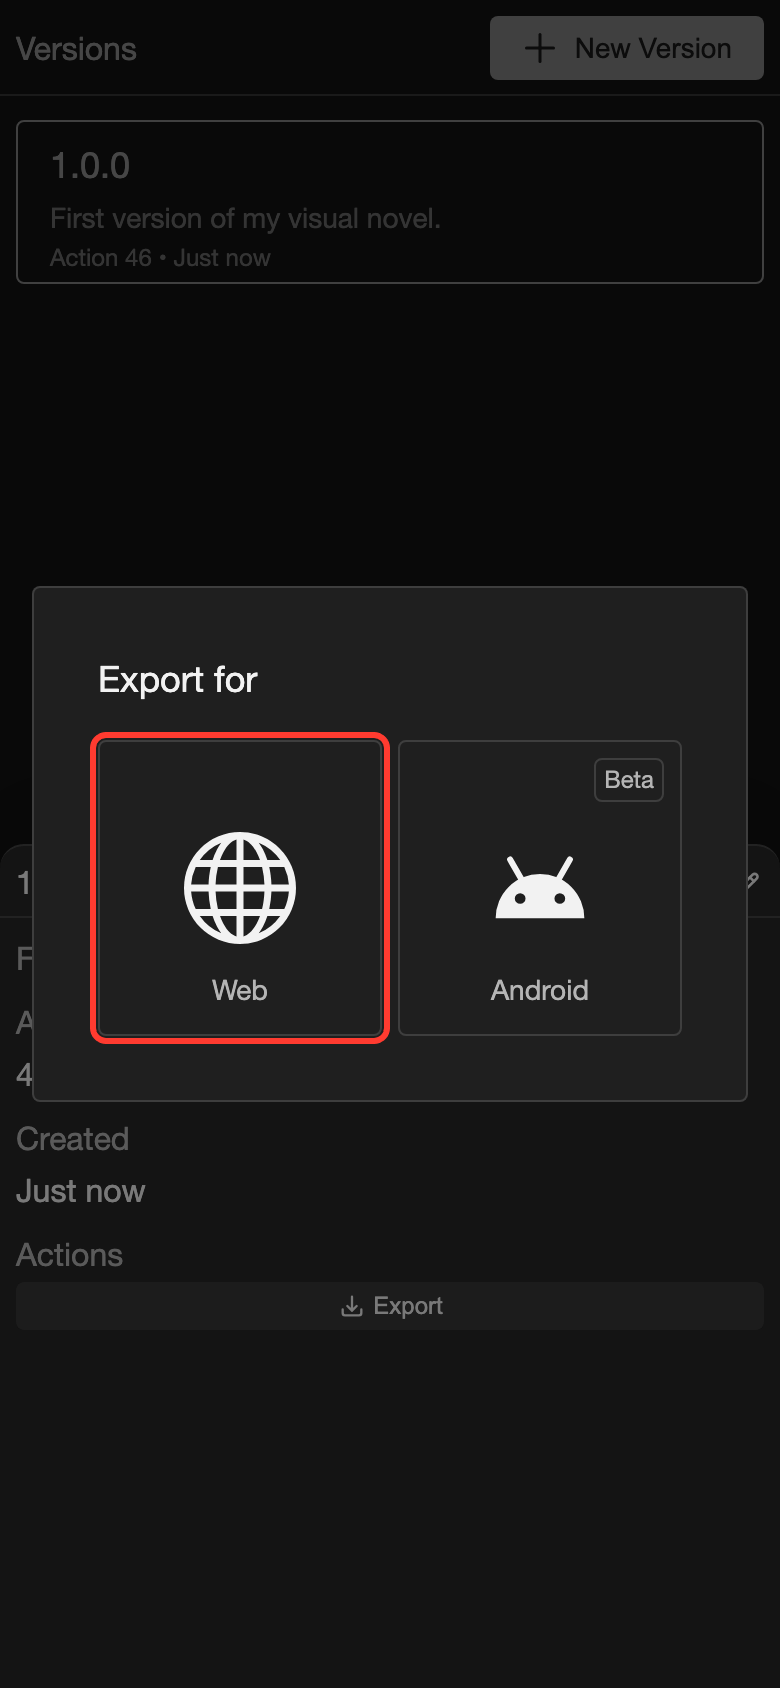
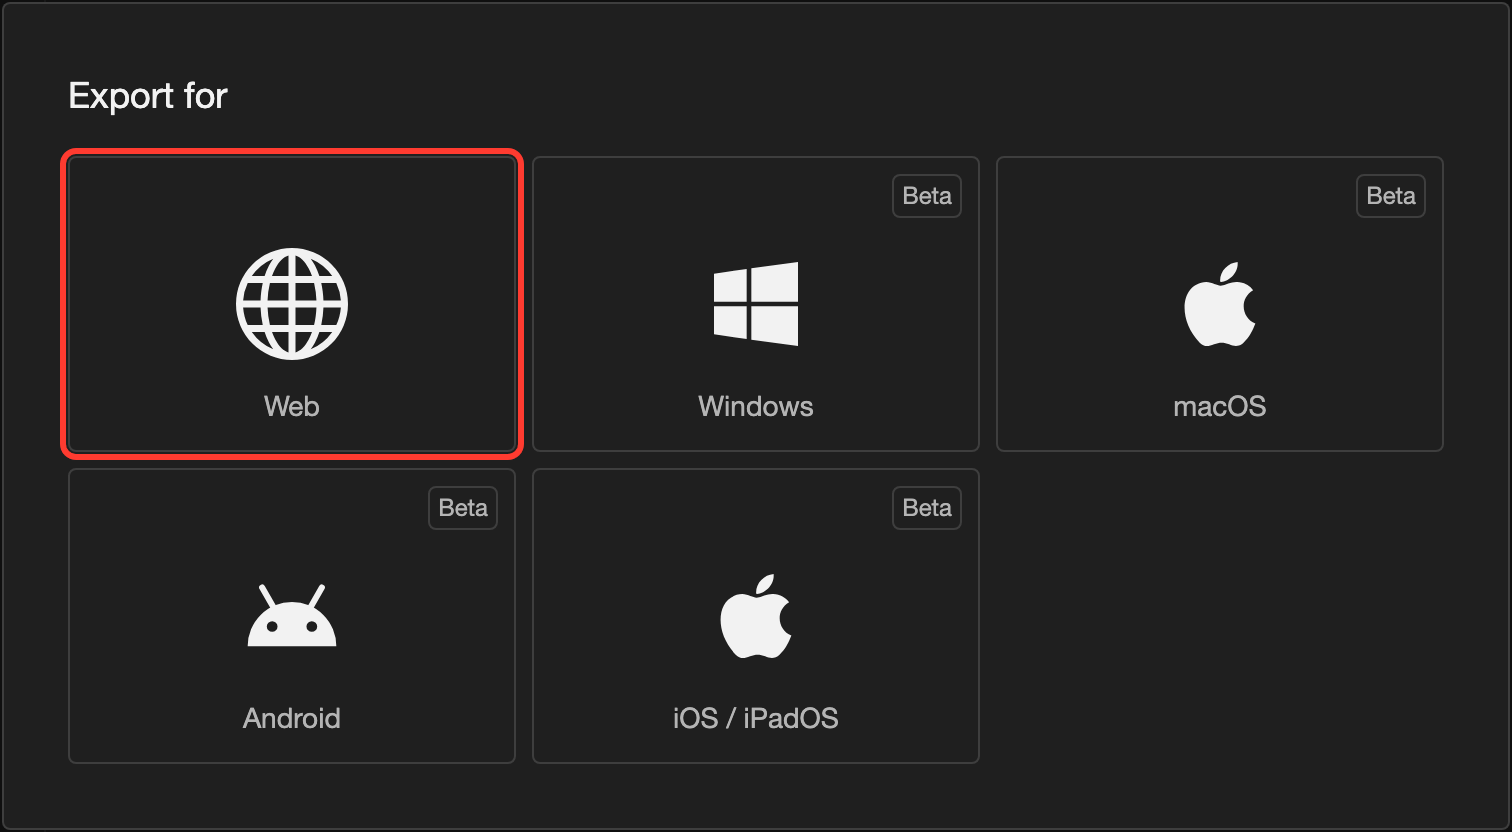
The first time, the Add Platform Details First box opens. Go on with Fill in the Web details.
After the first time, the Confirm Web Export box opens. Go to Confirm and save.
Fill in the Web details
You do this once. RouteVN Creator remembers the details for the next export.
-
In the Add Platform Details First box, tap Continue.
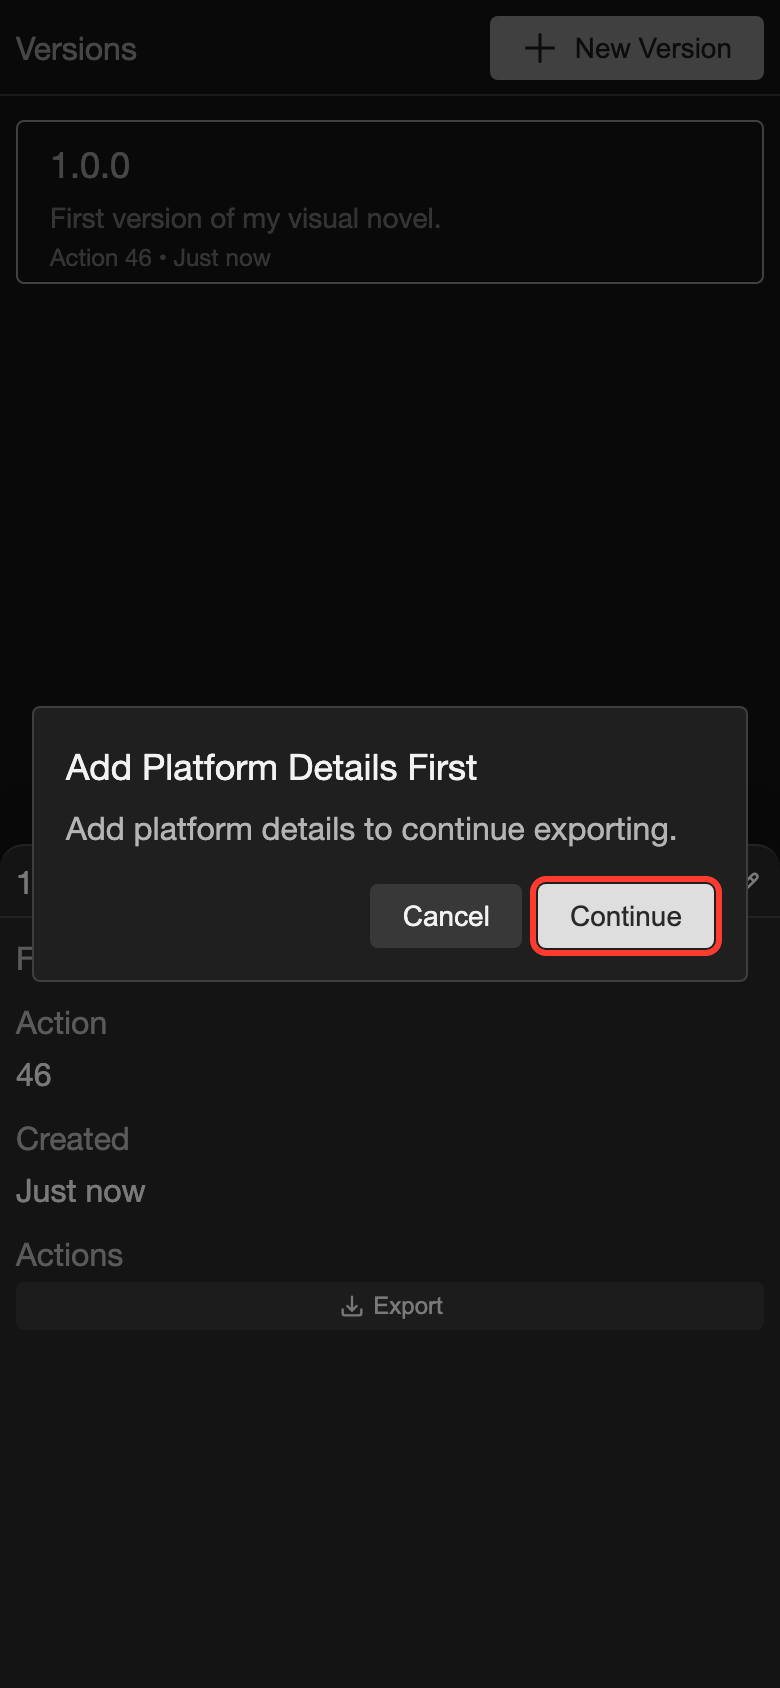
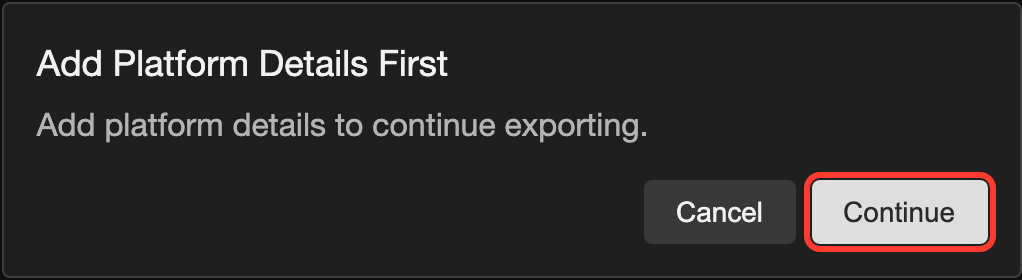
The Add Web Platform Details box opens.
-
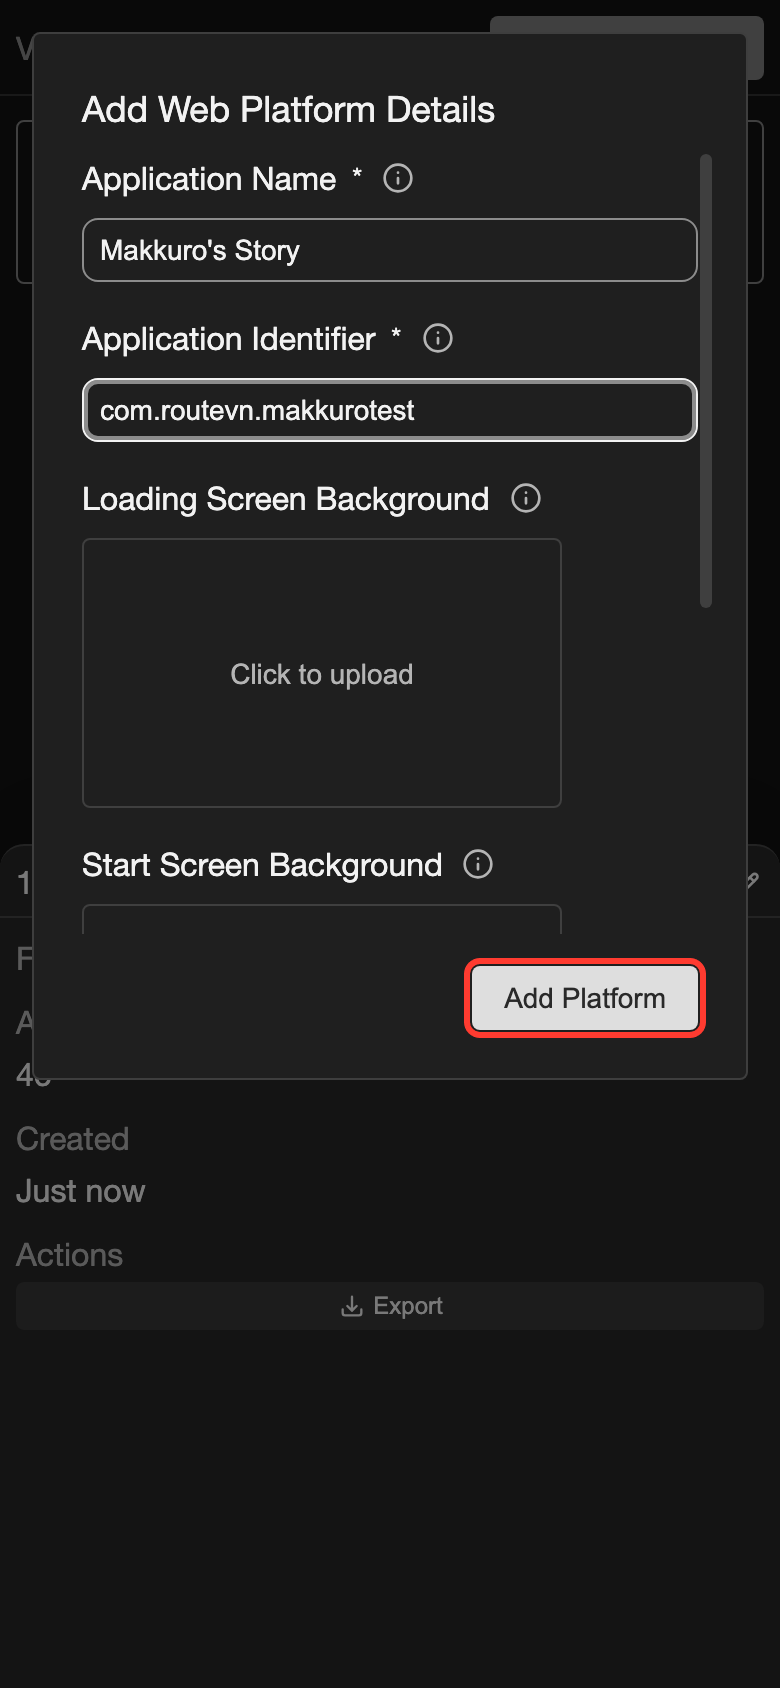
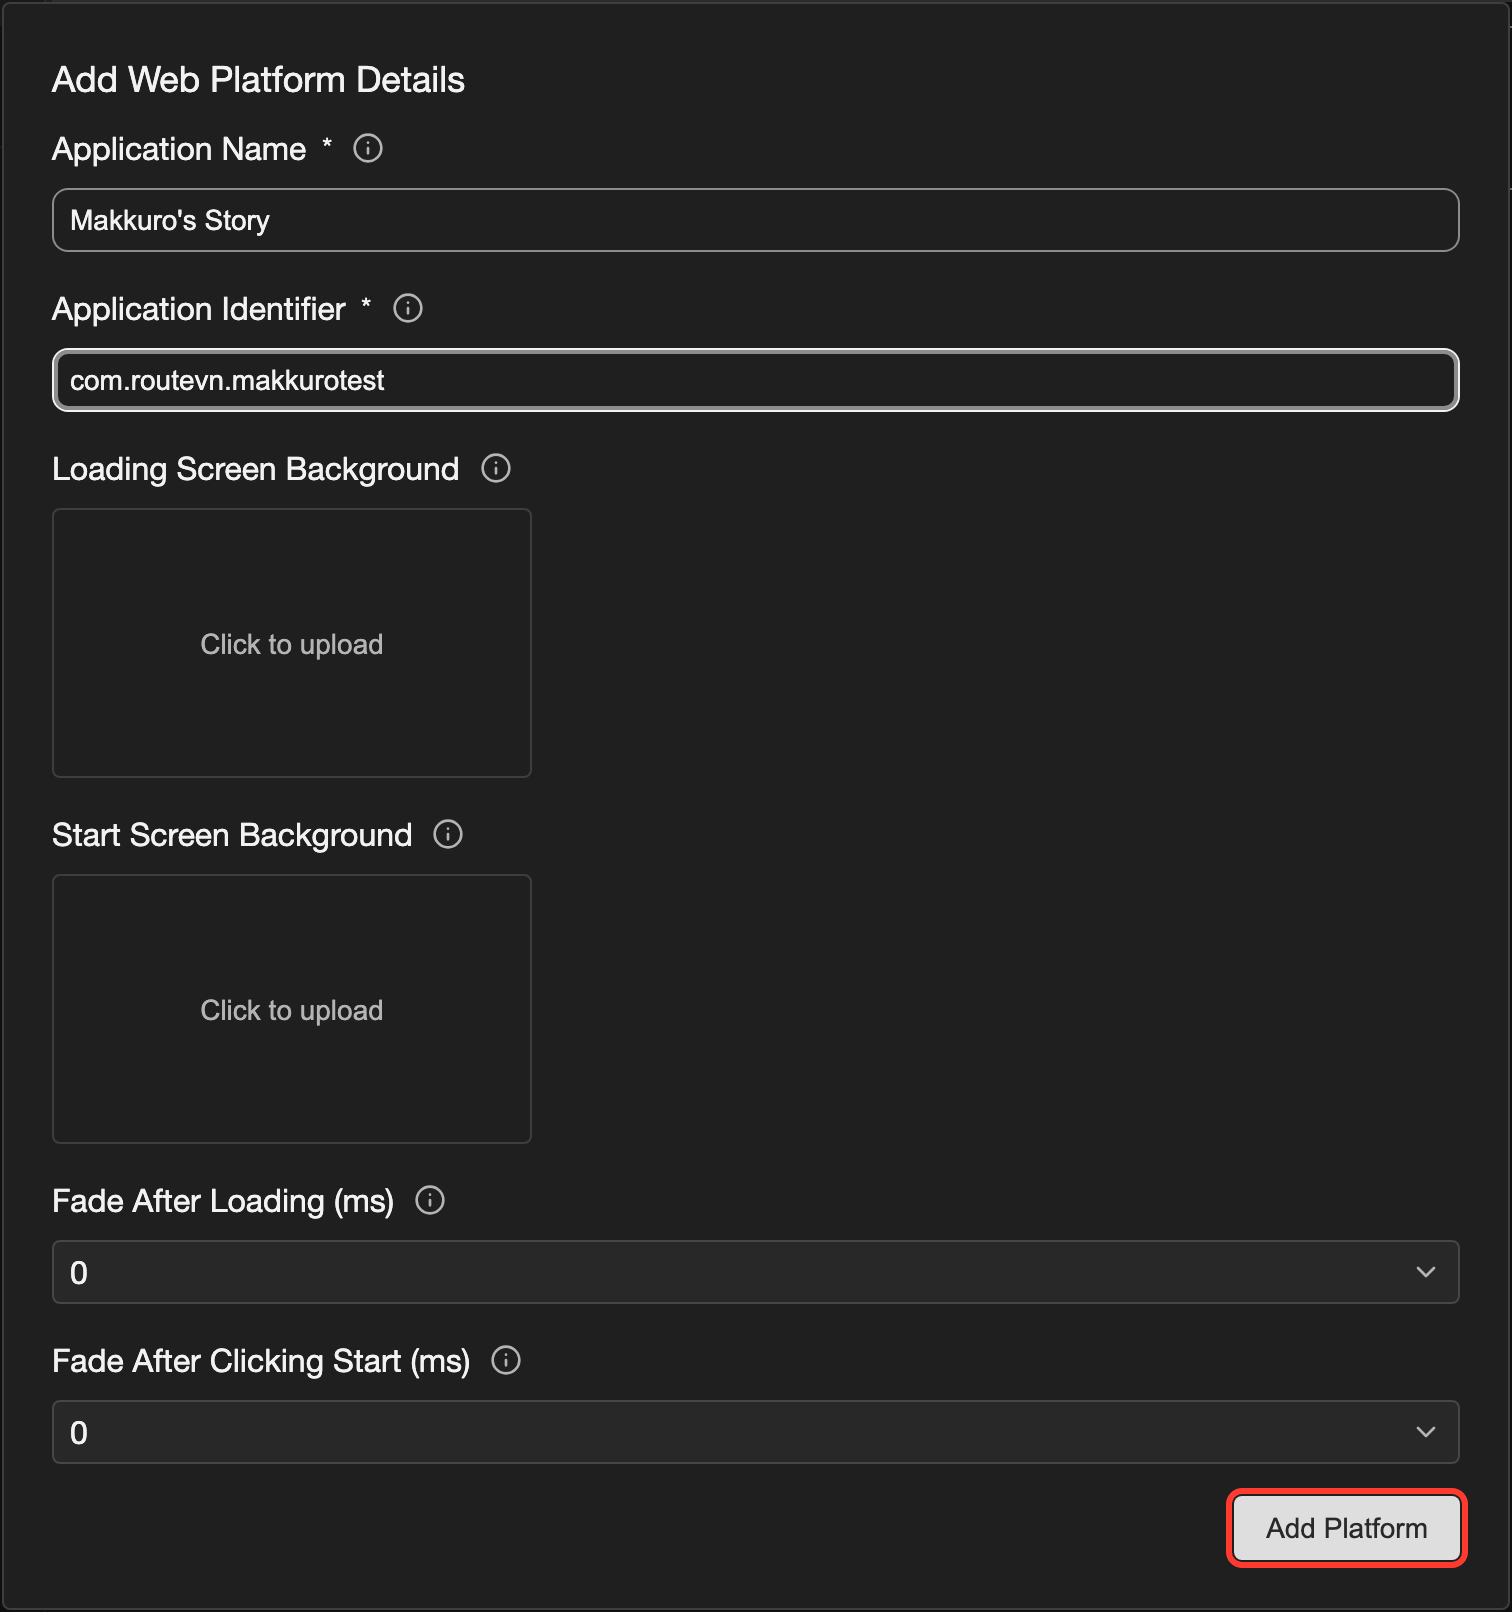
In Application Name, check the name. It starts as your project name. The browser tab shows this name.
-
In Application Identifier, type an identifier, for example
com.routevn.makkurotest. -
Leave the other fields as they are. They are optional. See Add a loading screen and a start screen.
-
In the box, tap Add Platform.
The Confirm Web Export box opens.
The identifier is the name that the browser keeps a reader's saves under.
- It does not need periods or a special shape.
- Use only letters, numbers, hyphens, and periods. Do not use spaces.
- Use a different identifier for each visual novel you make.
- Readers do not see it.
Confirm and save
-
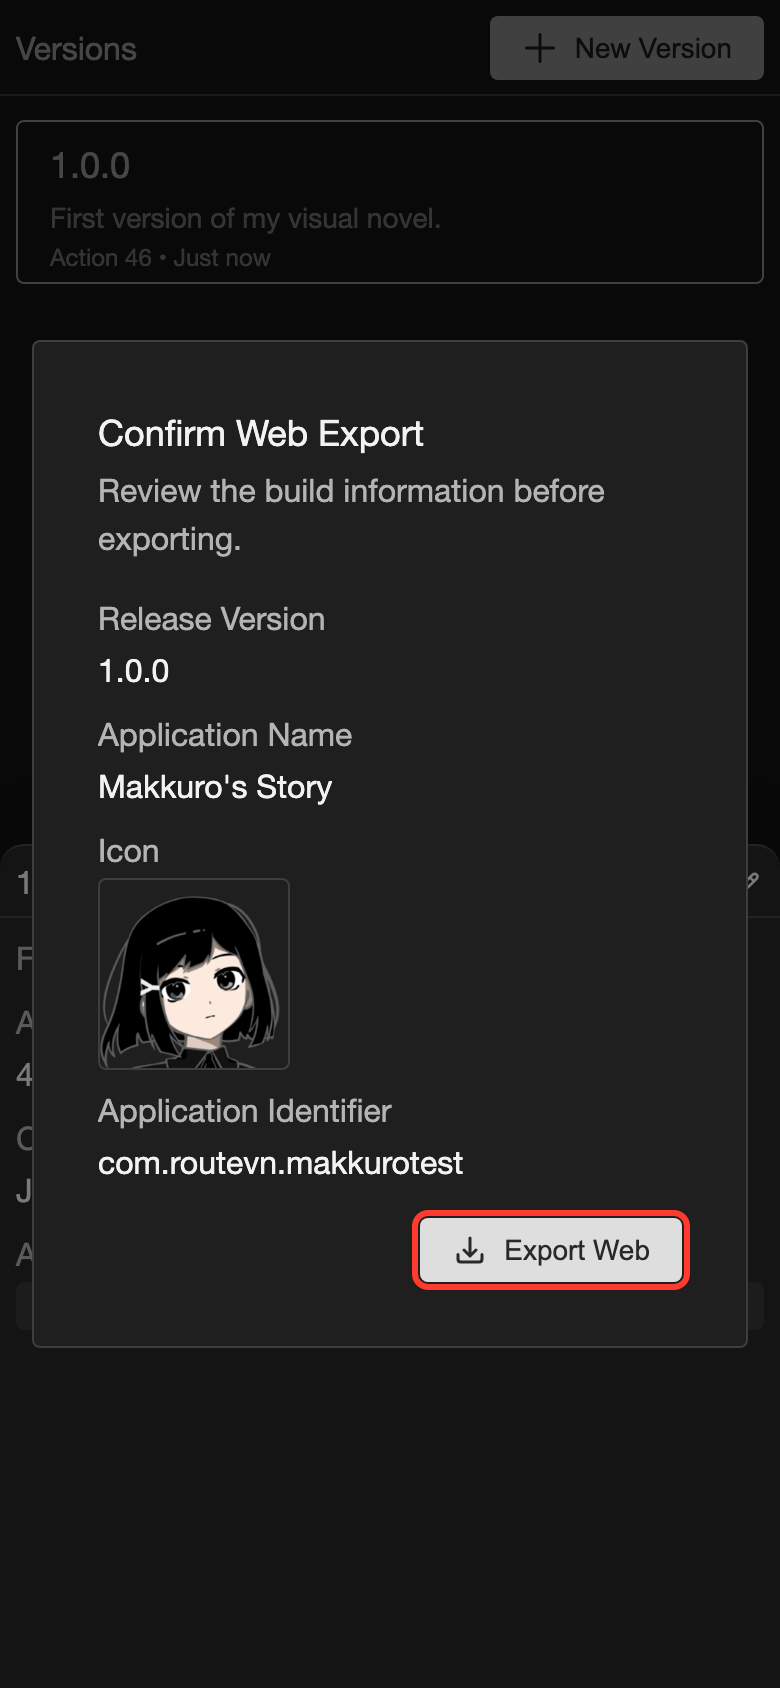
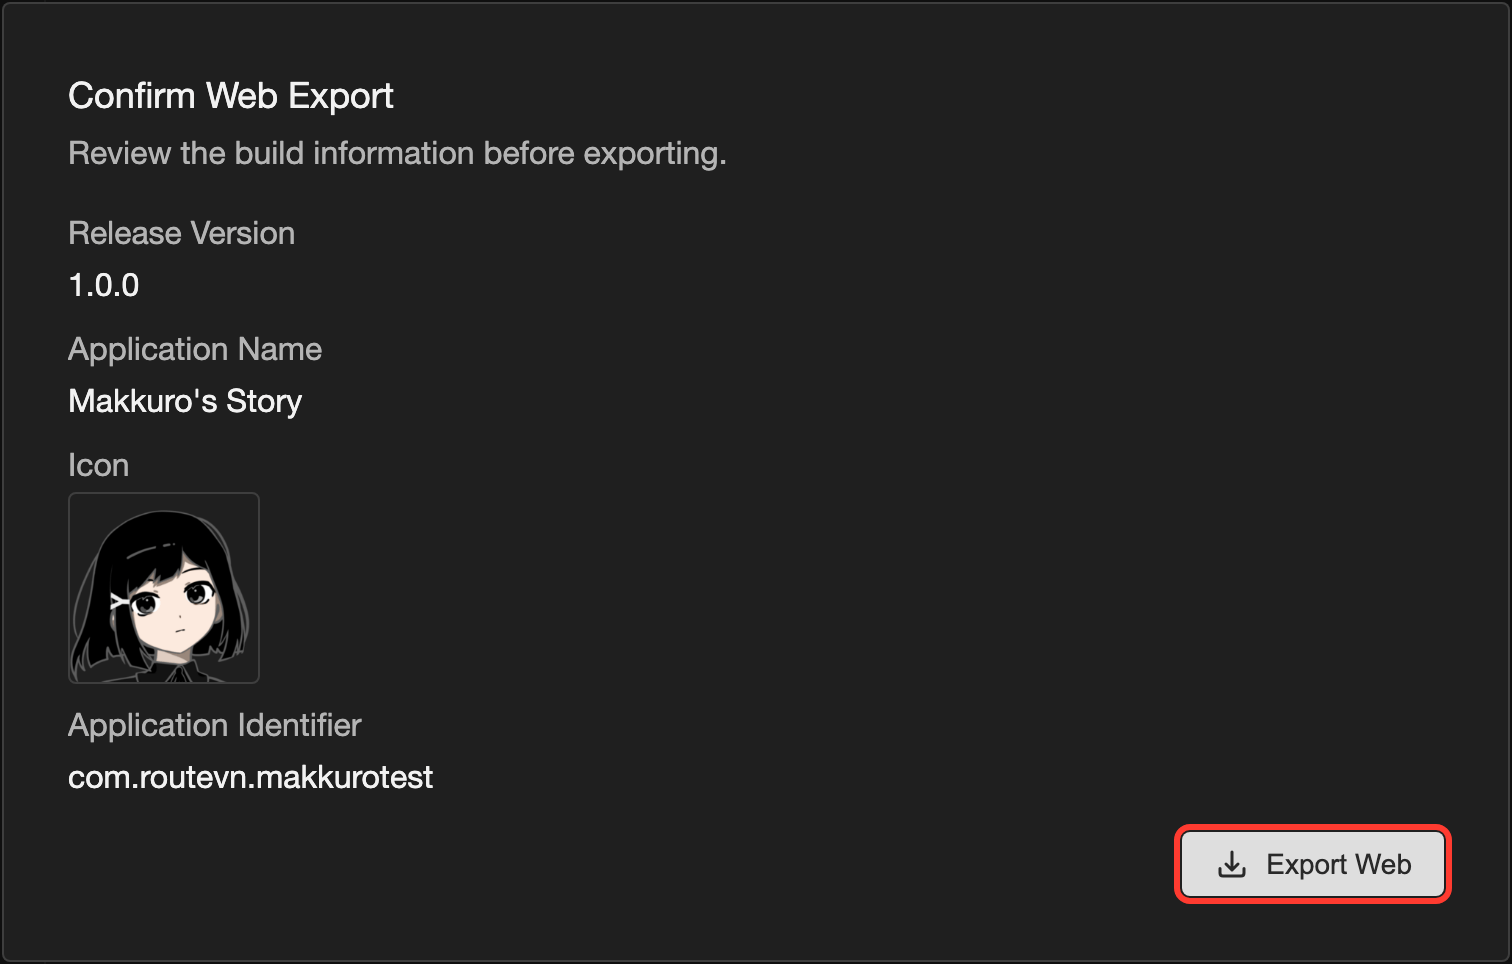
In the Confirm Web Export box, check the version, the name, the icon, and the identifier.
-
In the box, tap Export Web.
-
A save window opens. Choose a folder for the ZIP file.
-
Save the file.
A box shows the progress. Keep RouteVN Creator open. A large project can take several minutes.
When it is done, the Export completed box shows where the file is saved.
What you get
You get one ZIP file. Its name is your application name and the version name.
Inside the ZIP file are index.html, package.bin, and a few more files.
index.htmlis the page that starts your visual novel.package.binholds your whole visual novel, with its images and sounds.
Keep all the files together. Your visual novel needs every one of them.
Test your export
A Web export must come from a web server. It does not work when you open index.html straight from a folder.
- Desktop: Use Web Server. It opens the export in a browser on your own device.
- Phone or tablet: Upload the ZIP file to a website that can host a Web export, such as itch.io. Keep it private while you test. See Publish Overview.
Add a loading screen and a start screen
When someone opens your Web export, they first see a loading screen. Then they see a start screen that asks them to start. You can use your own picture for each screen.
Both pictures are optional.
| Field | What it does |
|---|---|
| Loading Screen Background | A picture that shows while your visual novel loads. It replaces the loading text and the progress bar. |
| Start Screen Background | A picture that shows when your visual novel is ready. It replaces the start text, so put your own words in the picture, such as "Tap to start". |
| Fade After Loading (ms) | How long the start picture takes to fade in. |
| Fade After Clicking Start (ms) | How long the picture takes to fade out when the reader starts. |
-
Go to the Platform Details page. See Platform Details.
-
Tap the Web tab.
-
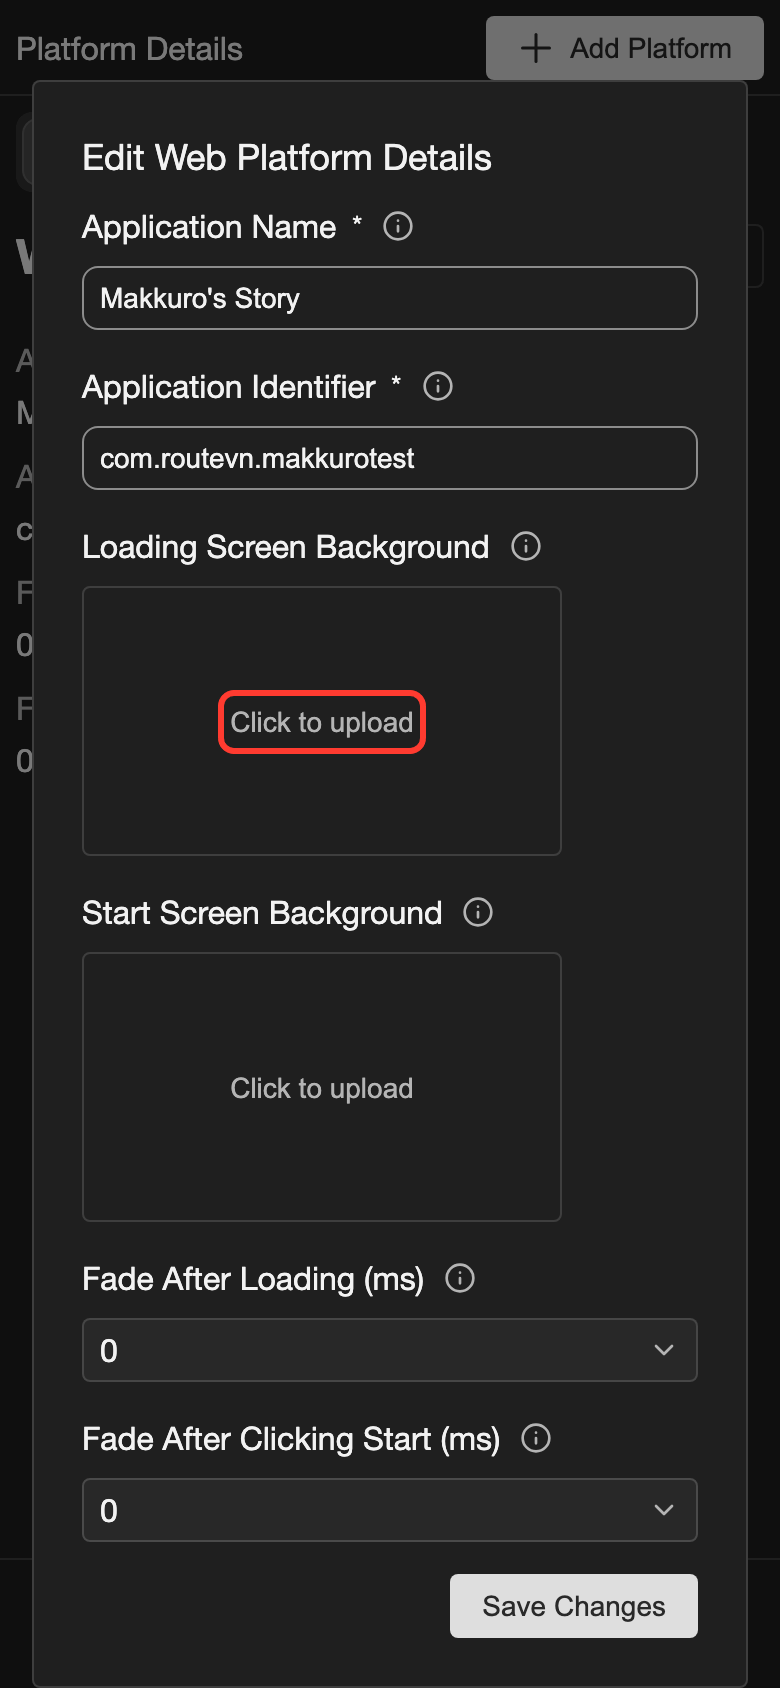
At the right of the platform title, tap the pencil icon (the pencil-shaped button that opens editing). The Edit Web Platform Details box opens.
-
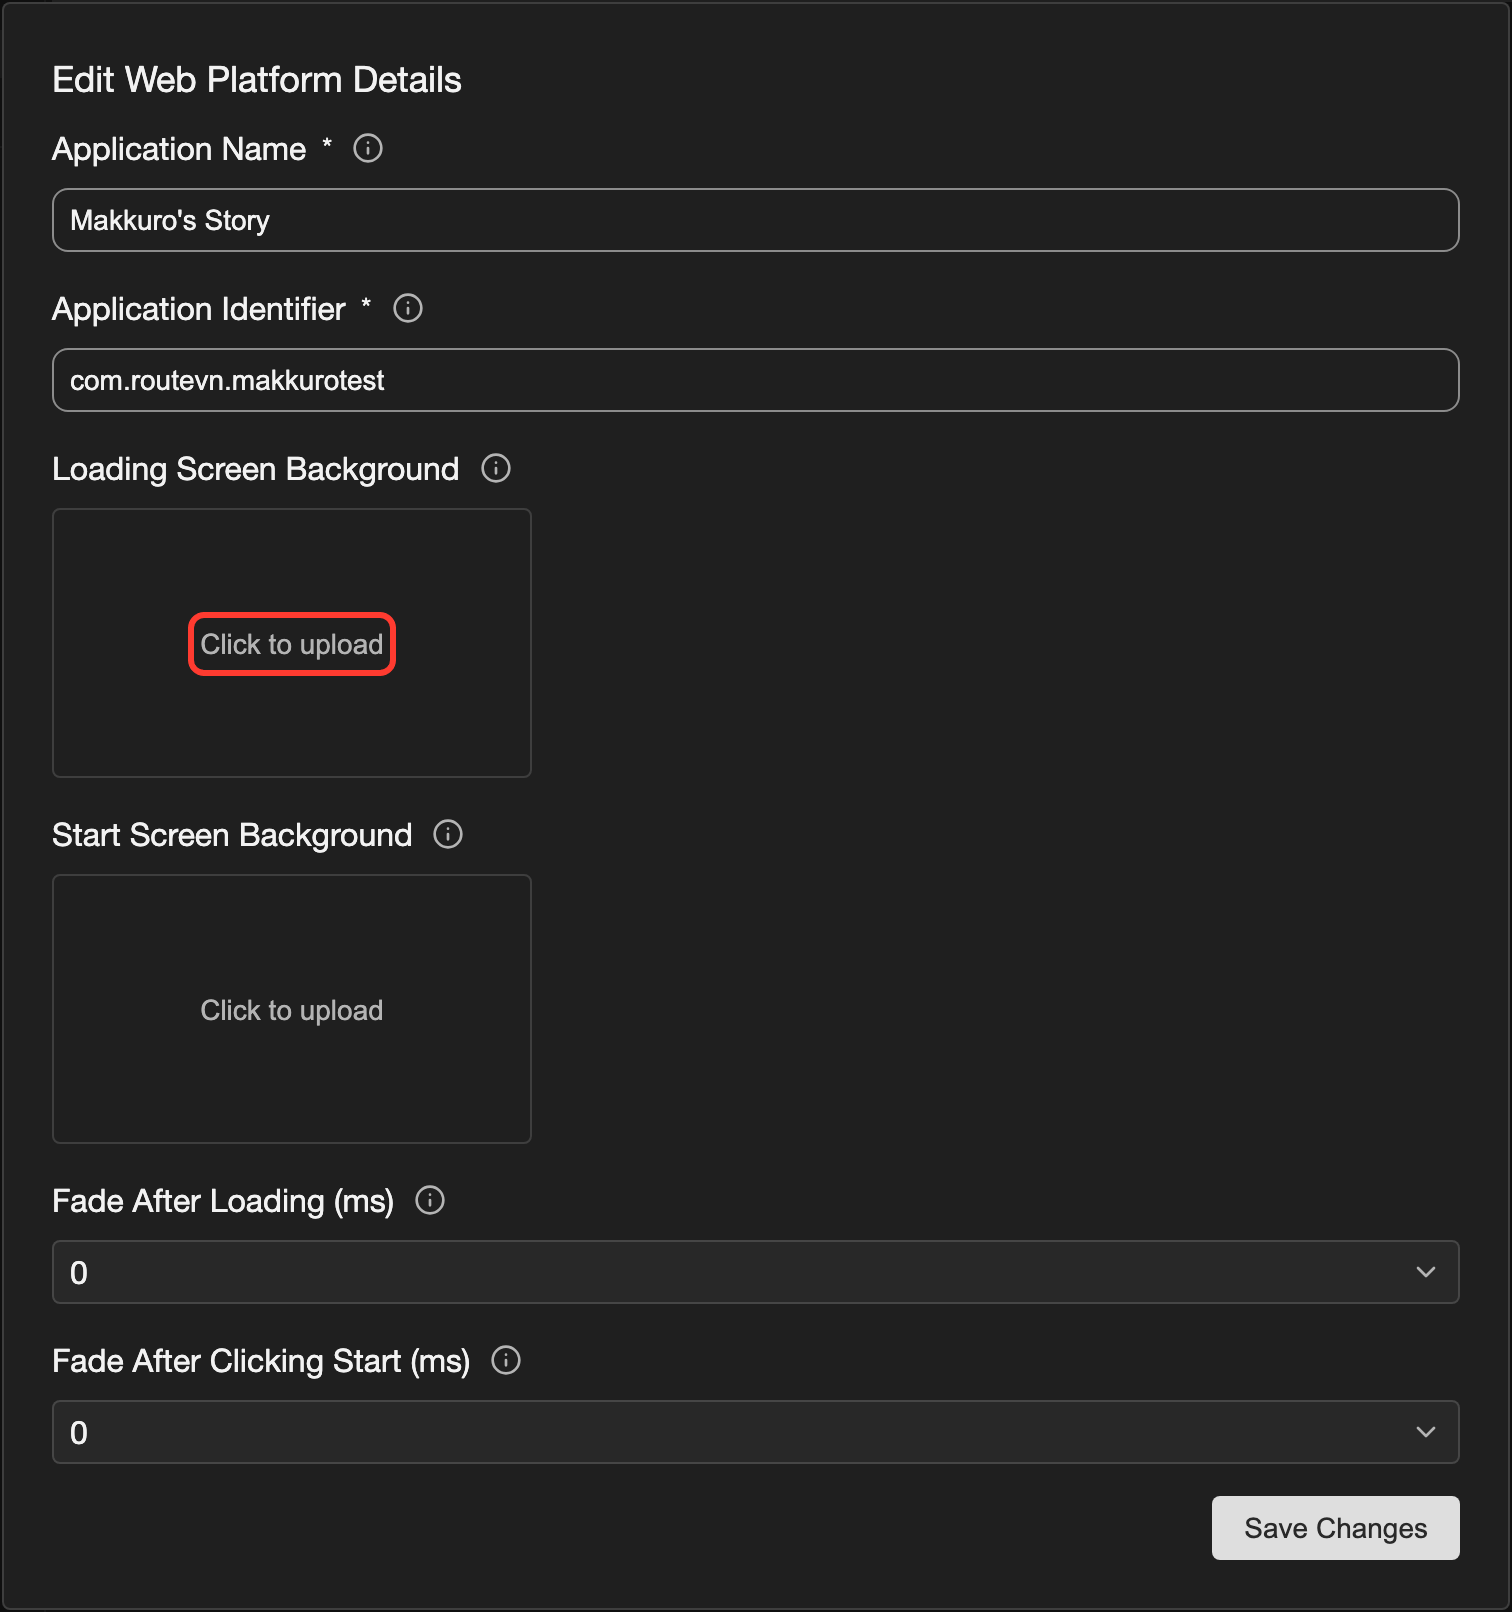
Under Loading Screen Background, tap Click to upload.
-
Choose a picture from your device. It must have the same shape as the screen of your visual novel, for example 1920 x 1080 pixels.
-
Under Start Screen Background, tap Click to upload.
-
Choose a second picture with the same shape.
-
In Fade After Loading (ms), choose a time. This is optional.
-
In Fade After Clicking Start (ms), choose a time. This is optional.
-
Tap Save Changes.
Export again to see your pictures. They are part of the export.
- You can use PNG, JPEG, and WebP pictures.
- The fade times are in milliseconds (ms). 1000 ms is 1 second. You can choose 0 to 2000. 0 means no fade.
- If you add only a loading picture, the start screen keeps it. The start text still shows.
- The fade after loading works only when you set a start picture.
To remove a picture, right-click it in the Edit Web Platform Details box. Then click Remove.
- Phone or tablet: Long press (touch and hold) the picture.
- Desktop: Right-click the picture.
Good to know
- If you change the identifier later, readers lose access to their old saves. The app asks you to confirm first.
- A Web export uses your project icon. To change it, see Projects.
- To change the name or the identifier later, see Edit platform details.
Problems and fixes
- A Warning box says to add a Web application identifier. Go to Platform Details. Tap the Web tab. Tap the pencil icon. Type an identifier. Then export again.
- A message says to use only letters, numbers, hyphens, and periods. Your identifier has a space or another character. Remove it.
- A message says the image must have the same aspect ratio. Your picture has a different shape from the screen of your visual novel. Change the picture to the size in the message, for example 1920 x 1080 pixels.
- The visual novel does not start when I open
index.htmlfrom a folder. A Web export must come from a web server. See Test your export.