Choices
The Choices action shows buttons on the screen. The reader taps one to pick what happens next. This is how the reader changes the story.
Each choice can continue the visual novel or move it to another section.
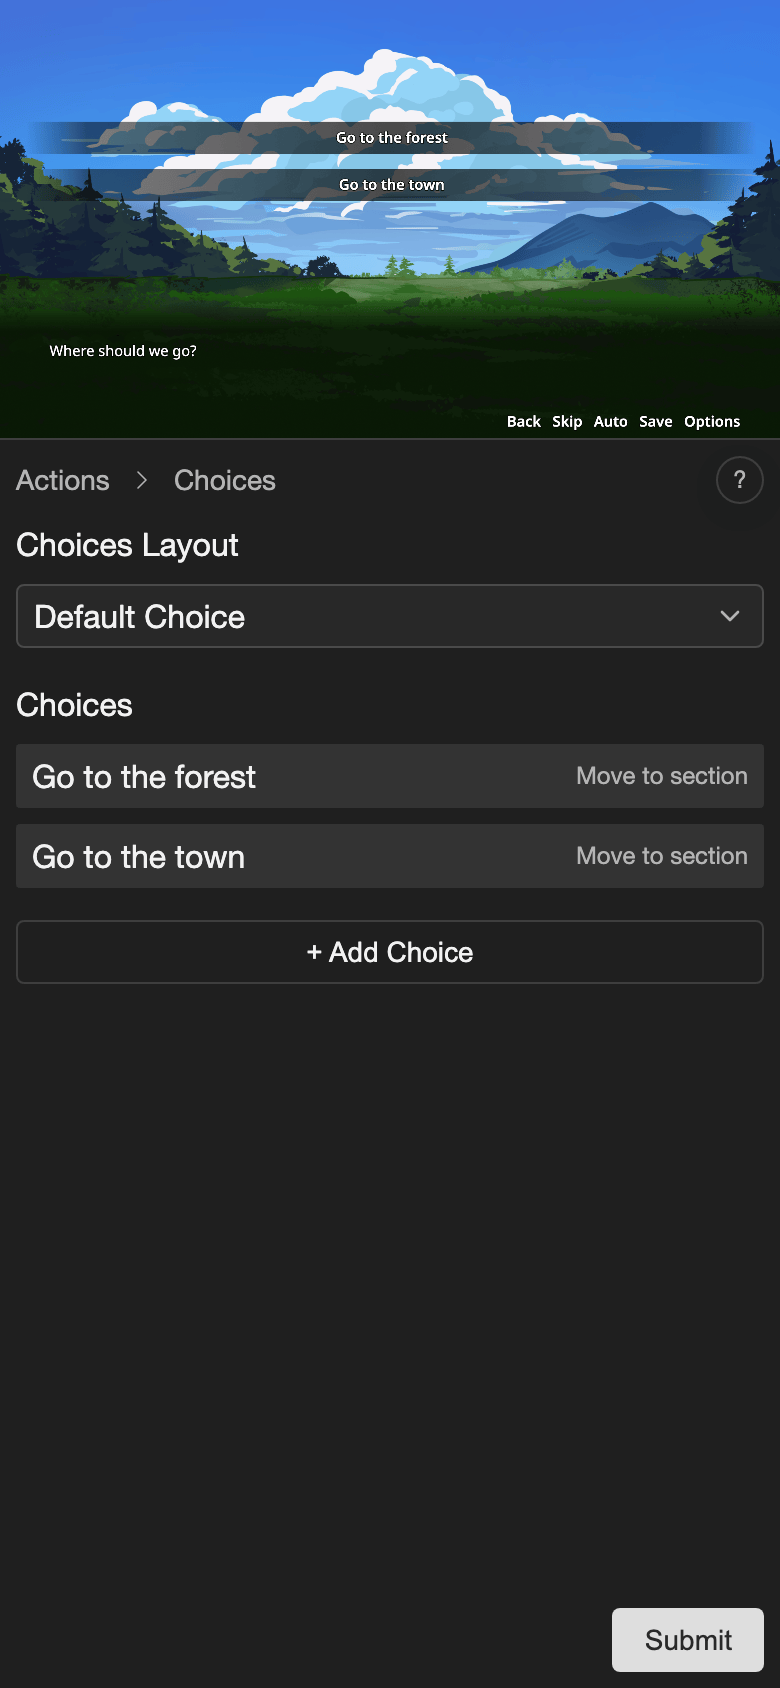
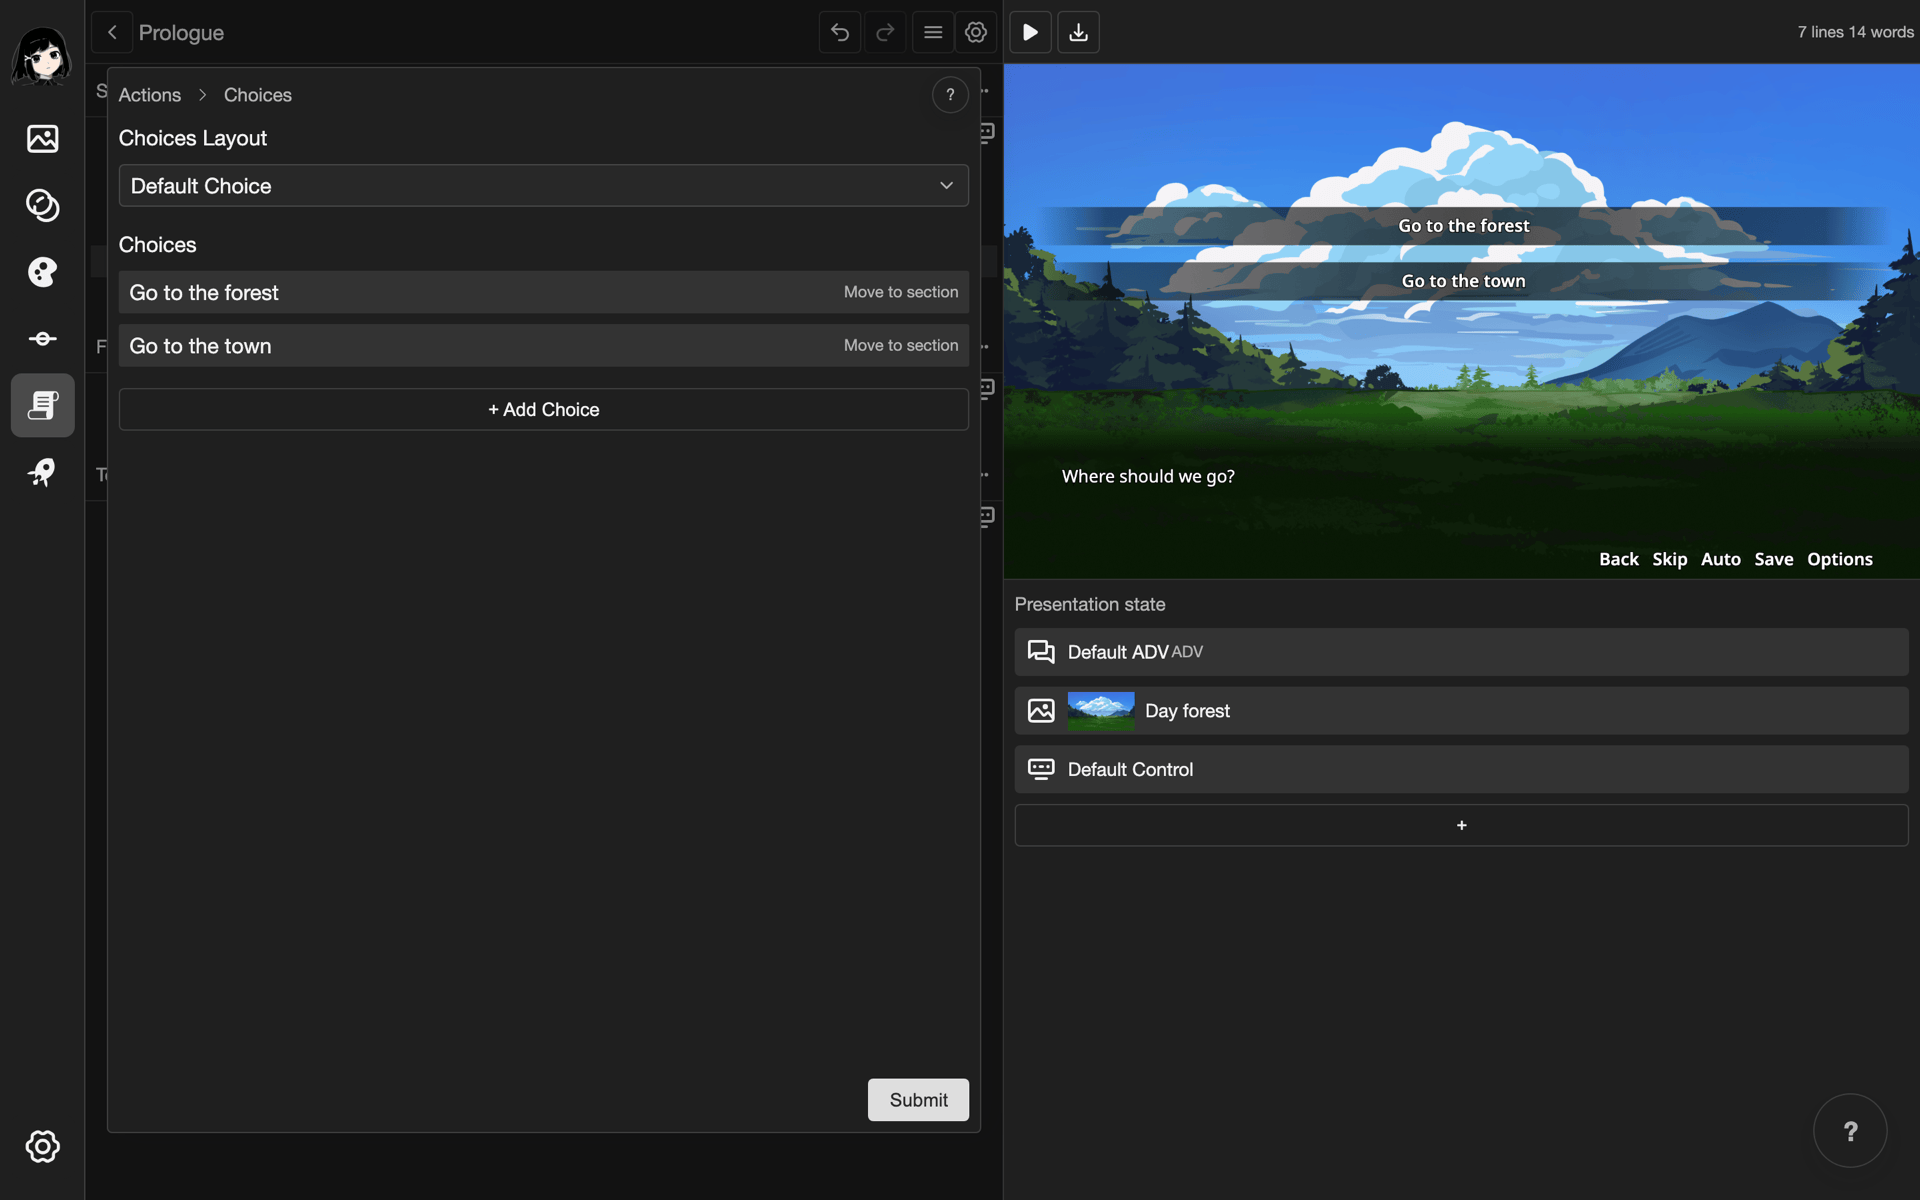
Add the Choices action to a line
This example adds two choices to line 5 of the Prologue scene. Line 5 asks, "Where should we go?" One choice goes to a section called Forest. The other goes to a section called Town.
Before you start, add the sections that the choices go to. Tap the three dots button (the button with three dots that opens more options) at the right of a section name. Then tap Add section below, type the name, and tap Create.
-
Open the Prologue scene. See Scene Map: Open a scene.
-
Tap line 5.
-
Open the Actions menu.
- Phone or tablet: Tap the + button in the bottom bar.
- Desktop: Click the + button under Presentation state.
-
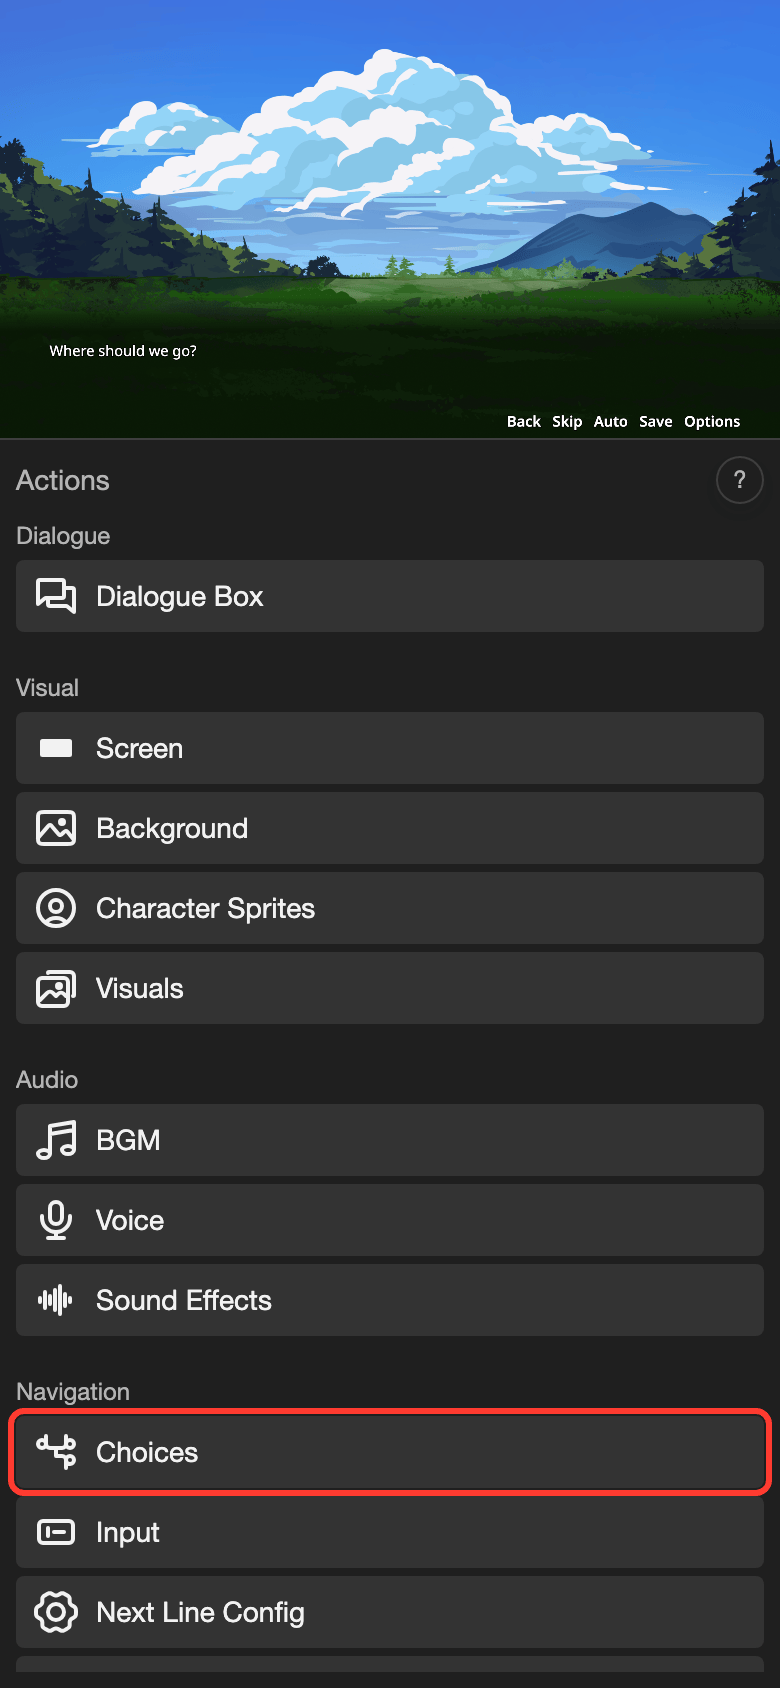
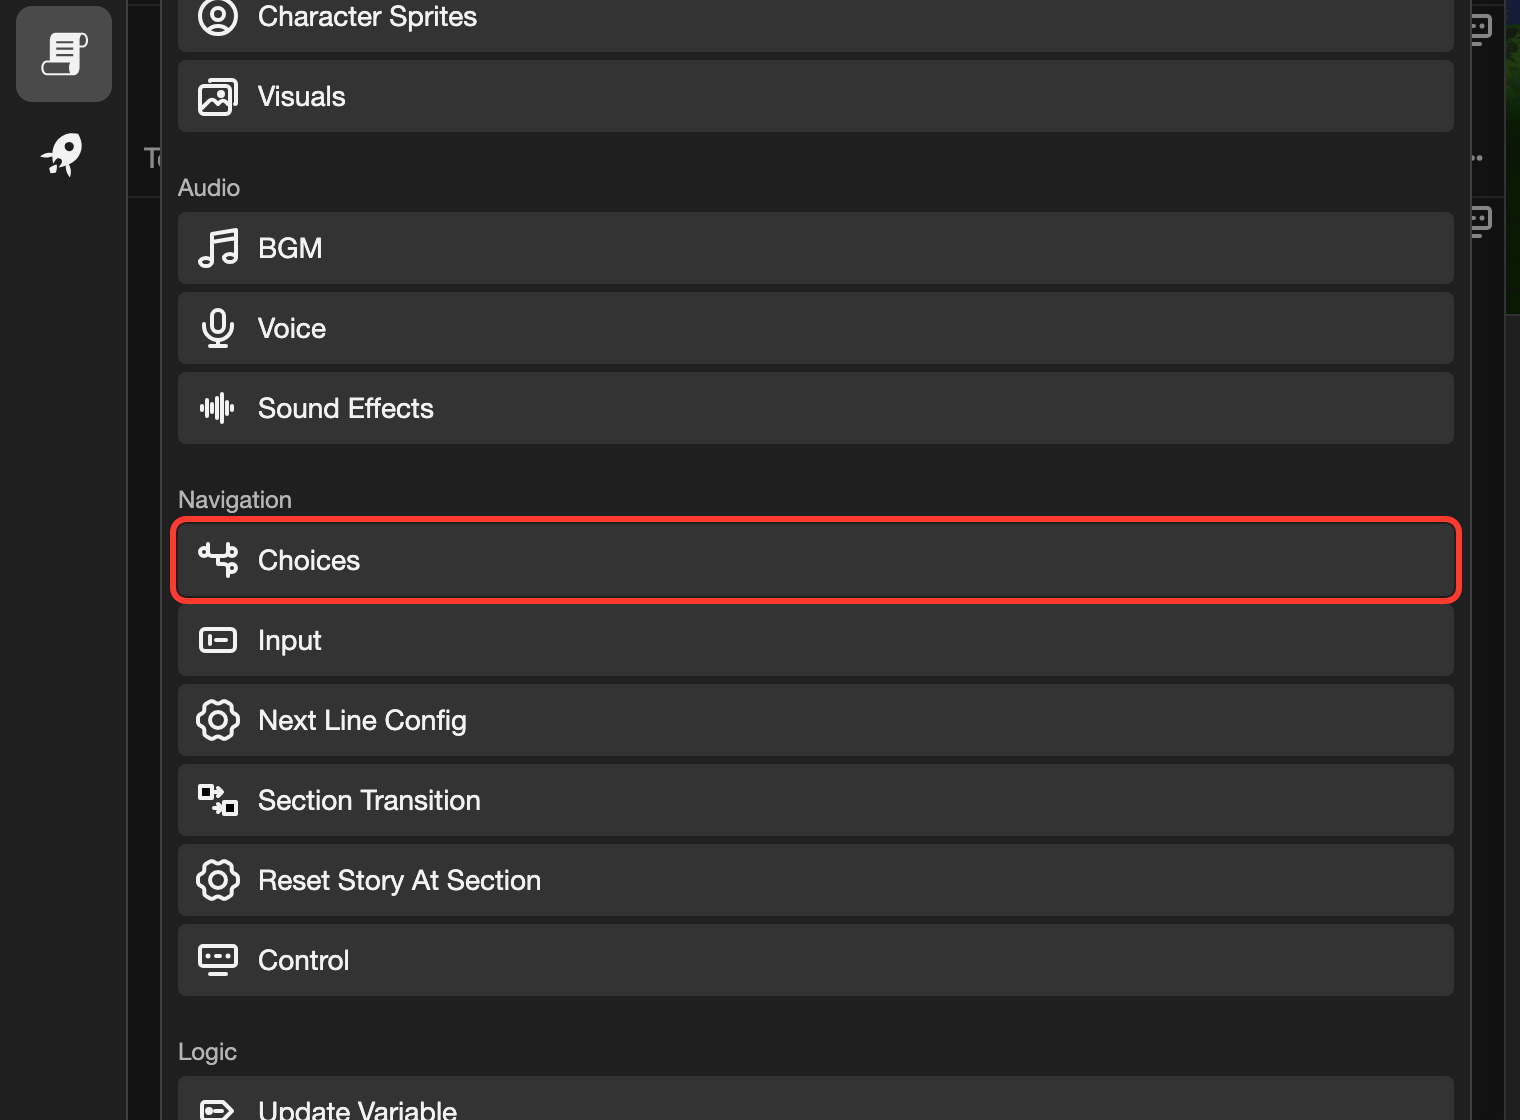
Under Navigation, tap Choices.
The Choices form opens. Its list of choices is empty.
Add a choice
-
Tap + Add Choice.
The Edit Choice form opens.
-
In Choice Content, type the button text, such as "Go to the forest".
-
Under Action, tap Move to section.
The Scene and Section fields appear.
-
In Scene, choose Prologue.
-
In Section, choose Forest.
-
Tap Save Choice.
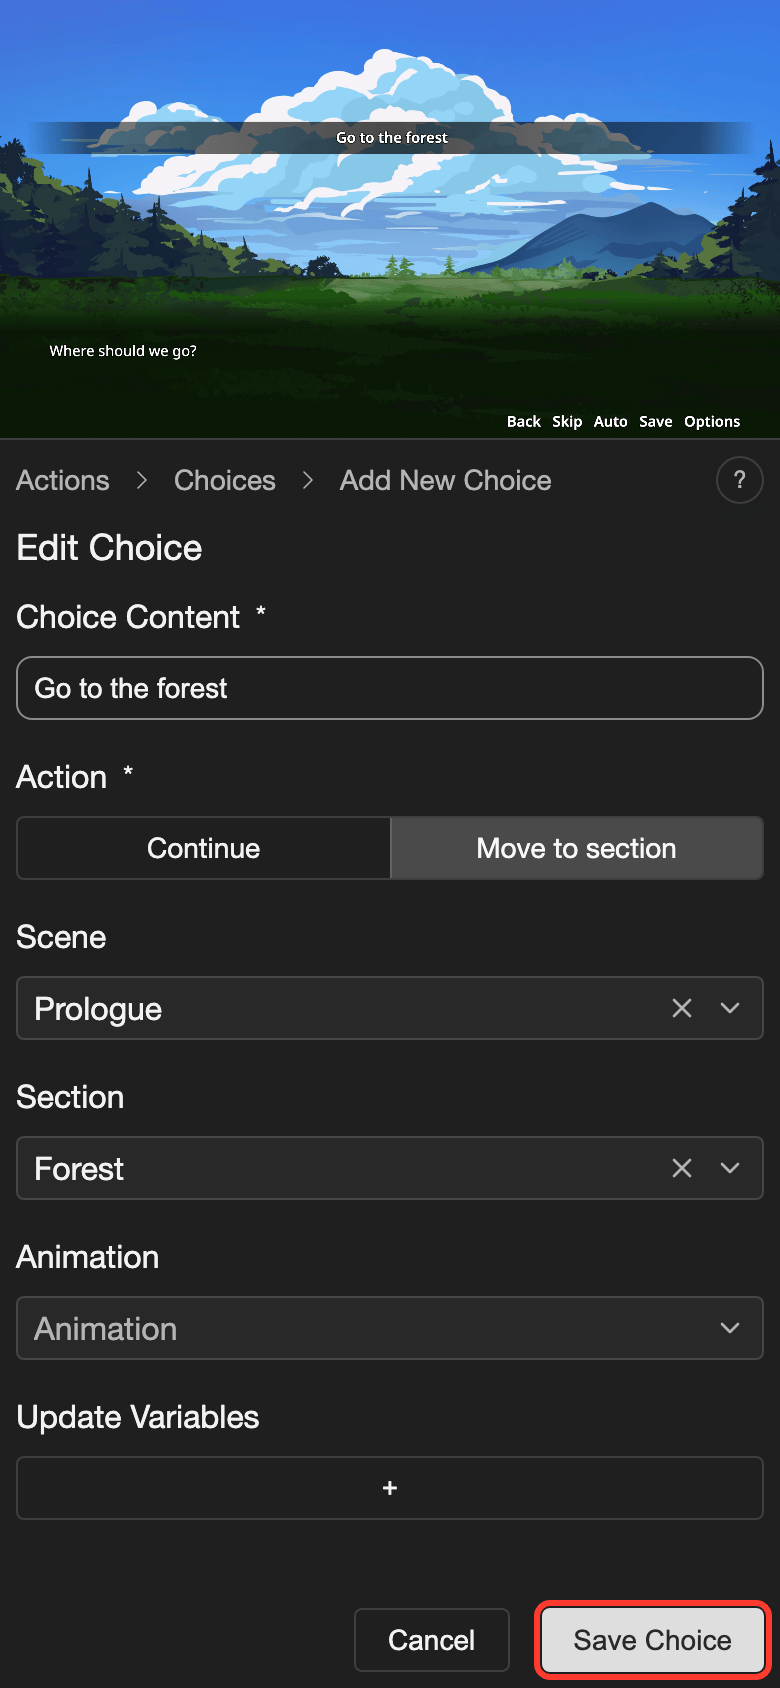
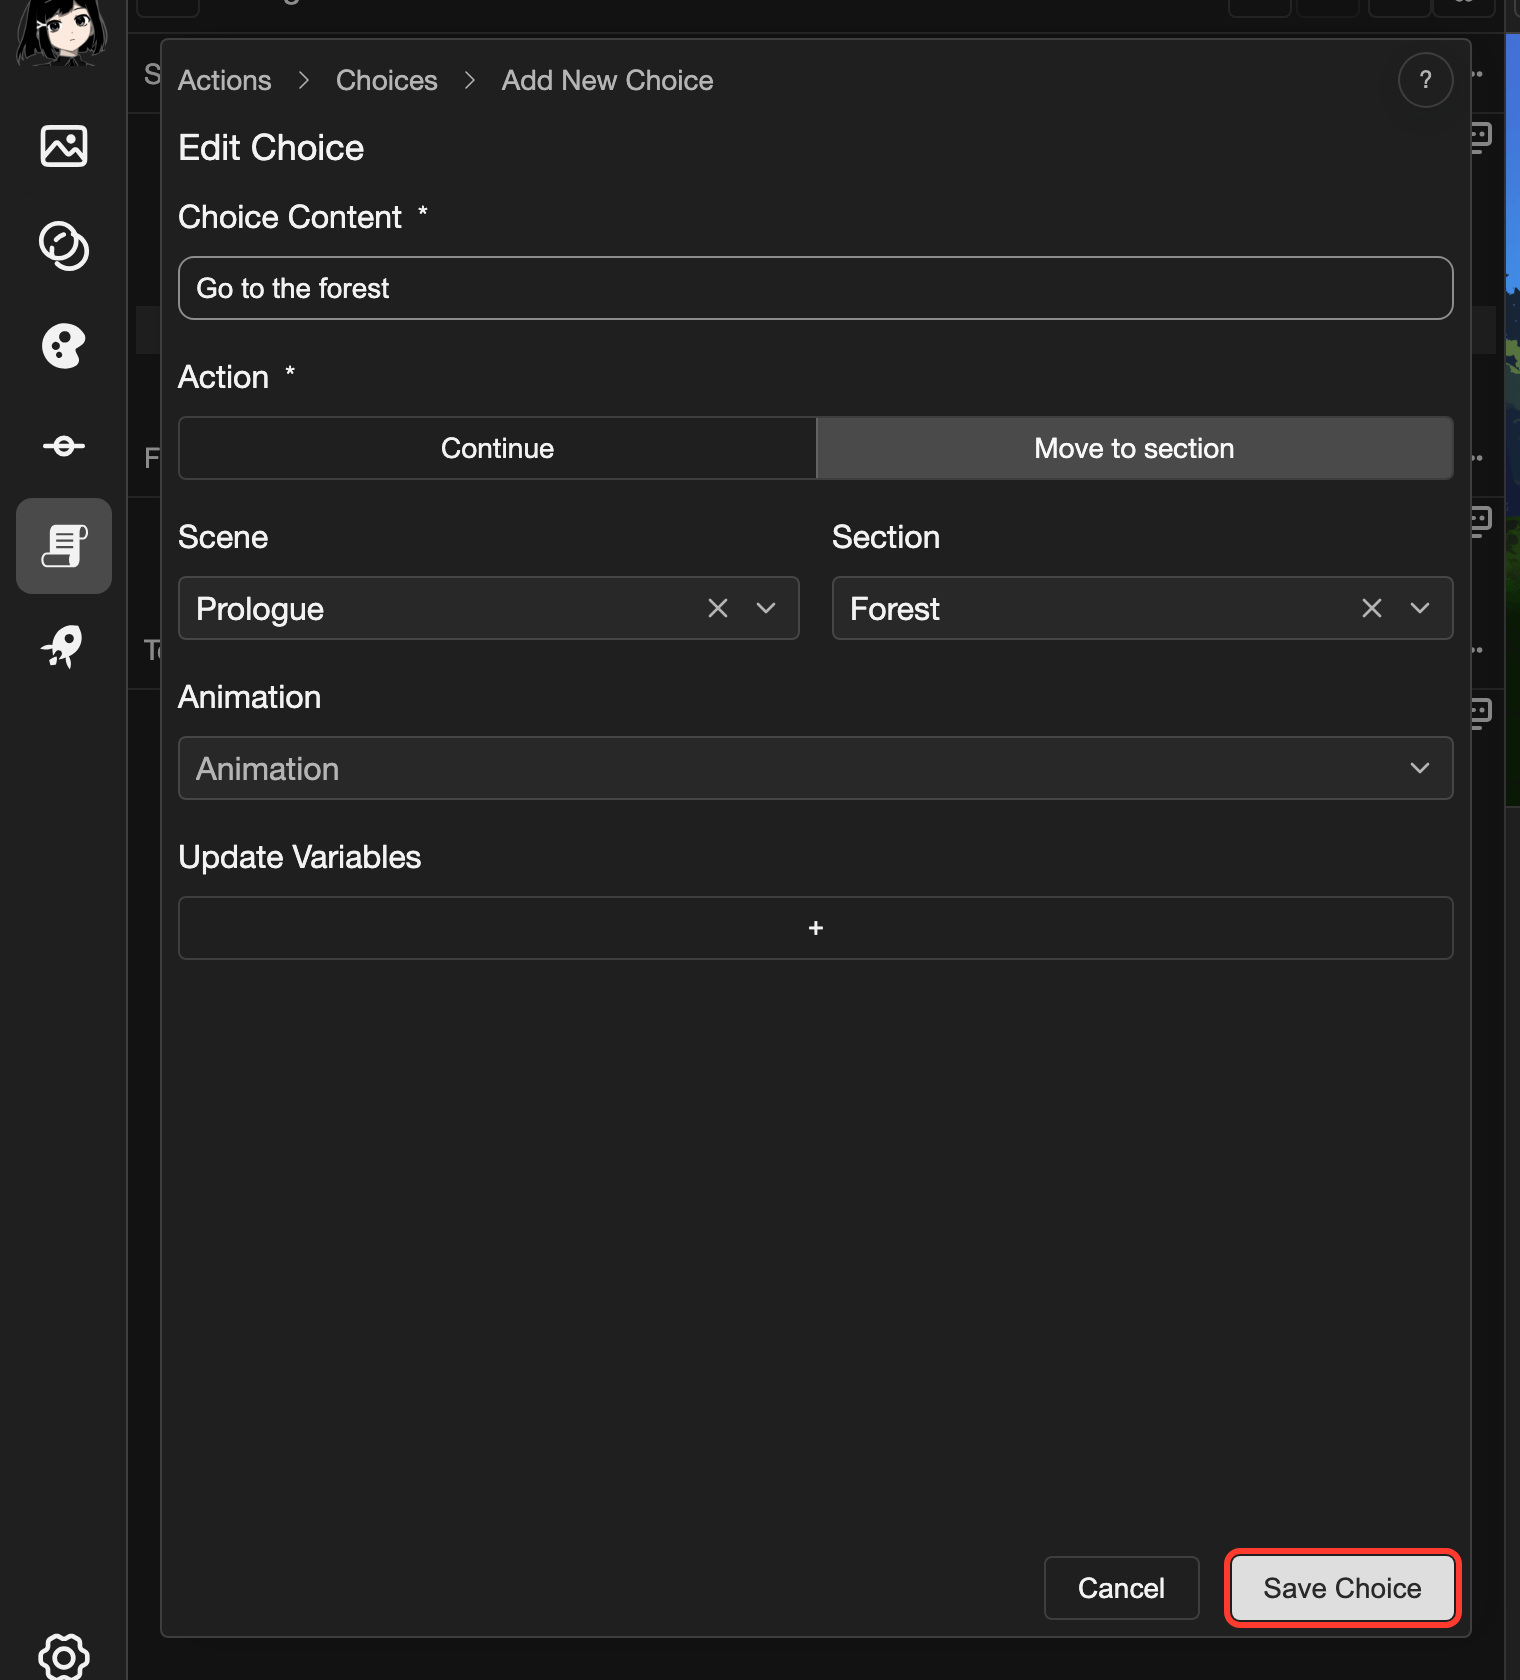
The choice appears in the list. The preview shows the new button.
-
Add the second choice the same way. Type "Go to the town", and choose the Town section.
-
Tap Submit.
The choices are saved on line 5. A choices icon appears at the right end of the line.
Choose the choice layout
Choices Layout sets how the choice buttons look. The form picks the first layout with the layout type Choice for you.
To use another look, add a layout with the layout type Choice. Then choose it in Choices Layout. See Choice Layout.
What a choice can do
Tap a choice in the list to see its settings in the Edit Choice form.
| Setting | What it does |
|---|---|
| Choice Content | The text on the button. You must fill it in. |
| Action | What happens when the reader taps the button. Continue goes to the next line. Move to section goes to the section you choose. |
| Scene and Section | Where Move to section goes. The section can be in another scene. |
| Animation | Optional. A transition, such as Crossfade, that plays when the visual novel moves. |
| Playback Speed and Continuity | These appear after you choose an animation. Playback Speed sets how fast it plays. You can leave Continuity as it is. |
| Update Variables | Optional. Changes a variable when the reader taps the button. |
Update Variables runs together with the Action. For example, a choice can set a variable called "Route" to "forest". Later, a Conditional action can check that variable.
To add one, tap the + button under Update Variables. Then tap Update Variable. To set the variable, see Update Variable.
Change a choice
To change the choices of a line, tap the line. Then open Choices from the Actions menu. The form shows the saved choices.
-
In the list, tap the choice.
The Edit Choice form opens.
-
Change the settings.
-
Tap Save Choice.
-
Tap Submit.
Move or delete a choice
-
In the Choices form, open the menu of the choice.
- Phone or tablet: Long press (touch and hold) the choice.
- Desktop: Right-click (click with the right mouse button) the choice.
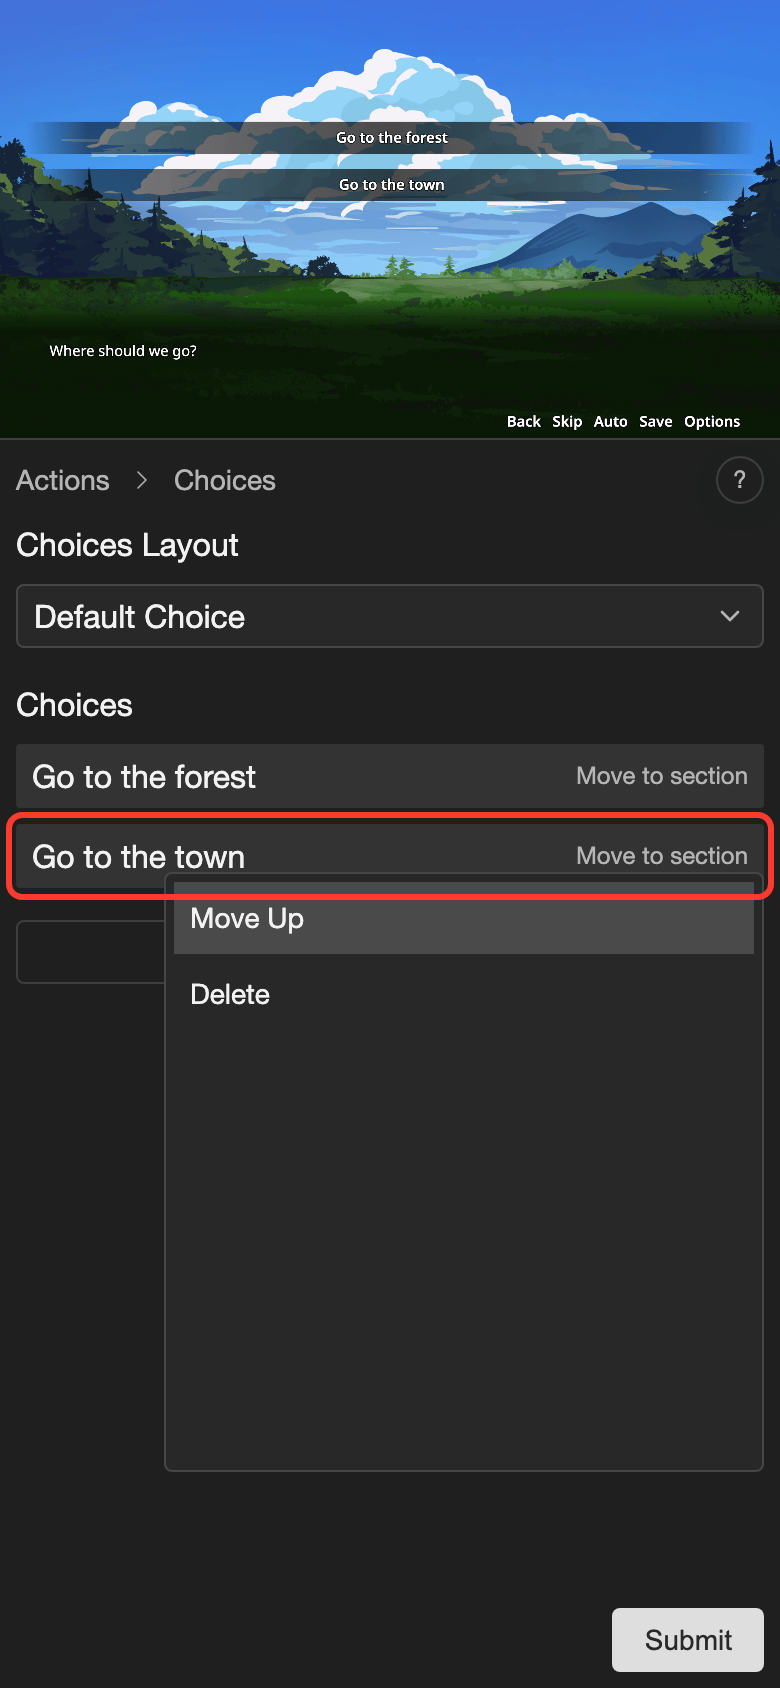
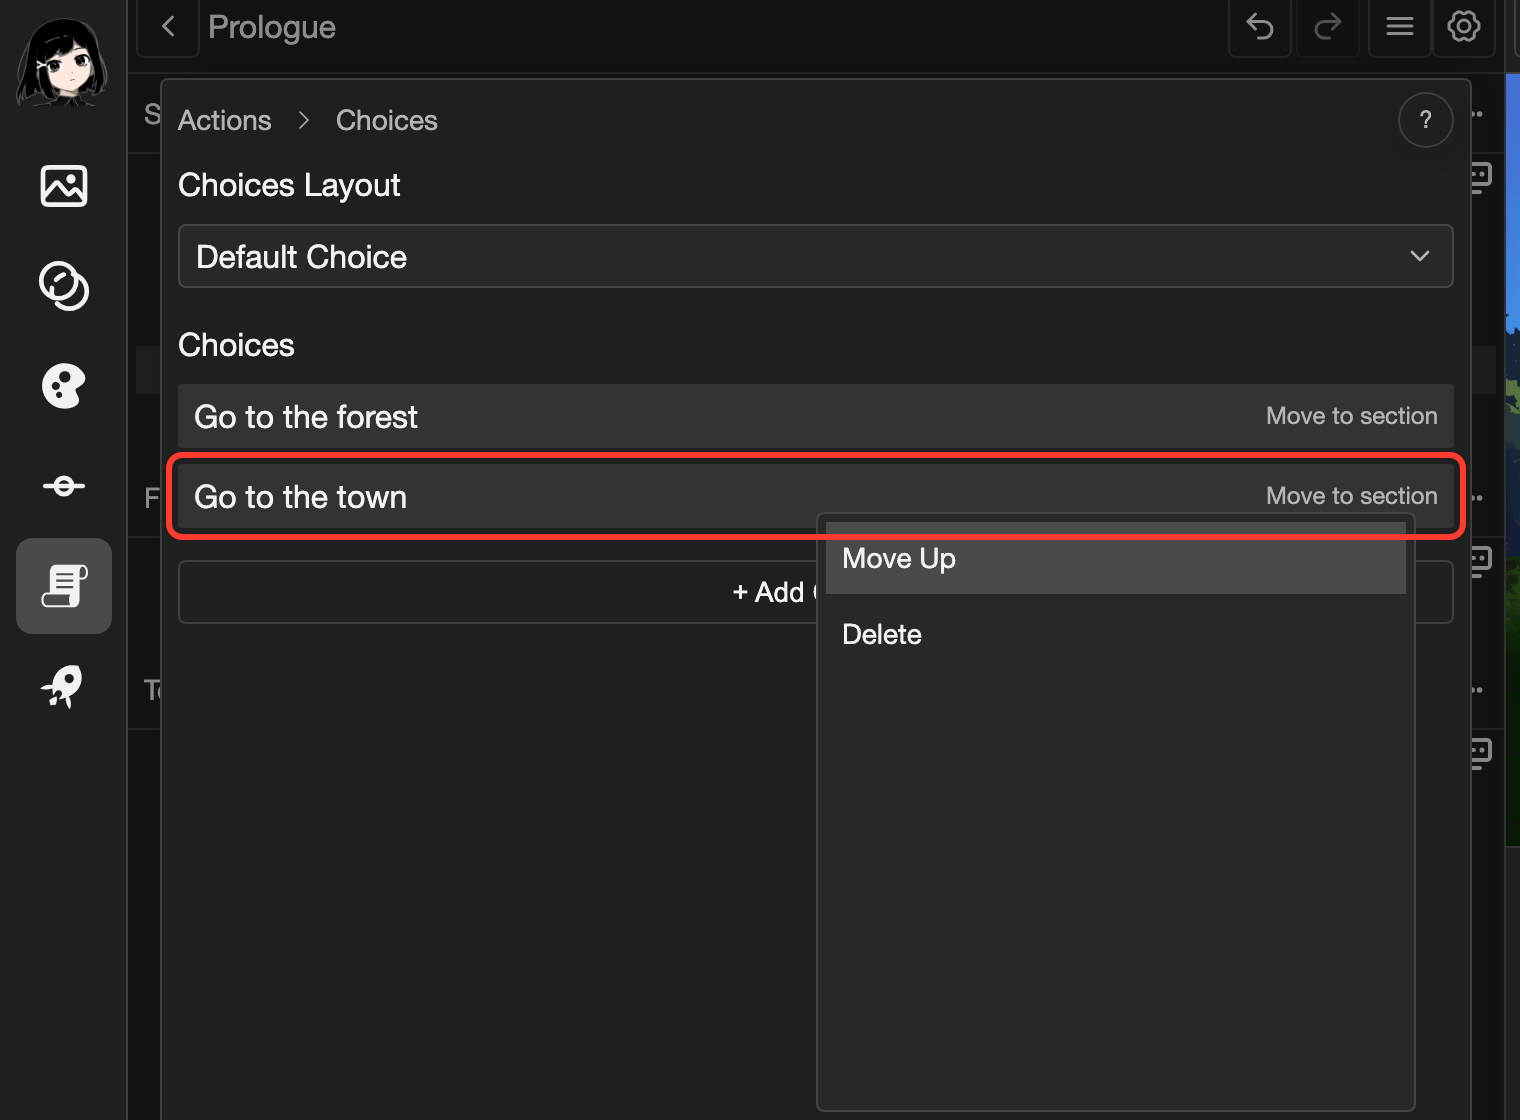
A menu opens.
-
Tap Move Up, Move Down, or Delete.
-
Tap Submit.
The first choice has no Move Up. The last choice has no Move Down.
What the reader sees
The choices show as buttons over the scene. The text of the line stays in the dialogue box. The preview in the scene editor shows this too.
To try your choices, open the full preview. It shows your visual novel from the selected line.
- Phone or tablet: Tap the three dots button in the bottom bar. Then tap Preview.
- Desktop: Click the play button (the button with a triangle) above the preview.
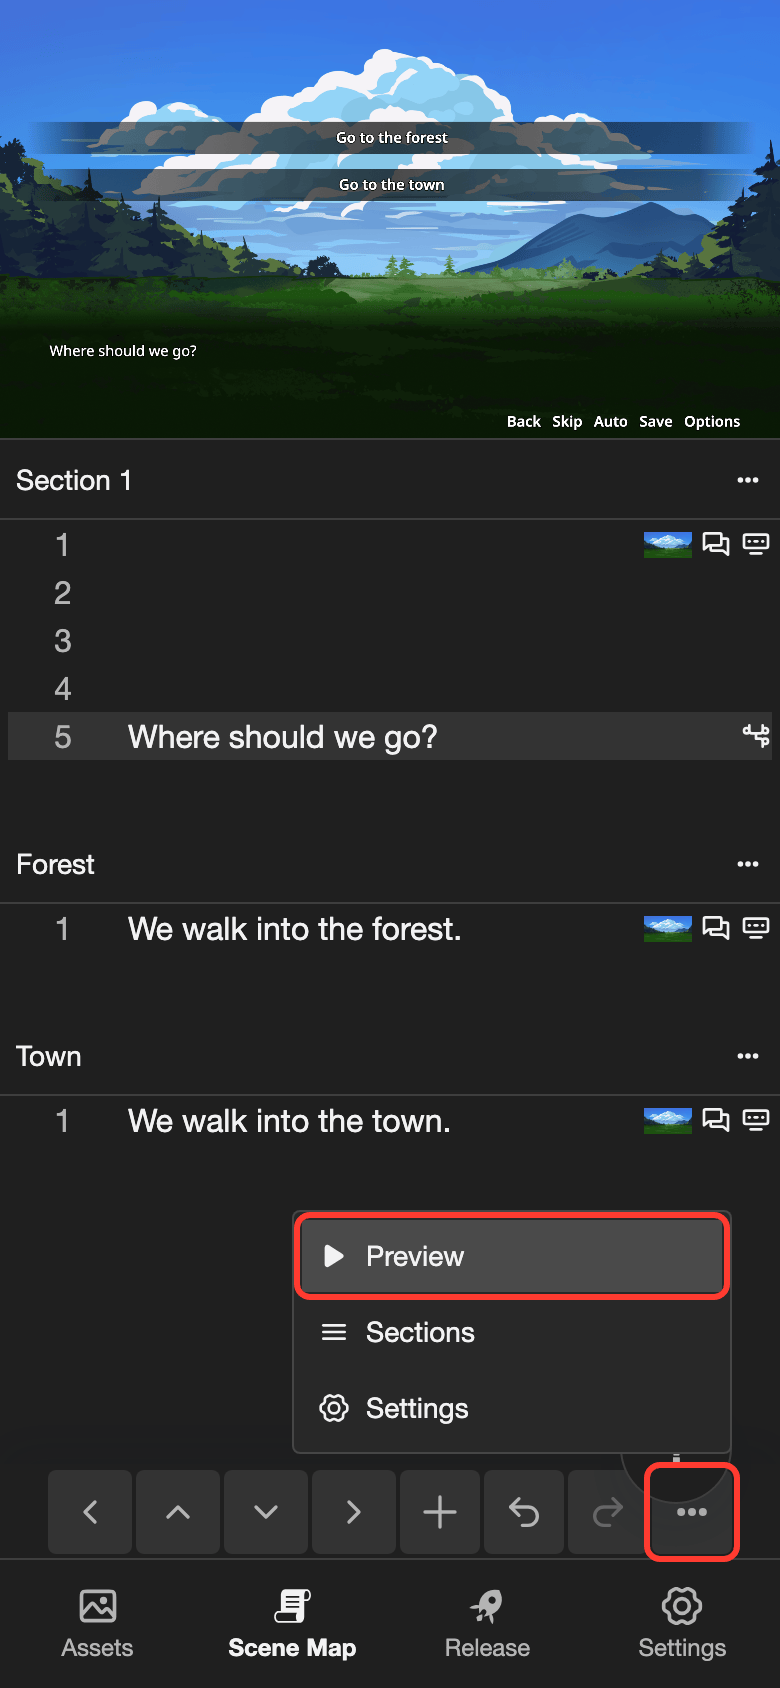
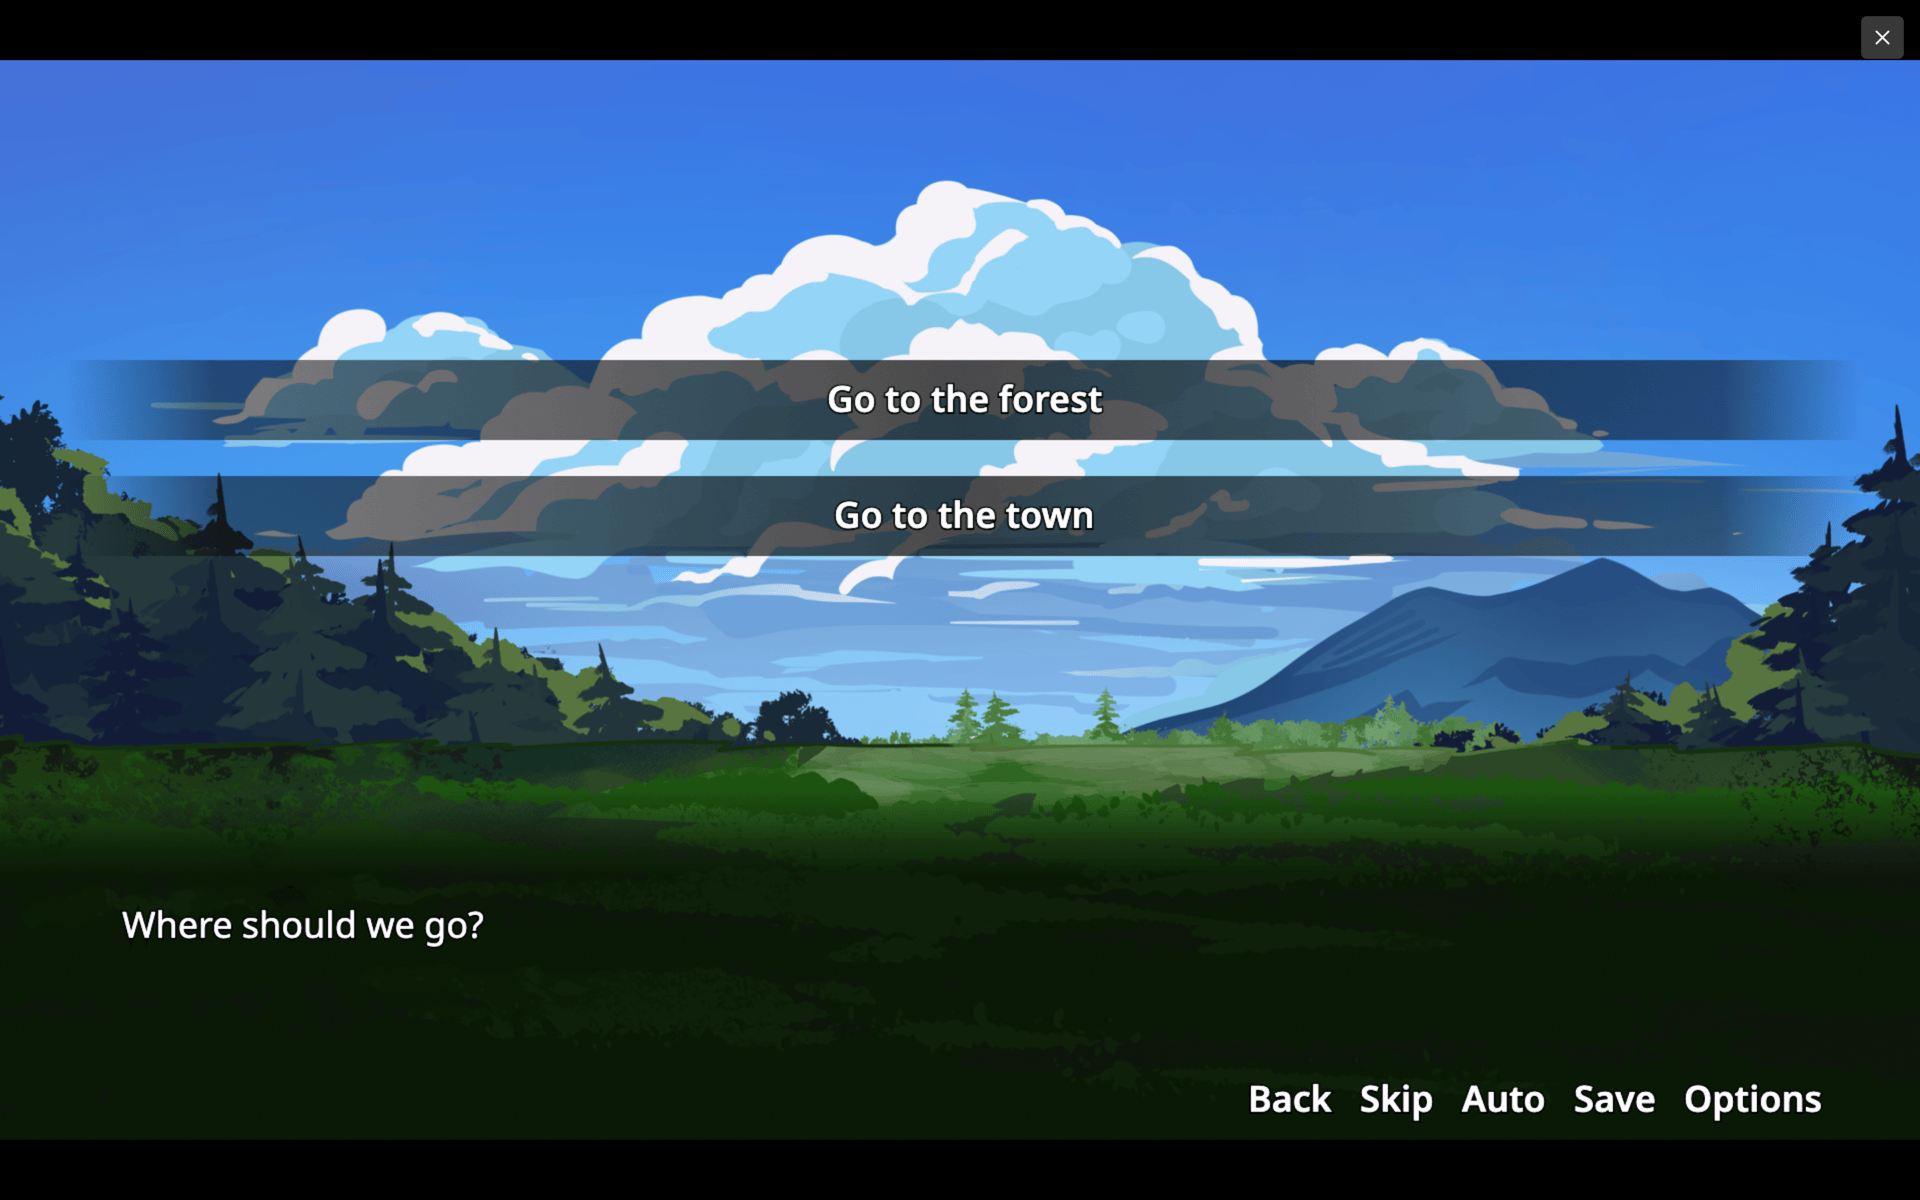
- The visual novel waits until the reader taps a choice. Tapping the screen does not go to the next line.
- The tap runs the action of the choice. For example, Go to the forest moves the visual novel to the Forest section.
Good to know
- The Scene Map shows an arrow when a choice moves the visual novel to another scene. A choice that stays in the same scene makes no arrow.
- The preview shows your changes before you tap Submit. If you leave the form without tapping Submit, your changes are lost.
Problems and fixes
- A warning says "Choice content cannot be empty". Type the text of the button in Choice Content.
- A warning says "Please select a scene" or "Please select a section". Choose both a Scene and a Section. Or tap Continue instead.
- Delete does nothing. The list must keep at least one choice. Add a new choice first. Then delete the old one.
- Tapping a choice does nothing. The choice uses Continue on the last line of a section. There is no next line. Choose Move to section instead.