Scene Map
The scene map shows all the scenes of your visual novel on one big board. Use it to add scenes, choose where your visual novel starts, and see how your scenes connect.
A scene is one part of your visual novel, such as "Title" or "Chapter 1". Each scene is a box on the map. You write what happens in a scene in the scene editor.
Open the scene map
-
Open your project. See Projects.
-
Go to the scene map.
- Phone or tablet: At the bottom of the screen, tap Scene Map.
- Desktop: On the left side, click the Scenes button. It looks like a paper scroll.
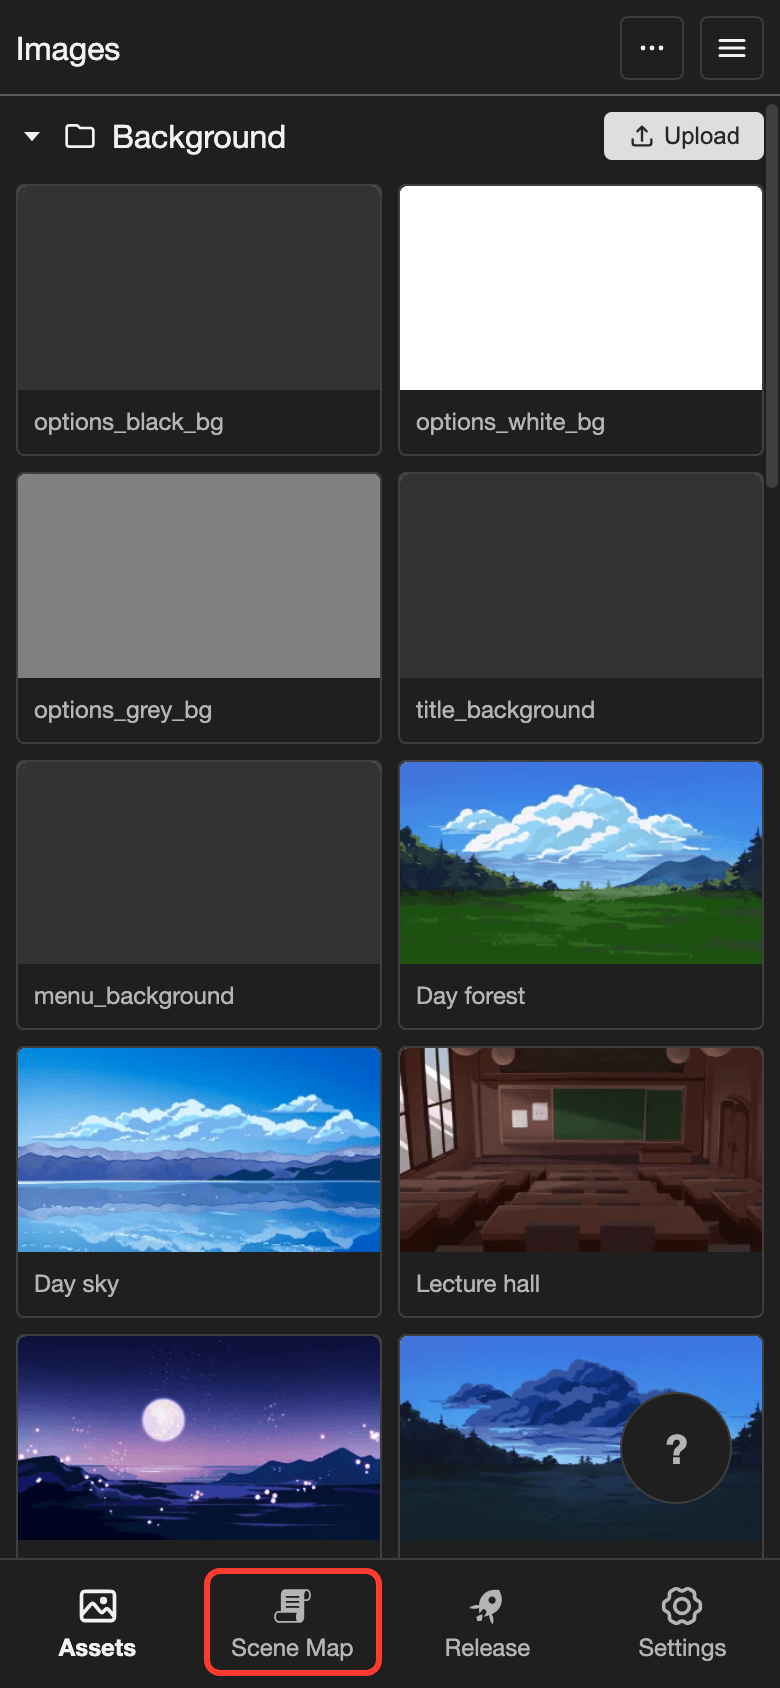
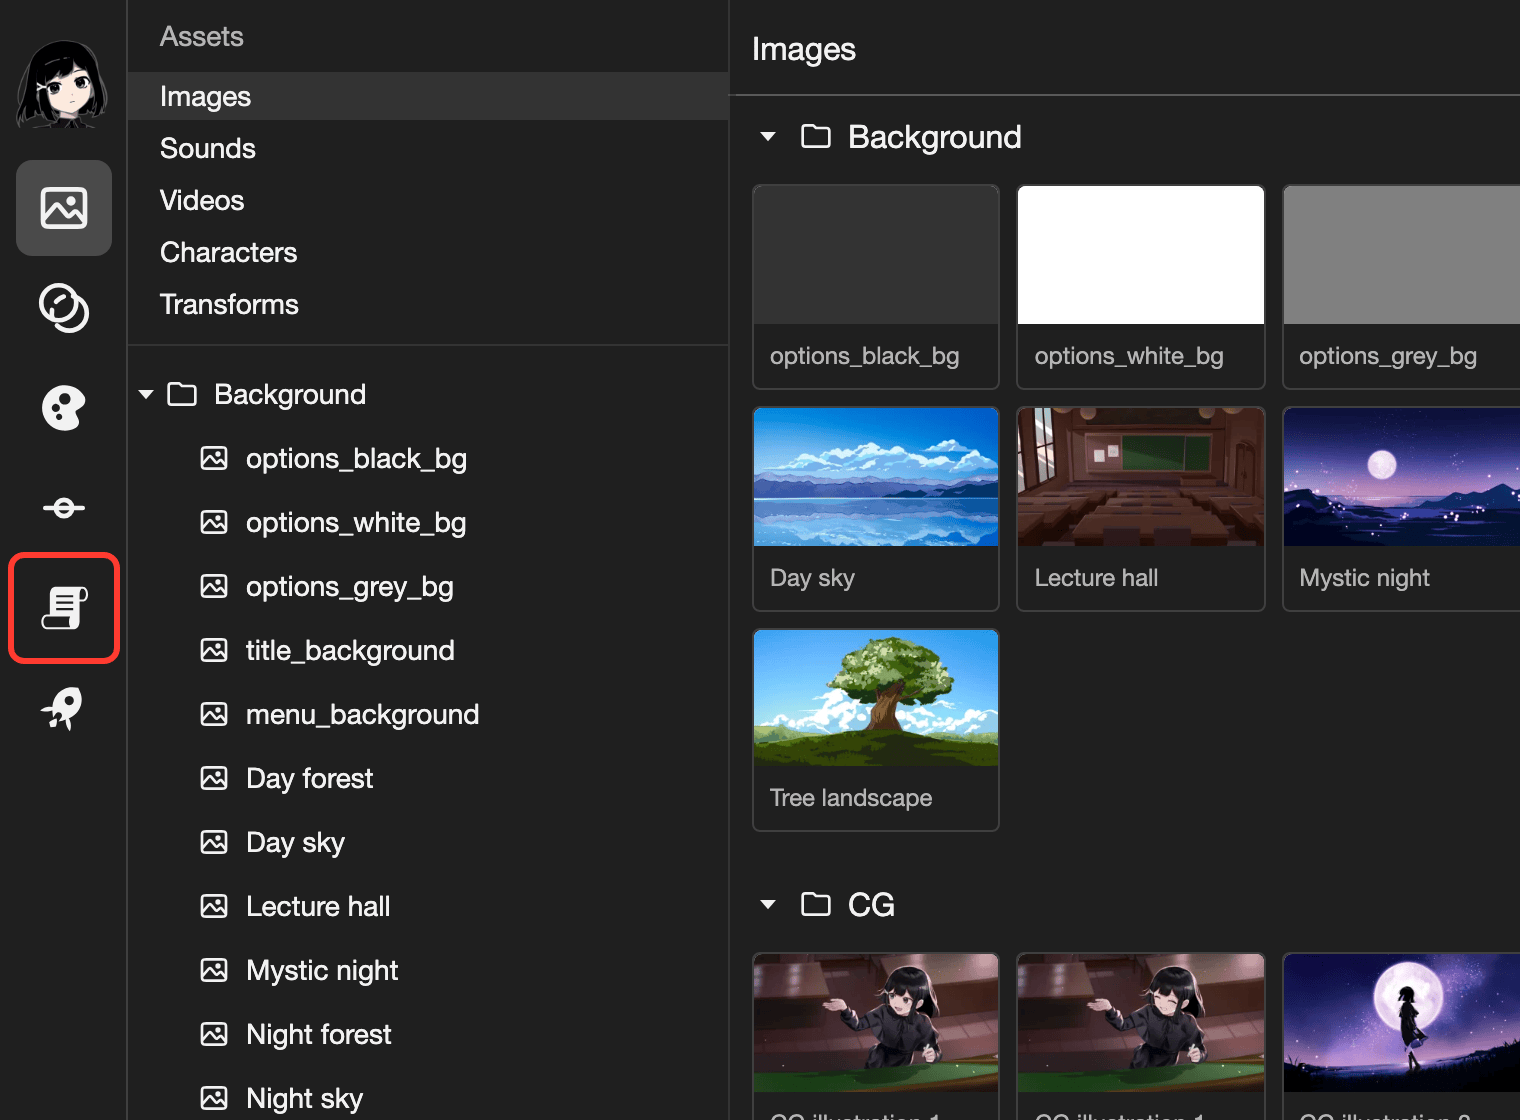
On desktop, the scene map opens. On a phone or tablet, a list opens.
-
Phone or tablet: In the list, tap Scene Map.
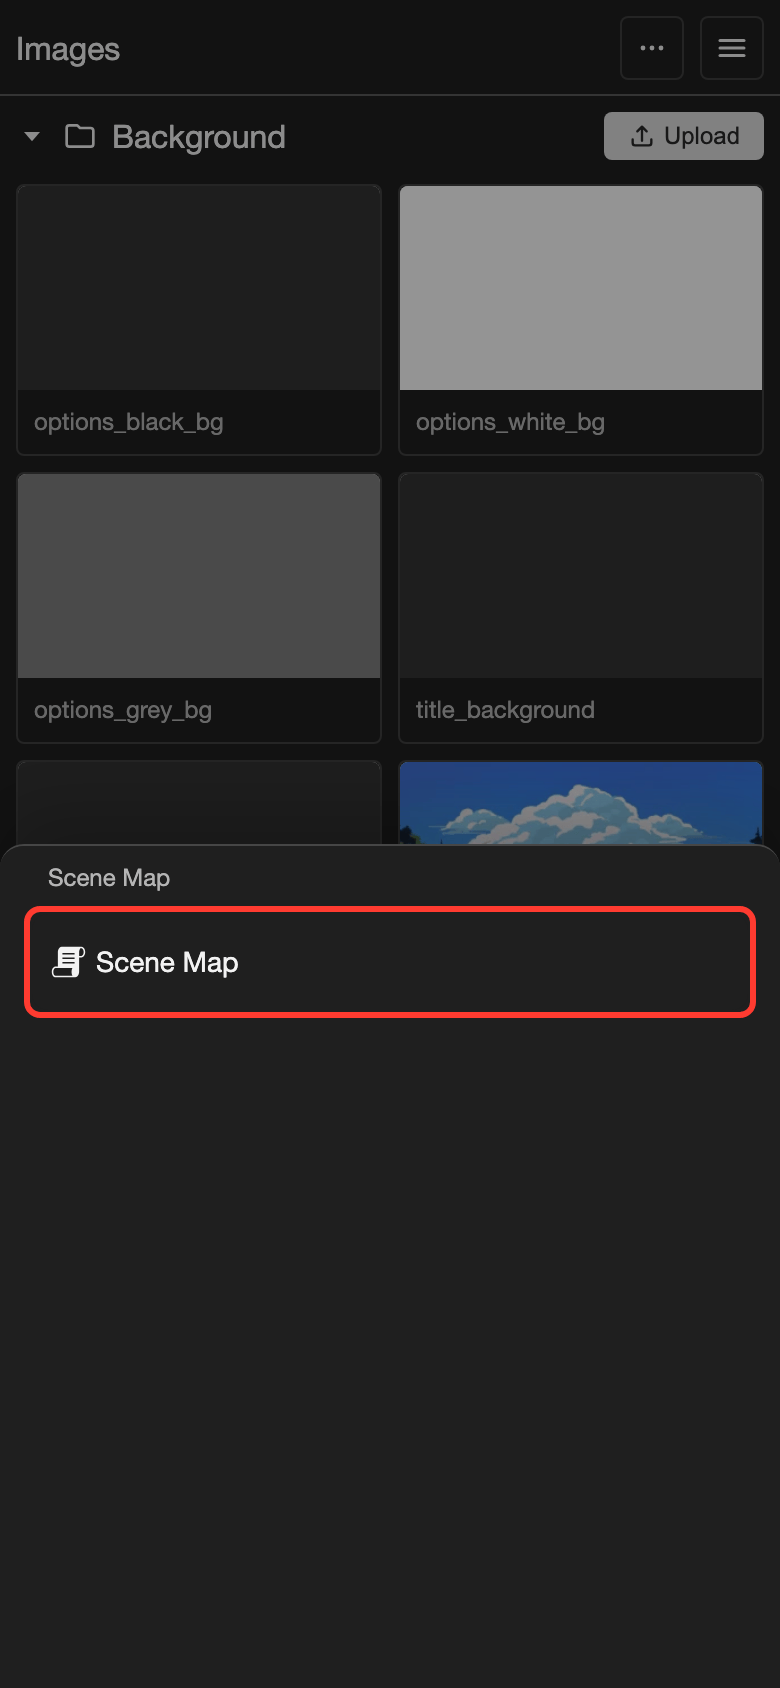
Tap Scene Map in the list.
The scene map opens.
Parts of the scene map
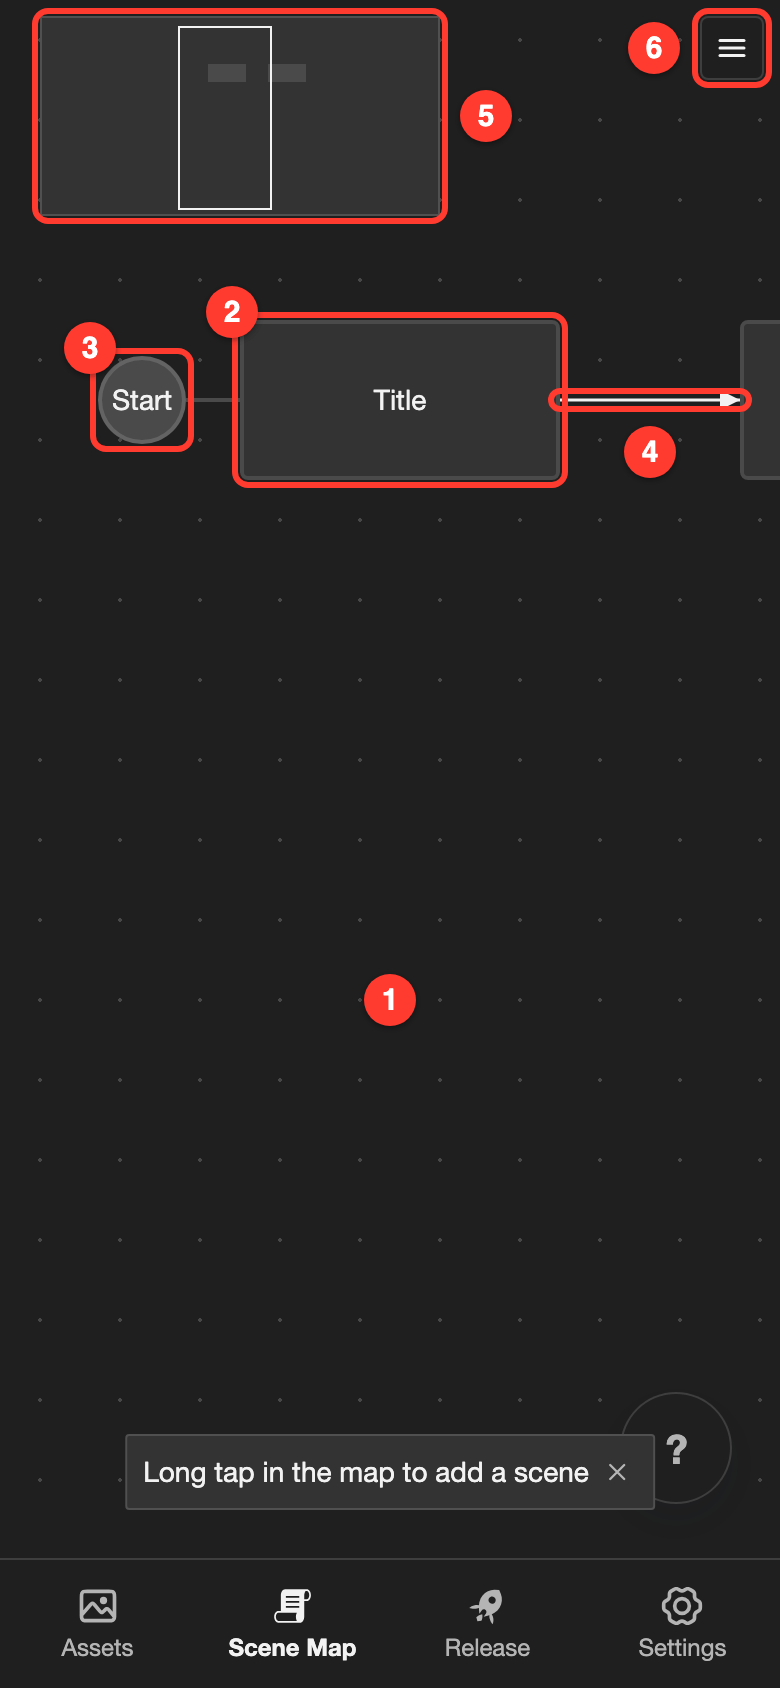
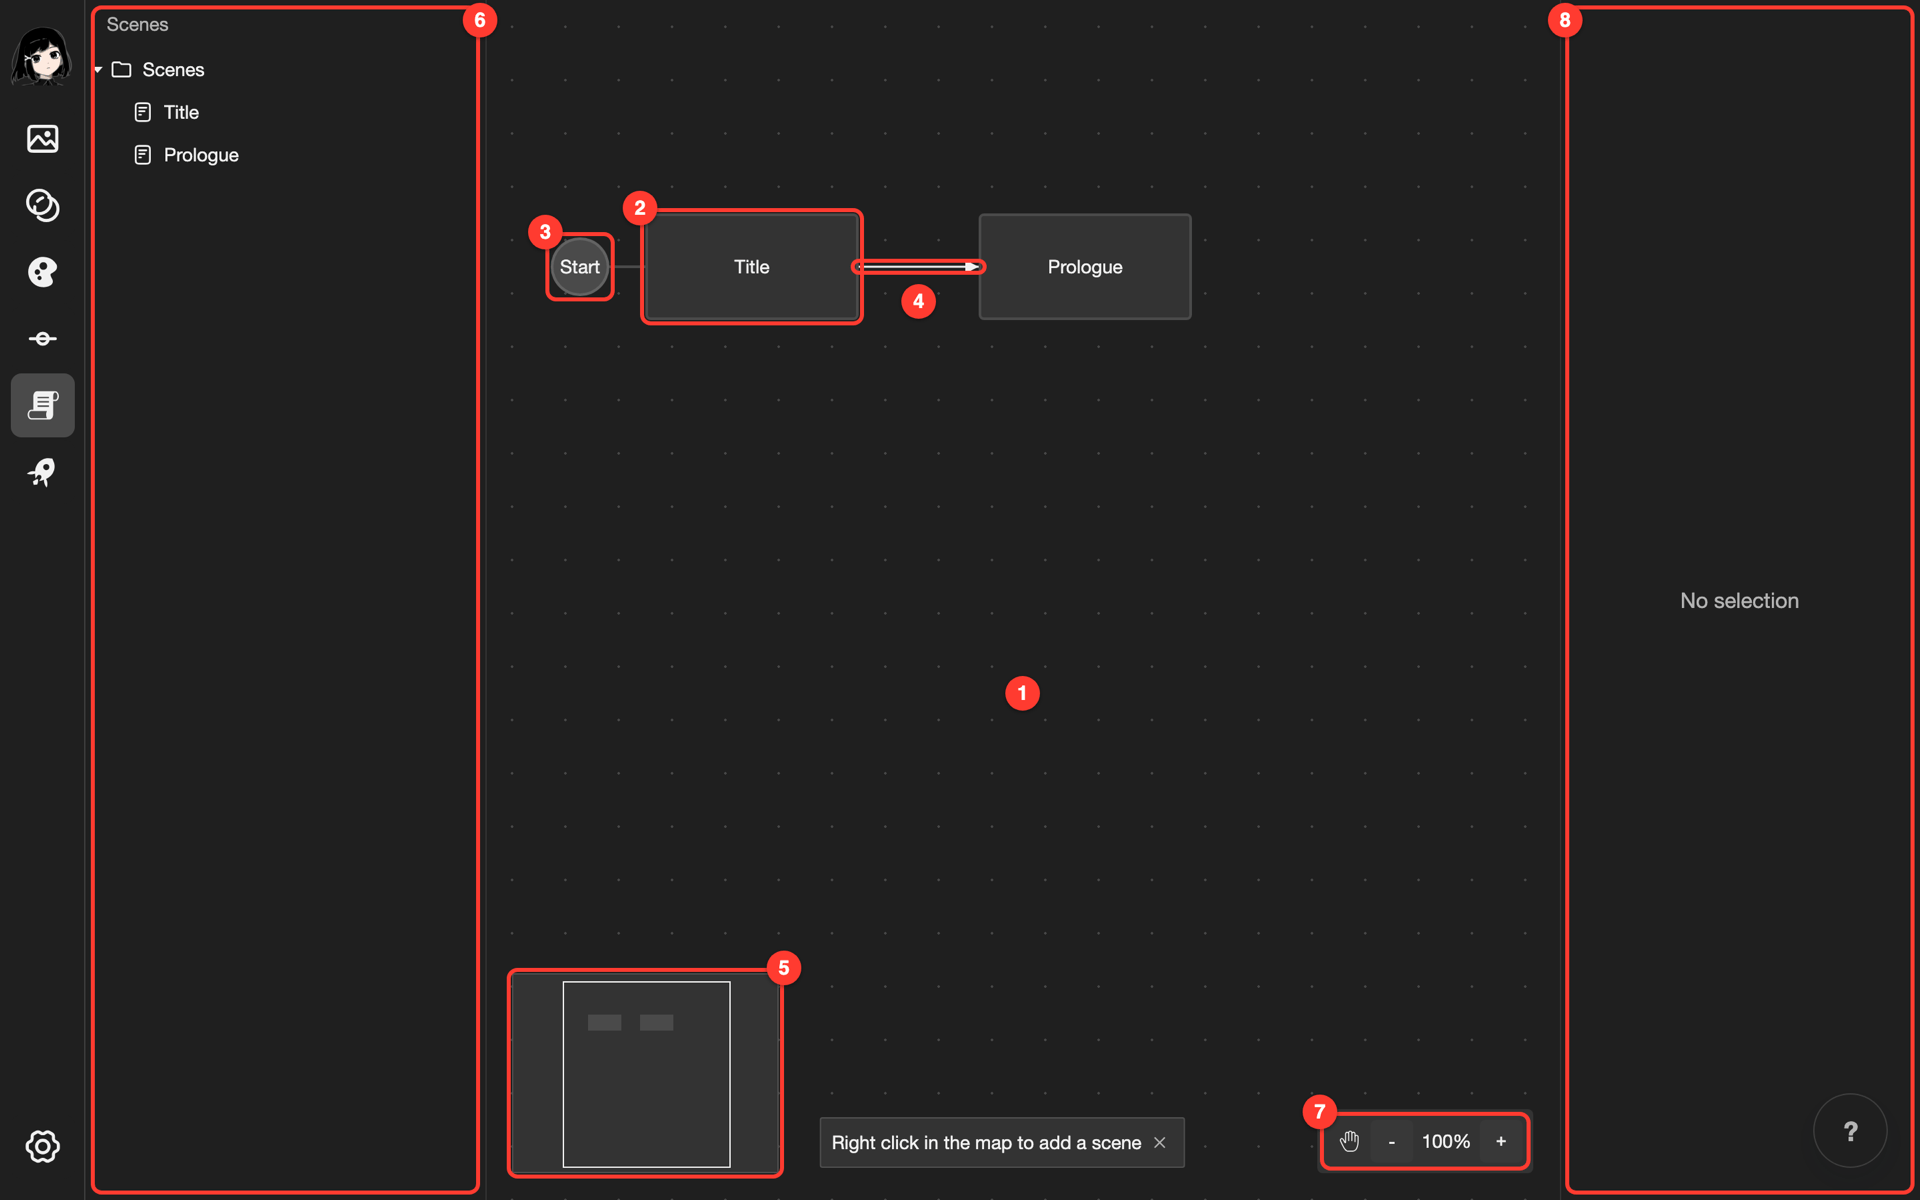
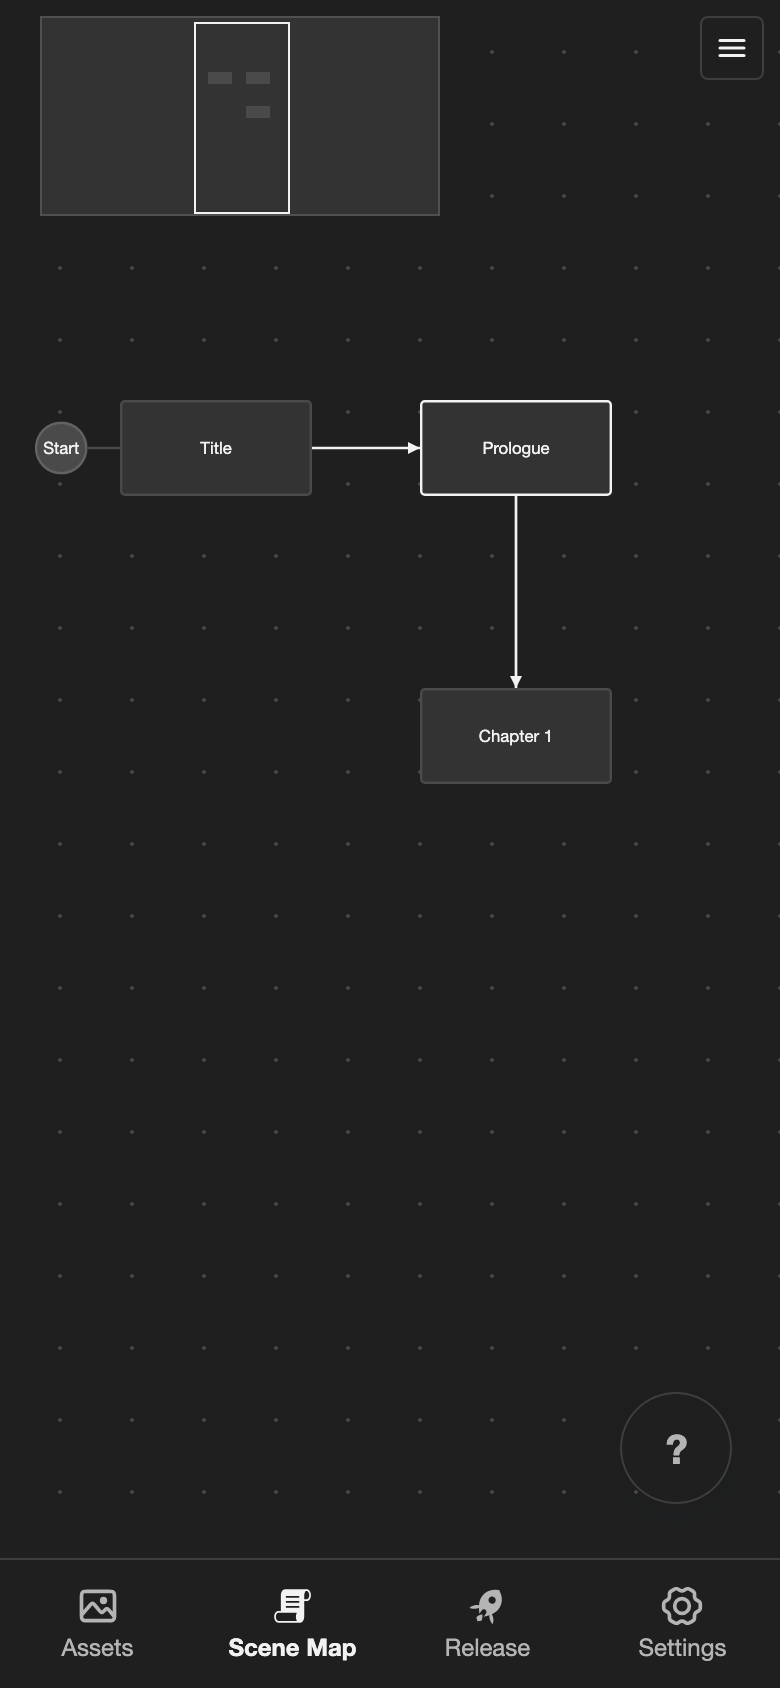
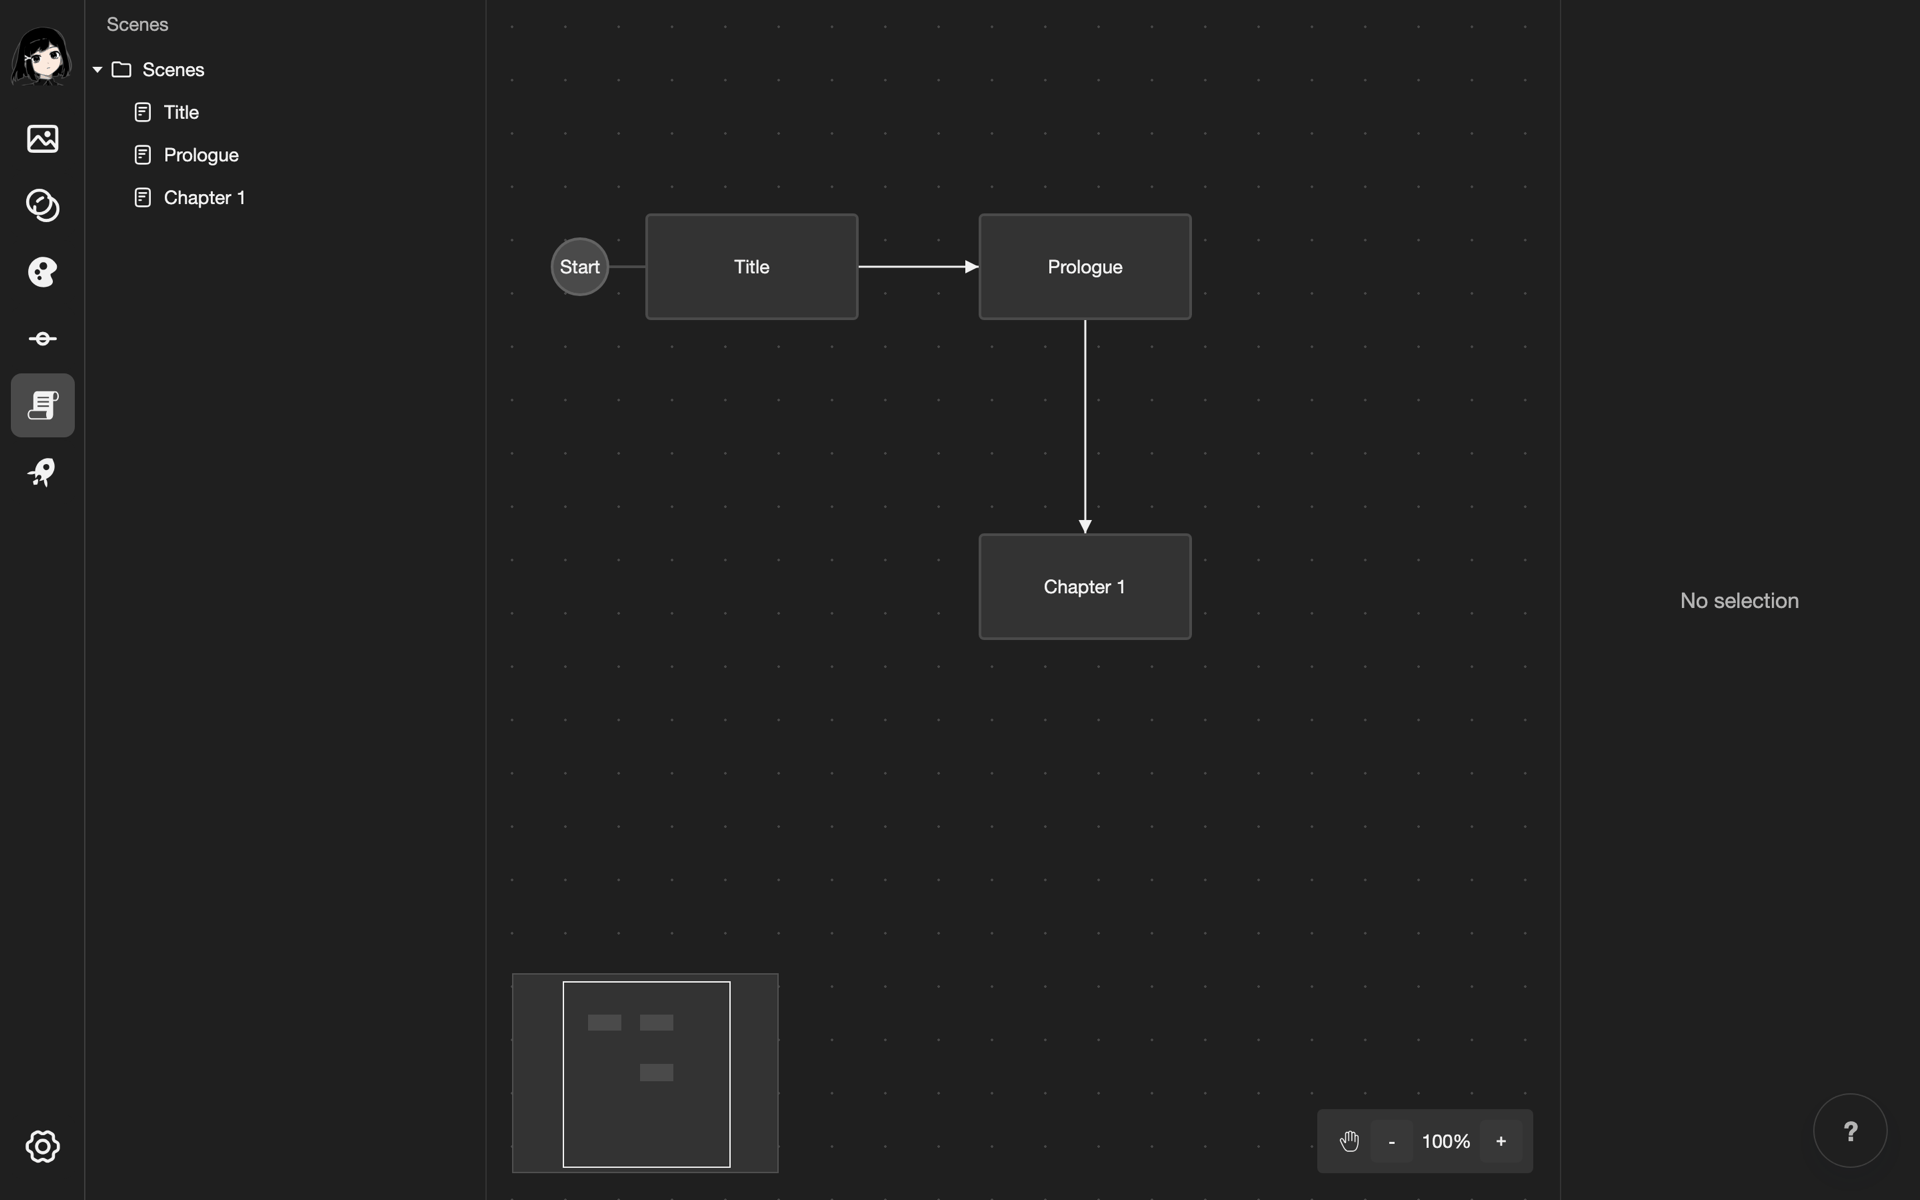
- Map: The board with dots. It holds all your scenes.
- Scene: One part of your visual novel. Each box is one scene. Its name is in the middle.
- Start: This circle shows the starting scene. Your visual novel begins with this scene.
- Arrow: Shows that one scene leads to another scene.
- Minimap: A small copy of the whole map. The white box shows the part of the map that you see.
- File explorer: The list of your scenes and folders. On a phone or tablet, the three lines button opens it. It is called Files there. On desktop, it is always on the left. See File Explorer.
- Zoom buttons: The hand button, the - button, the zoom level, and the + button. You see them only on desktop.
- Details panel: Shows the scene that you selected. You see it only on desktop.
Move around the map
The map is bigger than your screen. To see other parts of it, move the map.
Drag an empty part of the map.
- Phone or tablet: Drag (hold, then move without lifting your finger) with one finger.
- Desktop: Hold down the
Spacekey while you drag with the mouse.
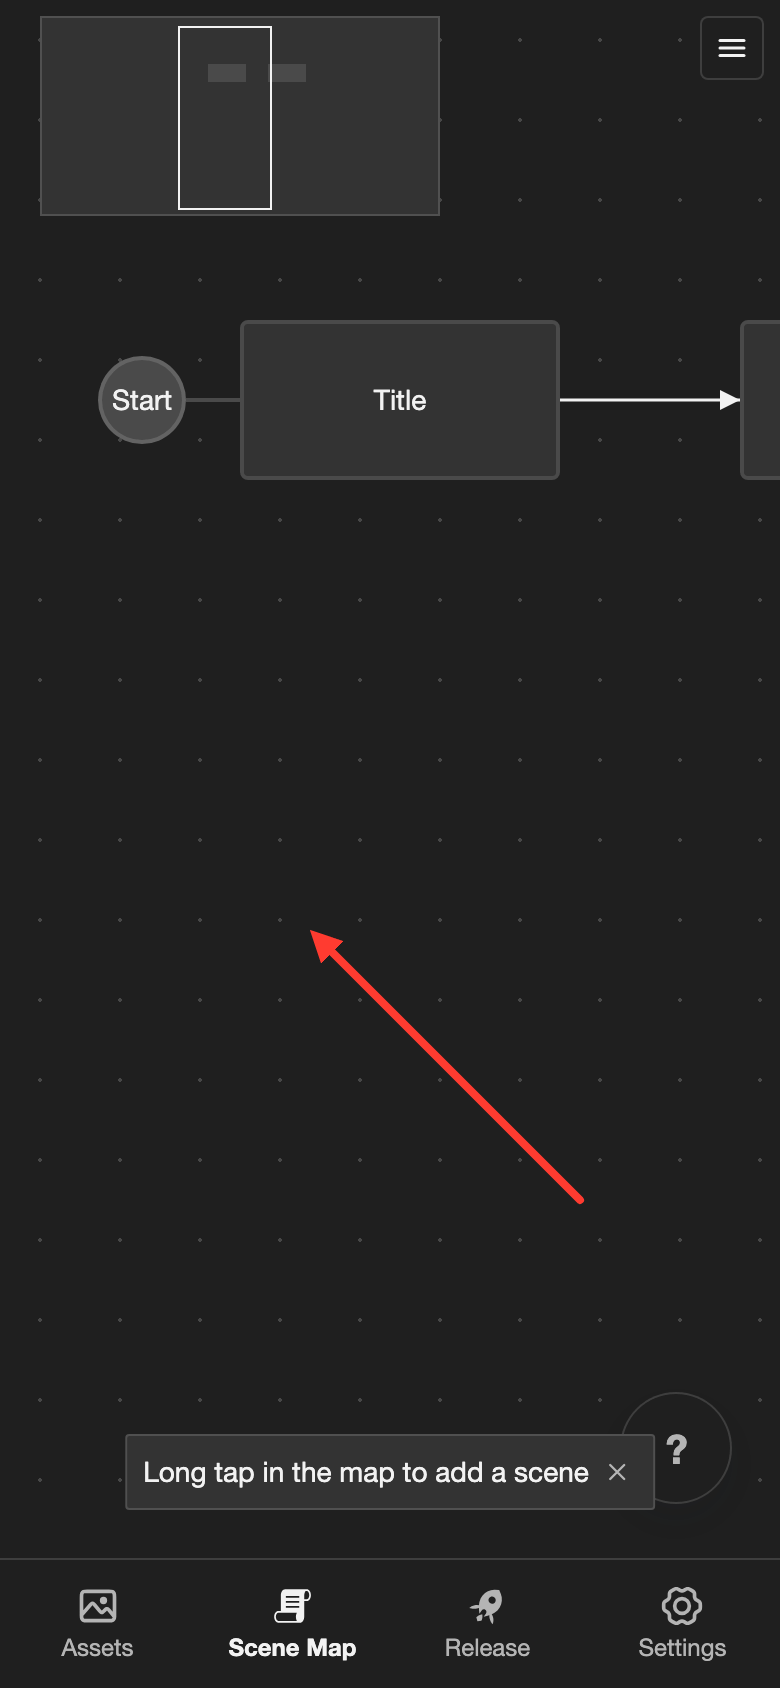
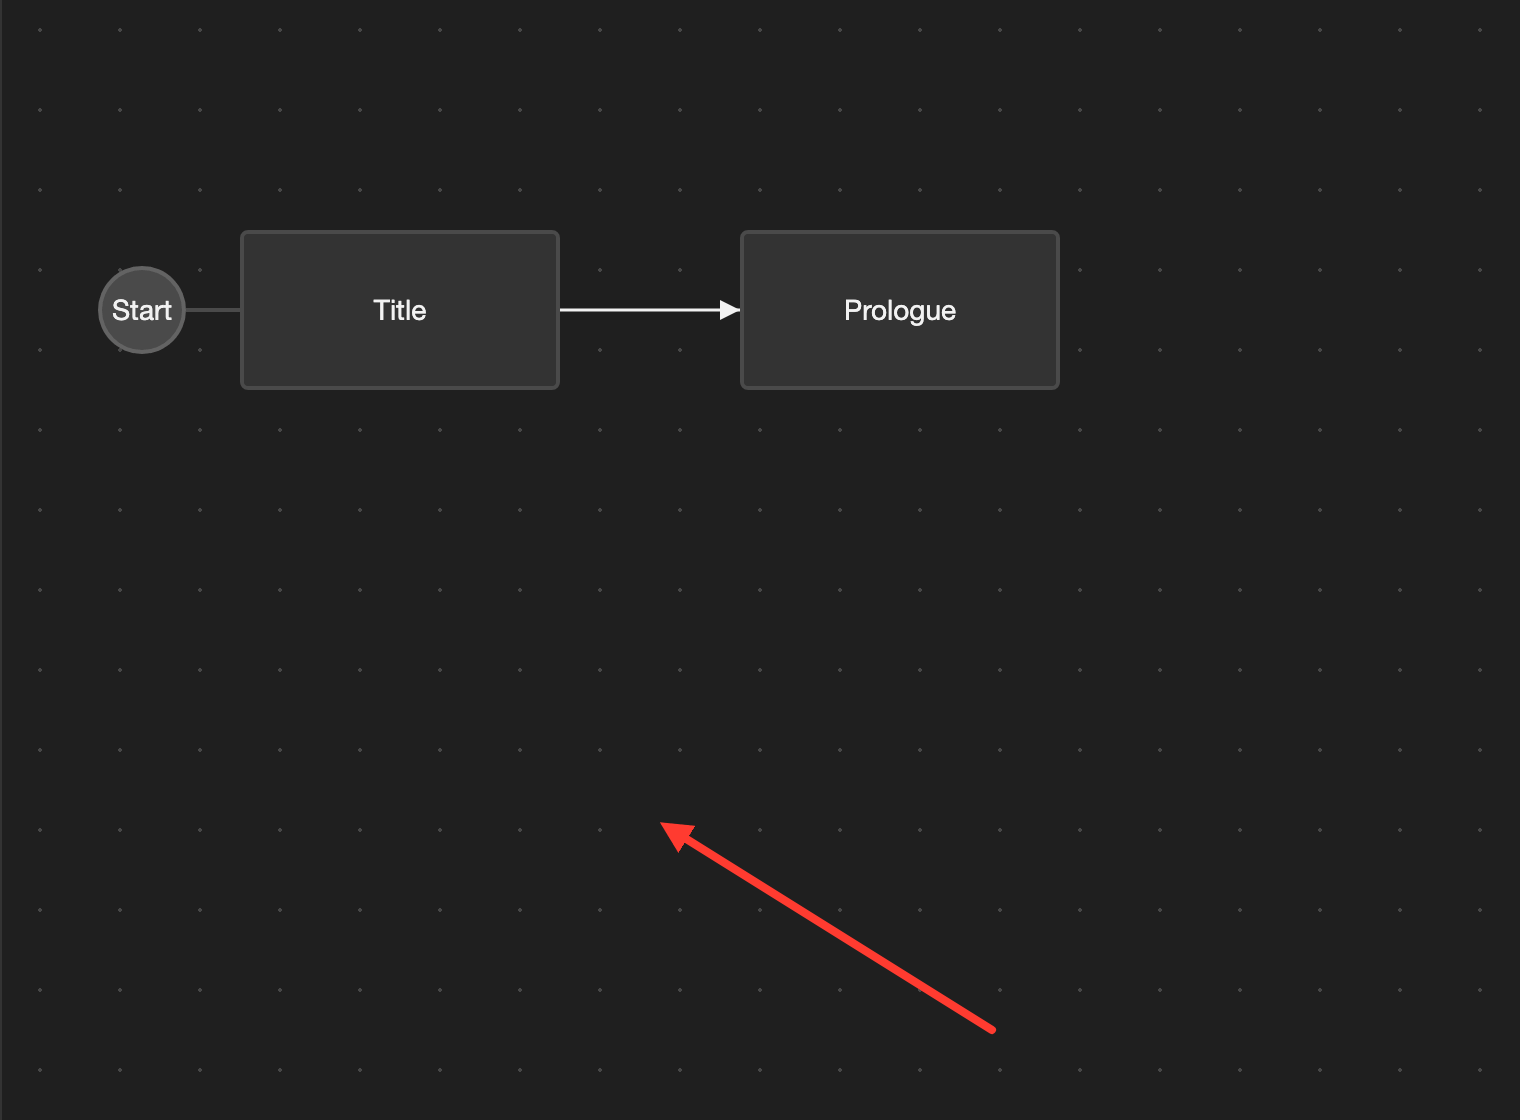
The map moves with your finger or mouse. The scenes stay in the same places on the map.
-
Desktop: You can also use the hand button in the bottom right of the map. It looks like a hand. Click the hand button. Now you can drag the map without the
Spacekey. To stop, click the hand button again.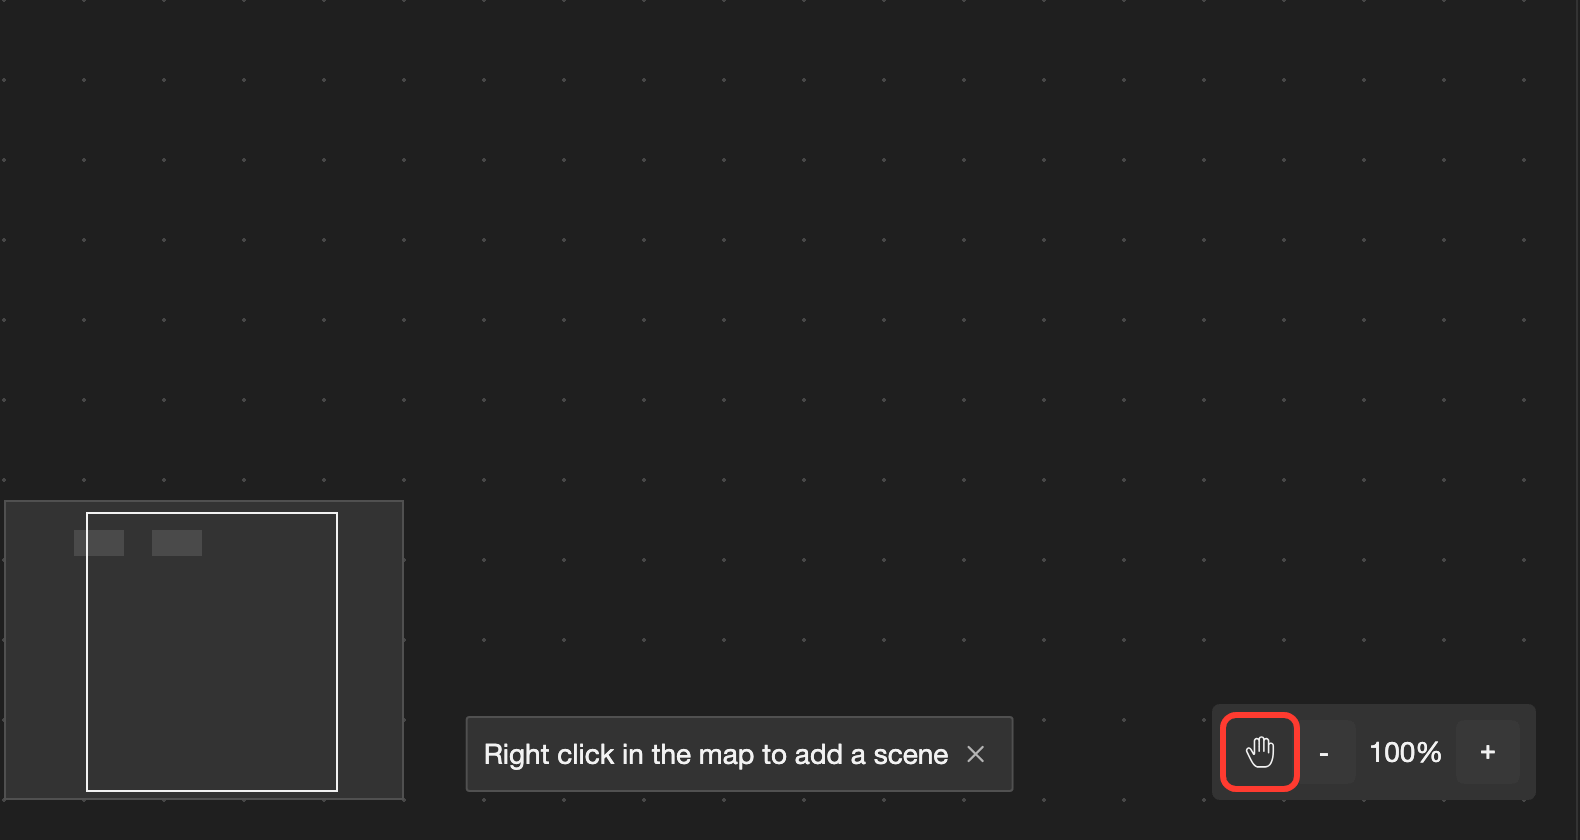
The hand button is in the bottom right of the map.
Zoom in and out
Zoom out to see more of the map. Zoom in to see the scenes bigger.
- Phone or tablet: Pinch with two fingers. Move your fingers apart to zoom in. Move them together to zoom out.
- Desktop: Point the mouse at the map and scroll the mouse wheel. Scroll up to zoom in. Scroll down to zoom out. You can also click + or - in the bottom right of the map.
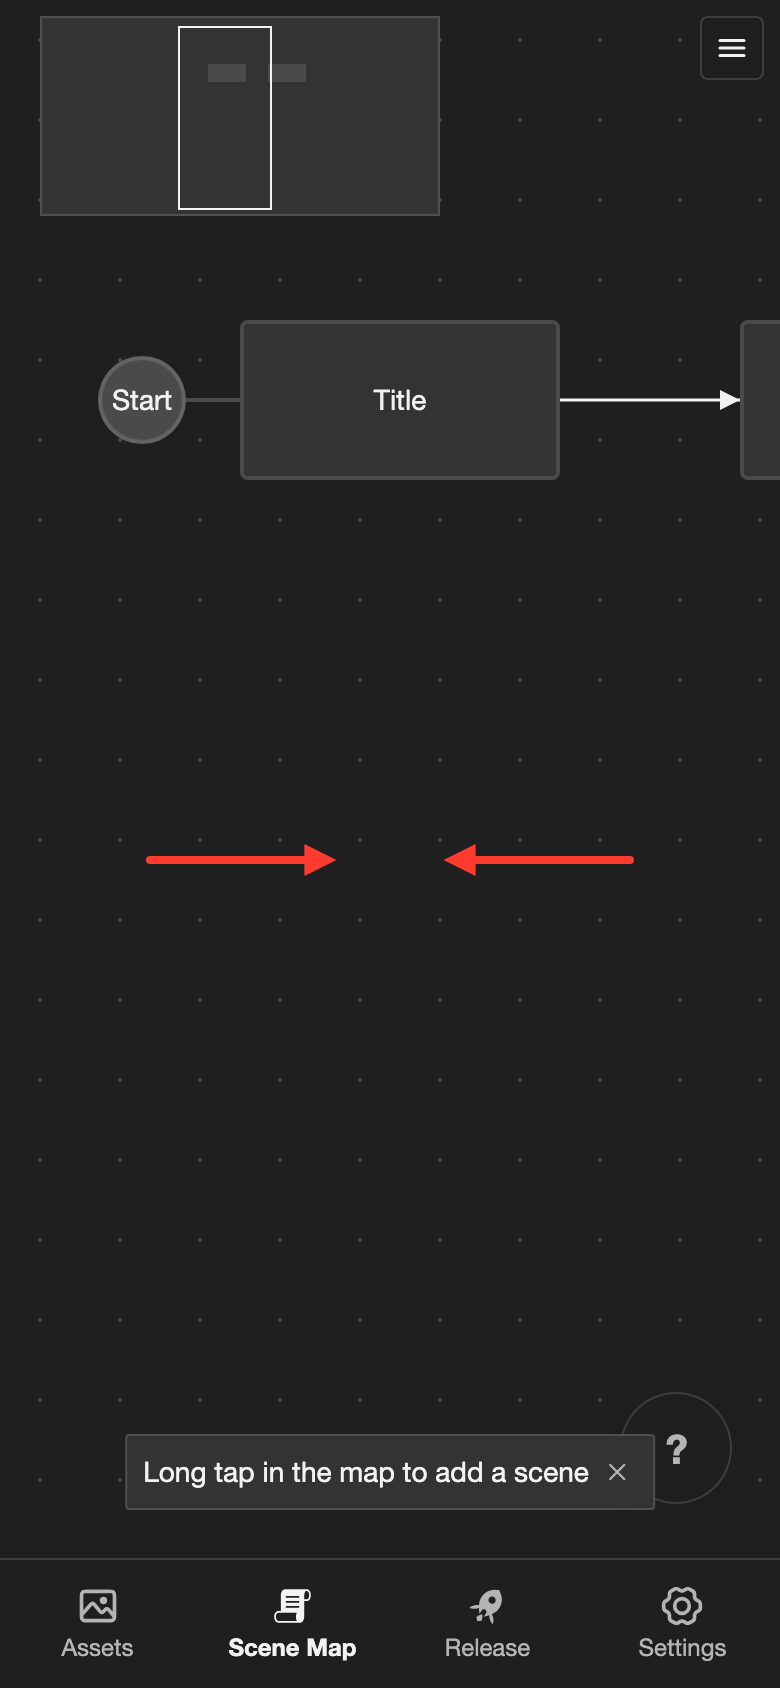
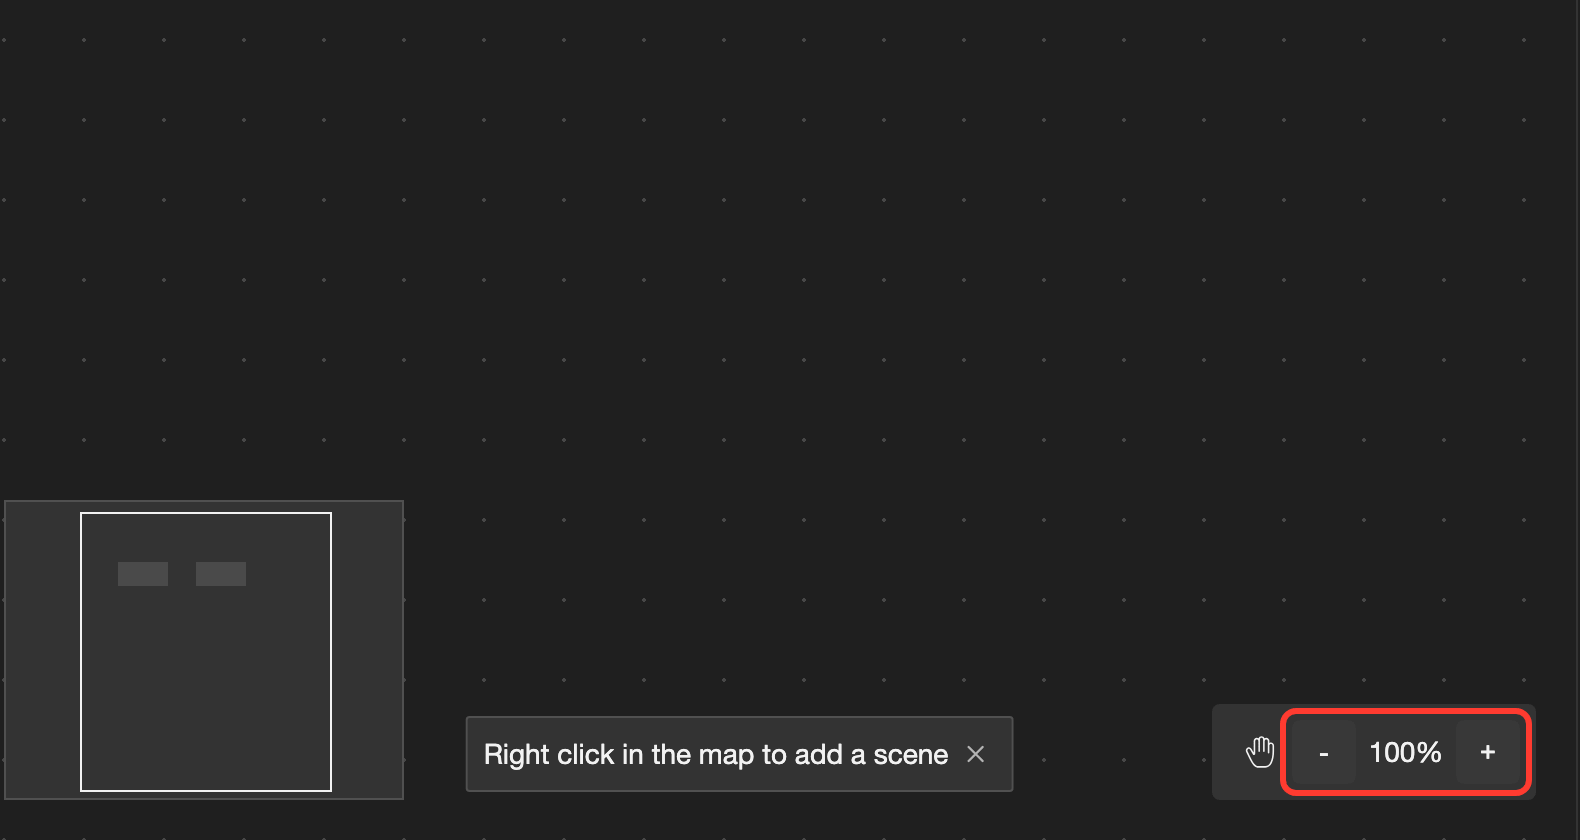
The scenes get bigger or smaller. On desktop, the number between - and + shows the zoom level, for example 100%.
Use the minimap
The minimap is a small copy of the whole map. Use it to jump to another part of the map.
- Phone or tablet: The minimap is in the top left.
- Desktop: The minimap is in the bottom left.
Drag the white box in the minimap.
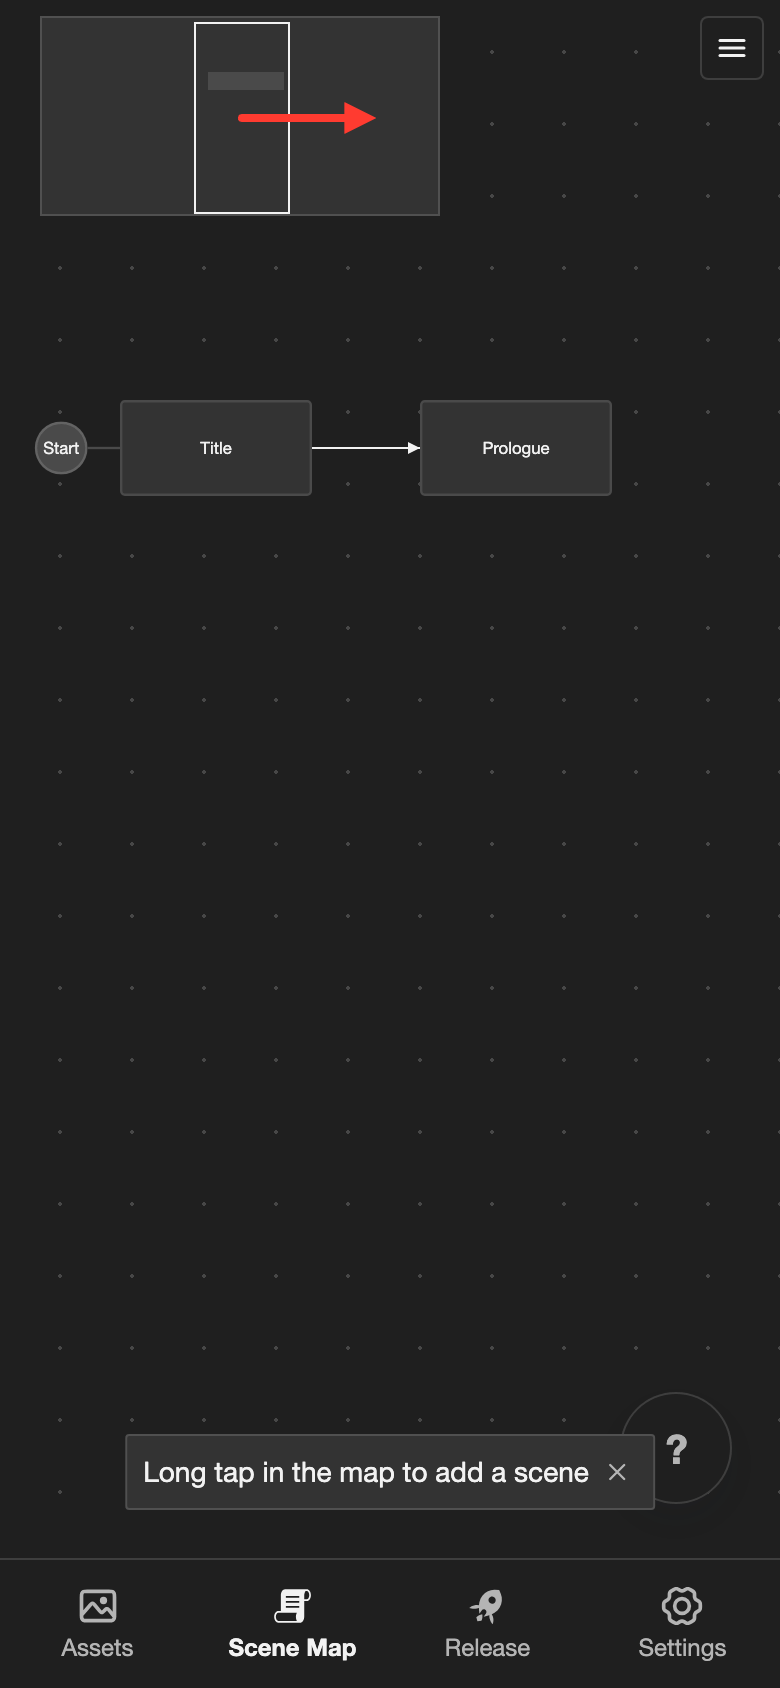
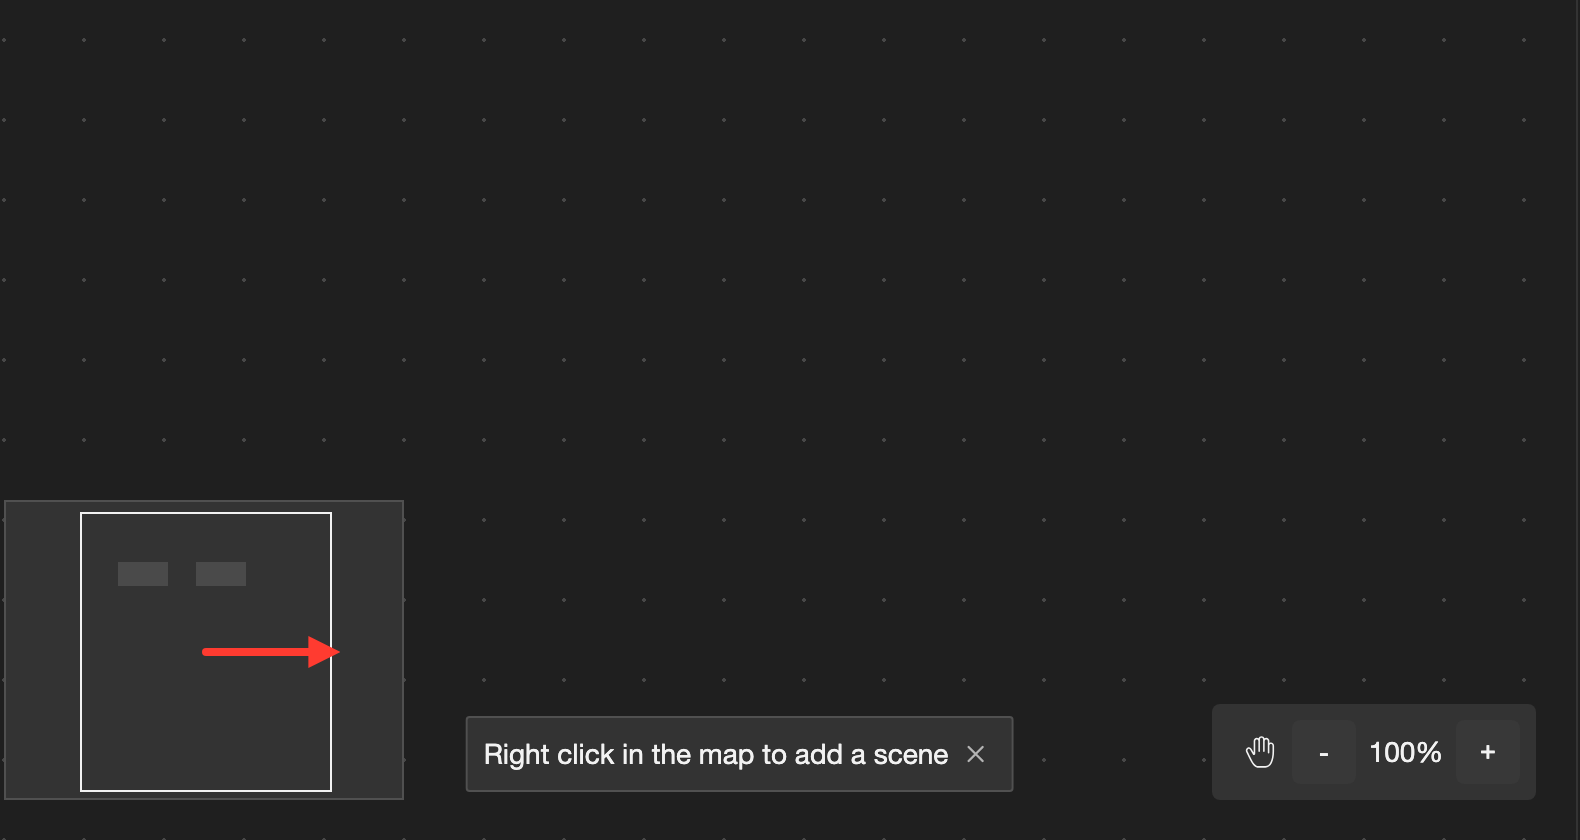
The map moves with the white box. You now see the part of the map that is inside the white box.
Create a scene
-
Open the Create Scene box on an empty part of the map. The new scene appears where you do this.
- Phone or tablet: Long press (touch and hold) the empty part. The box opens when you lift your finger.
- Desktop: Right-click (click with the right mouse button) the empty part.
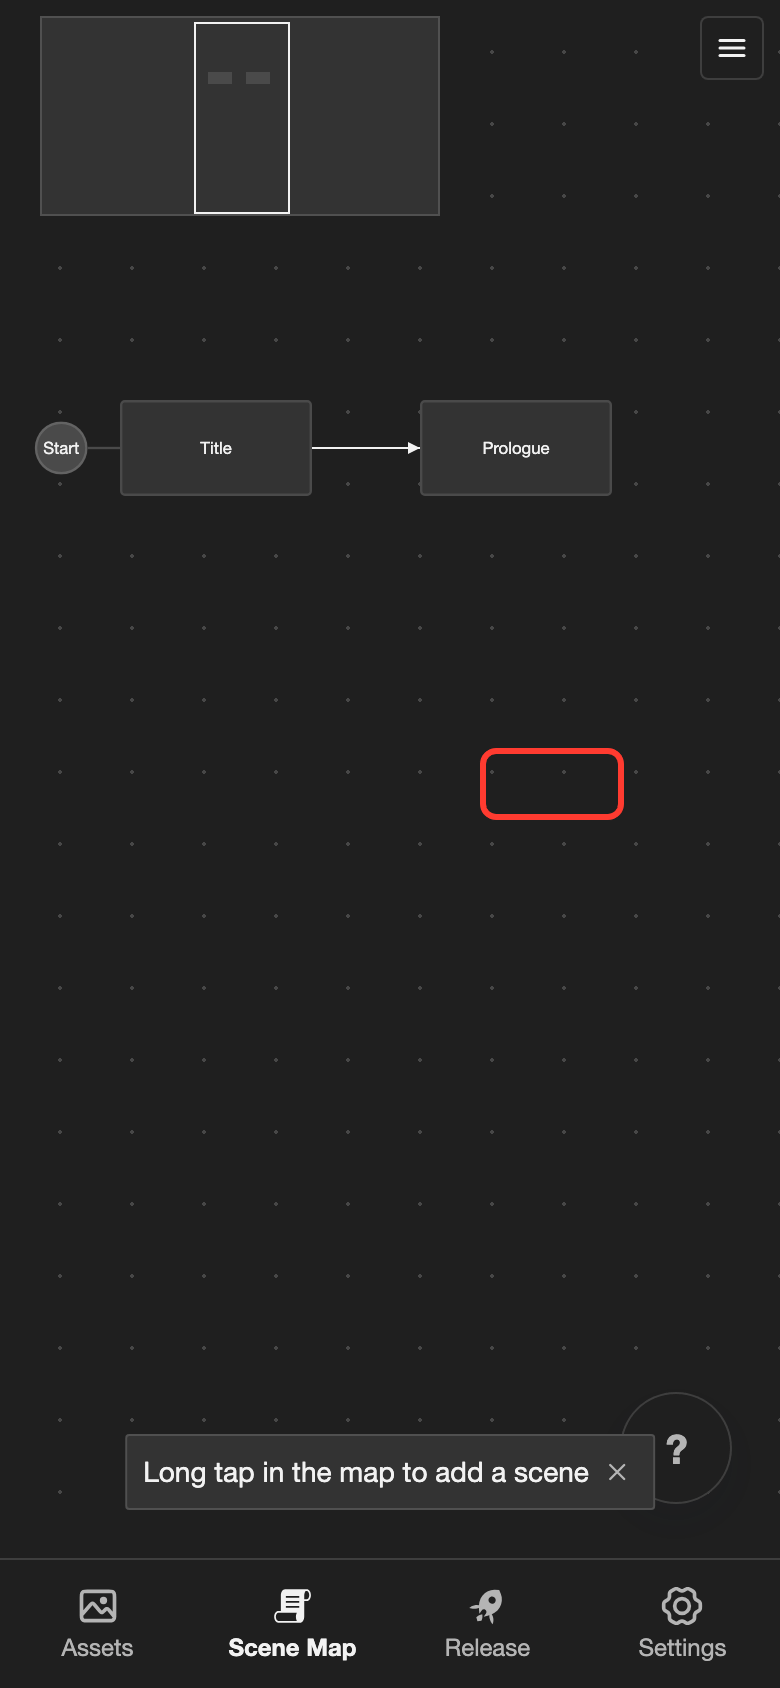
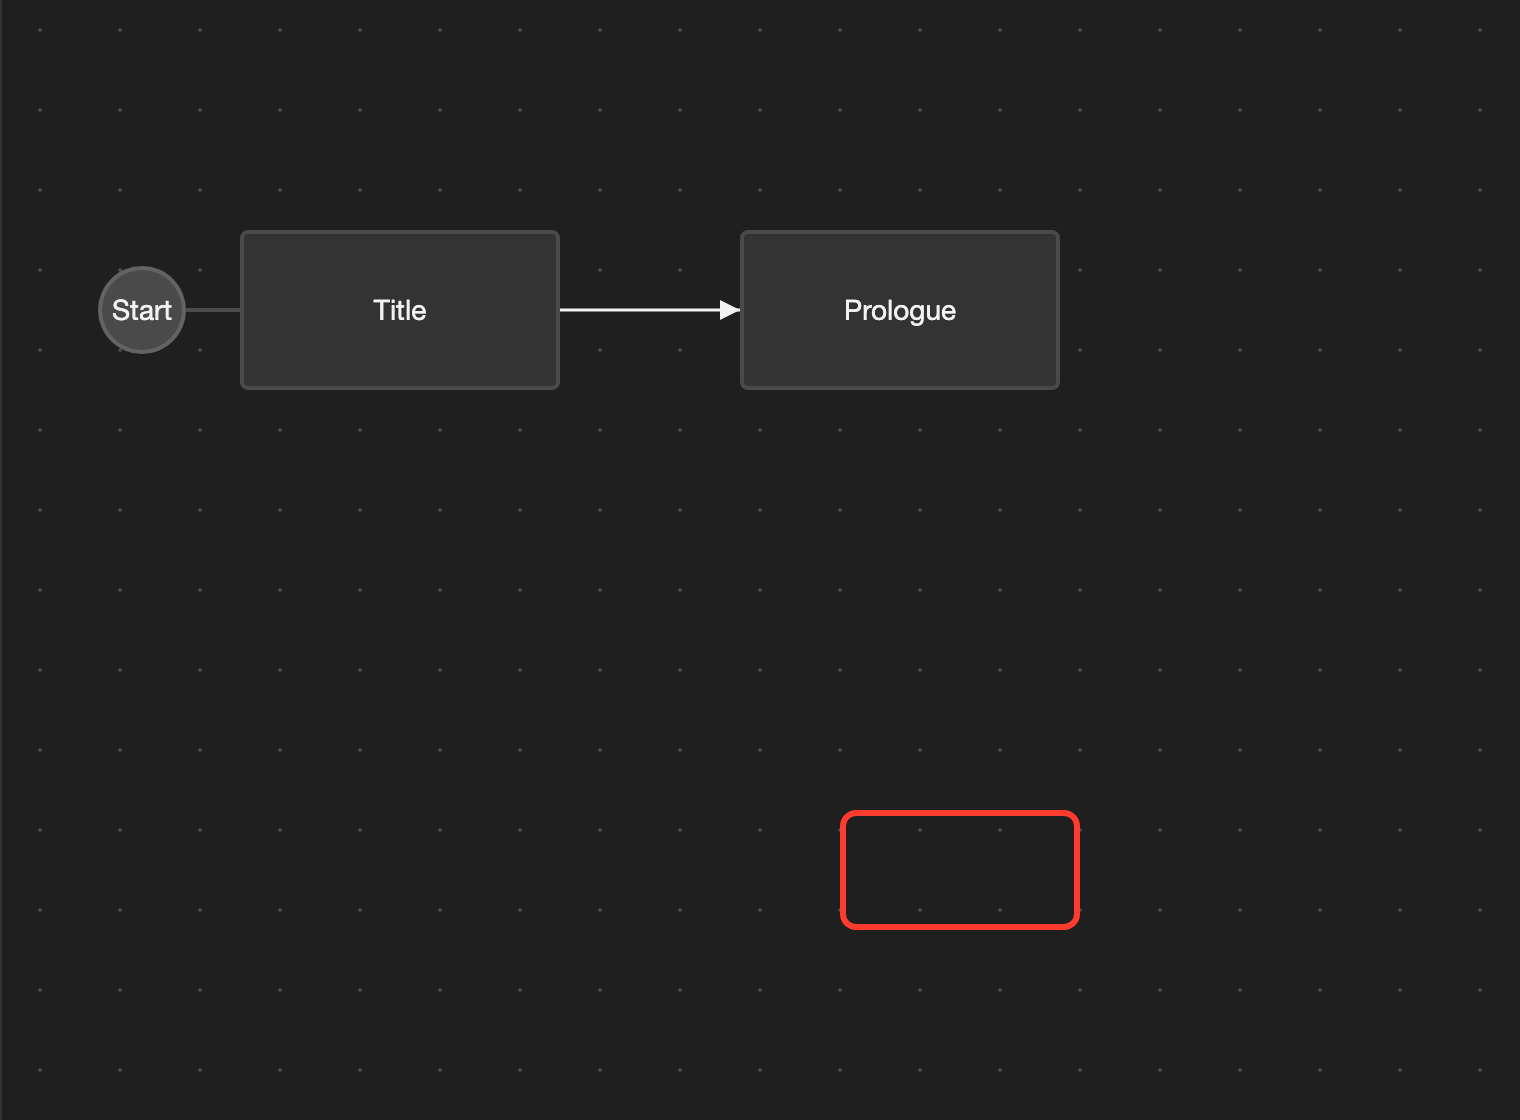
The Create Scene box opens.
-
In the Scene Name field, type a name for the scene, for example "Chapter 1".
The Folder field shows the folder for the scene in the file explorer. You can keep Scenes.
-
Tap Create.
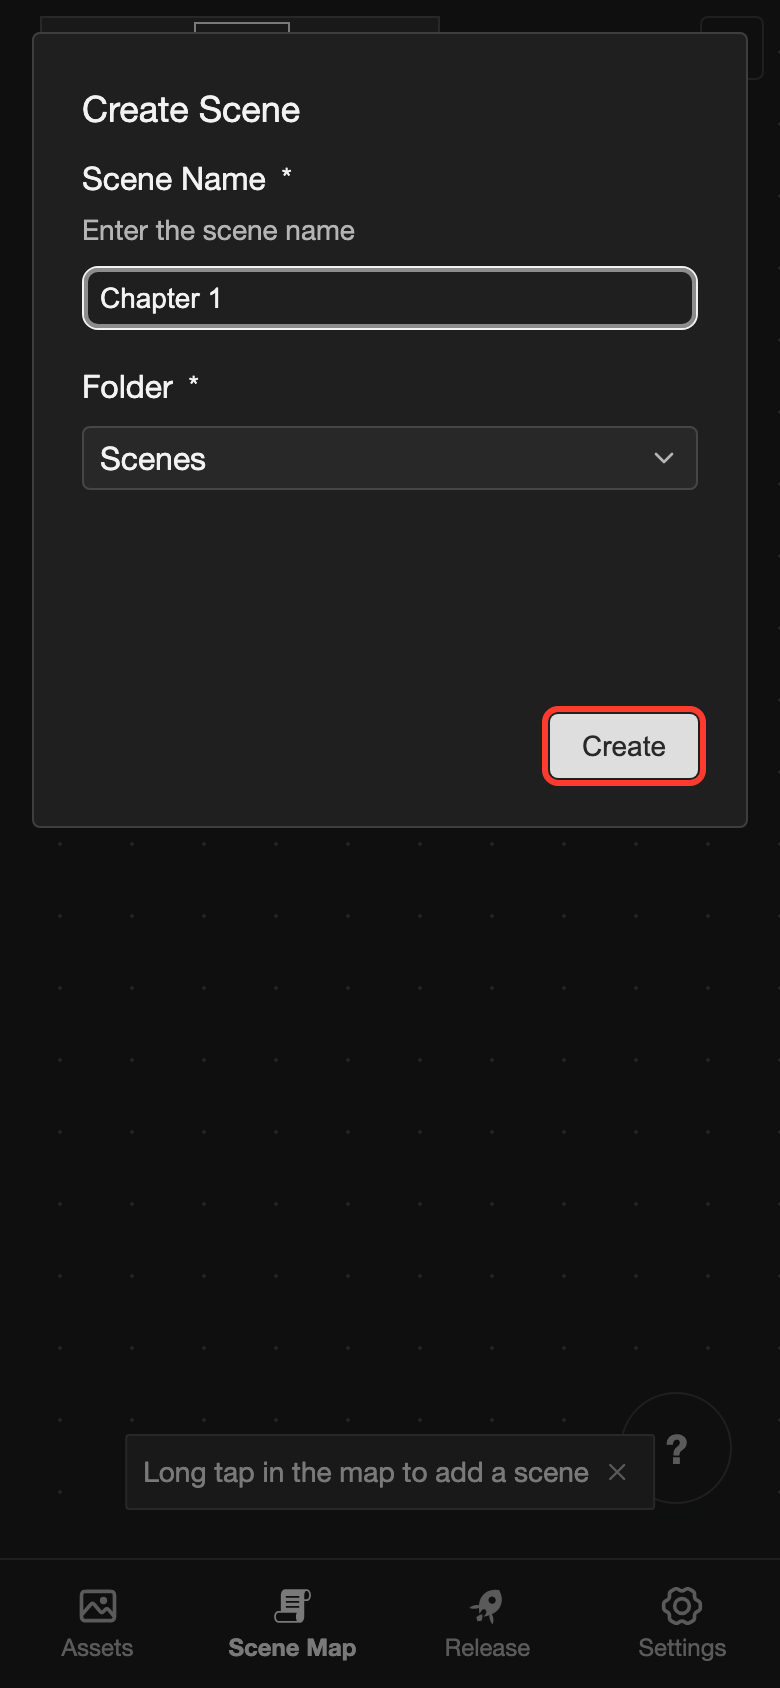
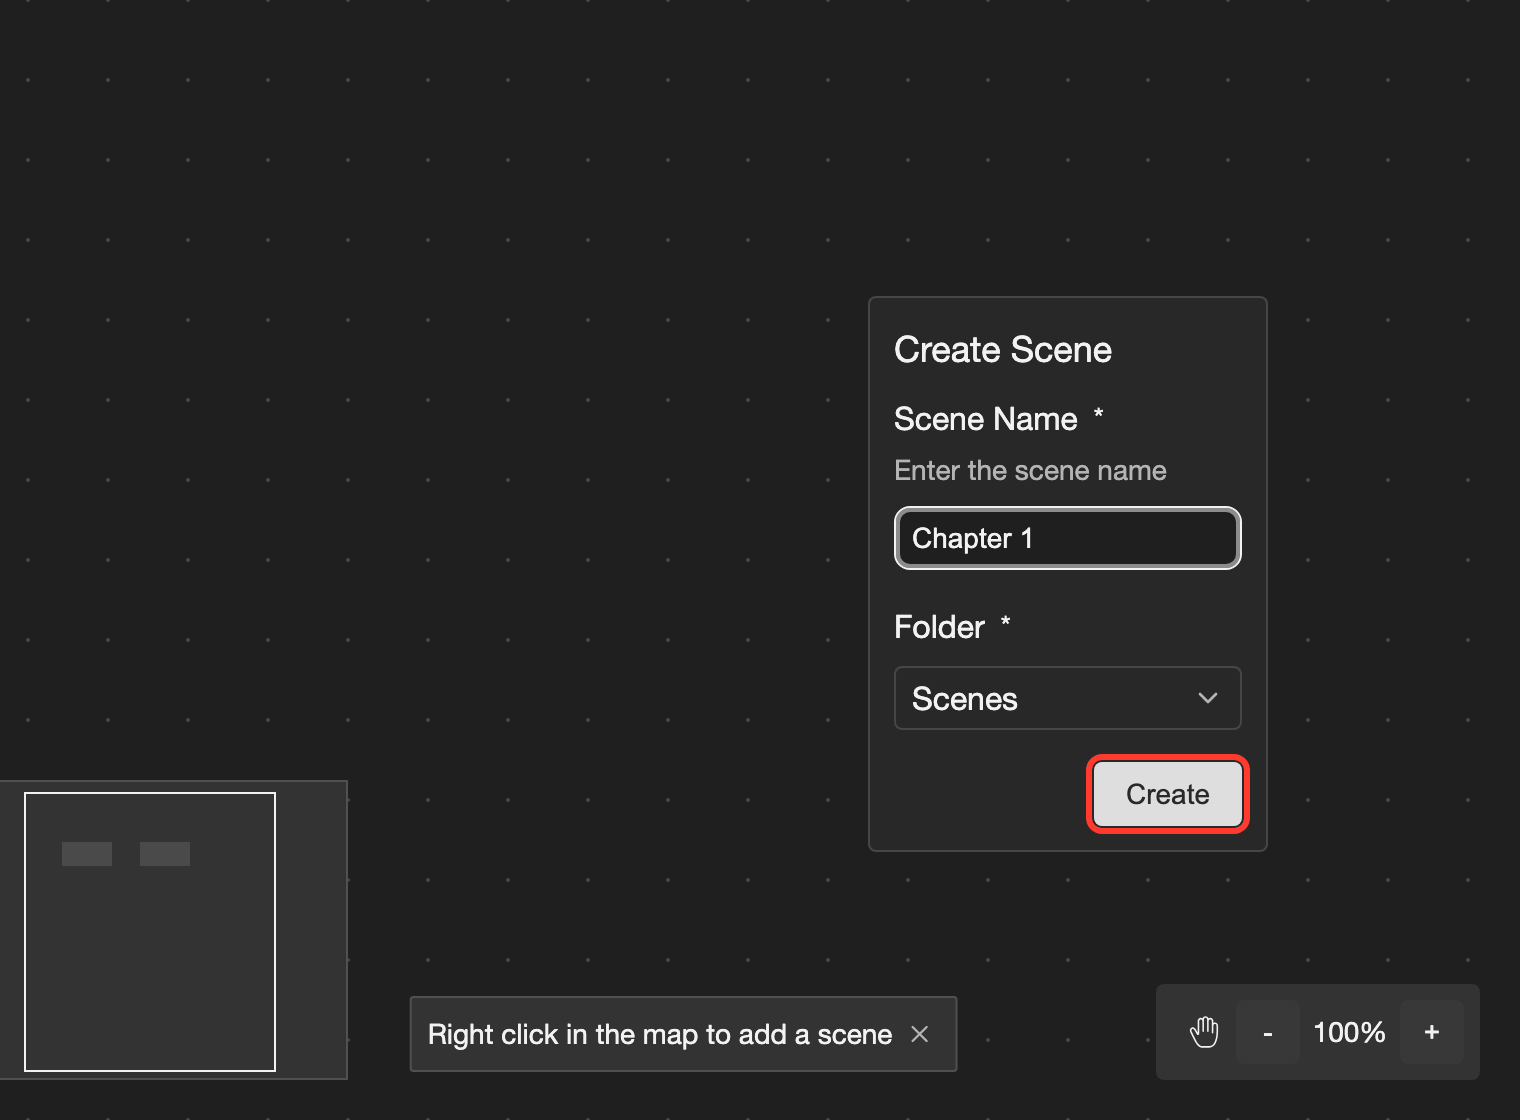
Tap Create.
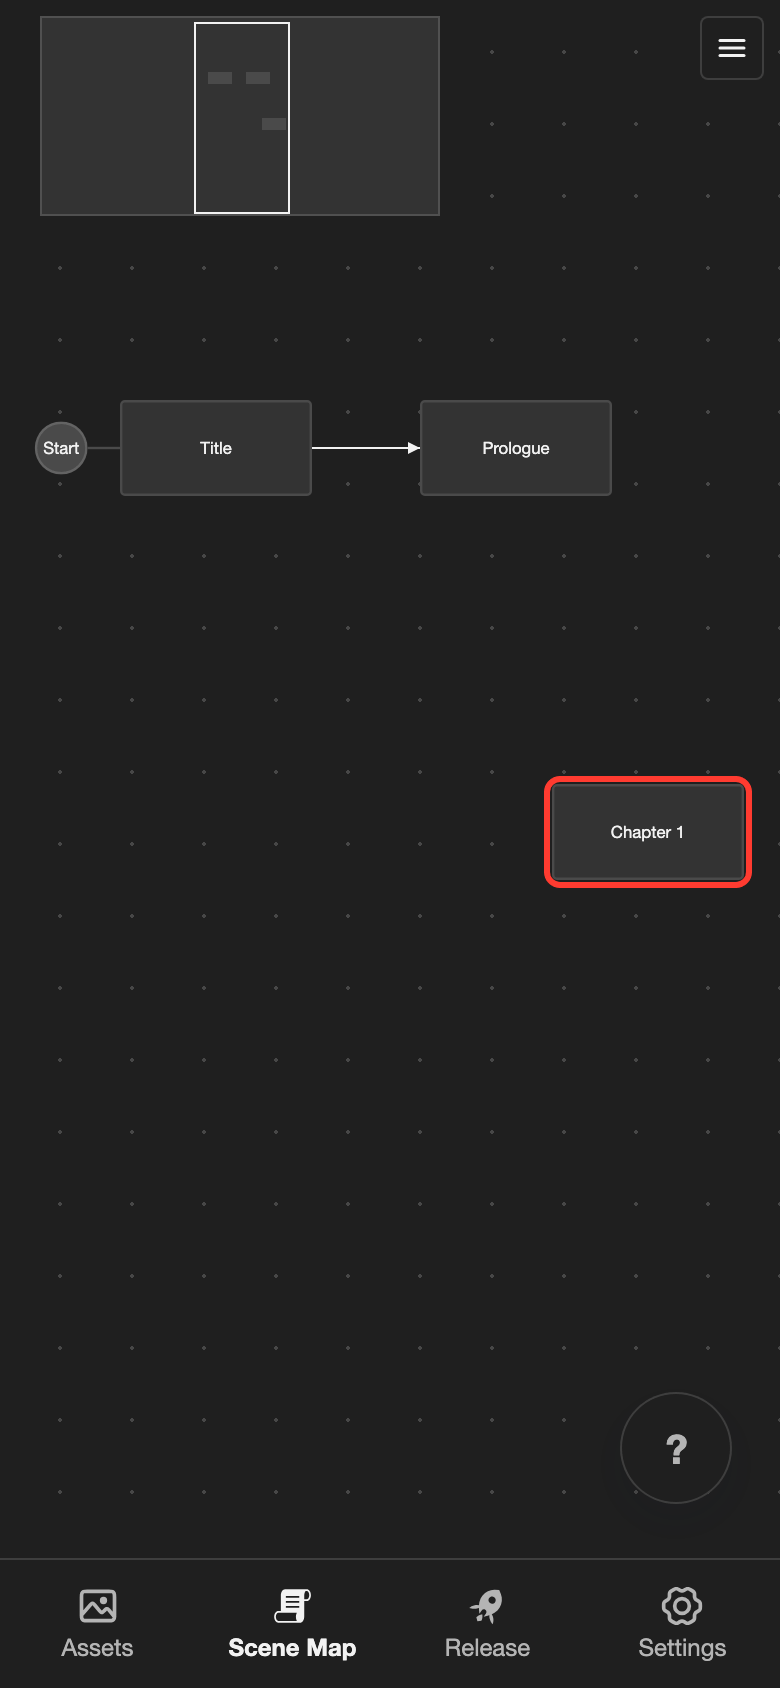
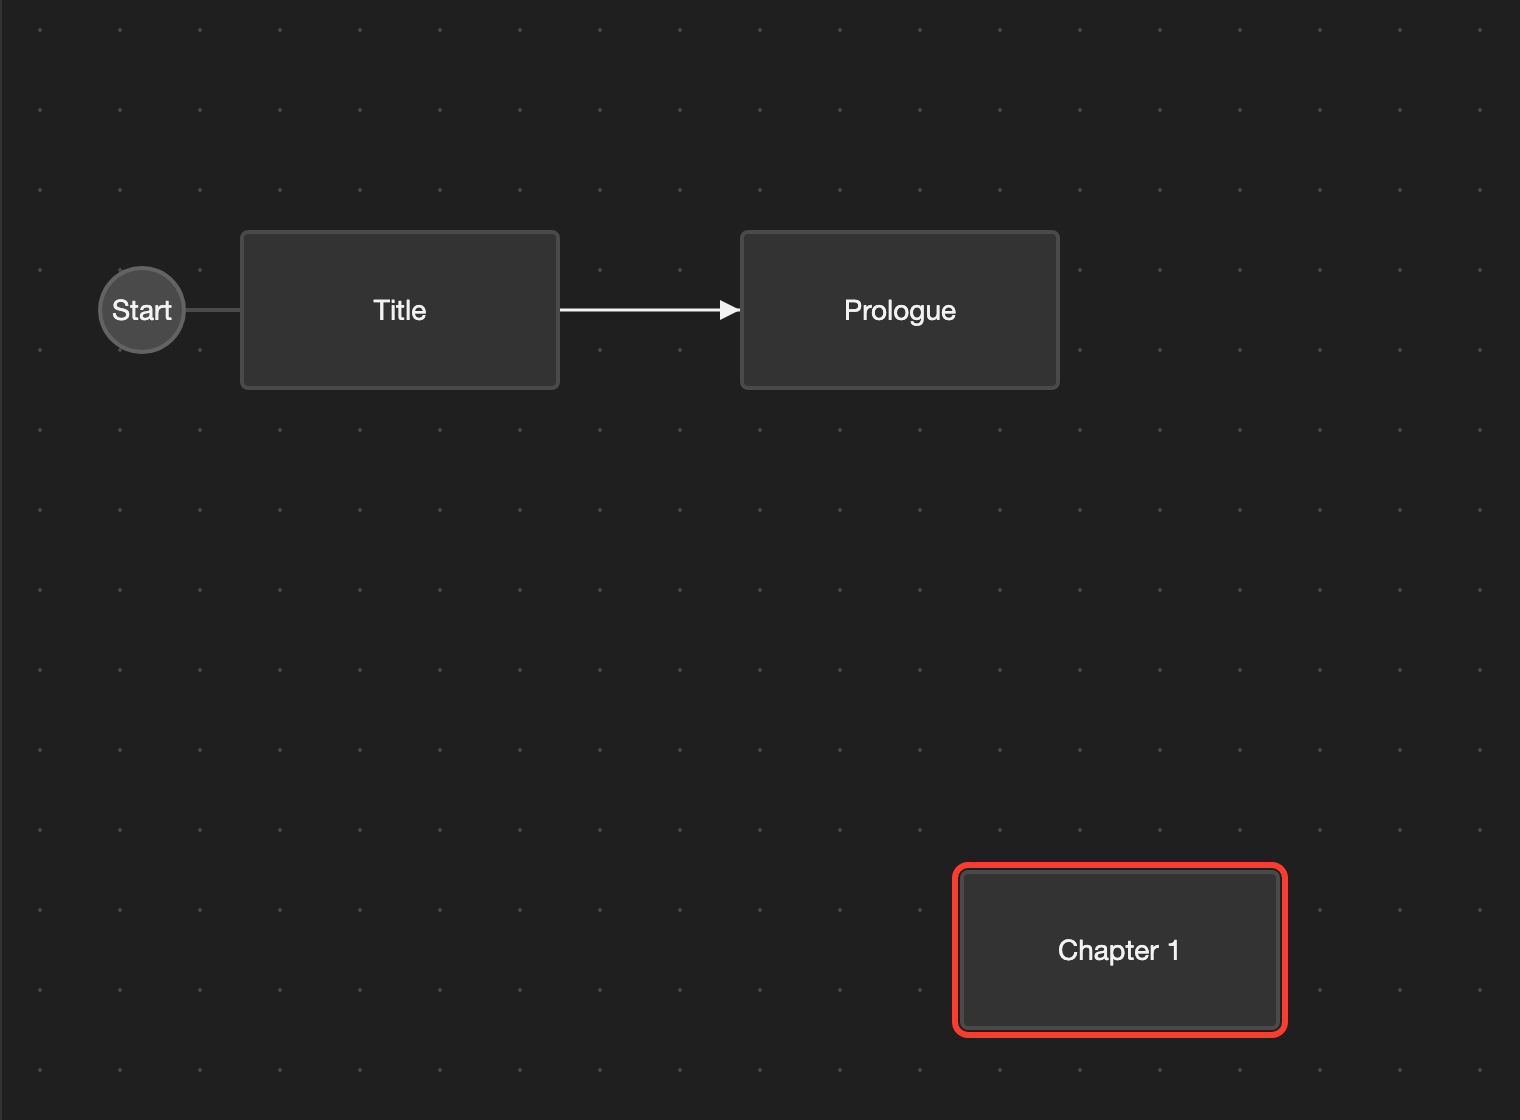
The new scene appears on the map. It also appears in the file explorer. A new scene has 1 section, called Section 1.
Move a scene
You can put scenes anywhere on the map. Moving a scene does not change your visual novel.
Drag the scene to a new place.
- Phone or tablet: Put your finger on the scene and start moving right away. If you hold your finger still, a menu opens instead.
- Desktop: Drag the scene with the mouse.
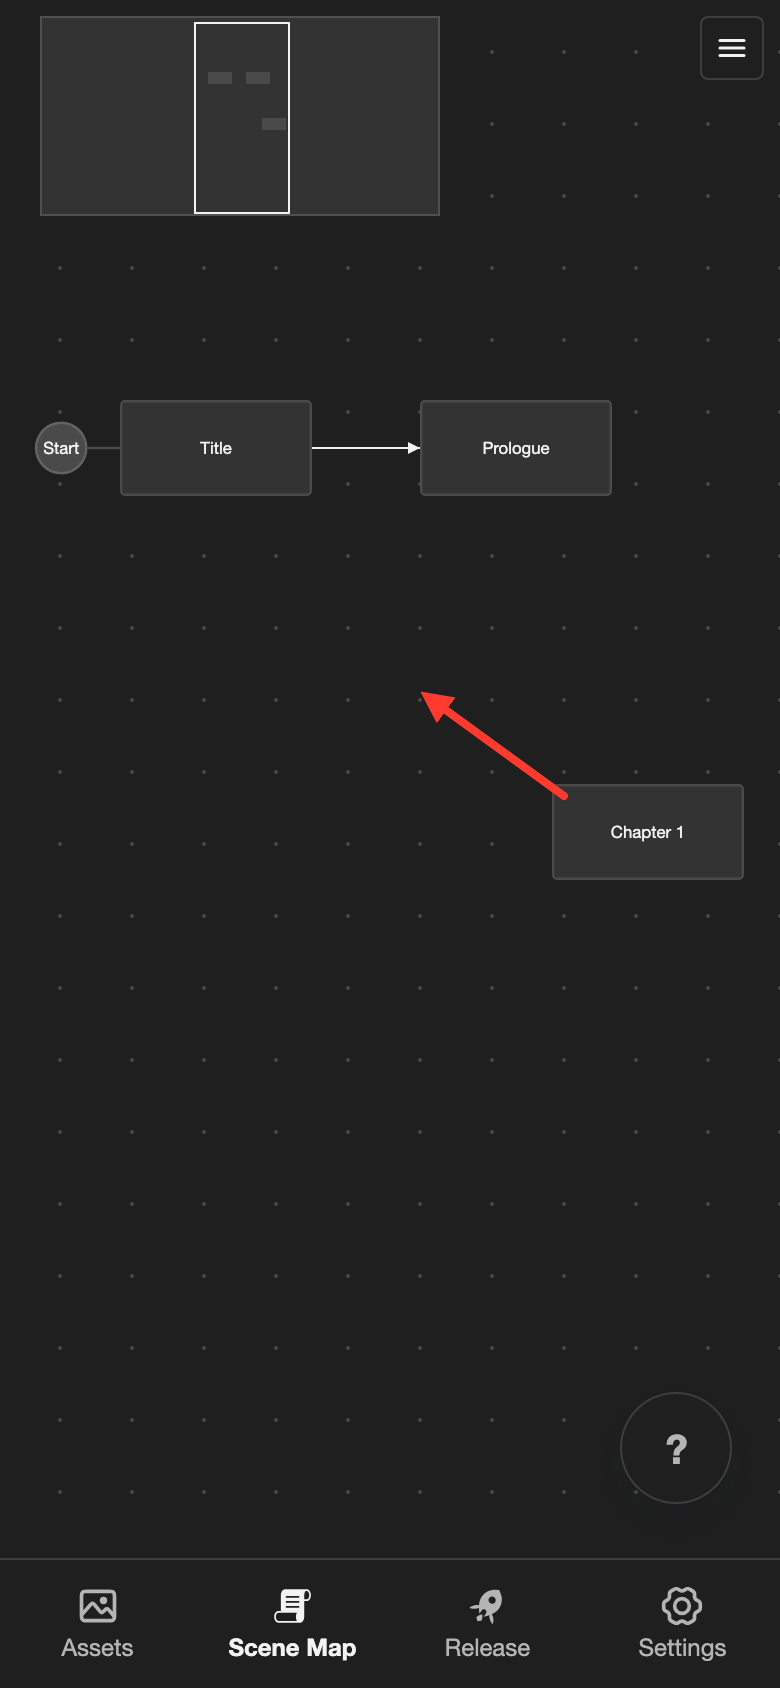
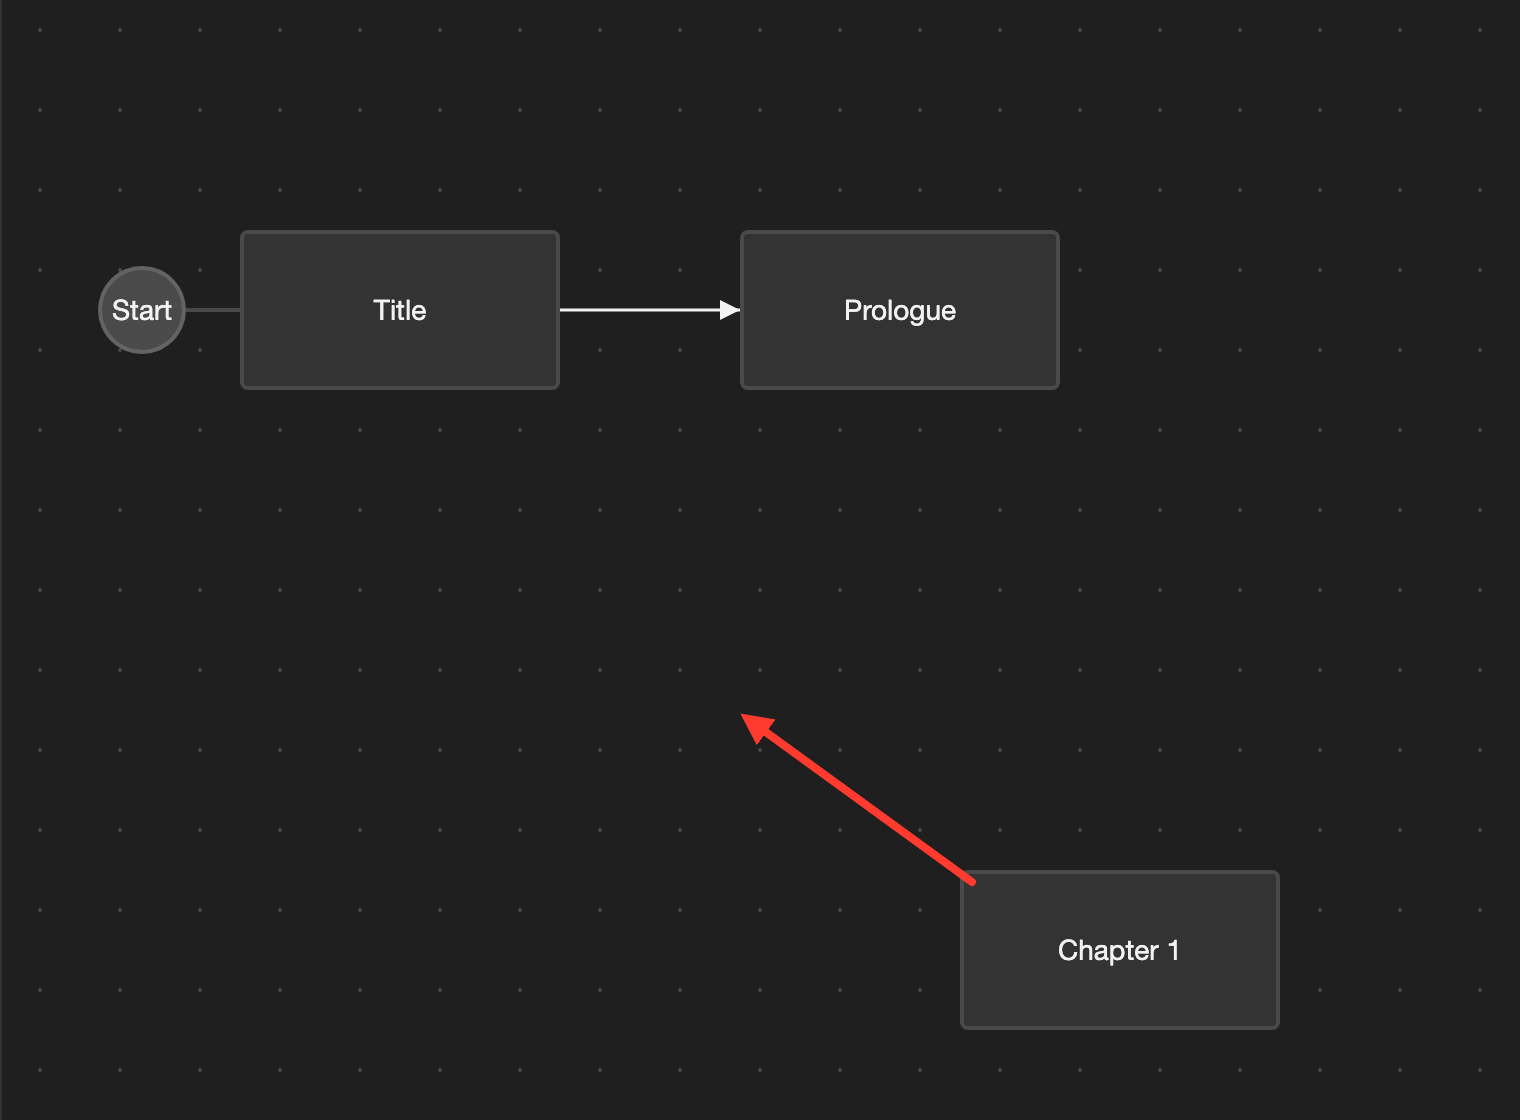
The scene stays where you drop it. Its arrows move with it.
Change the starting scene
The starting scene is the first scene of your visual novel. The Start circle is next to it.
-
Open the menu for the scene.
- Phone or tablet: Long press the scene.
- Desktop: Right-click the scene.
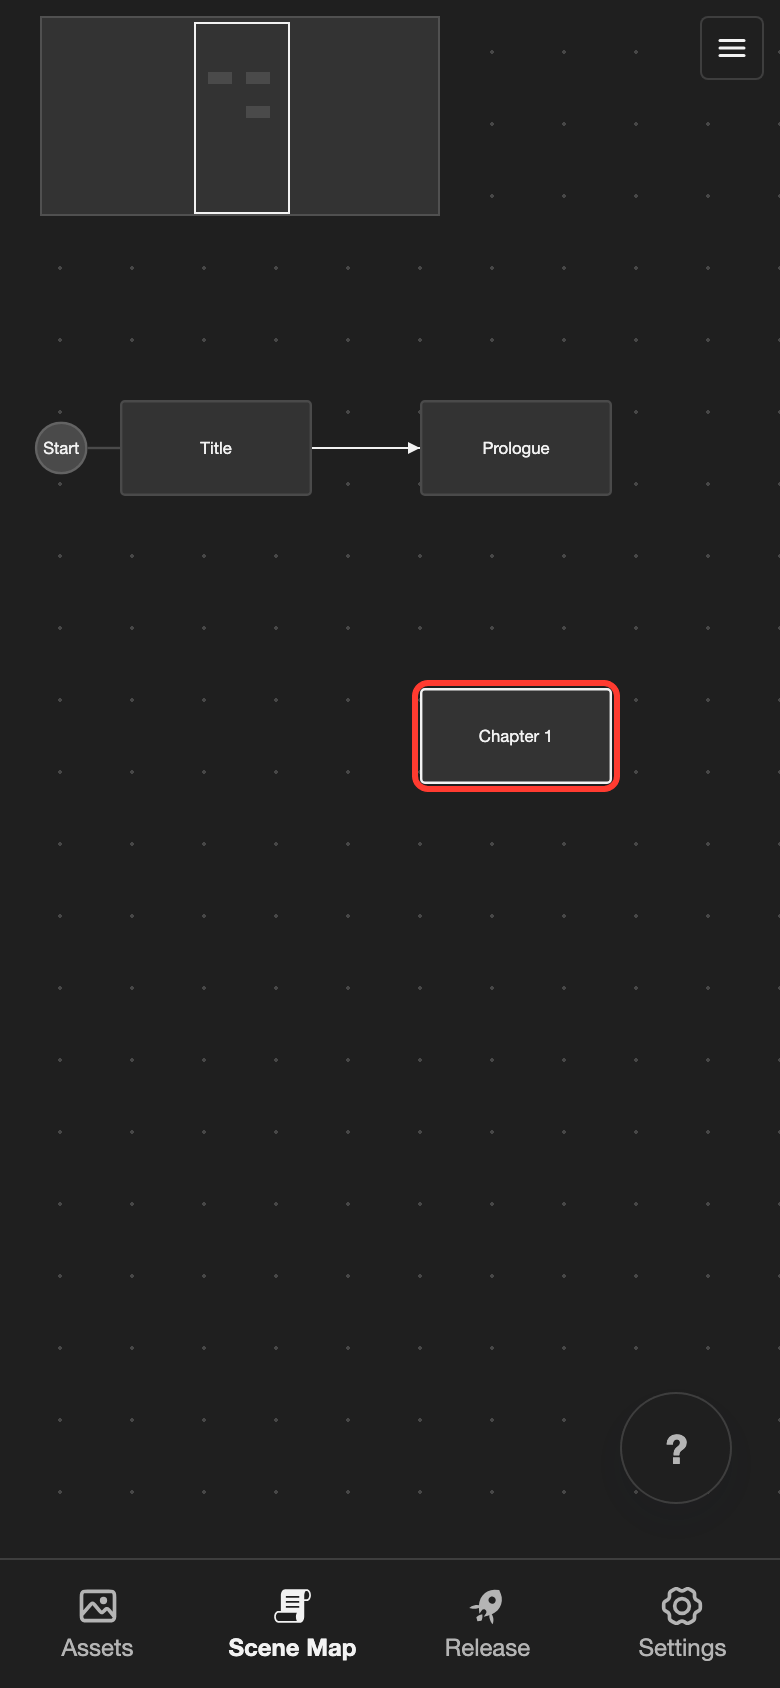
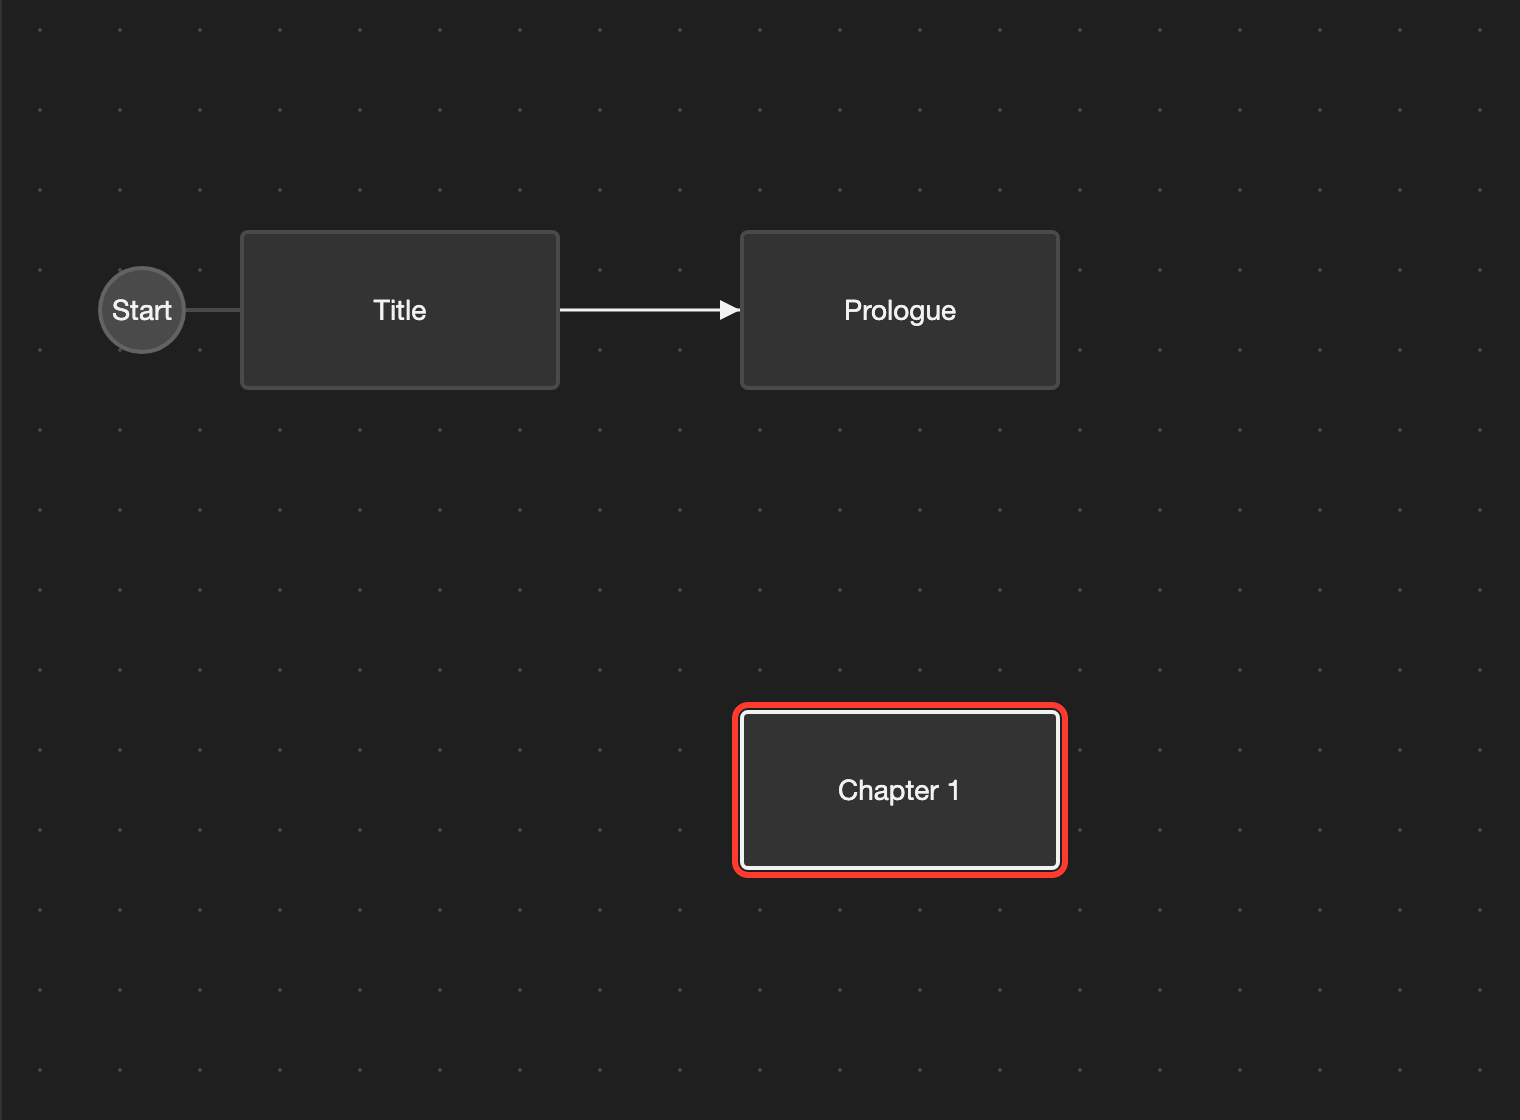
A menu appears.
-
Tap Set Initial Scene.
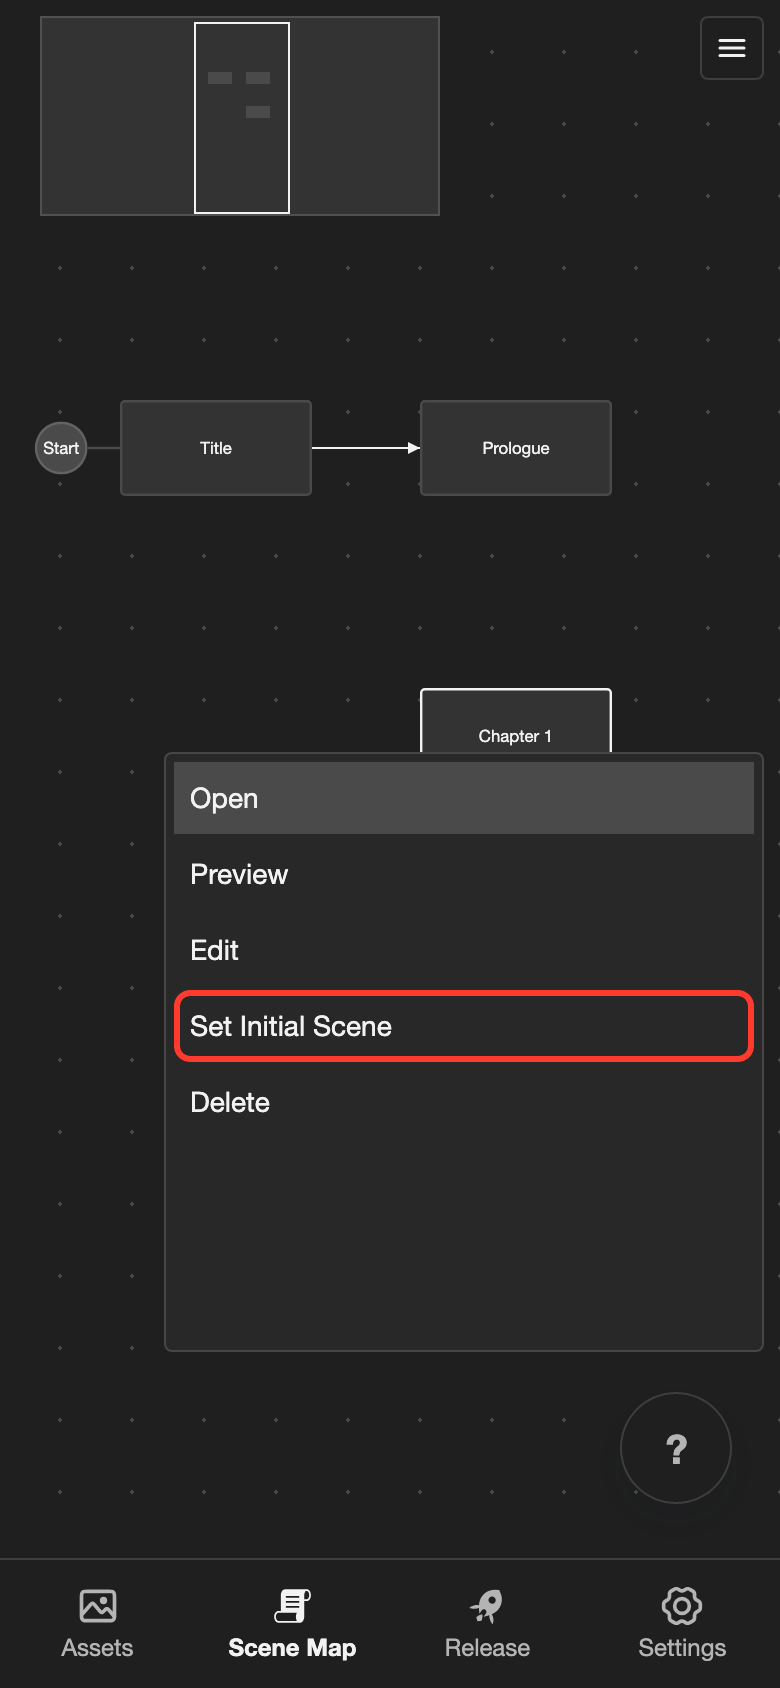
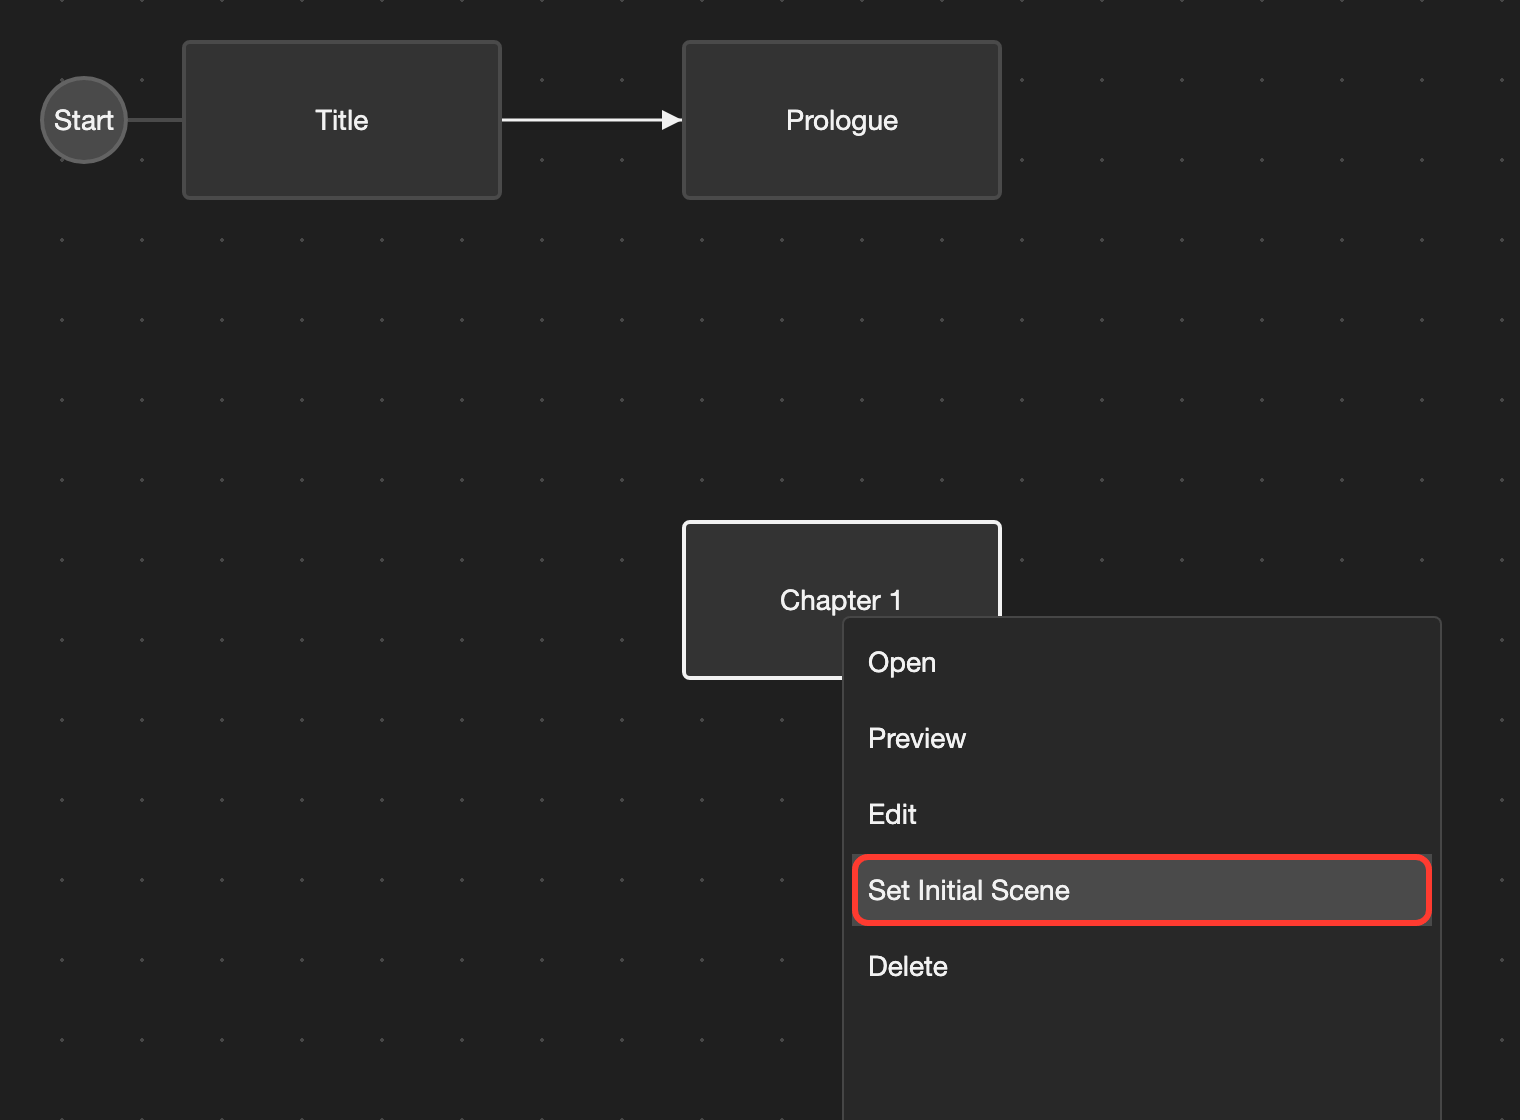
Tap Set Initial Scene.
The Start circle moves next to this scene. Your visual novel now begins with this scene. Only 1 scene can be the starting scene.
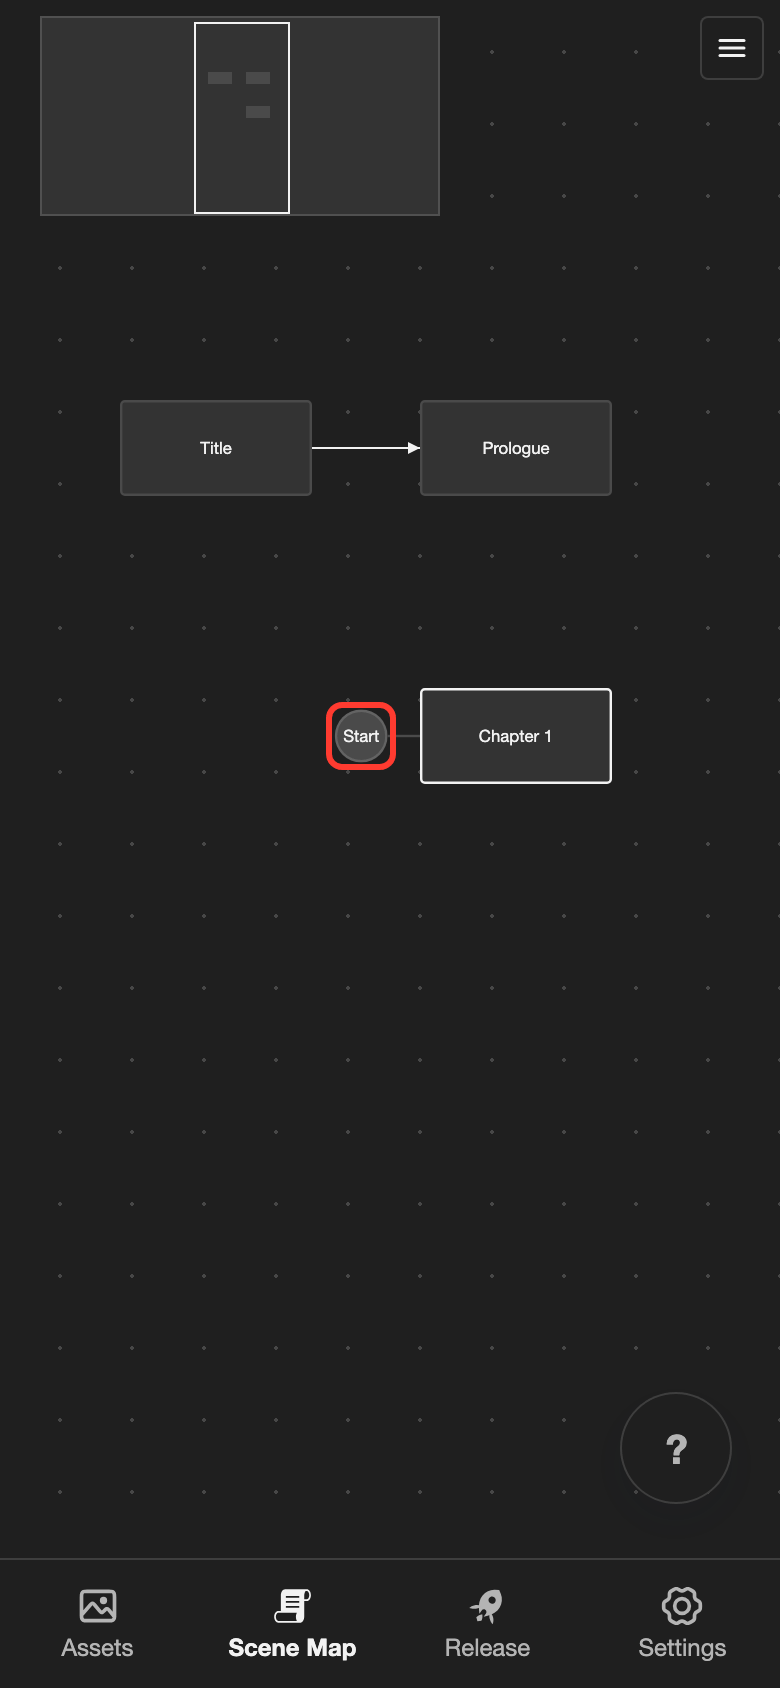
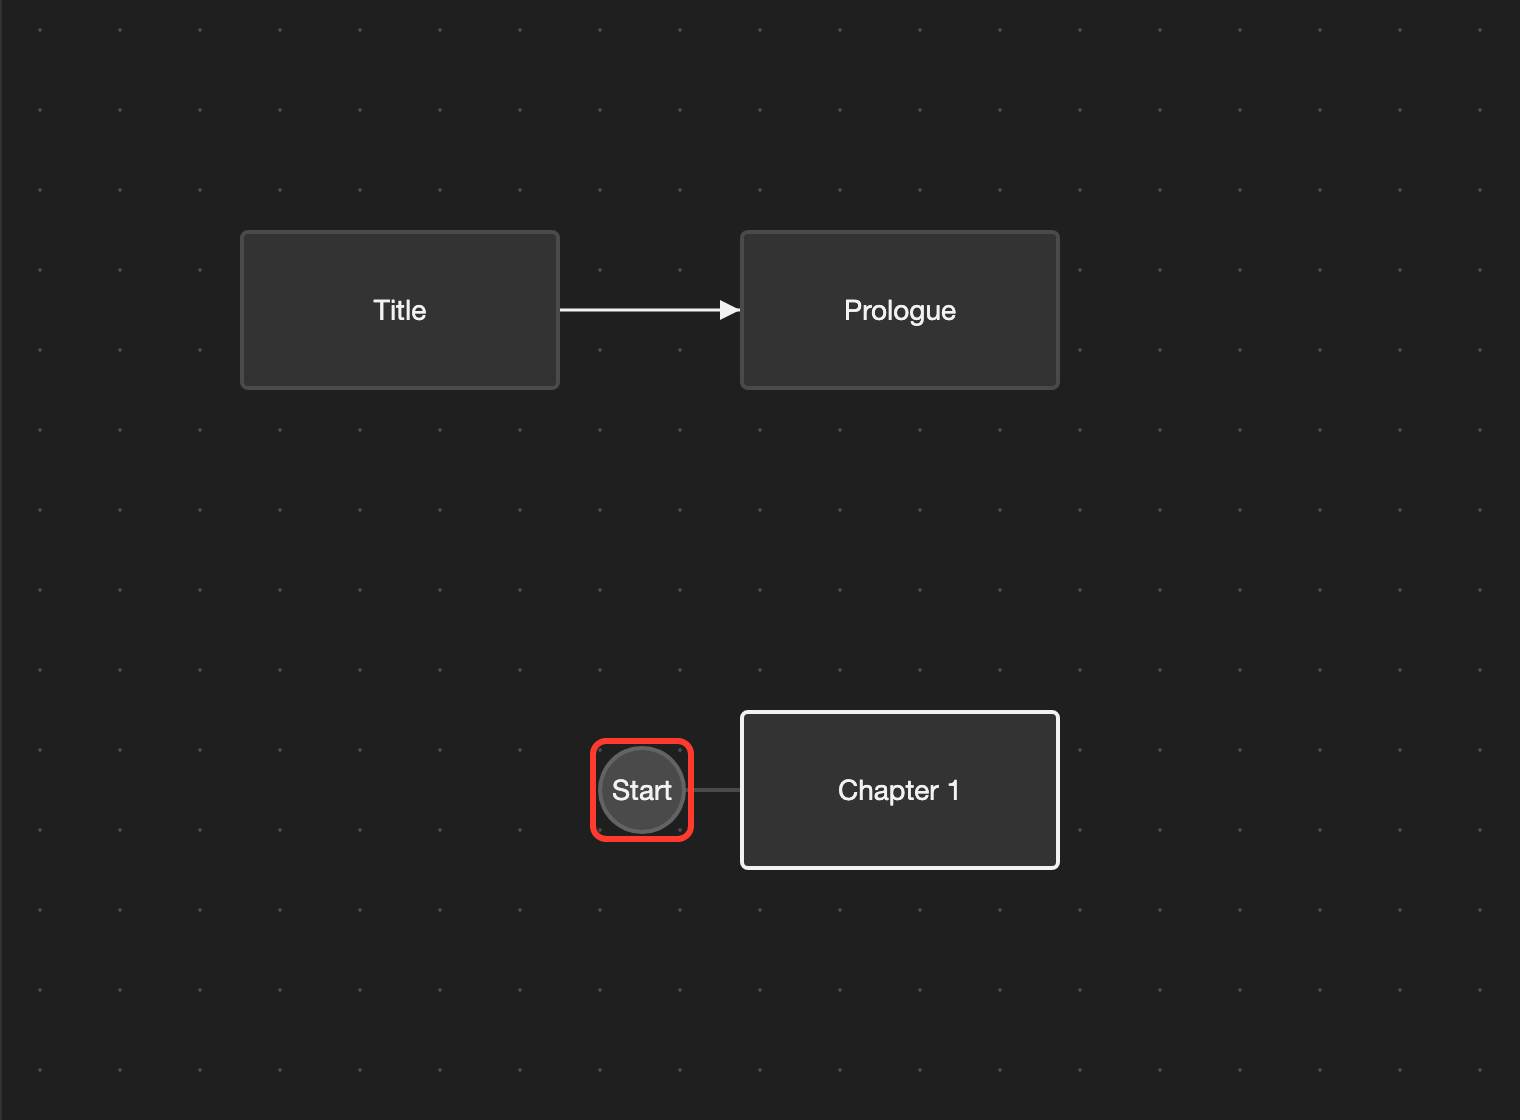
To undo, do the same steps for the scene that was the starting scene before.
Open a scene
Open a scene to write it in the scene editor.
- Phone or tablet: Double tap (tap twice quickly) the scene.
- Desktop: Double-click (click twice quickly) the scene.
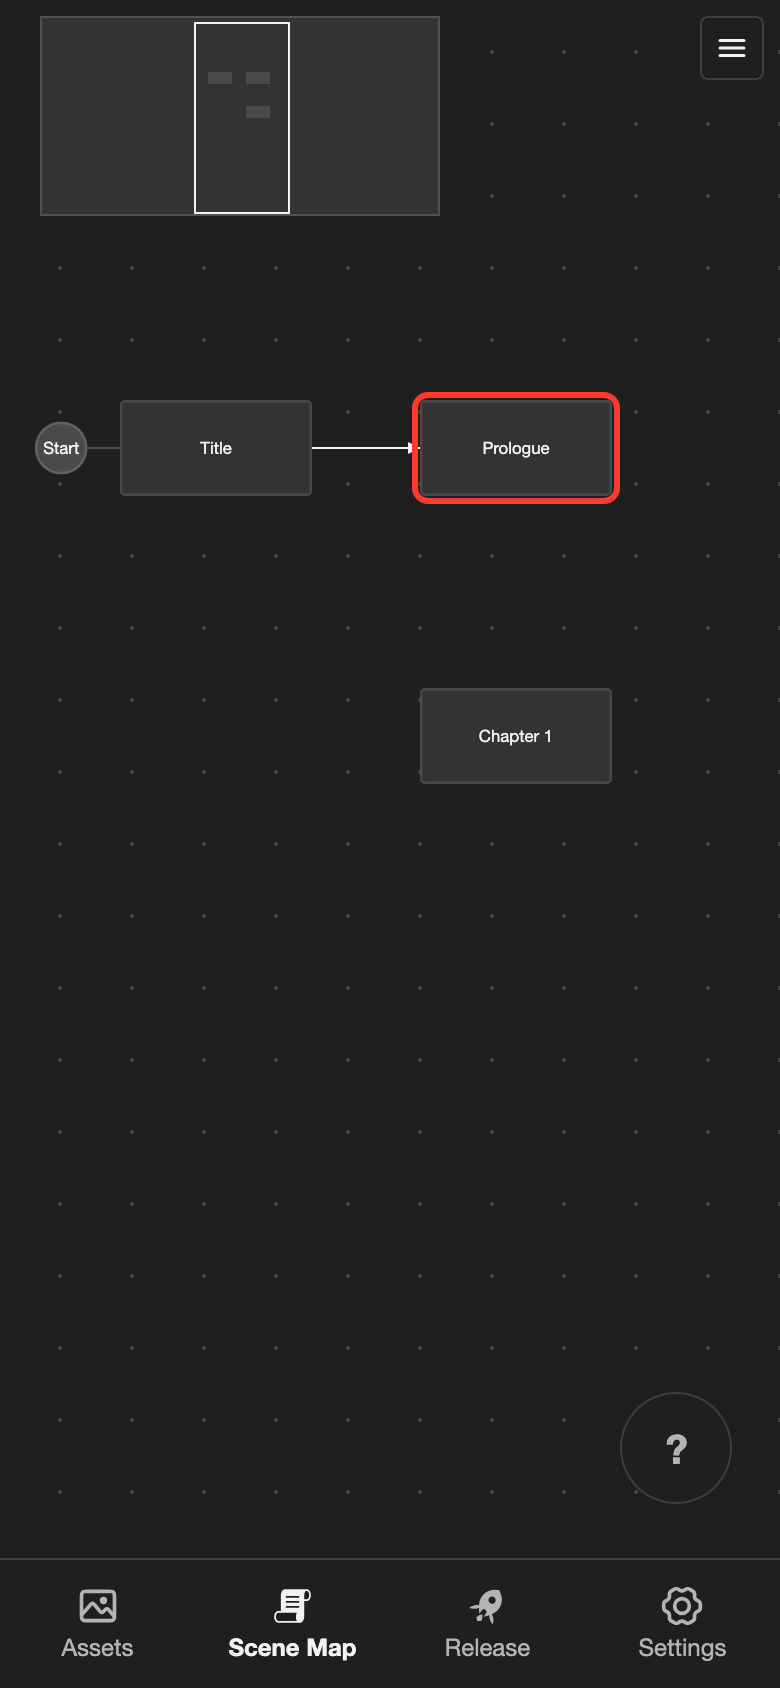
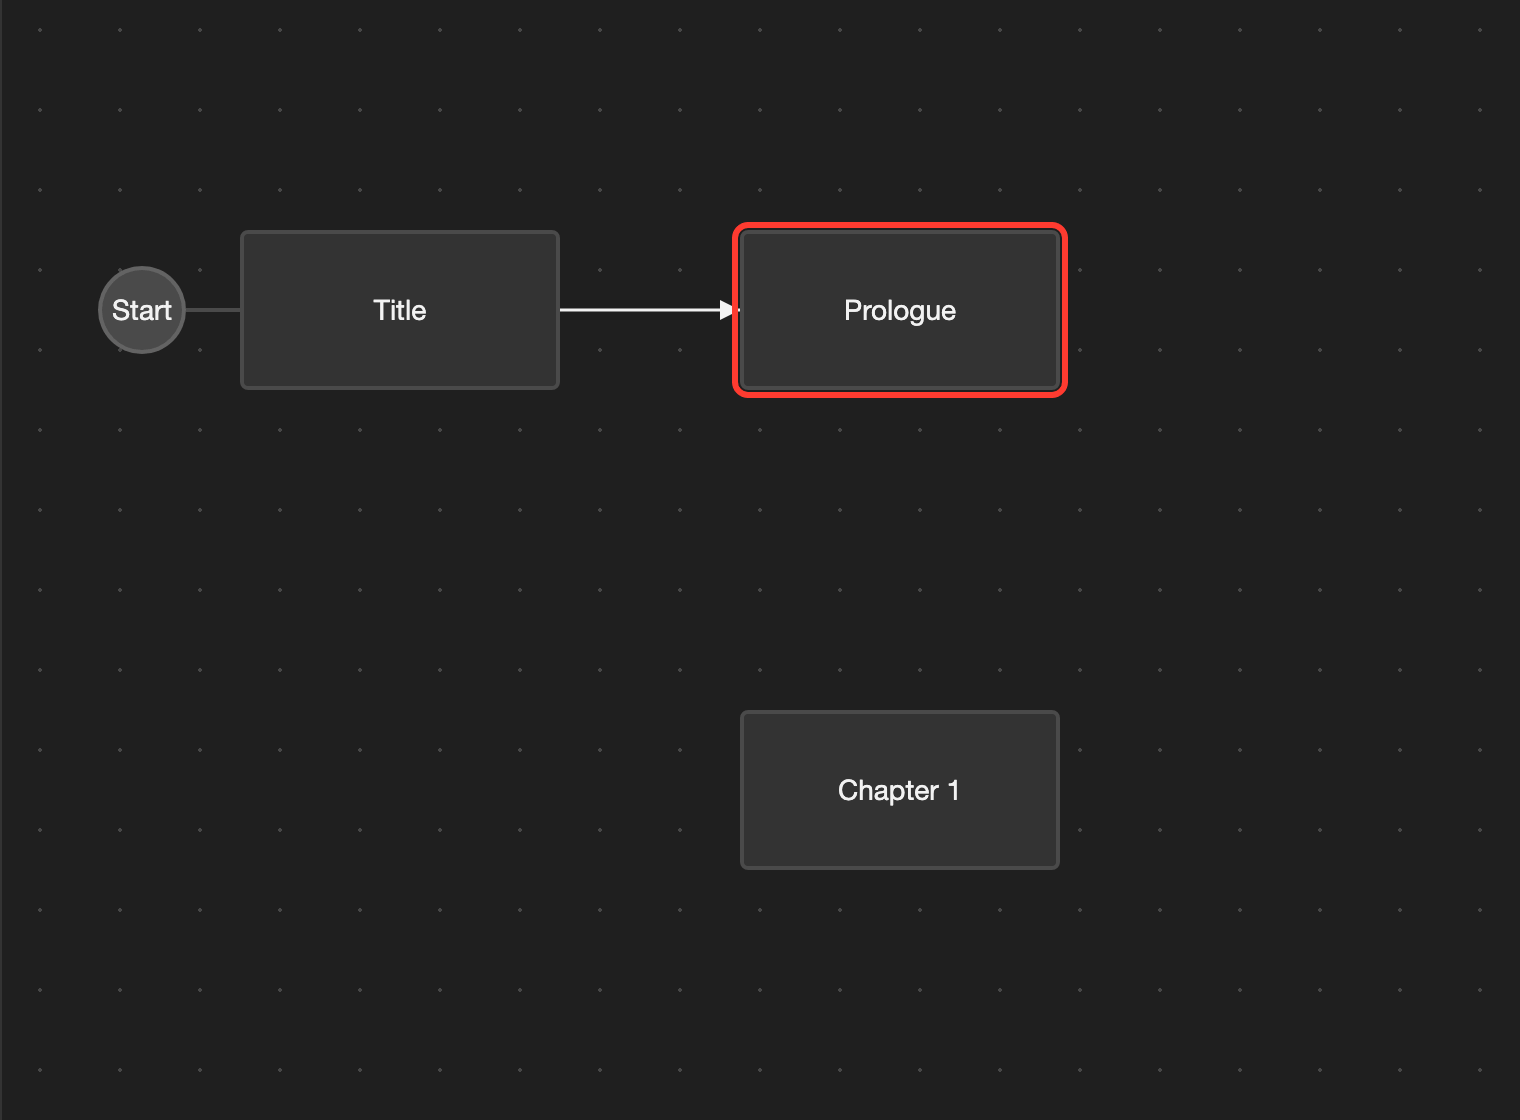
The scene editor opens with this scene. You can also open the menu for the scene and tap Open.
To go back to the scene map:
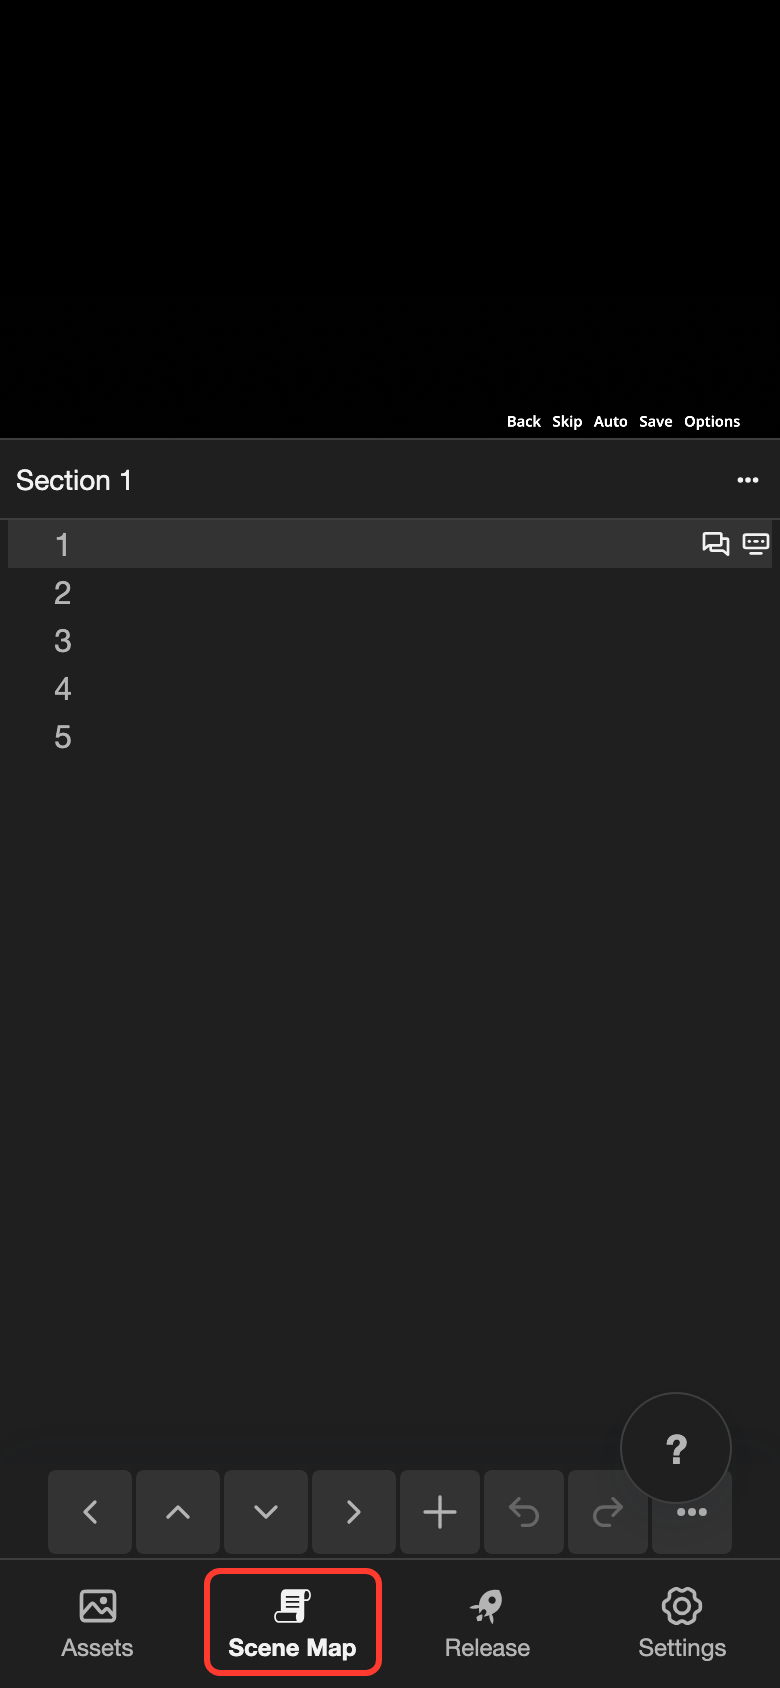
- Phone or tablet: At the bottom of the screen, tap Scene Map. Then tap Scene Map in the list.
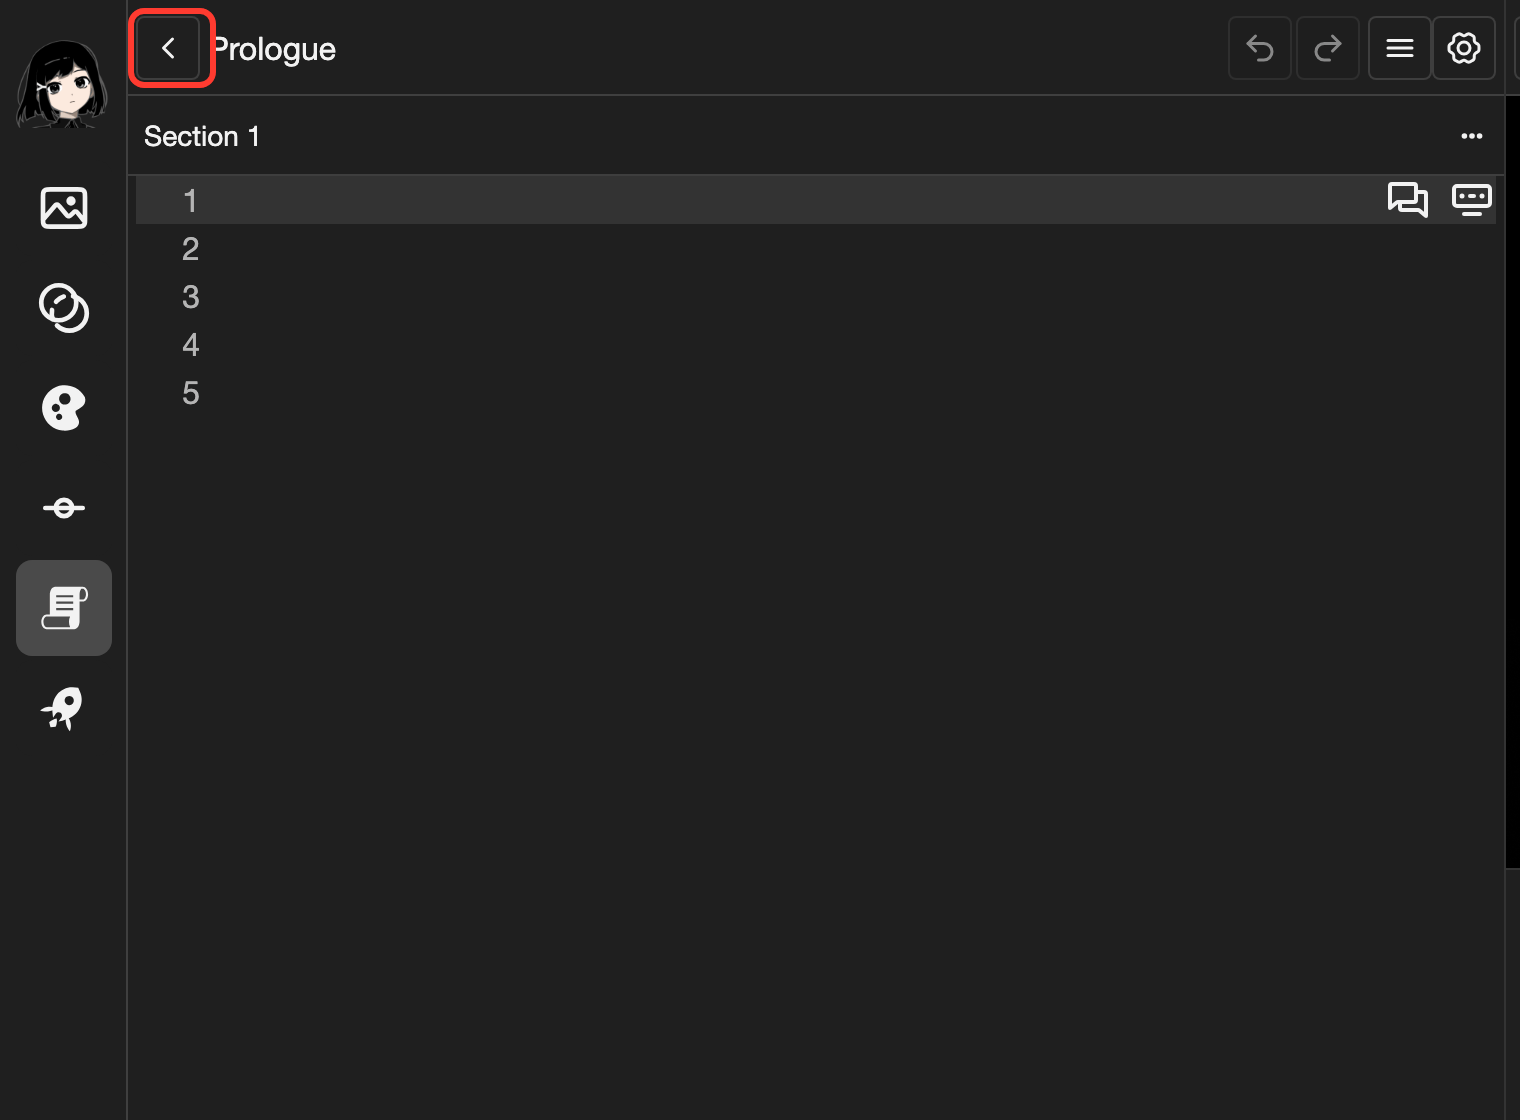
- Desktop: In the top left, click the back button (the button with an arrow that points left).
Connect scenes with arrows
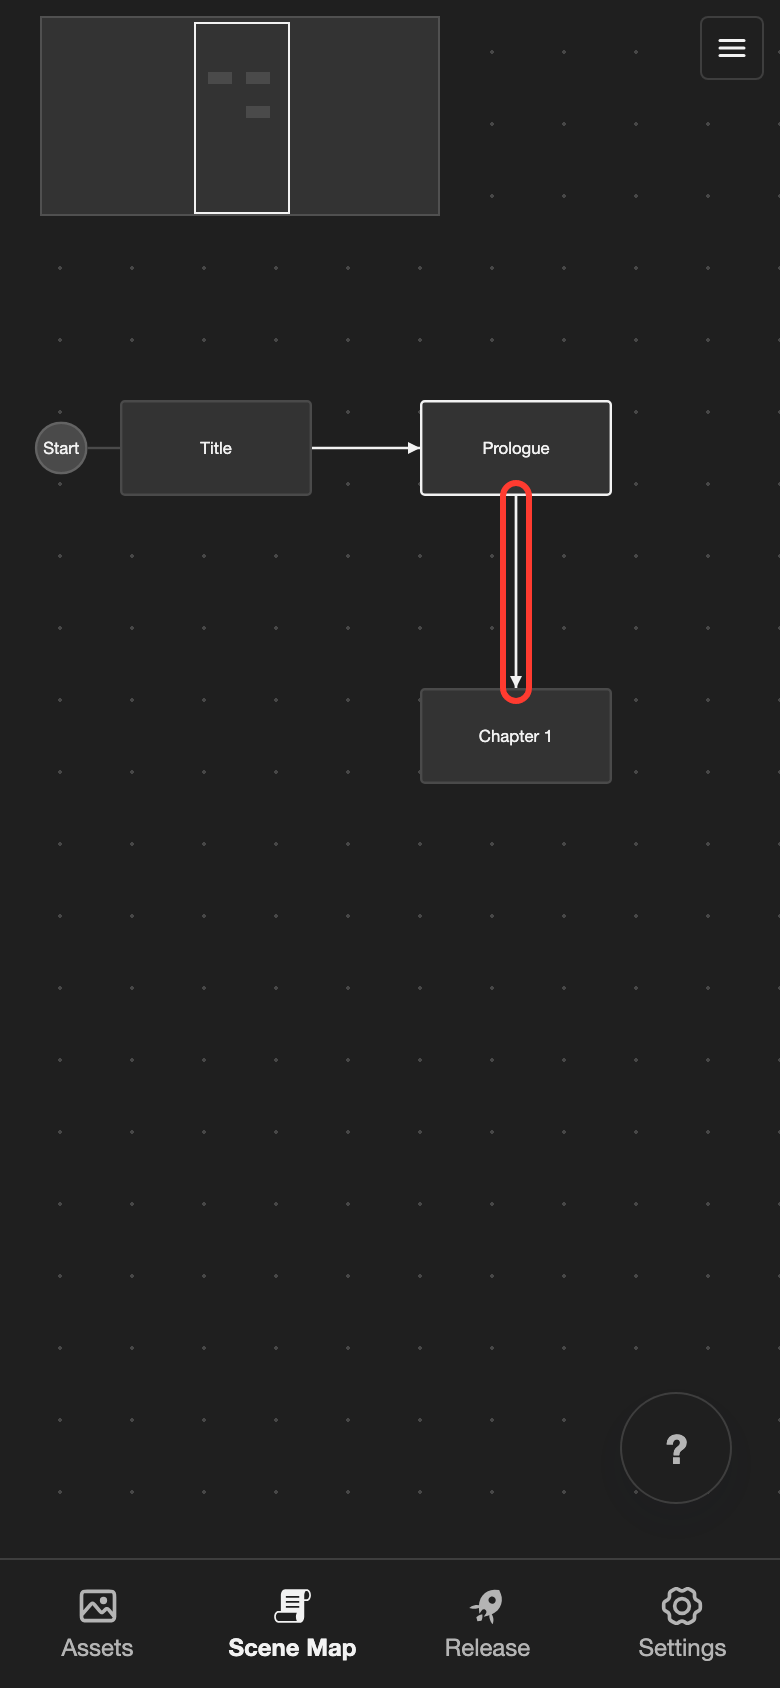
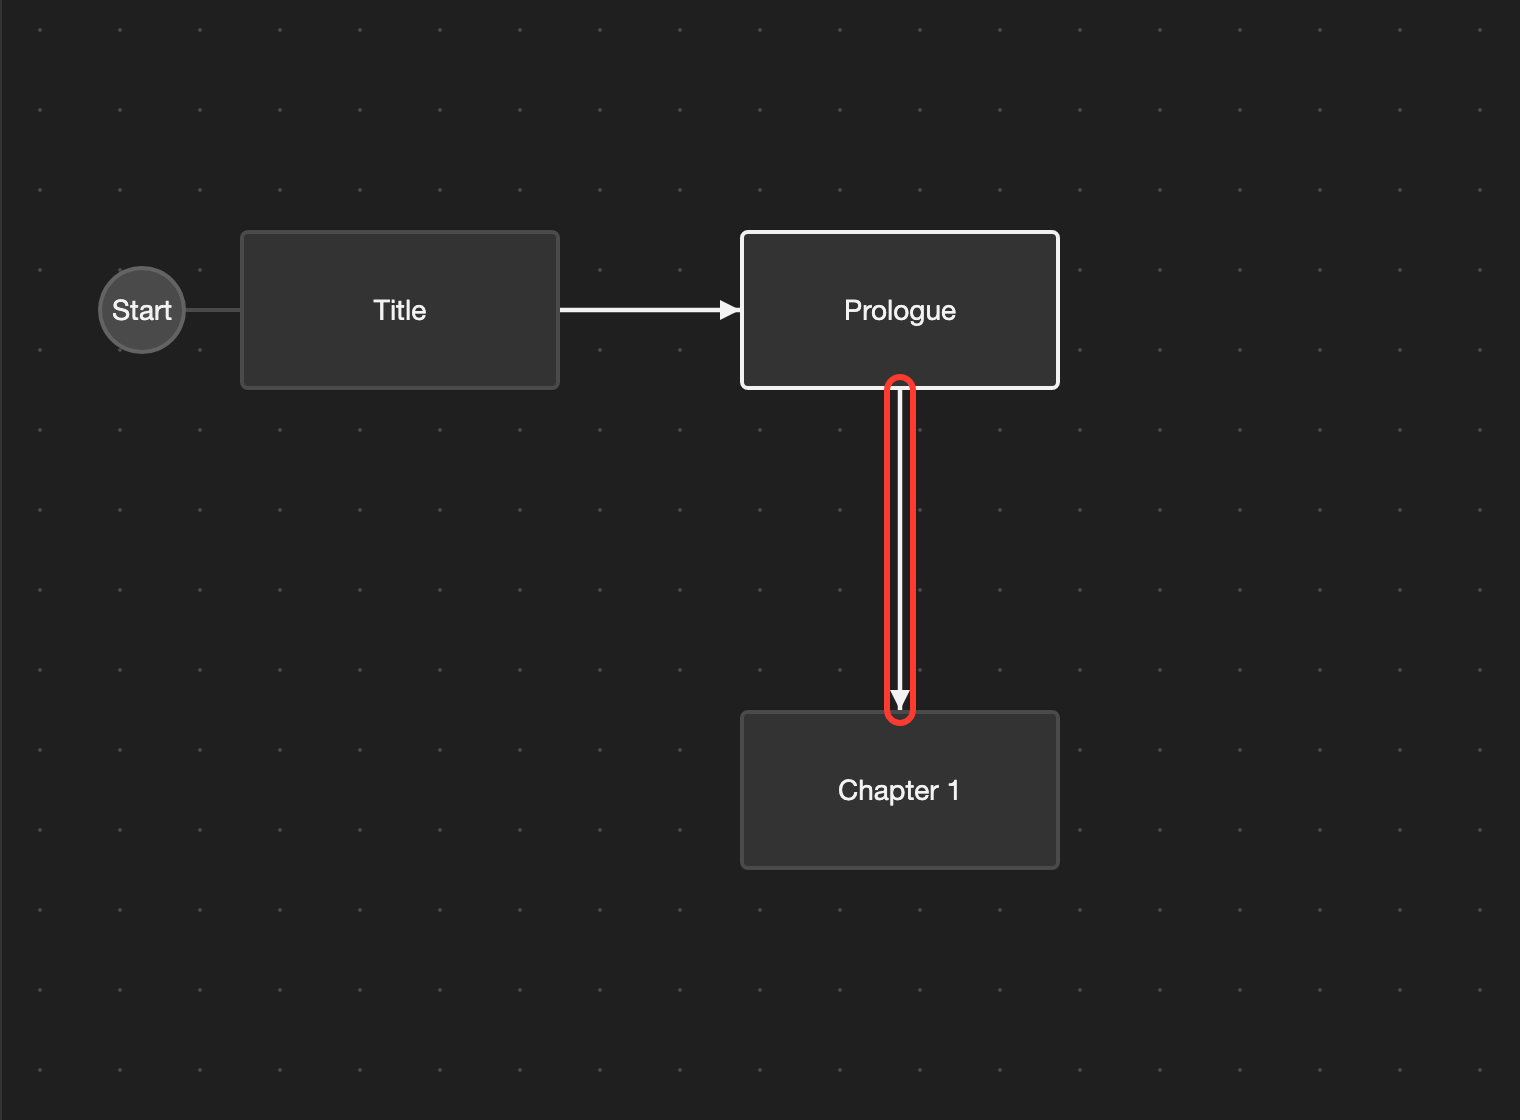
You cannot draw arrows on the scene map. An arrow appears by itself when one scene leads to another scene.
To make a scene lead to another scene, add a Section Transition in the scene editor. A Section Transition is an action on a line. When the visual novel reaches that line, it moves to a section in another scene. To learn how it works, see Section Transition.
For example, to connect Prologue to Chapter 1:
-
Open the Prologue scene. See Open a scene.
-
Add a Section Transition to the last line. For Scene, choose Chapter 1. For Section, choose Section 1.
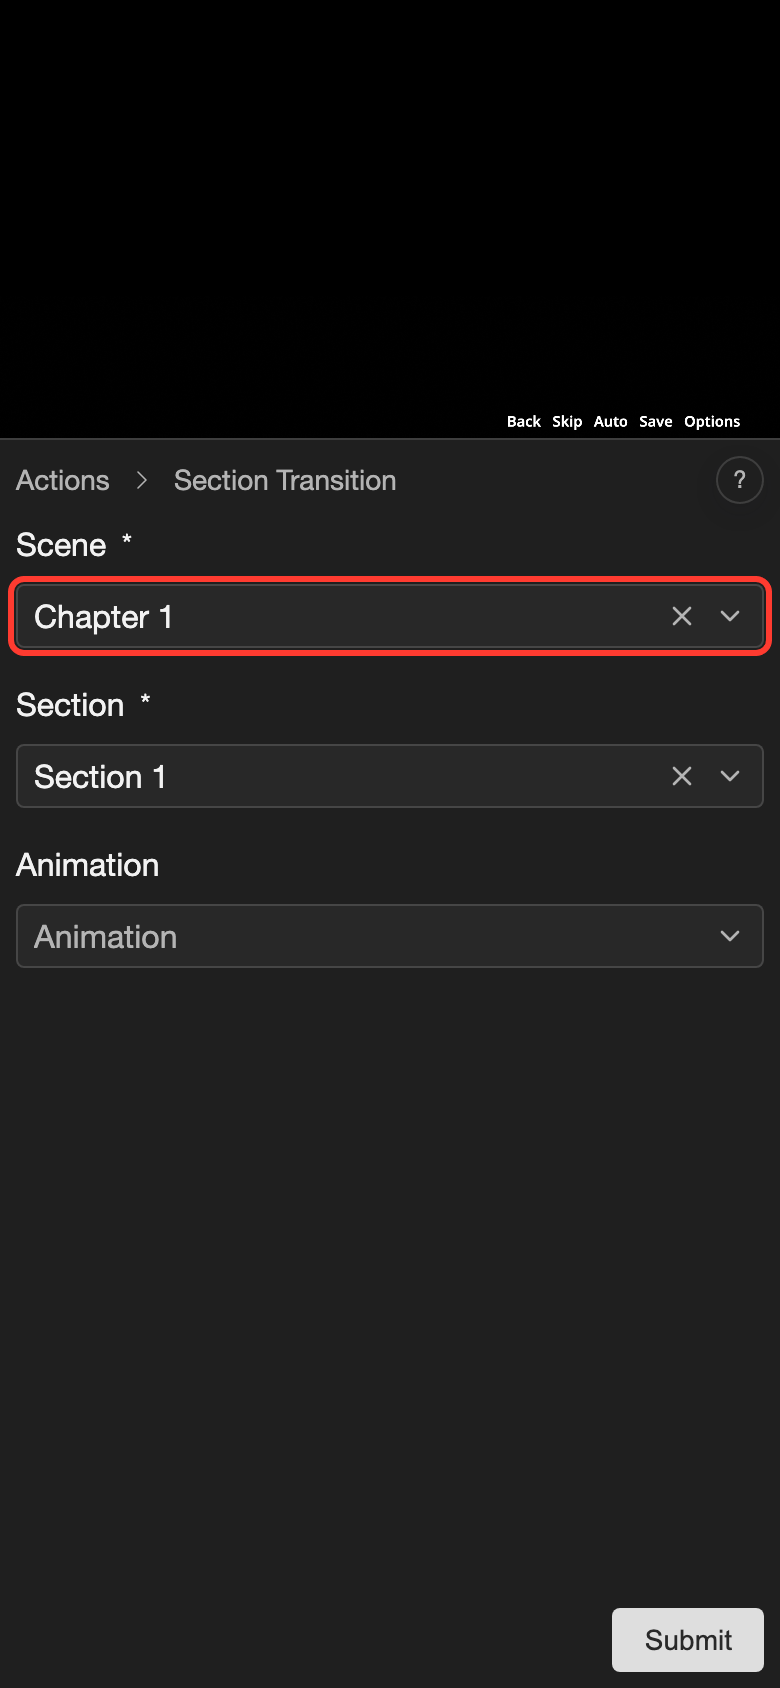
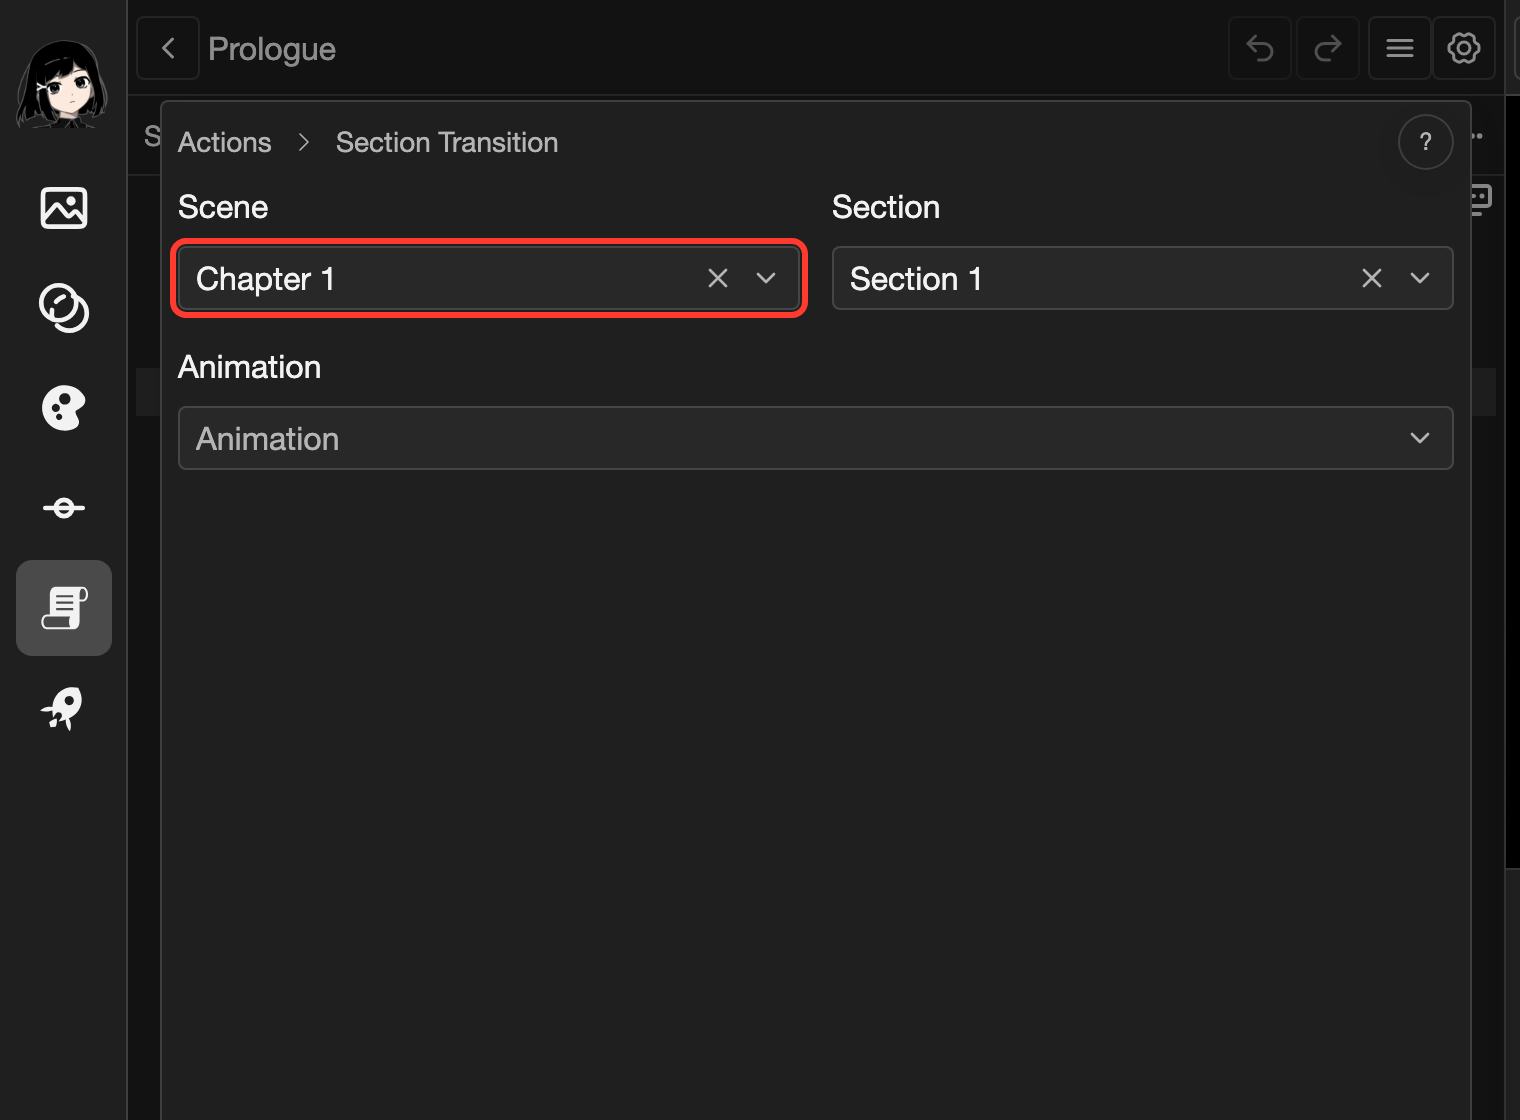
The Section Transition goes to Chapter 1. -
Go back to the scene map. See Open a scene.
An arrow now goes from Prologue to Chapter 1.
Other actions that go to another scene make arrows too:
- A choice that uses Move to section. See Choices.
- A line that uses Reset Story At Section. See Reset Story At Section.
- A button in a layout that uses one of these actions. For example, a Start button on a title screen can go to the first scene of your visual novel.
To remove an arrow, remove the action that makes it. An action that goes to a section in the same scene does not make an arrow.
See the details of a scene
This works only on desktop.
-
Click the scene.
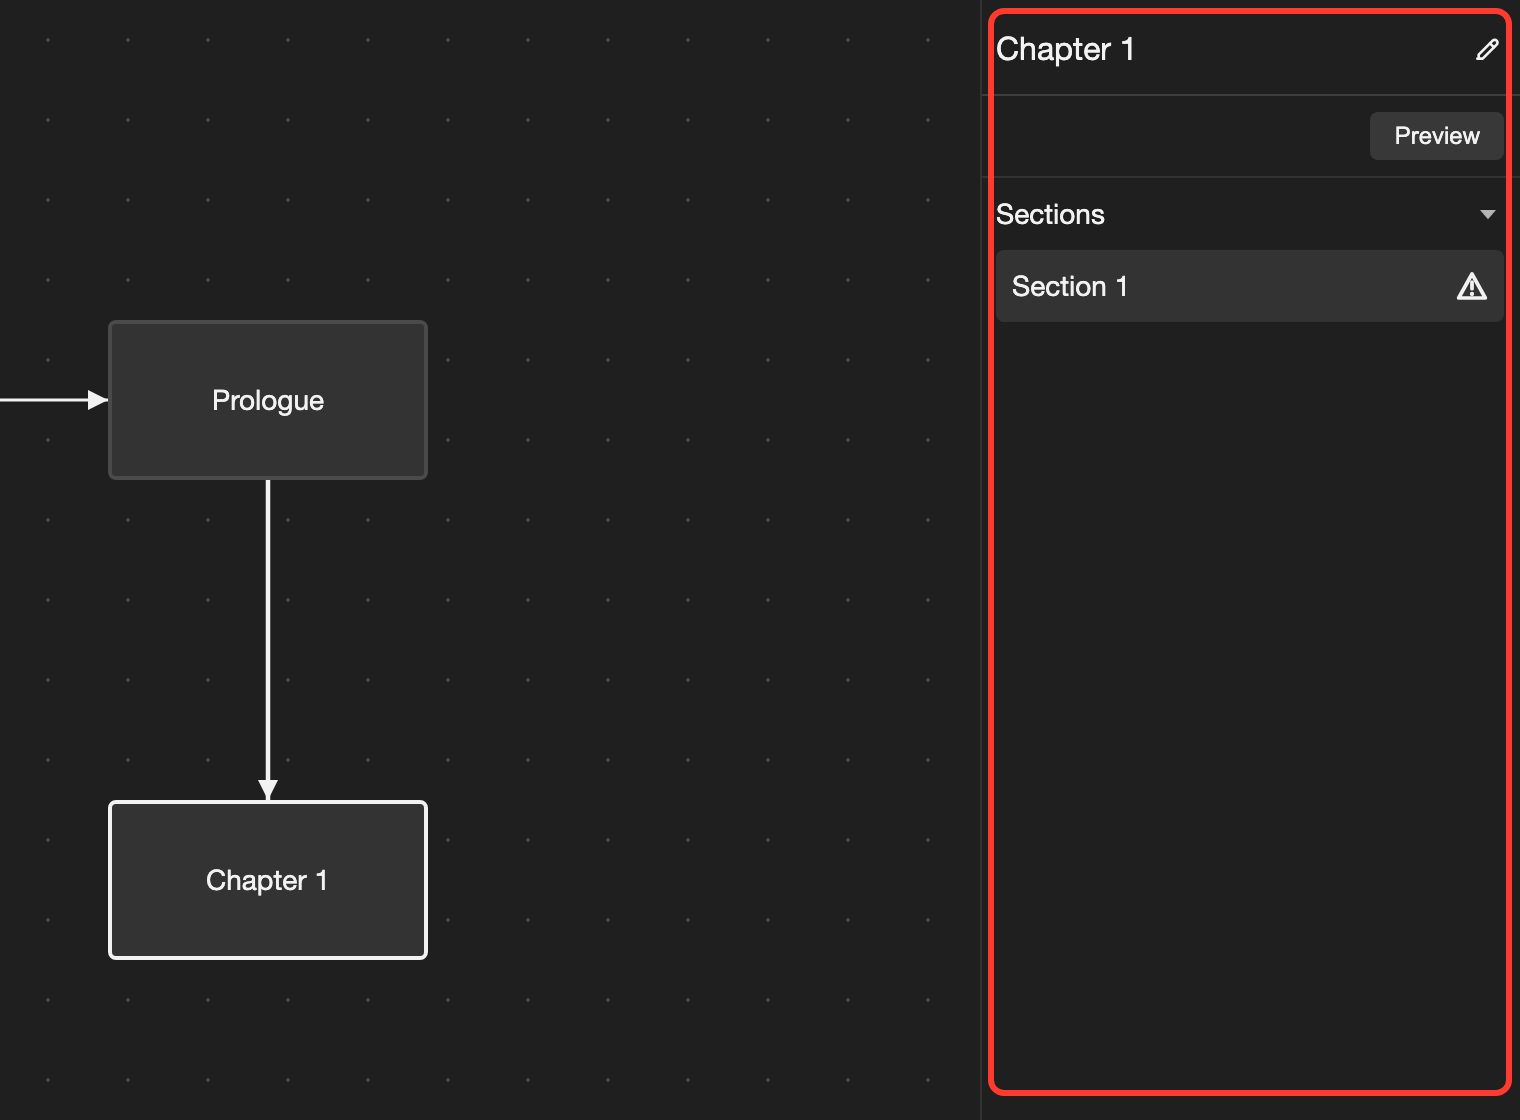
The details panel shows the scene that you clicked. The details panel on the right shows the scene:
- The scene name. To change it, click the pencil icon (the pencil-shaped button that opens editing) next to the name.
- Preview: Plays the scene in a preview.
- Sections: The sections of the scene. Click Sections to hide or show the list.
-
In the Sections list, click a section.
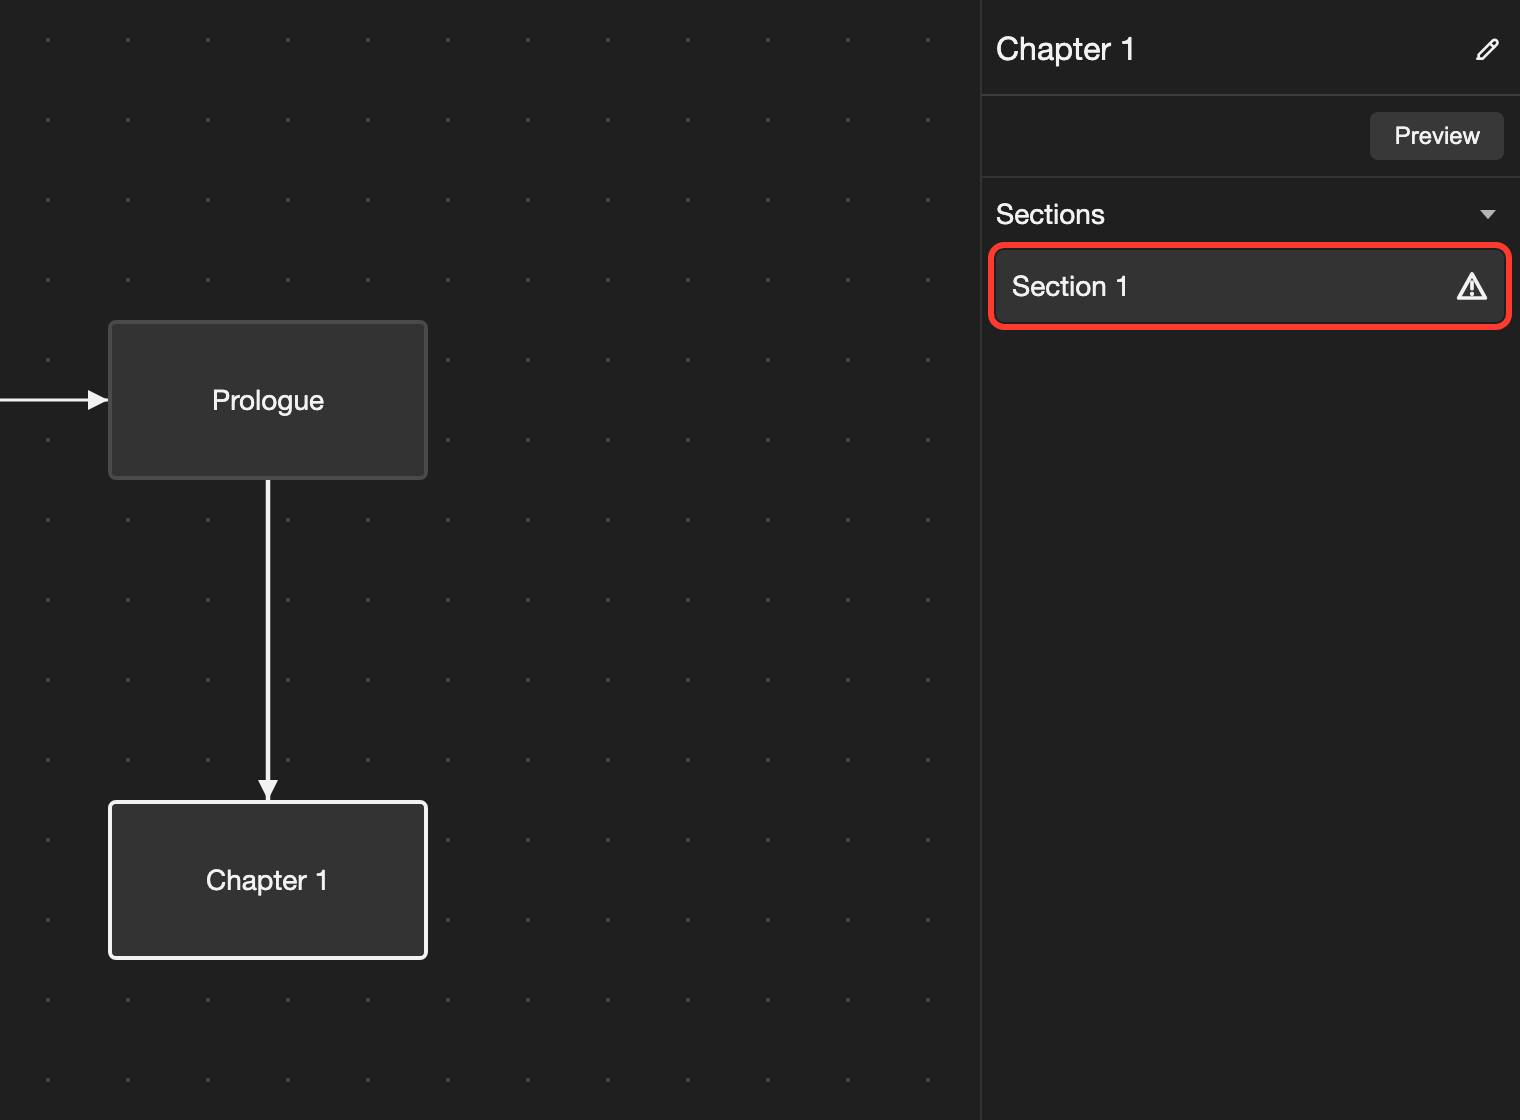
Click a section to open it.
The scene editor opens at that section.
A warning icon next to a section means that the section has no transition to another section. The visual novel stops at the end of that section.
Other options in the scene menu
To open the menu for a scene, long press the scene on a phone or tablet. On desktop, right-click the scene.
| Option | What it does |
|---|---|
| Open | Opens the scene in the scene editor. |
| Preview | Plays the scene in a preview. |
| Edit | Opens the Edit Scene box. Change the Name or the Description, then tap Save. |
| Set Initial Scene | Makes this scene the starting scene. |
| Delete | Deletes the scene. |
You cannot delete the starting scene. You also cannot delete a scene that an arrow points to.
Good to know
- The file explorer shows the same scenes as the map. Tap a scene in the file explorer to move the map to it. To rename scenes, delete them, or put them in folders, use the file explorer. See File Explorer.
- RouteVN Creator remembers your zoom and the part of the map that you saw. When you come back to the scene map, it looks the same.
- On a phone or tablet, the list that opens from Scene Map at the bottom also shows Recently Visited scenes. Tap one to open it in the scene editor.
- A tip at the bottom of the map shows how to add a scene. It goes away after you create a scene. To close it sooner, tap the X button (the button with an X that closes a panel).
Problems and fixes
- The map does not move when I drag it on desktop. Hold down the
Spacekey while you drag. Or click the hand button first. - A menu opens when I try to move a scene on a phone. You held your finger still for too long. Put your finger on the scene and start moving right away.
- I cannot draw an arrow between two scenes. Arrows appear by themselves. See Connect scenes with arrows.
- I see "Cannot delete resource, it is currently in use." The scene is the starting scene, or an arrow points to it. Choose another starting scene, or remove the action that makes the arrow. Then delete the scene again.
- I cannot see the minimap on desktop. On desktop, the minimap appears when the map has 2 or more scenes.
- I cannot find a scene on the map. Zoom out. Or tap the scene in the file explorer, and the map moves to it.