Scene Editor
The scene editor is where you write a scene. You type the lines of your visual novel. Then you add actions, such as a background or music.
How a scene works
A scene has 3 kinds of parts:
- Section: A part of a scene. A scene has 1 or more sections.
- Line: One step of your visual novel, such as one sentence. A section has lines.
- Action: Something that happens on a line, such as a new background. A line can have many actions.
When your visual novel runs, the lines of a section play from top to bottom. The visual novel stops at the end of a section.
To go on, a line must move the visual novel to another section. For example, use Section Transition or Choices.
Open a scene
Open a scene from the scene map. See Open a scene. The examples on this page use a scene called Prologue.
Parts of the scene editor
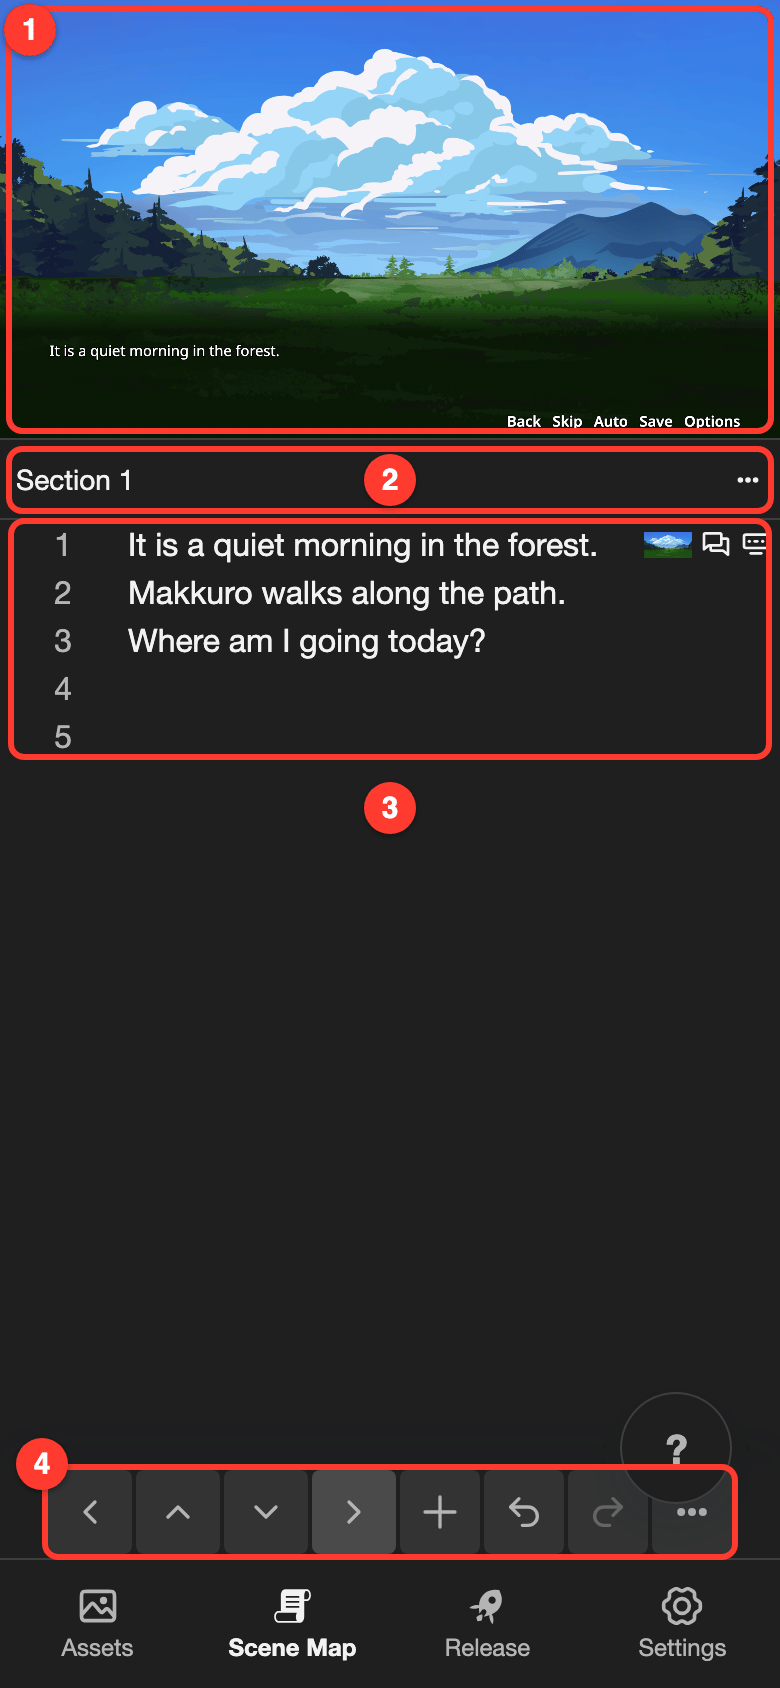
- Preview: Shows the selected line as it looks in your visual novel.
- Section: The name of the section. The three dots button (the button with three dots that opens more options) next to it opens the section menu.
- Lines: Your visual novel, one line after another. Each line has a number on the left. Icons on the right show its actions.
- Toolbar: The buttons at the bottom of the screen. From left to right:
- Arrow buttons: Move the cursor, like the arrow keys on a keyboard.
- + button: Opens the Actions menu.
- Undo and redo buttons: Undo or redo your last change.
- Three dots button: Opens a menu with Preview, Sections, and Settings.
On a tablet held sideways, the lines are on the left. The preview is on the right. Below the preview, the Presentation state list shows the actions at the selected line.
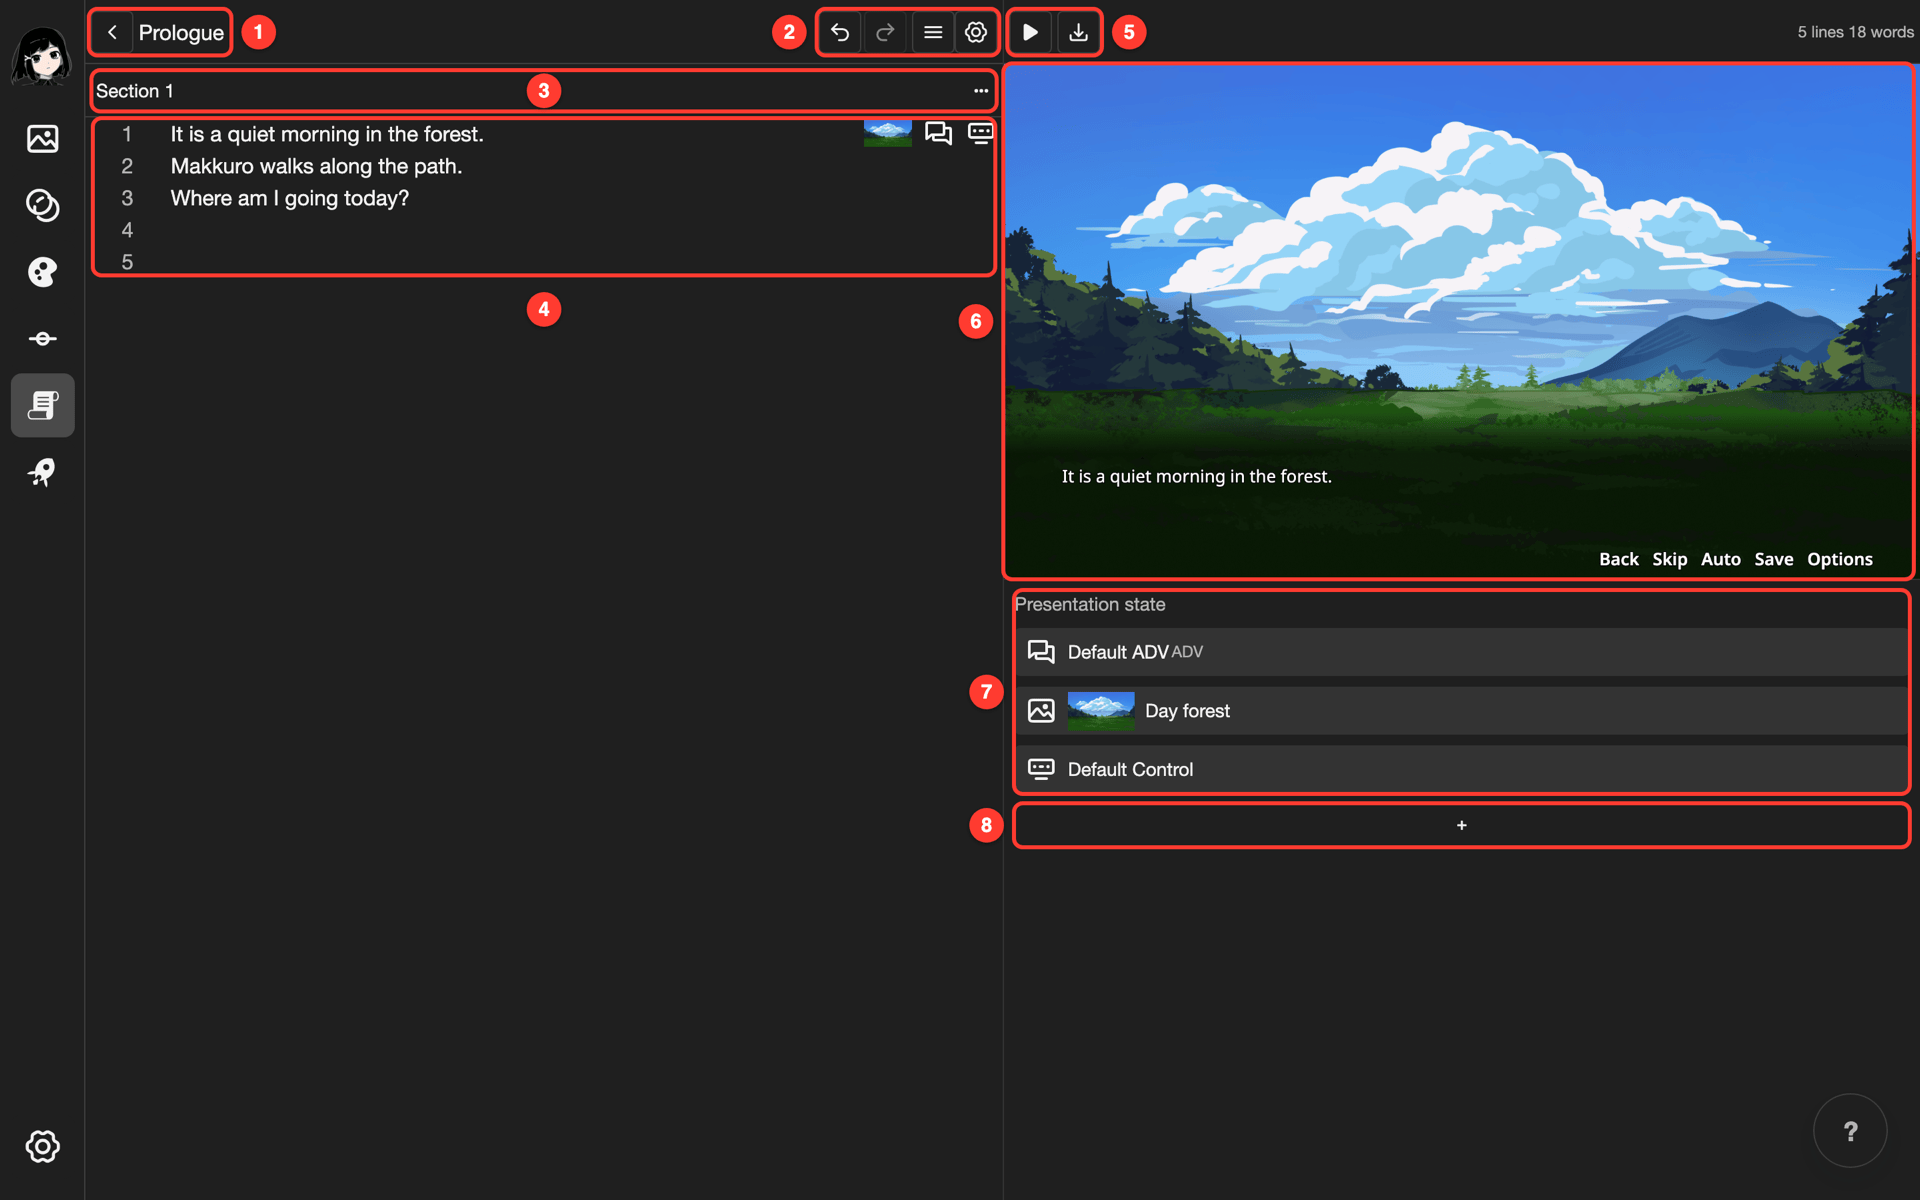
- Back button: Goes back to the scene map. The name of the scene is next to it.
- Buttons for the editor: From left to right:
- Undo and redo buttons: Undo or redo your last change.
- Three lines button: Opens the Sections list.
- Gear button: Opens the editor Settings.
- Section: The name of the section. The three dots button (the button with three dots that opens more options) next to it opens the section menu.
- Lines: Your visual novel, one line after another. Each line has a number on the left. Icons on the right show its actions.
- Play and download buttons: The play button plays the scene in full screen. The download button saves a picture of the preview.
- Preview: Shows the selected line as it looks in your visual novel.
- Presentation state: Shows the actions at the selected line. This includes actions from earlier lines.
- + button: Opens the Actions menu.
Write lines
-
Tap a line.
-
Type your text.
-
Start a new line.
- Phone or tablet: On the keyboard, tap the Enter key.
- Desktop: Press
Enter.
A new line appears below.
Icons next to a line
- The icons on the right of a line show the actions on that line. Most icons look the same as in the Actions menu.
- A background, a character, or a visual shows as a small picture.
- An icon with an X means that the line removes that thing.
- A small picture of the speaking character shows next to the line number.
Delete a line
-
Tap the number of the line.
The whole line is selected.
-
Open the menu for the line.
- Phone or tablet: Long press (touch and hold) the line.
- Desktop: Right-click (click with the right mouse button) the line.
-
Tap Delete.
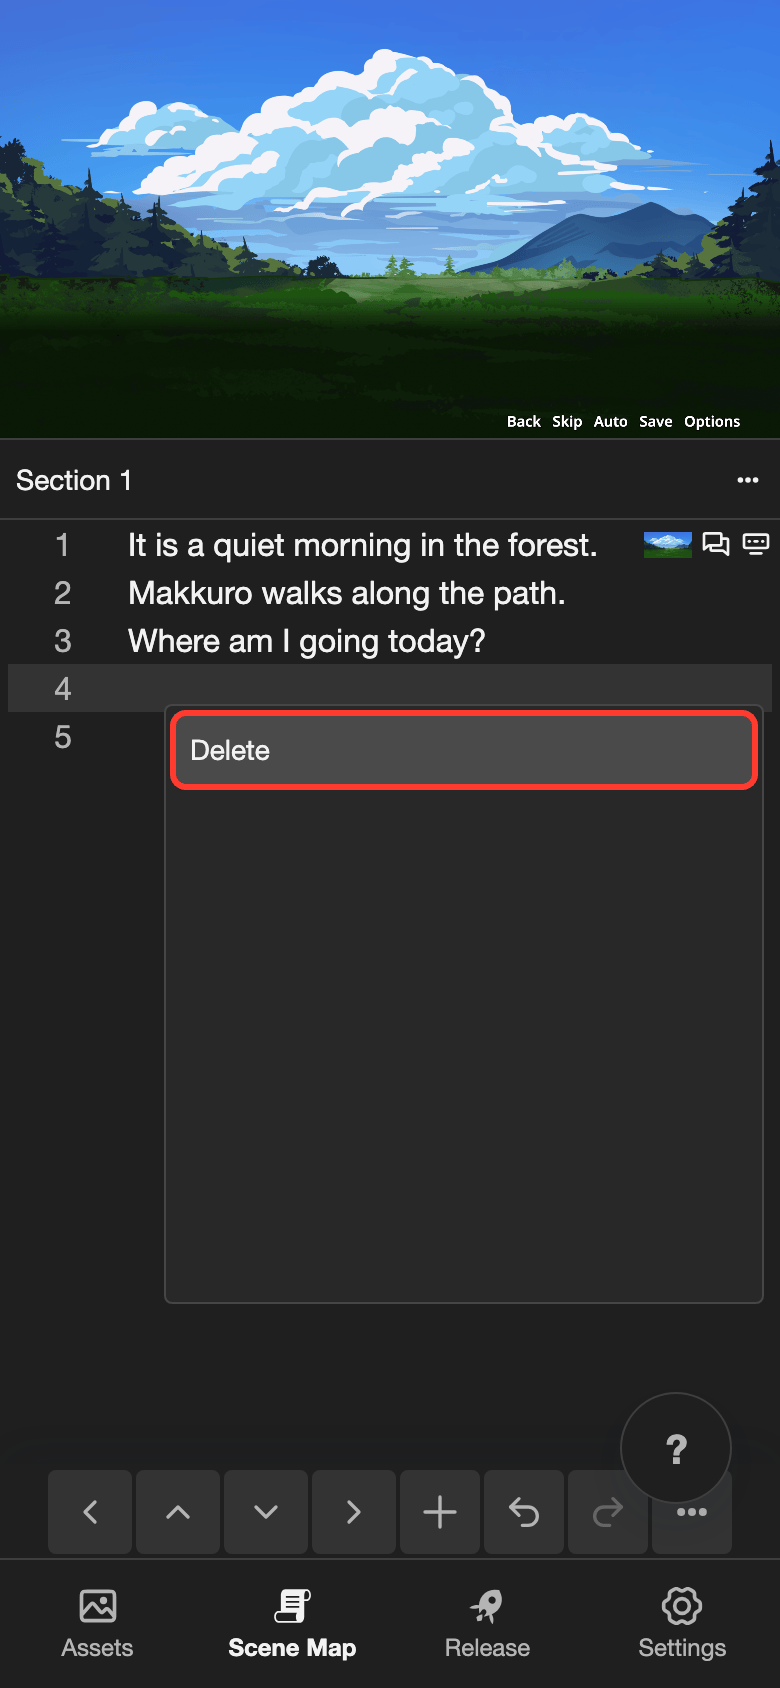
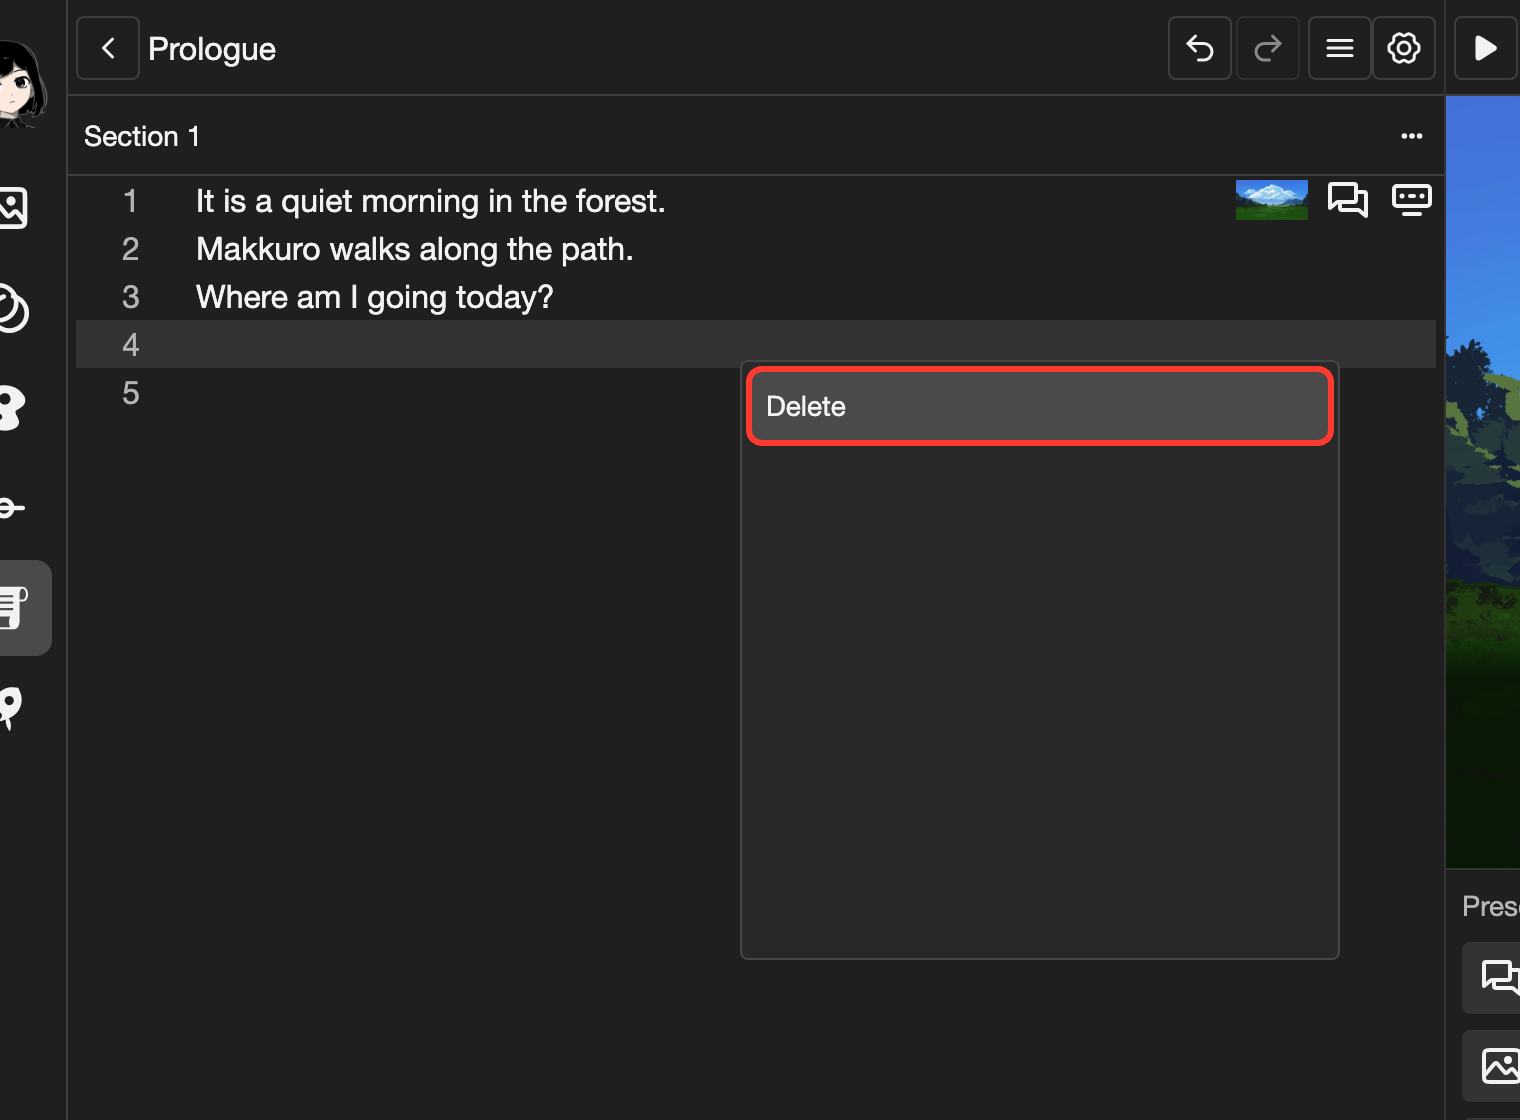
The line and its actions are deleted. To get the line back, tap the undo button.
Add an action to a line
-
Tap the line.
-
Tap the + button.
- Phone or tablet: It is in the bar at the bottom of the screen.
- Desktop: It is below the Presentation state list.
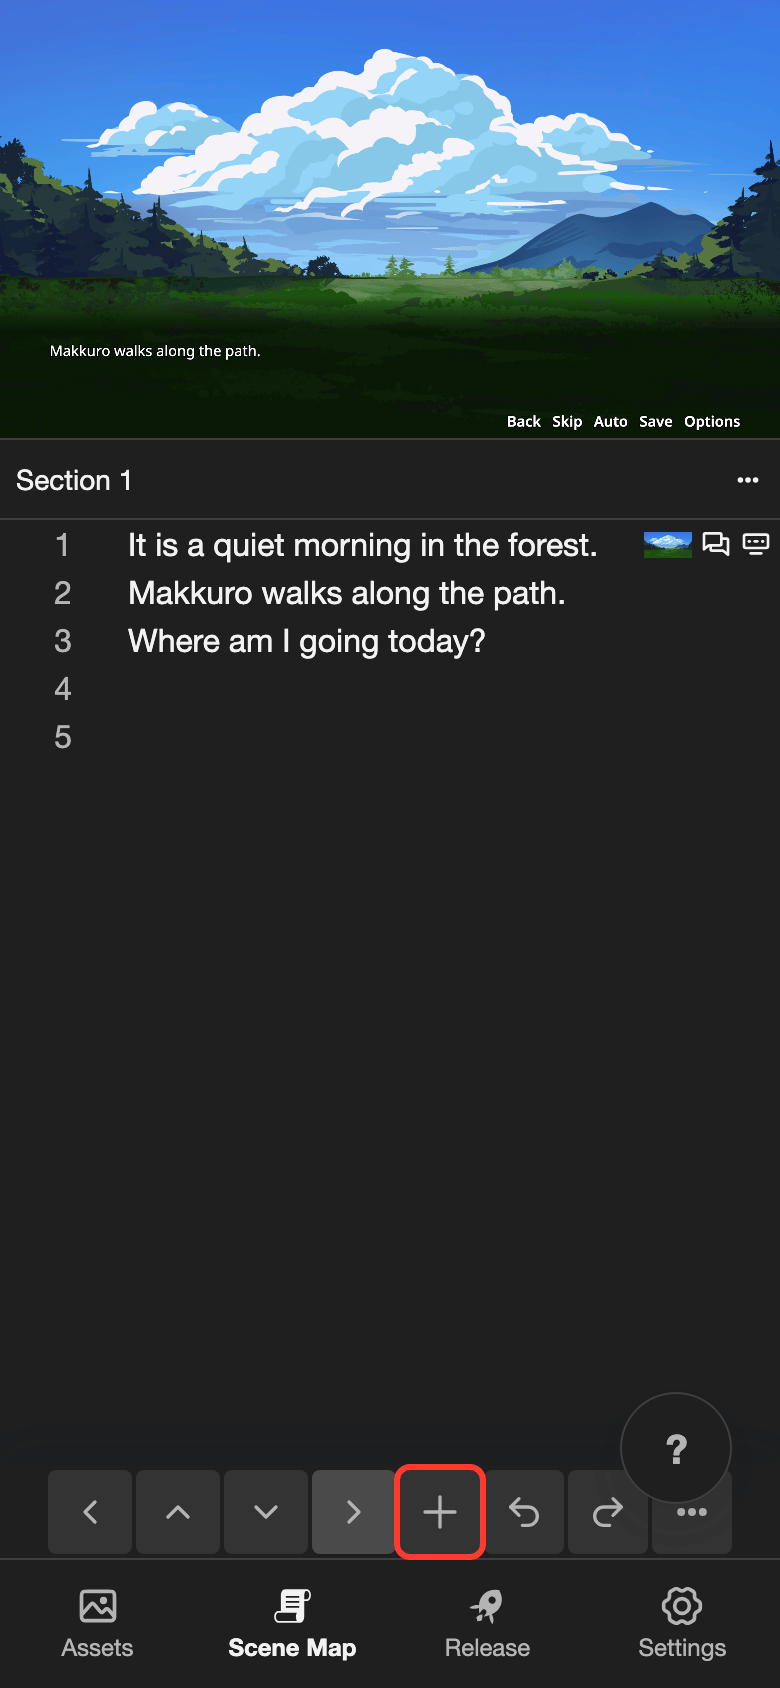
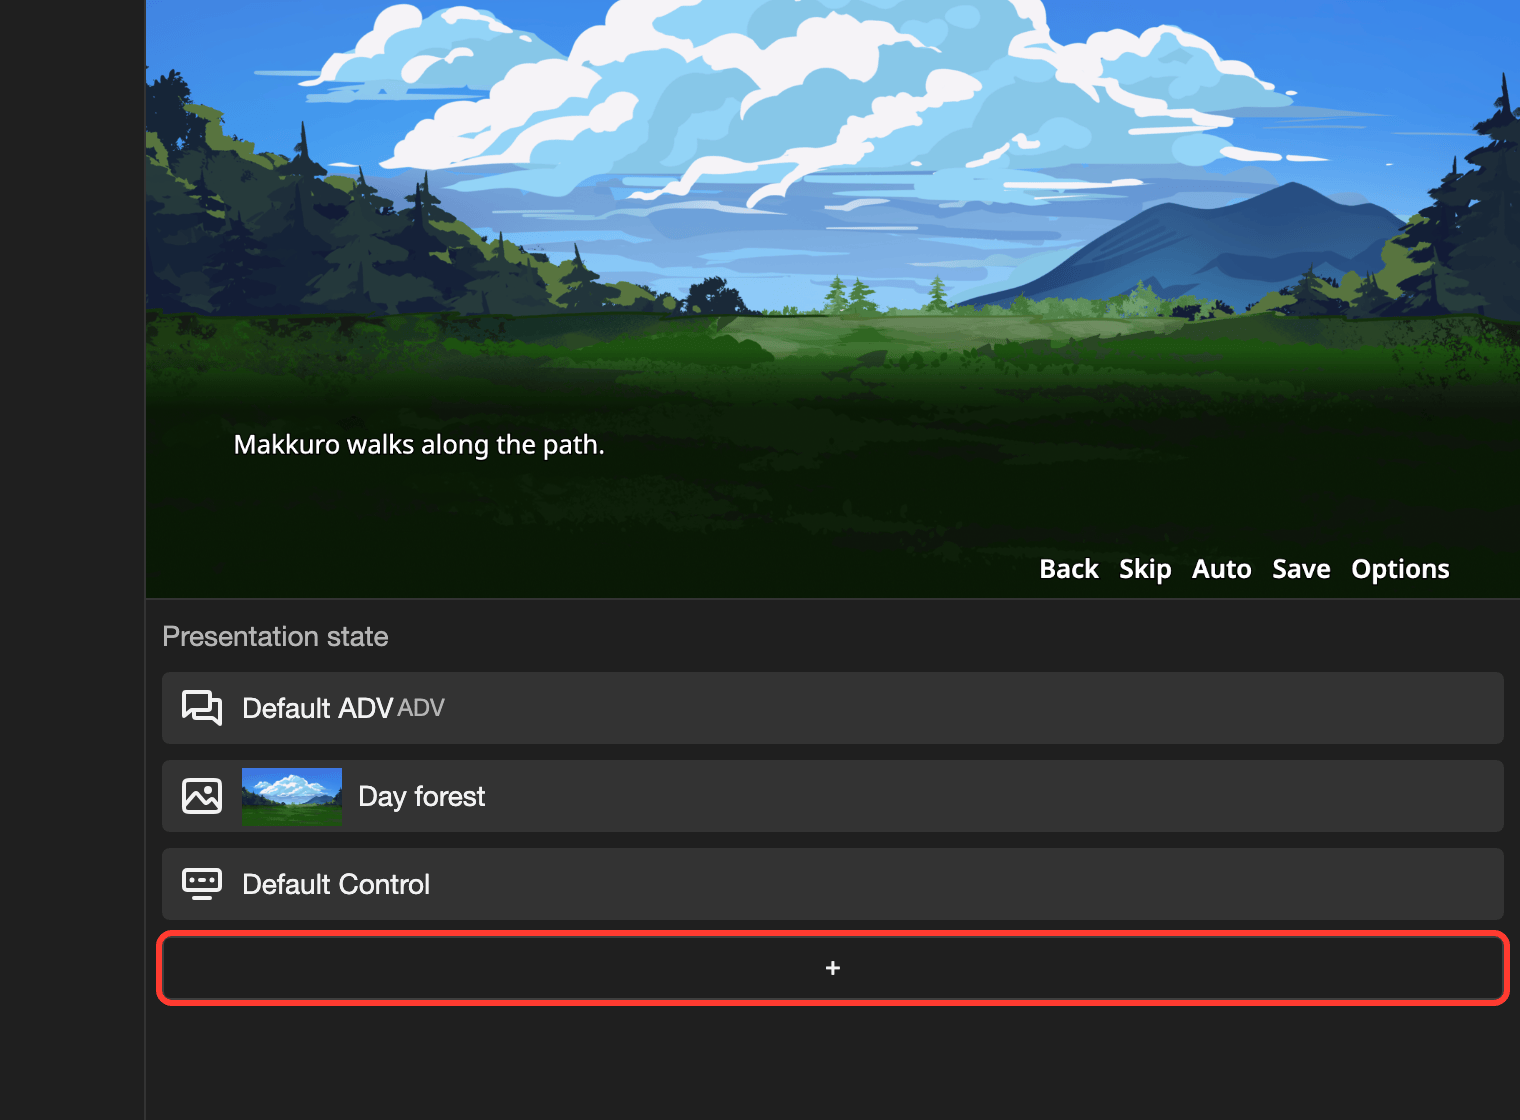
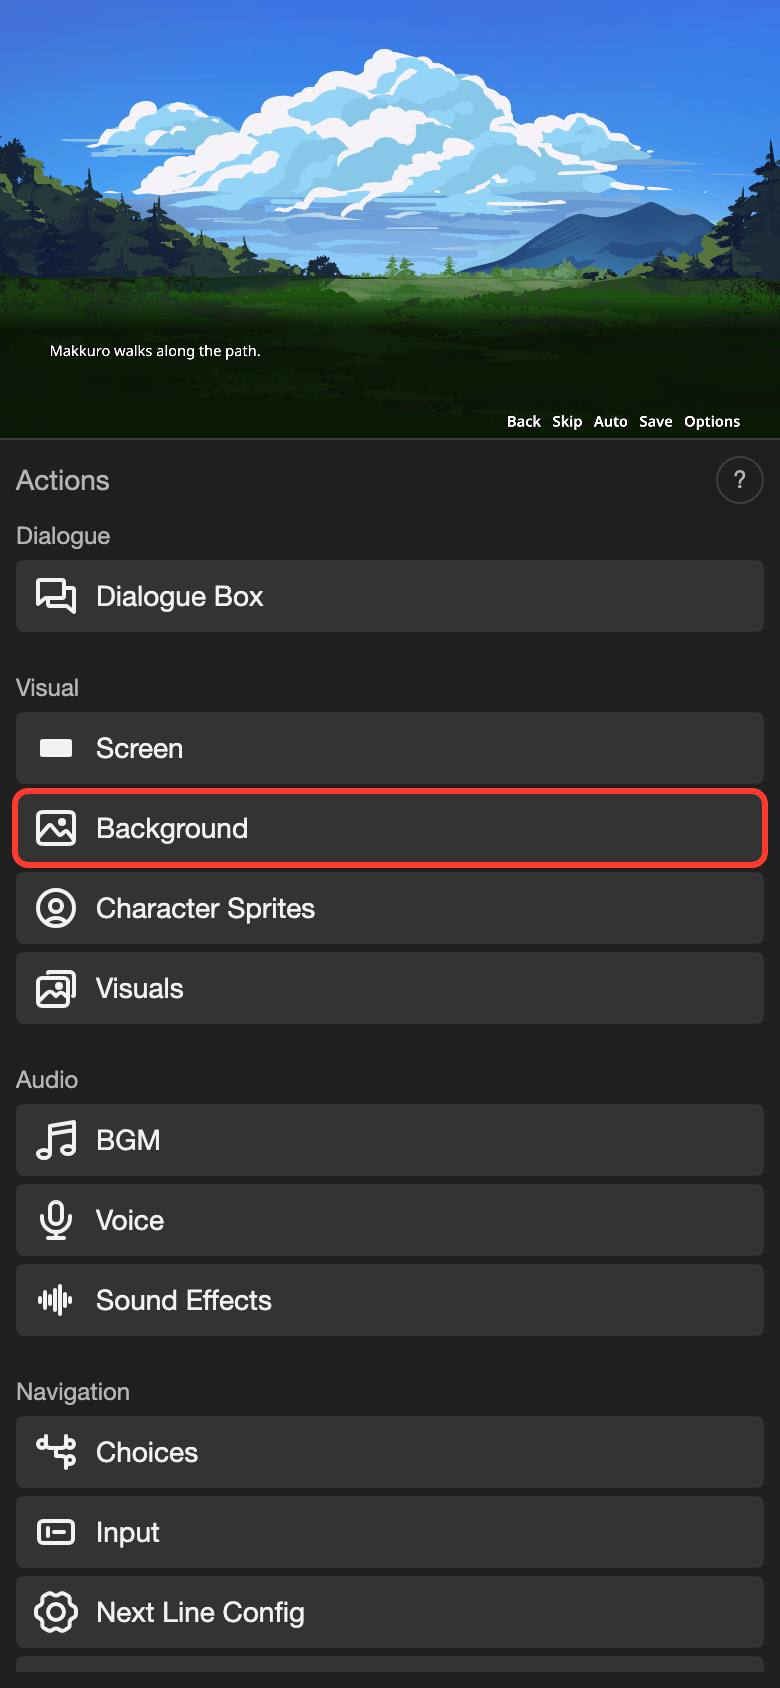
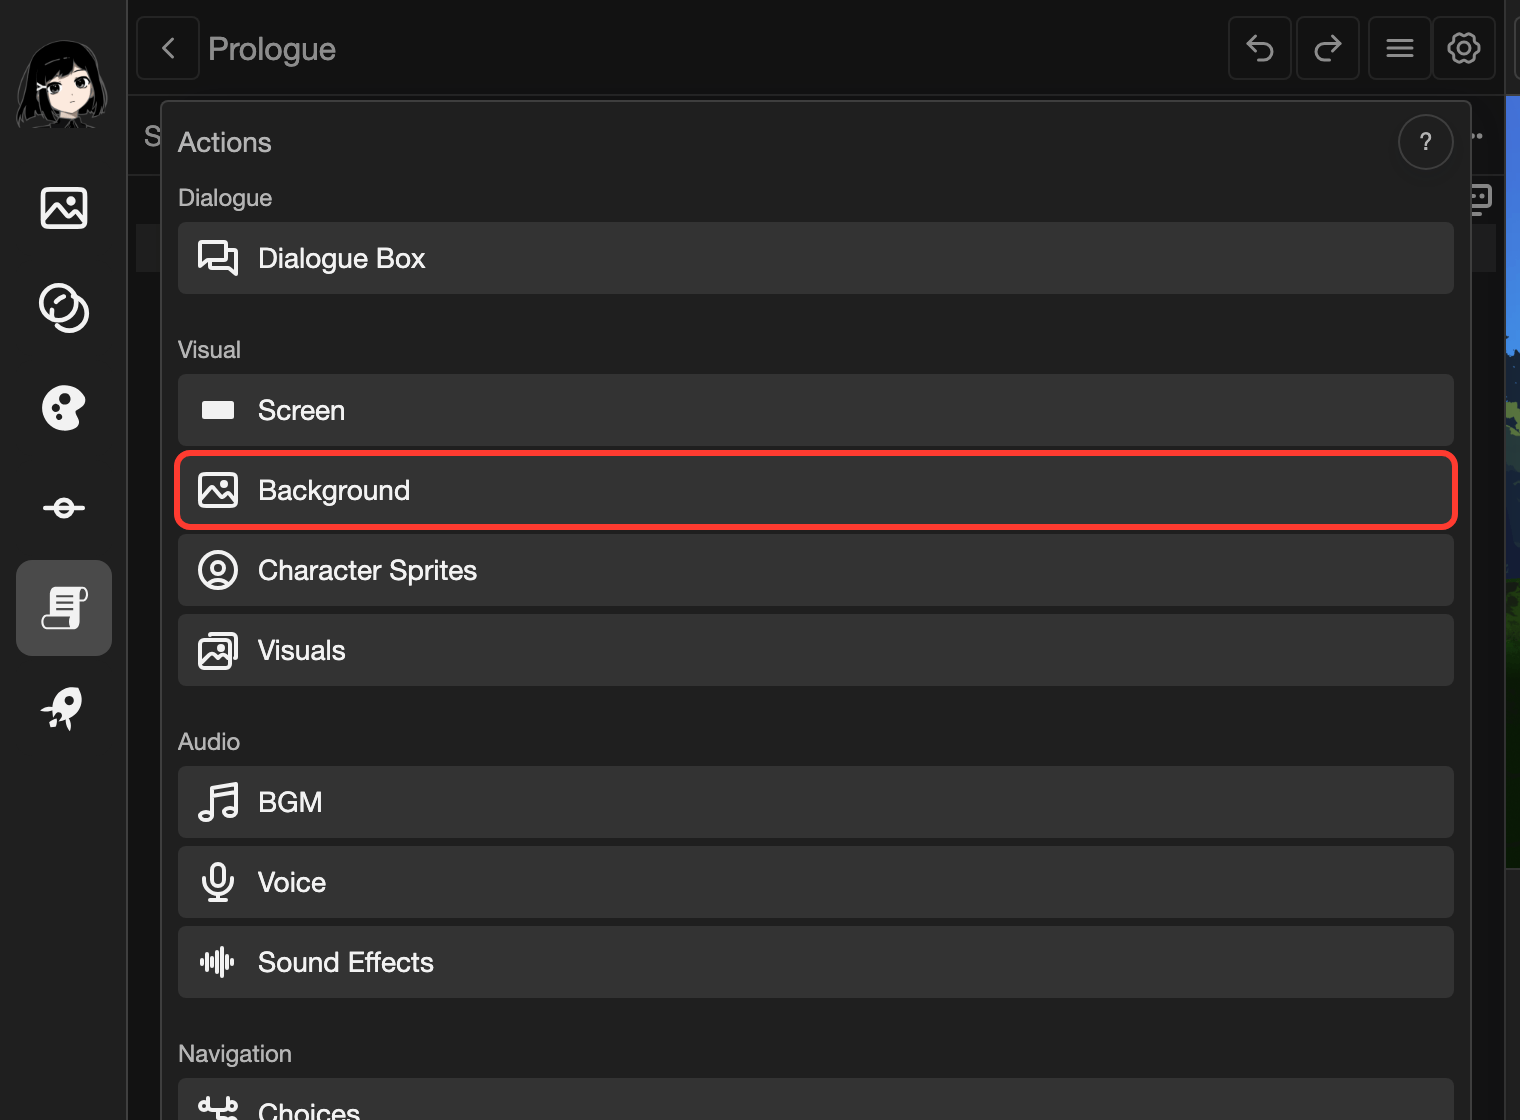
The Actions menu opens.
-
Tap an action, for example Background.
-
Choose the settings of the action.
-
Tap Submit.
The action appears as an icon on the right of the line.
A background or music stays on the next lines too. It stays until a line changes or removes it.
Each action has its own page:
| Group | Actions |
|---|---|
| Dialogue | Dialogue Box |
| Visual | Screen, Background, Character Sprites, Visuals |
| Audio | BGM, Voice, Sound Effects |
| Navigation | Choices, Input, Next Line Config, Section Transition, Reset Story At Section, Control |
| Logic | Update Variable, Conditional |
Change or remove an action
Change an action
-
Tap the line that has the action.
-
Open the action.
- Phone or tablet: Tap the + button. Then tap the same action again.
- Desktop: In the Presentation state list, click the action.
The form shows the current settings.
-
Change the settings.
-
Tap Submit.
Remove an action
These steps are for desktop. On a phone, the Presentation state list is not shown.
-
Click the line.
-
In the Presentation state list, right-click the action.
A menu appears.
-
Click Delete.
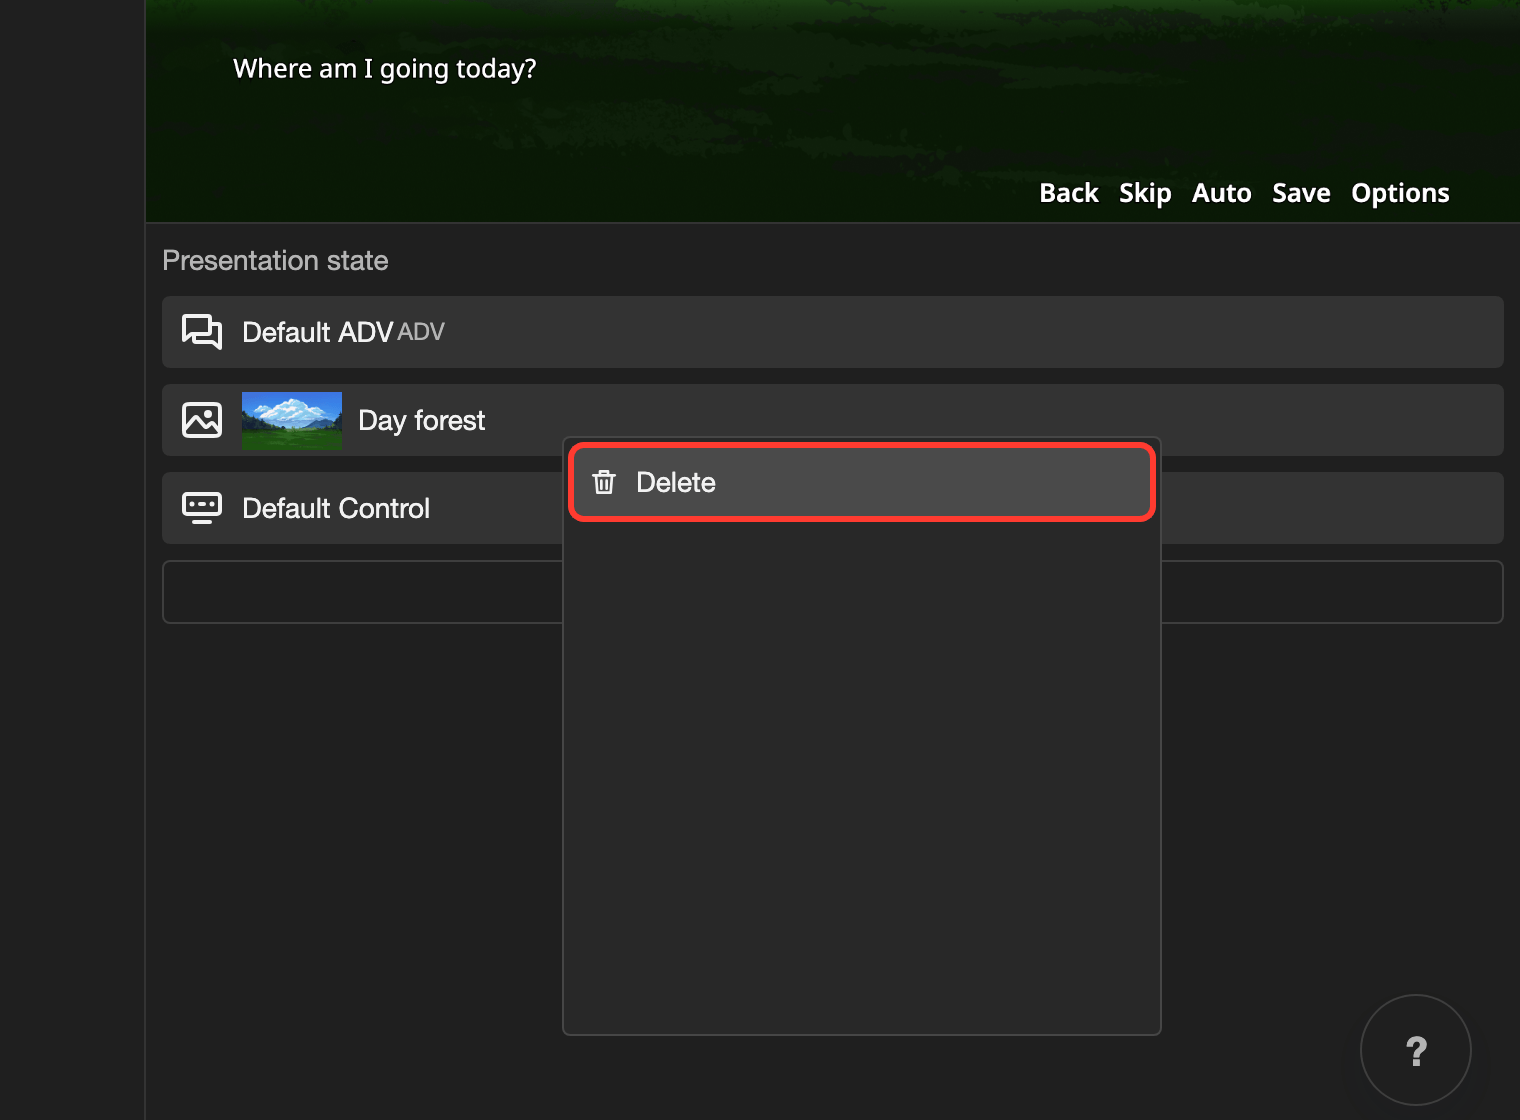
The action is removed from this line and the lines after it. To undo, click the undo button.
Work with sections
All the sections of a scene are on one page, one below the other. Scroll to see them all.
Create a section
-
Next to the section name, tap the three dots button.
A menu appears.
-
Tap Add section below.
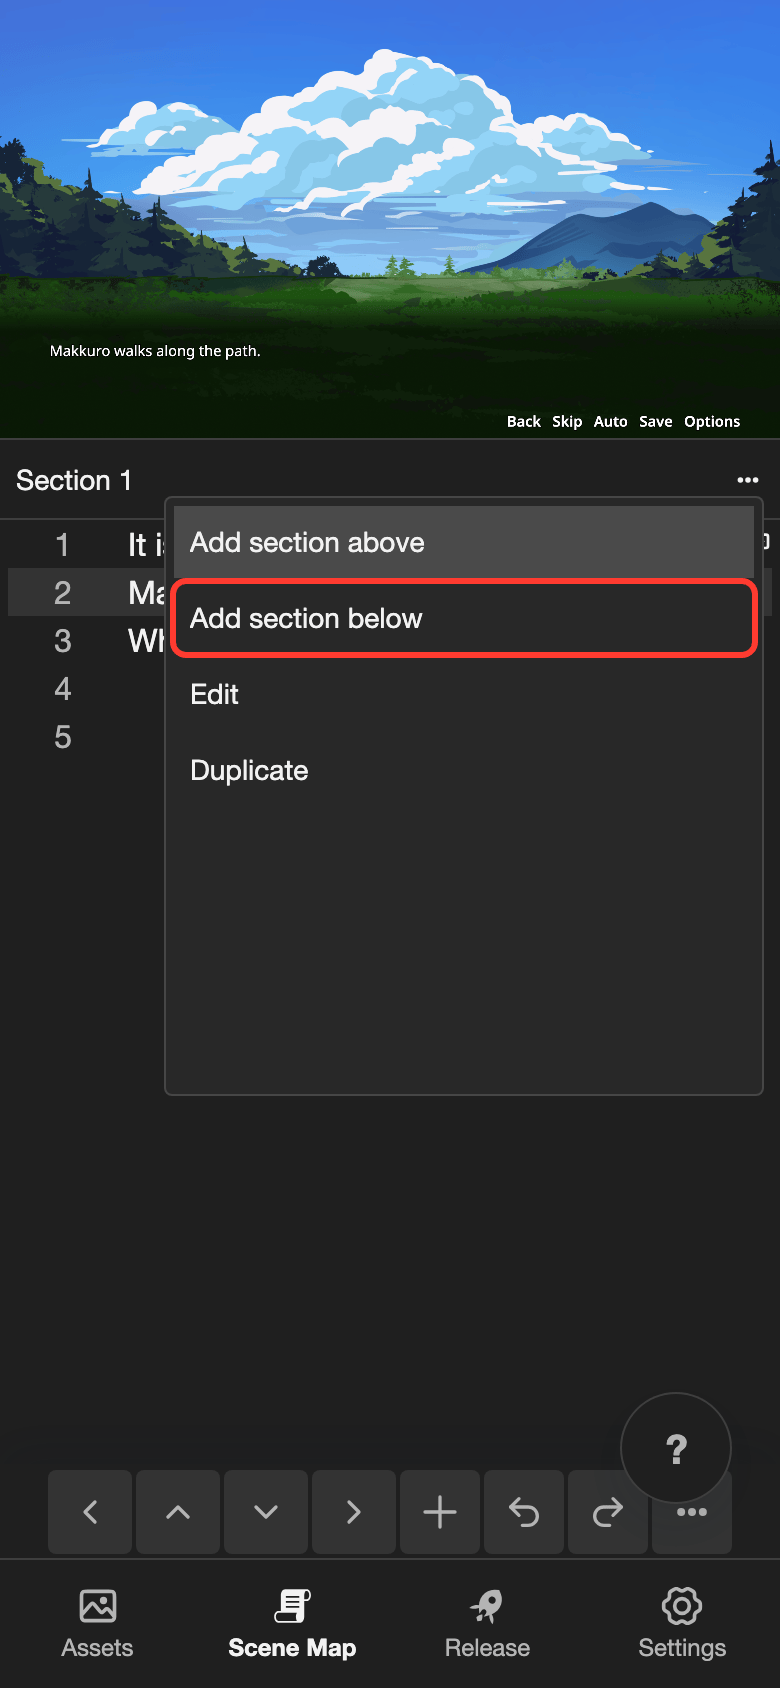
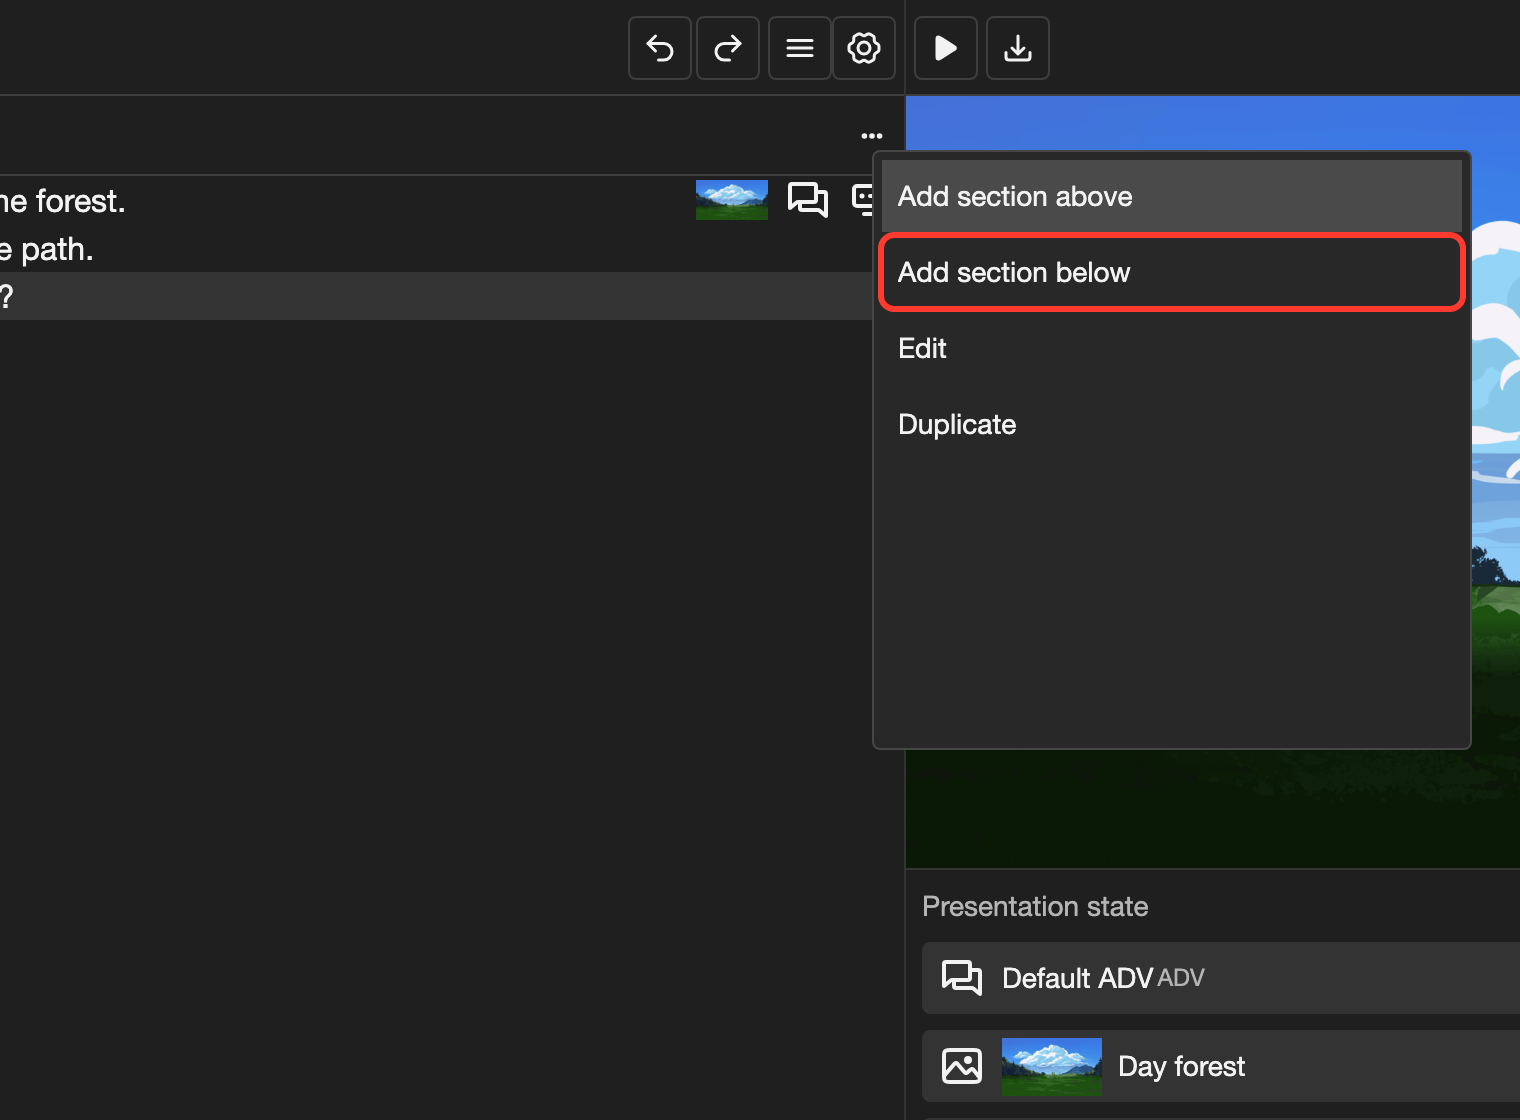
The Create Section box opens.
-
In Section Name, type a name.
-
For Inherit state from selected line, tap an option:
- Inherit: The new section starts like the selected line. It keeps the background, characters, music, and dialogue box.
- Don't Inherit: The new section starts with only a dialogue box and a control.
-
Tap Create.
The new section appears with 1 empty line.
Other options in the section menu
| Option | What it does |
|---|---|
| Move up or Move down | Moves the section up or down in the scene. |
| Edit | Opens the Edit Section box. Change the Section Name, then tap Save. |
| Duplicate | Makes a copy of the section. |
| Move to scene | Moves the section to another scene. Choose the Scene, then tap Move. |
| Delete | Deletes the section. |
Move to scene and Delete show only when the scene has 2 or more sections.
Go to another section
-
Open the Sections list.
- Phone or tablet: At the bottom of the screen, tap the three dots button. Then tap Sections.
- Desktop: In the top bar, click the three lines button (the button with three lines).
-
Tap a section.
The editor moves to that section.
A warning icon means that the section has no transition to another section. The visual novel stops at the end of that section.
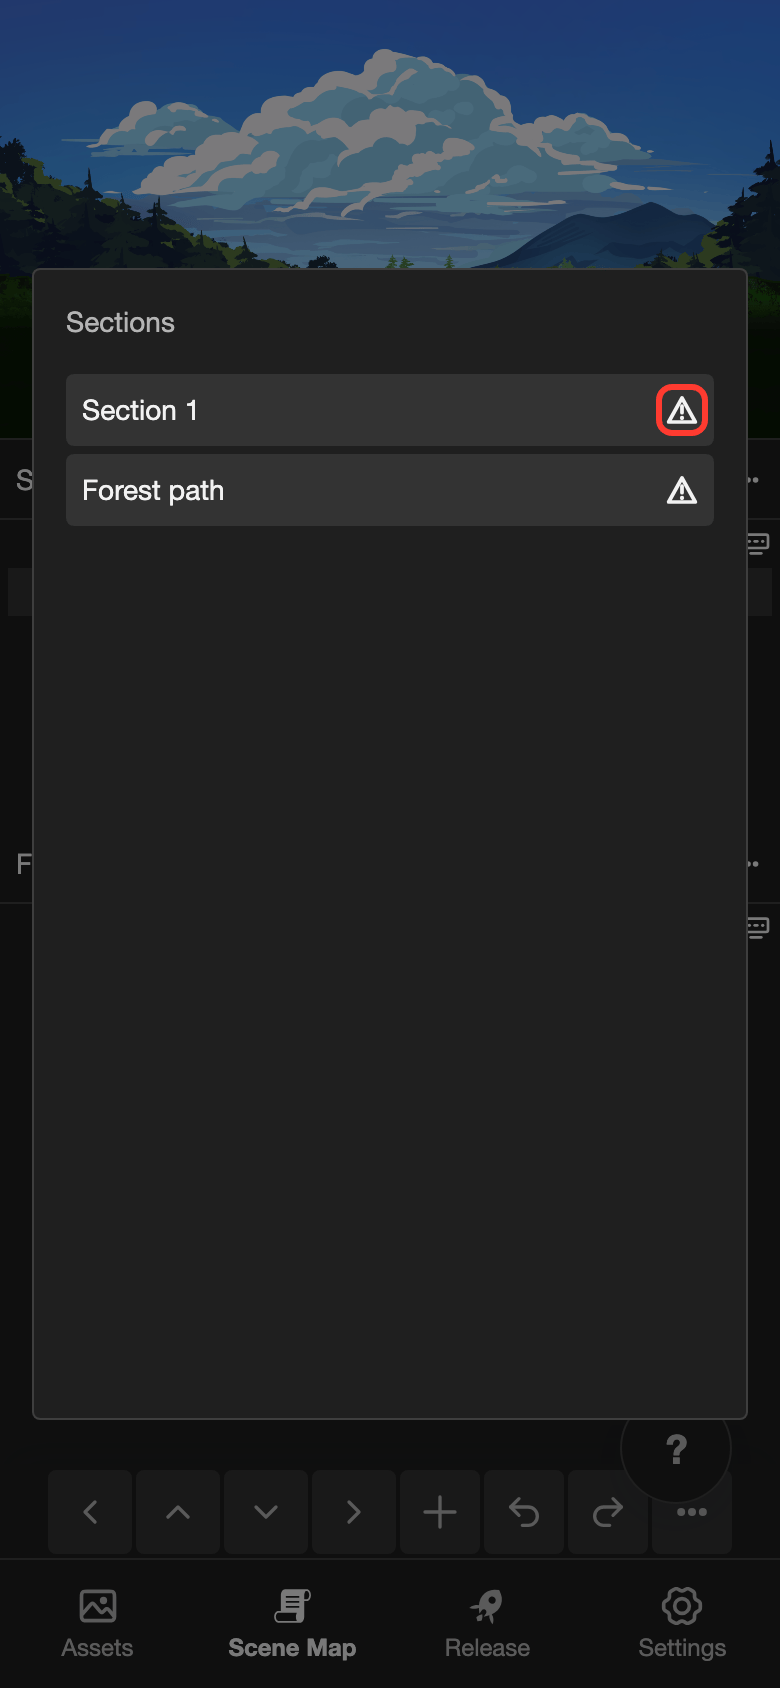
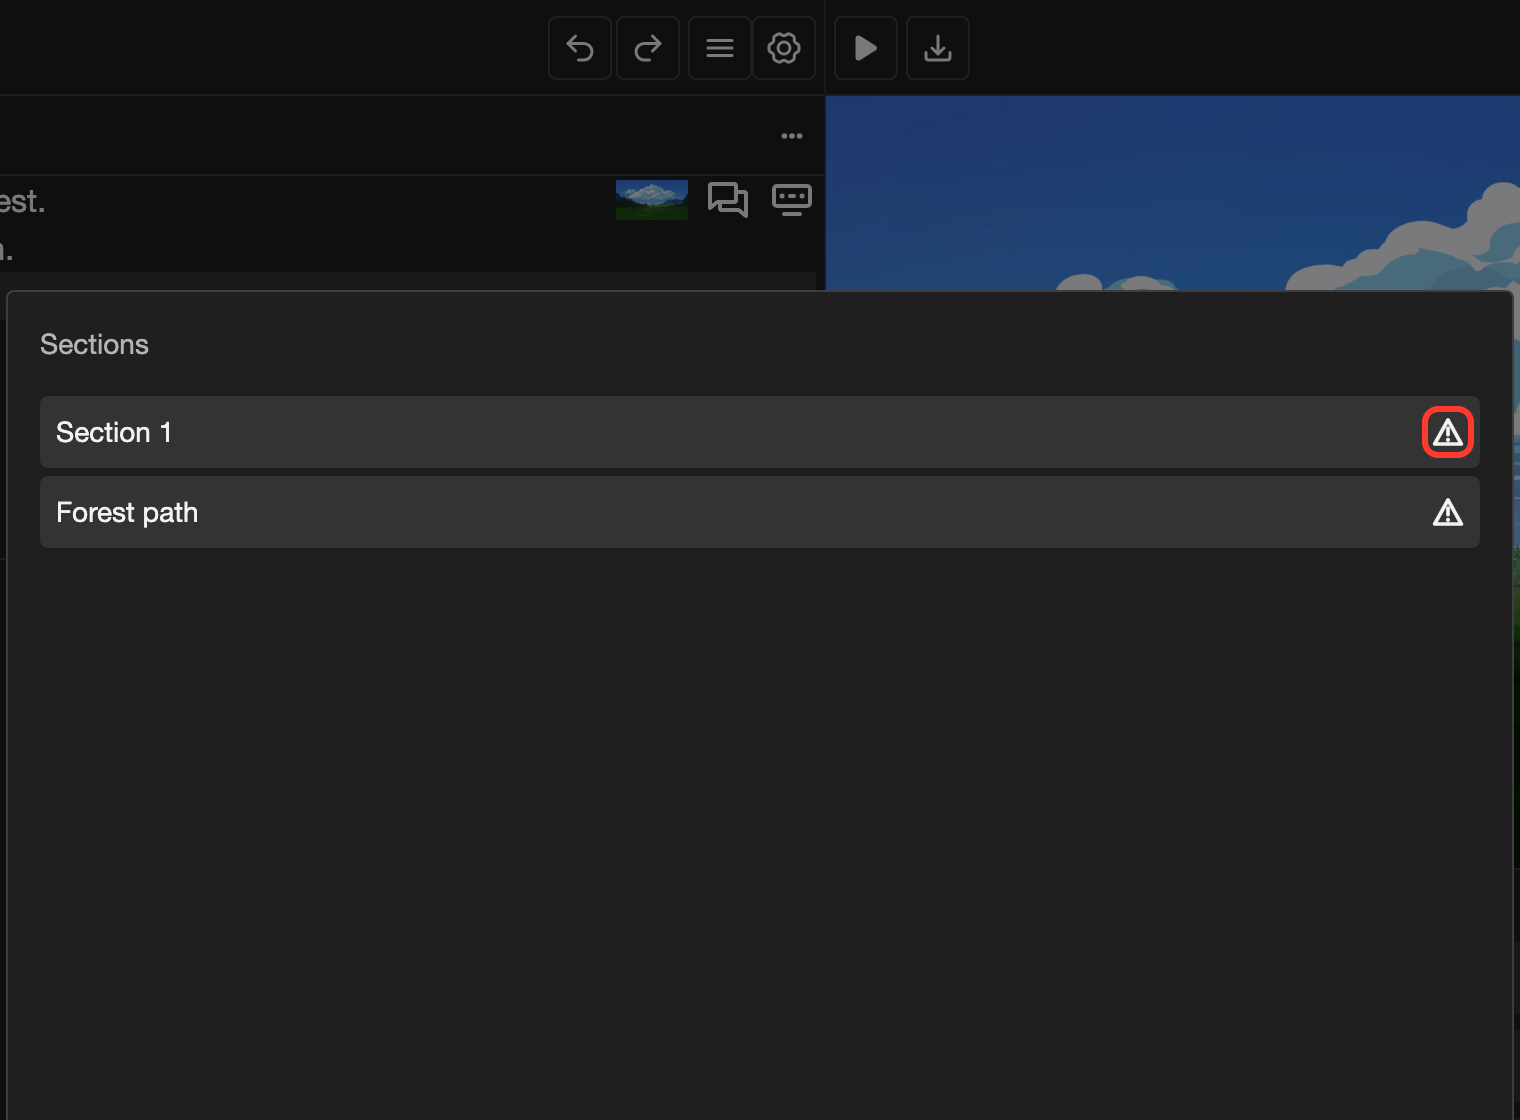
To go on, add a Section Transition or Choices to a line in that section.
Preview the scene
The preview in the editor shows the selected line. You can also play the scene in full screen.
-
Tap the line where the preview should start.
-
Start the preview.
- Phone or tablet: At the bottom of the screen, tap the three dots button. Then tap Preview.
- Desktop: Above the preview, click the play button.
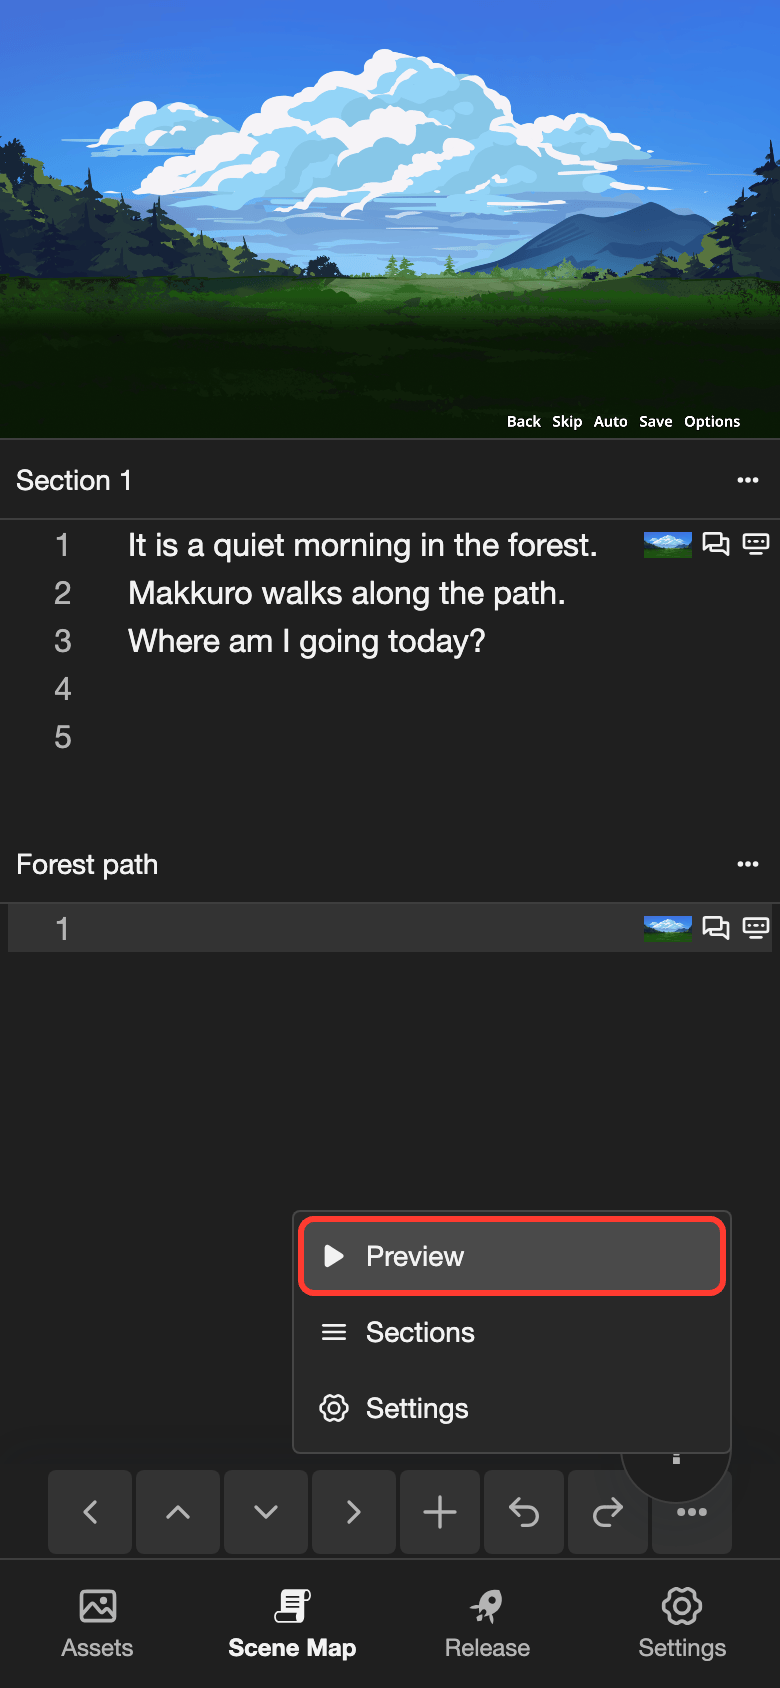
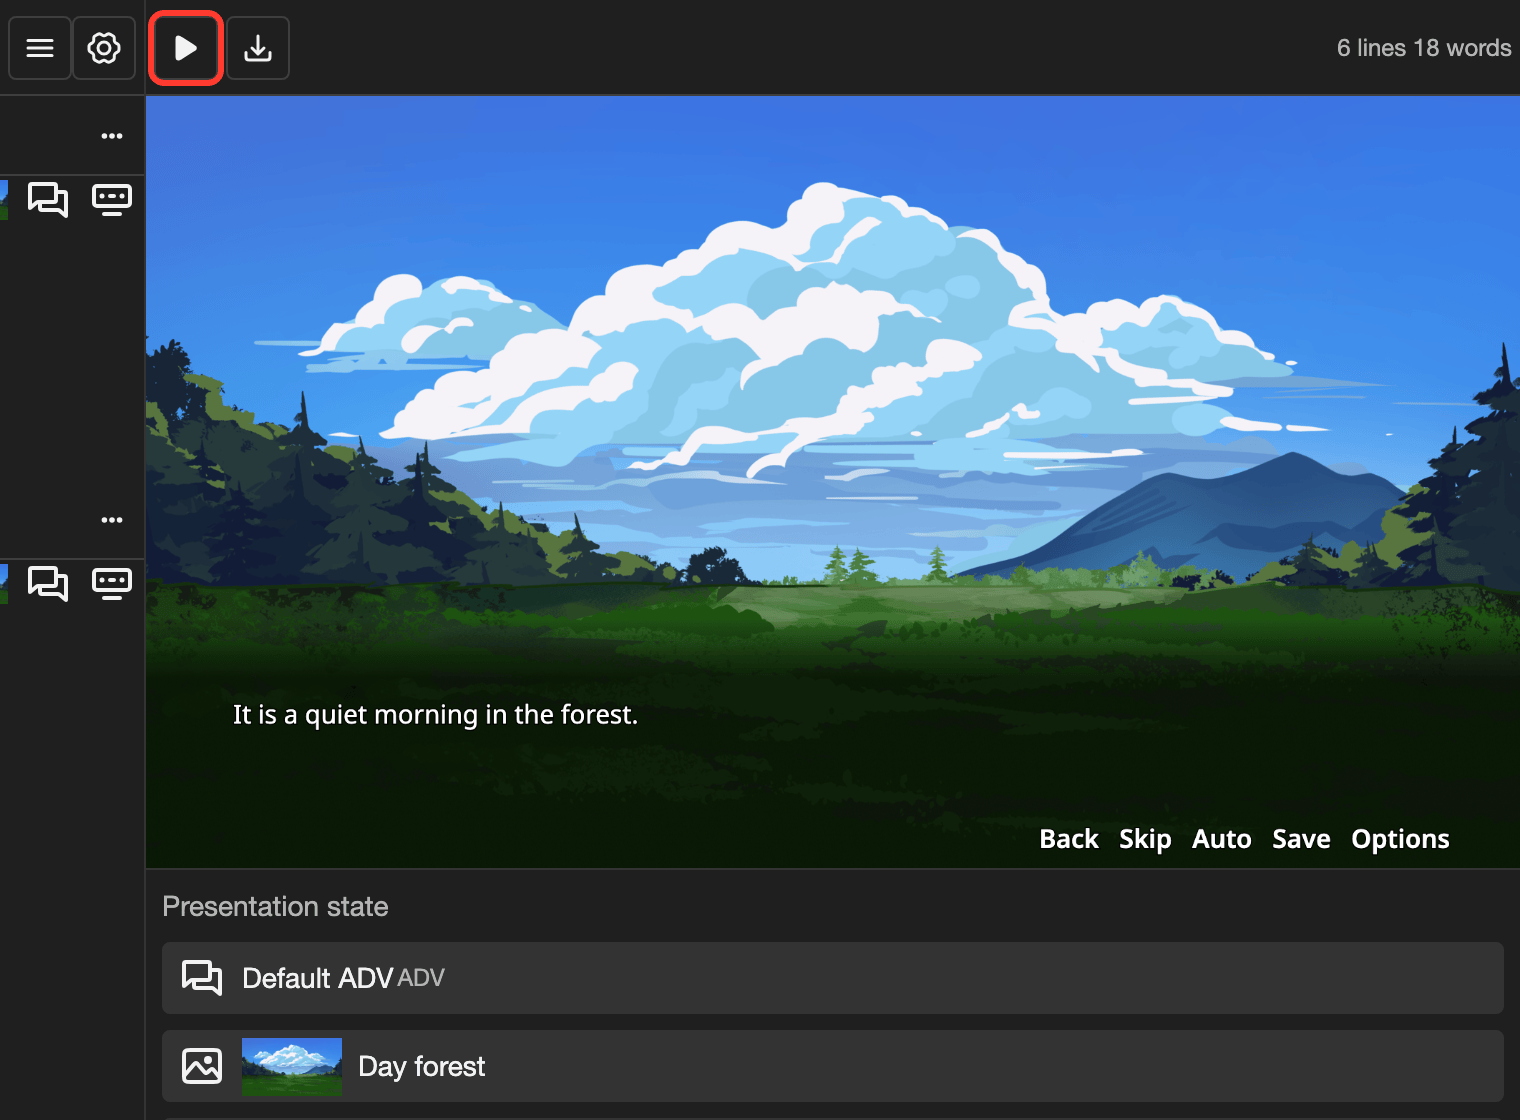
The scene plays in full screen from that line.
-
In the top right, tap the X button (the button with an X that closes a panel).
The preview closes. On desktop, you can also press
Esc.
Mute the preview
-
Open Settings.
- Phone or tablet: At the bottom of the screen, tap the three dots button. Then tap Settings.
- Desktop: In the top bar, click the gear button.
-
For Preview audio, tap Muted.
-
Tap Save.
The preview in the editor plays no sound now. The full-screen preview still plays sound.
In Settings, you can also hide the line numbers and change the text size. These settings apply to all your projects.
Good to know
- RouteVN Creator saves your changes by itself. There is no save button.
- The round ? button opens this page.