Next Line Config
Next Line Config changes how the visual novel moves to the next line. You can turn clicks off, or make a line move on by itself after a delay.
Use it for timed moments, such as a short cutscene.
Add Next Line Config
-
Open a scene in the Scene Editor.
-
Tap the line where you want the setting to start.
-
Open the Actions menu.
- Phone or tablet: Tap the + button in the bottom bar.
- Desktop: Click the + button under Presentation state.
-
In the Navigation group, tap Next Line Config. Scroll down if you do not see it.
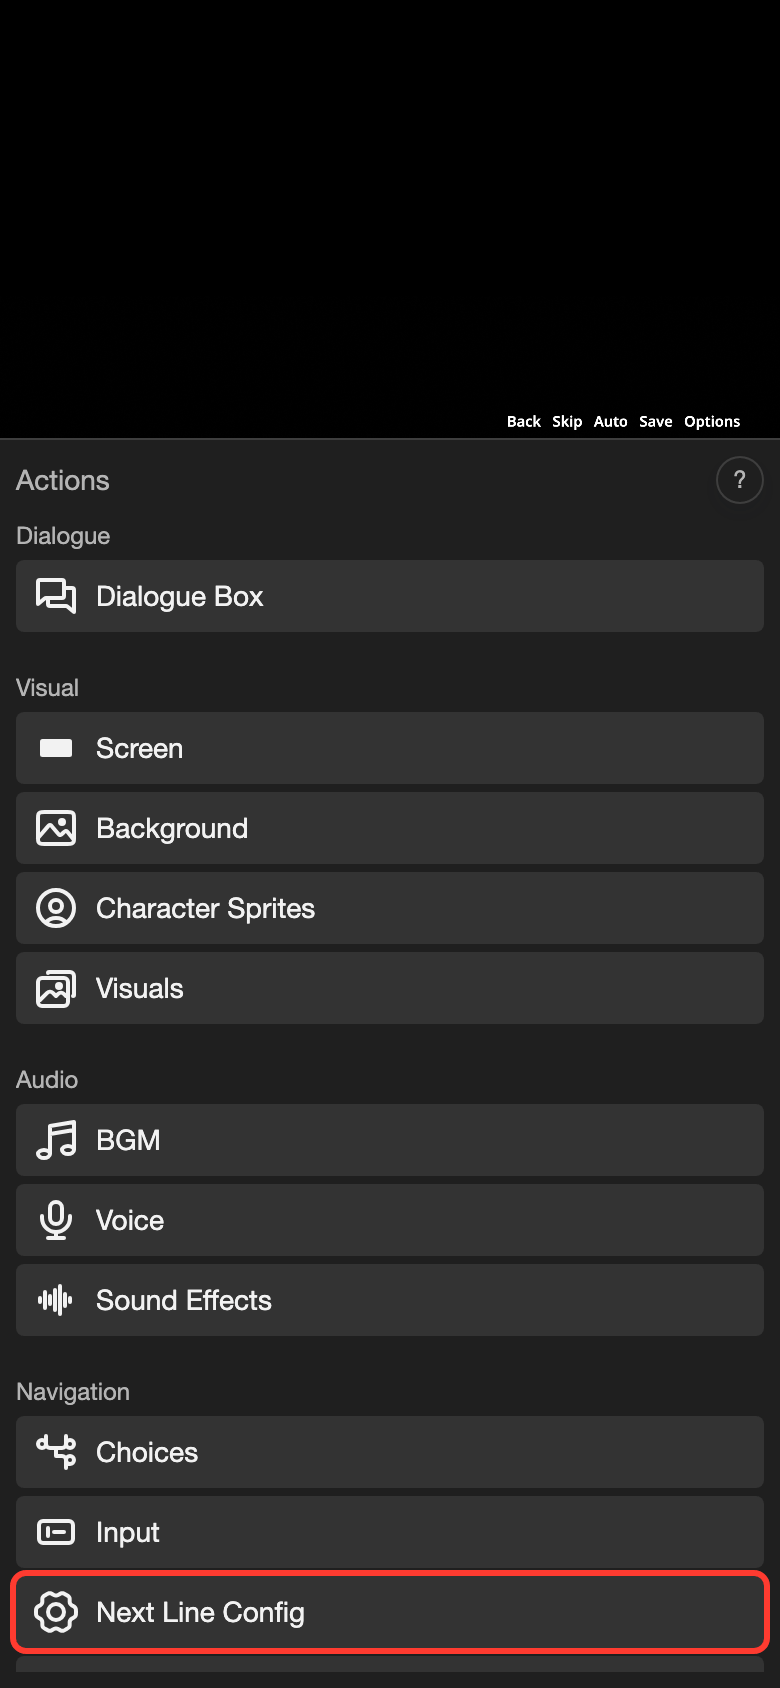
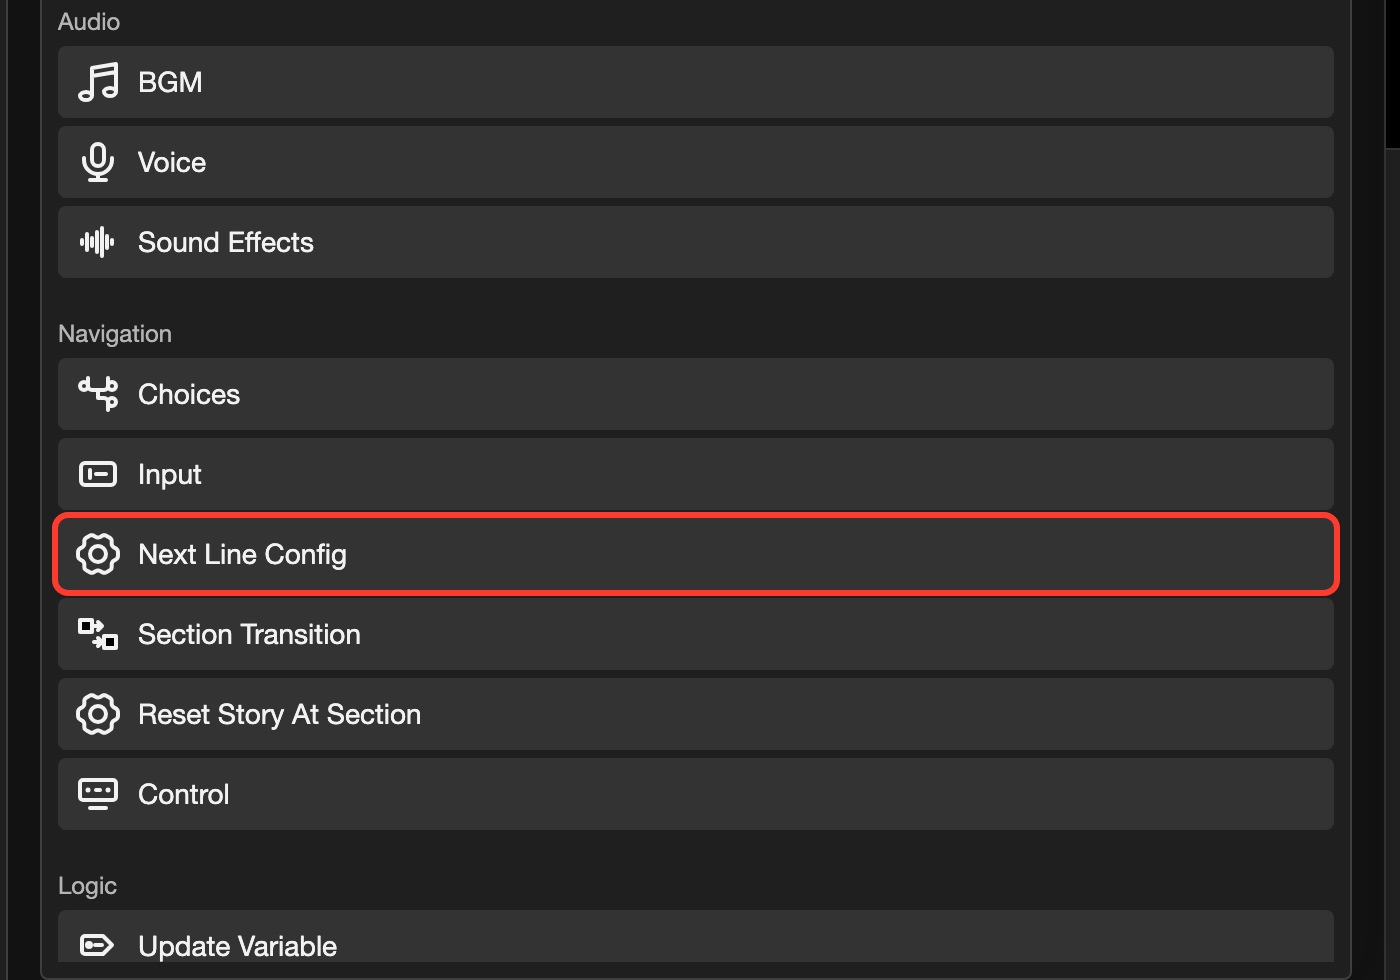
The Next Line Config form opens.
-
Choose your settings. The table below explains each one.
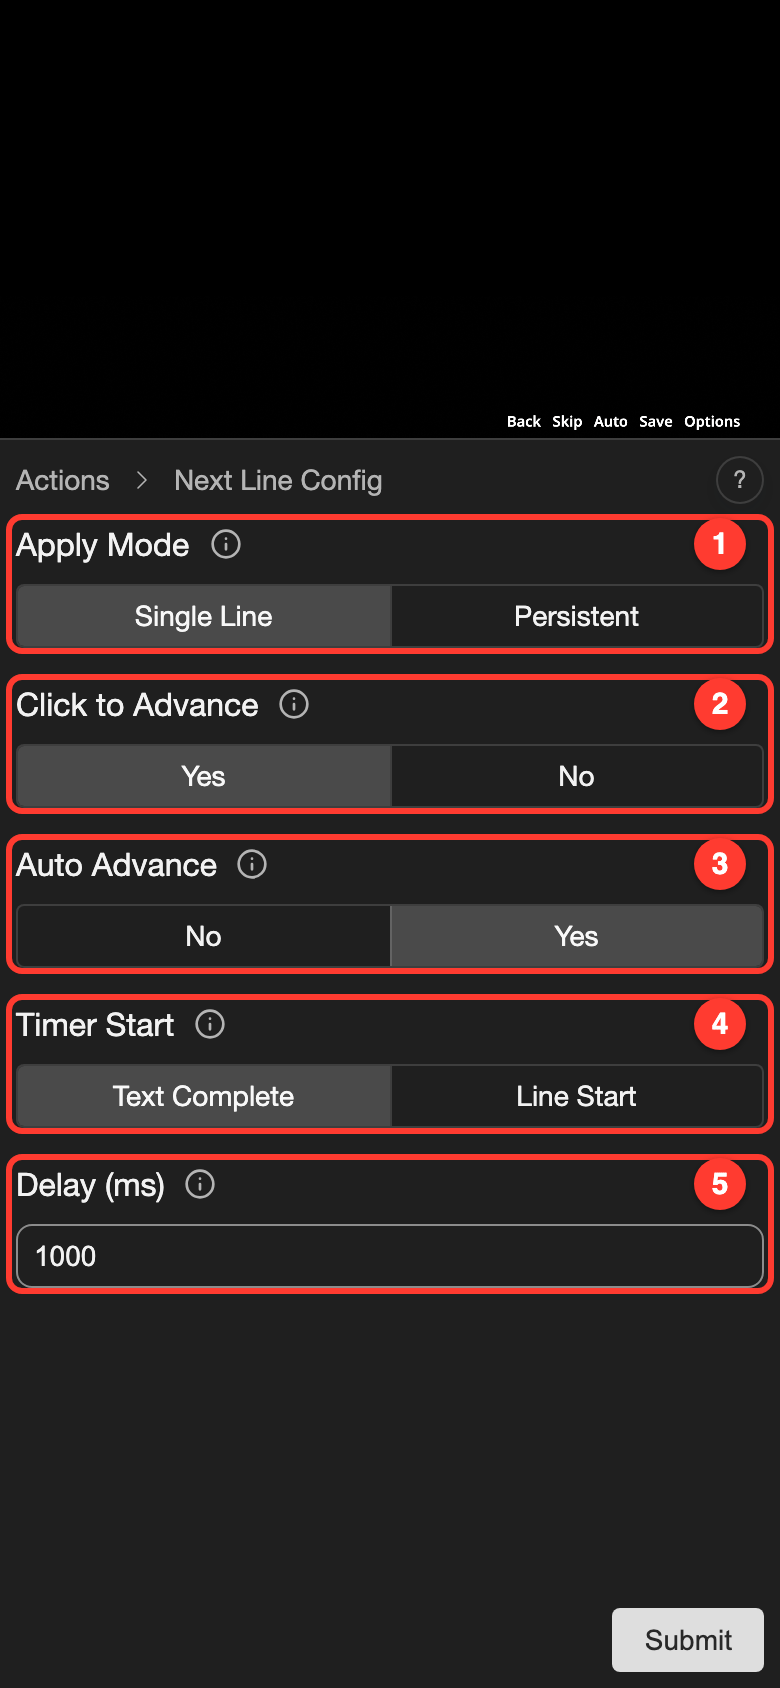
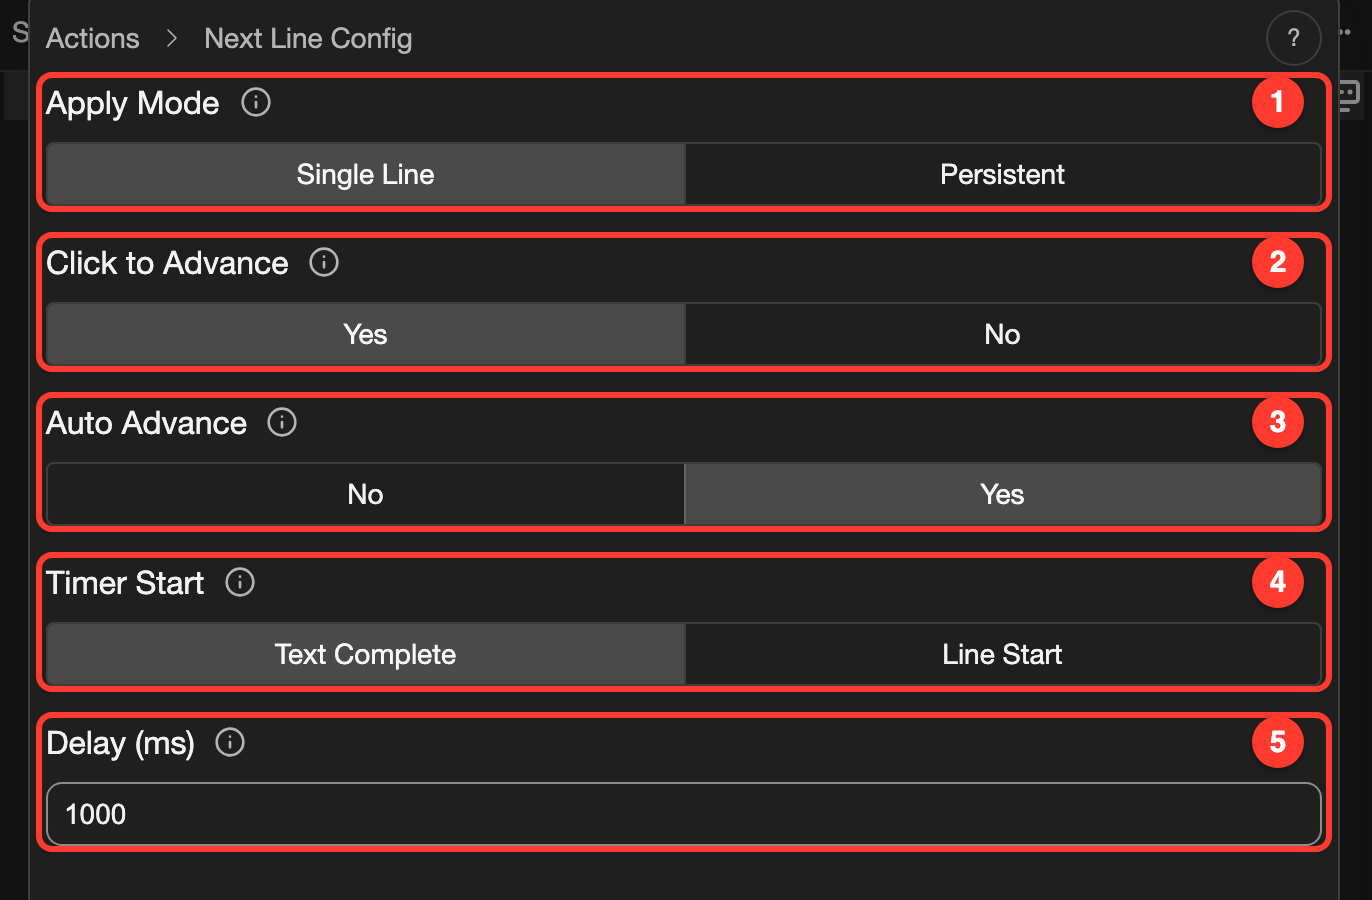
Auto Advance is Yes here, so all five settings show. -
Tap Submit.
A gear icon appears at the right end of the line.
Settings
A new Next Line Config starts with Apply Mode on Single Line. Click to Advance is Yes. Auto Advance is No.
| # | Setting | What it does |
|---|---|---|
| 1 | Apply Mode | How long the settings last. Single Line: only this line. The next line goes back to normal. Persistent: this line and the lines after it, until another Next Line Config changes them. |
| 2 | Click to Advance | Yes: a click moves to the next line. No: a click does not move on, because the Next Line action does nothing. A control can run Next Line when the reader clicks or presses a key. |
| 3 | Auto Advance | Yes: the visual novel moves to the next line by itself after a delay. No: the visual novel waits for the reader. |
| 4 | Timer Start | Shows only when Auto Advance is Yes. When the delay starts. Text Complete: after the text finishes showing. Line Start: when the line begins. |
| 5 | Delay (ms) | Shows only when Auto Advance is Yes. How long to wait, in milliseconds. 1000 is 1 second. If you leave it empty, 1000 is used. |
Examples:
- To move a line on after 3 seconds, set Auto Advance to Yes and Delay (ms) to
3000. - For a timed scene that ignores clicks, set Click to Advance to No and Auto Advance to Yes.
- To keep the settings for many lines, choose Persistent. Later, add another Next Line Config to go back to normal.
Good to know
- Without a Next Line Config, the visual novel waits for the reader. Nothing moves on by itself.
- Auto Advance is not the same as auto mode. The reader turns on auto mode with Toggle Auto Mode.
- Auto mode still works when Click to Advance is No.
- If Click to Advance and Auto Advance are both No, a click cannot move the visual novel on. Use this only when something else moves it on, such as Choices.
- Auto Advance stops at the last line of a section. Use Section Transition to go to another section.