Particles
A particle effect shows many small pictures that move on the screen. For example, snow falls, rain pours, or sparkles shine. Make a particle effect once, then show it in many scenes.
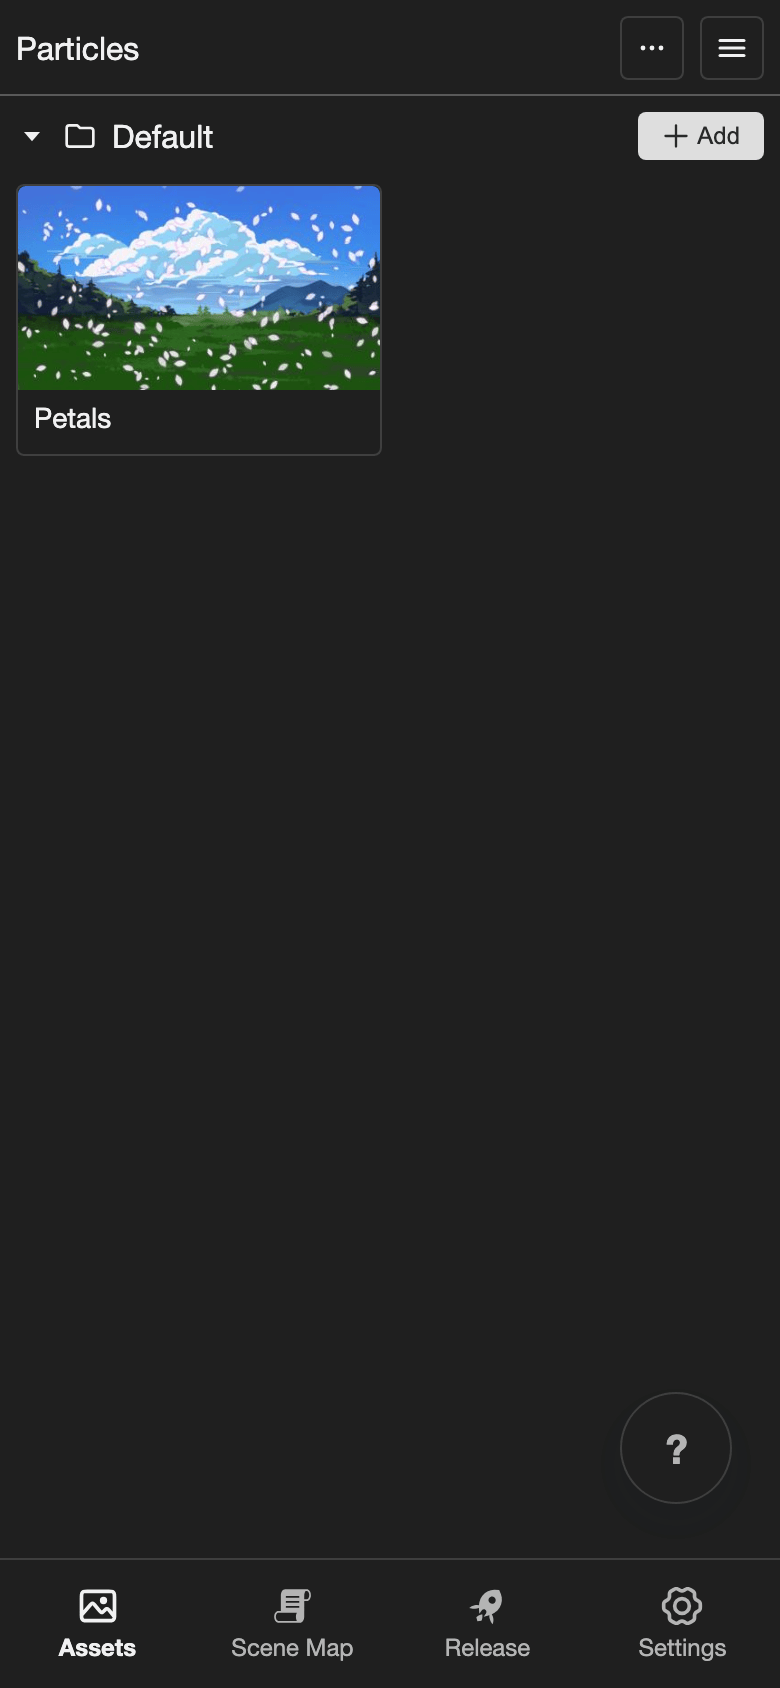
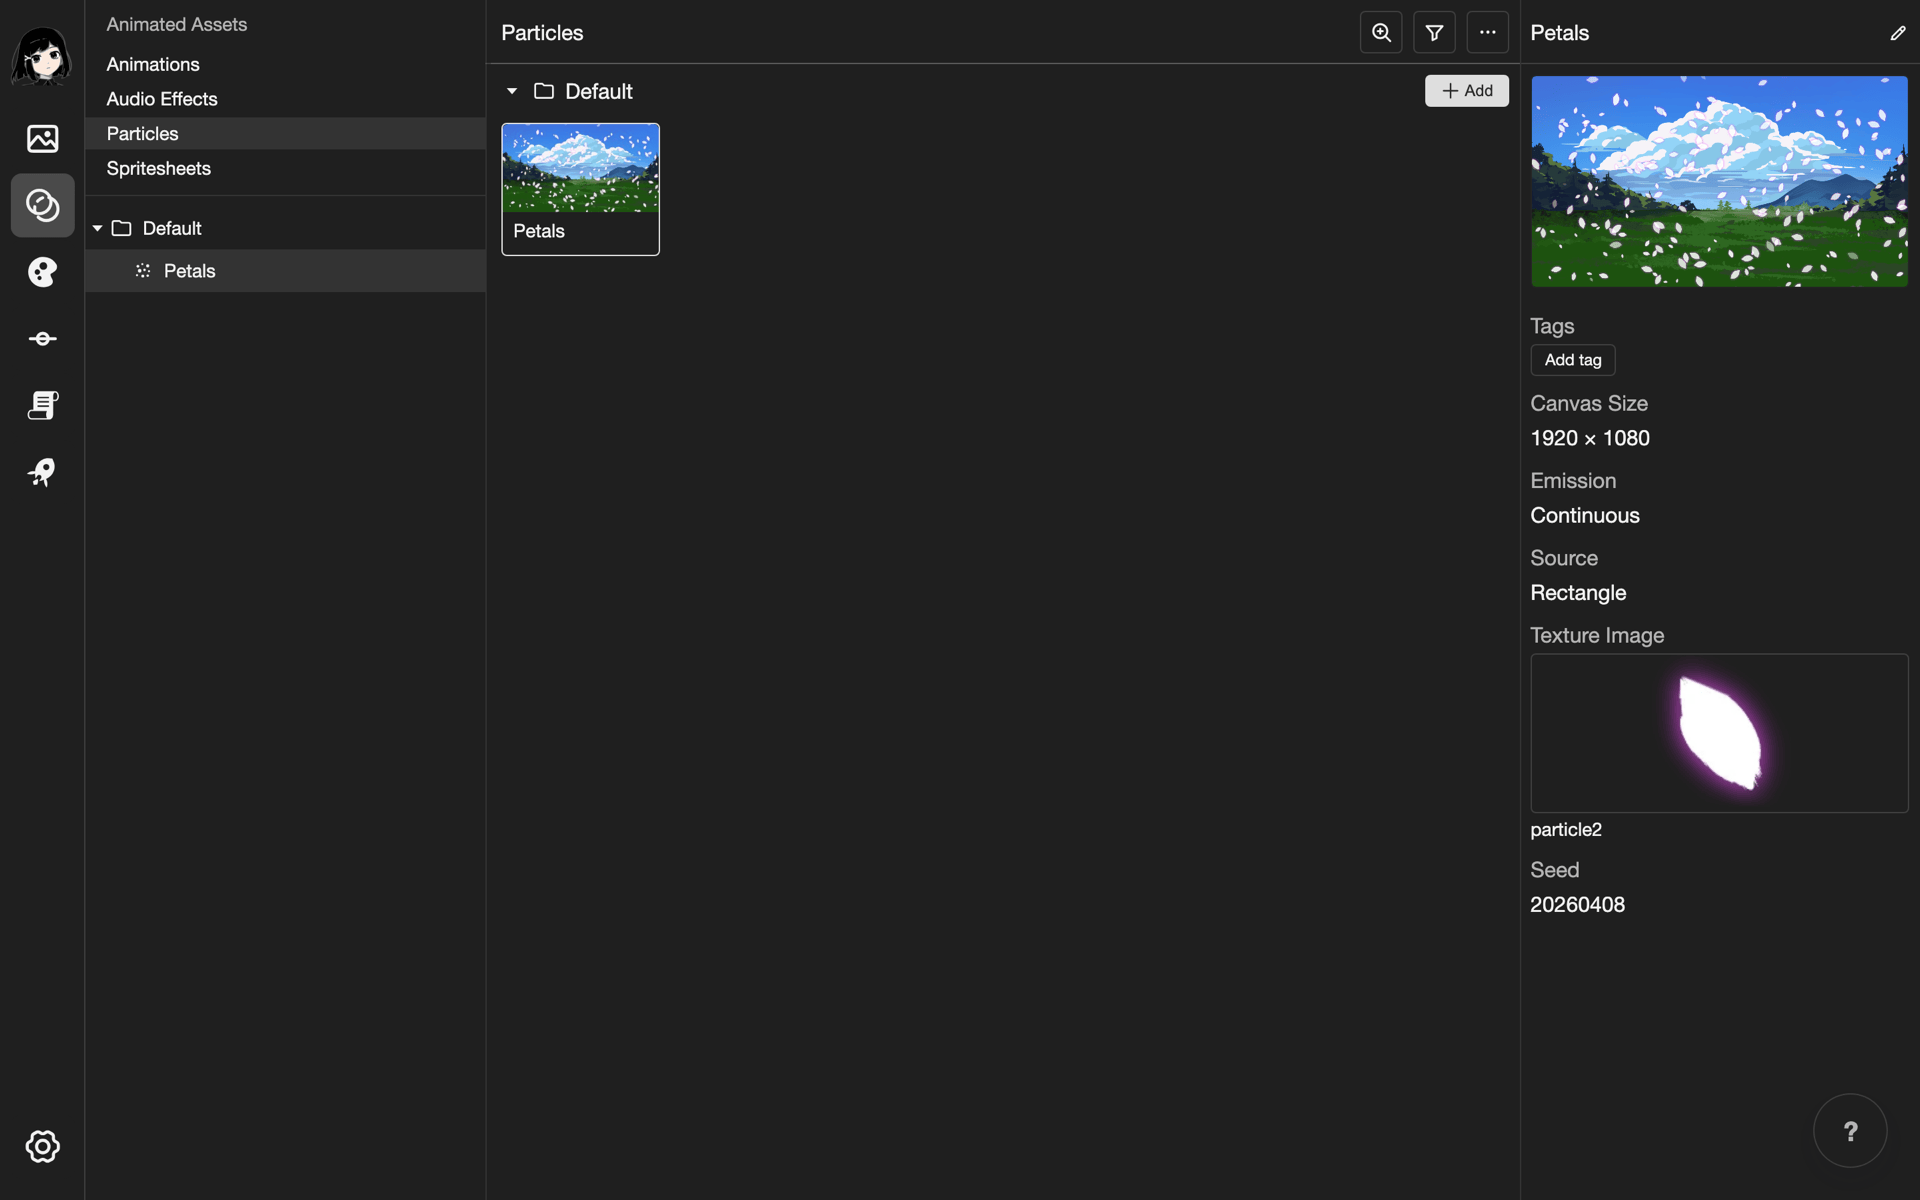
Words to know
- Particle: One small picture in the effect. For example, one snowflake.
- Particle effect: All the particles together, with their settings. For example, falling snow.
- Texture image: The picture that each particle uses. You choose it from your Images page.
- Source: The place where new particles appear. It can be a point, a rectangle, a circle, or a line.
- Preset: A ready-made starting point, such as Snow. You can change every setting after.
Open the Particles page
-
Open your project. See Projects.
-
Go to the Particles page.
- Phone or tablet: Tap Assets in the bottom bar. Then tap Particles under Animated Assets.
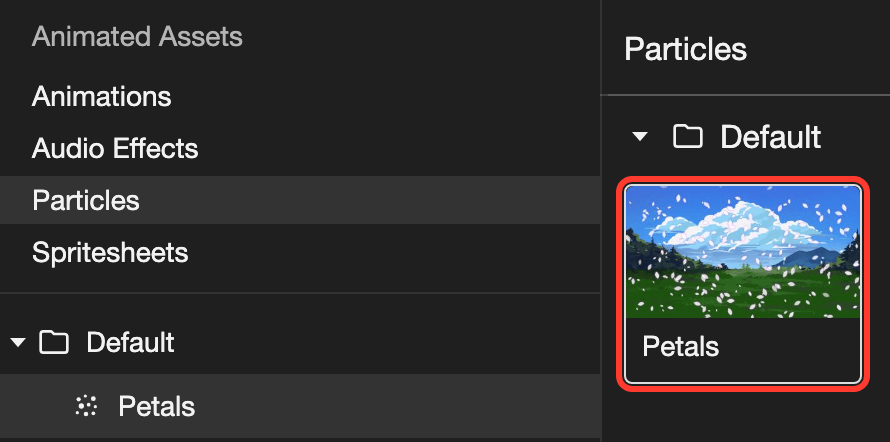
- Desktop: In the far left bar, click the Animated Assets button, below the Assets button. Then click Particles.
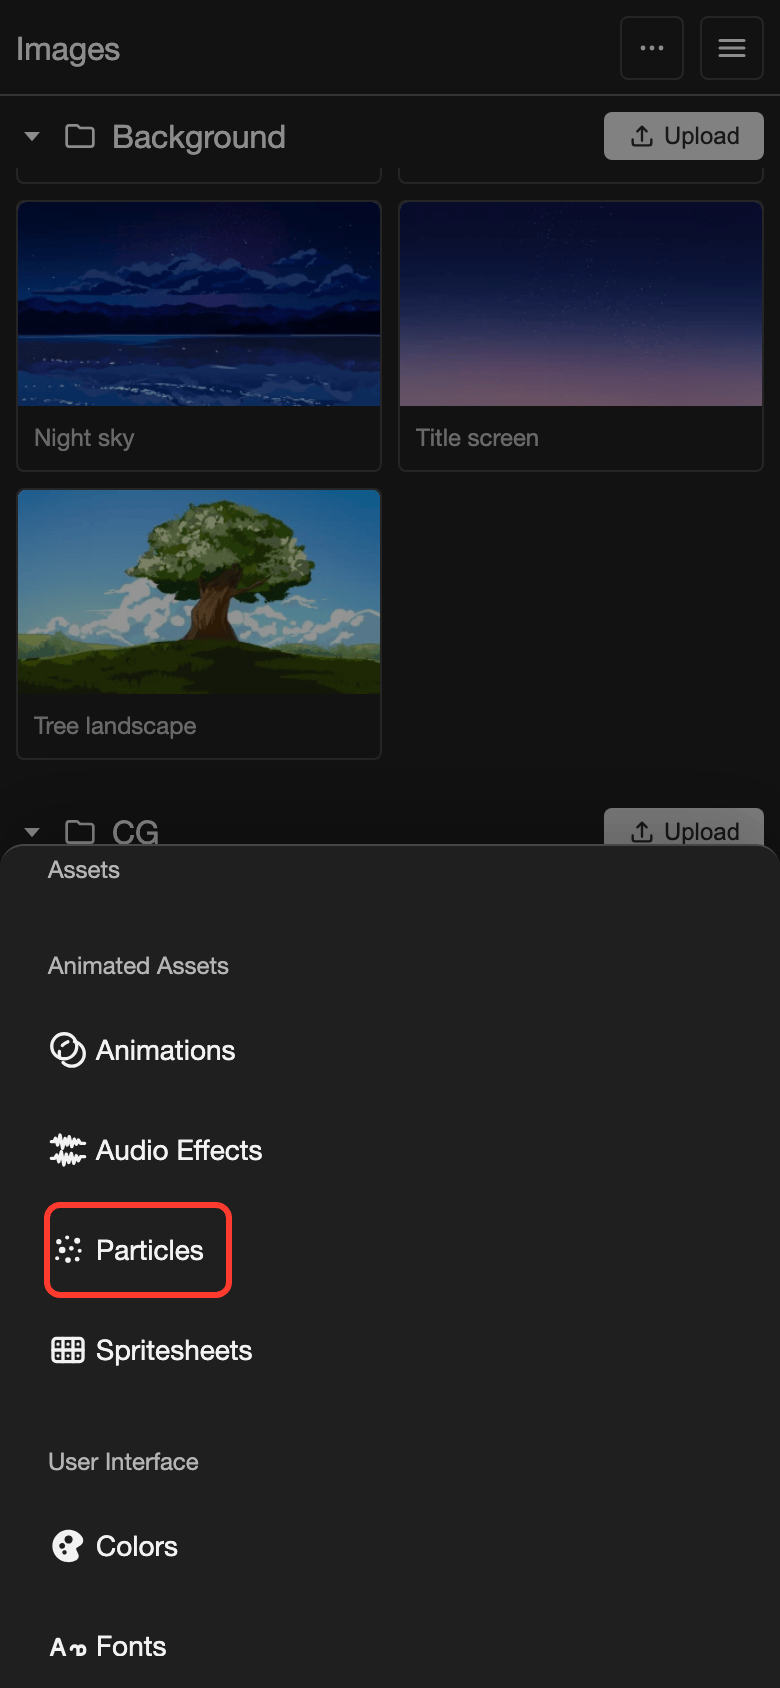
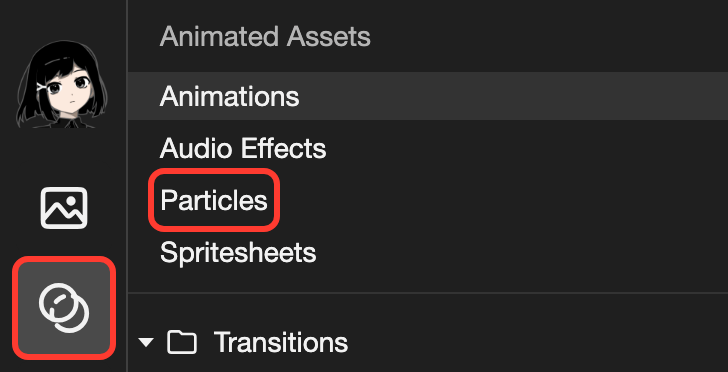
Particles is under Animated Assets.
The Particles page opens.
Create a particle effect
This page makes an effect called Petals. Pink petals fall from the top of the screen.
First, upload a small picture for the particles to your Images page. A picture with a see-through background works best. This example uses a petal picture called particle2.
-
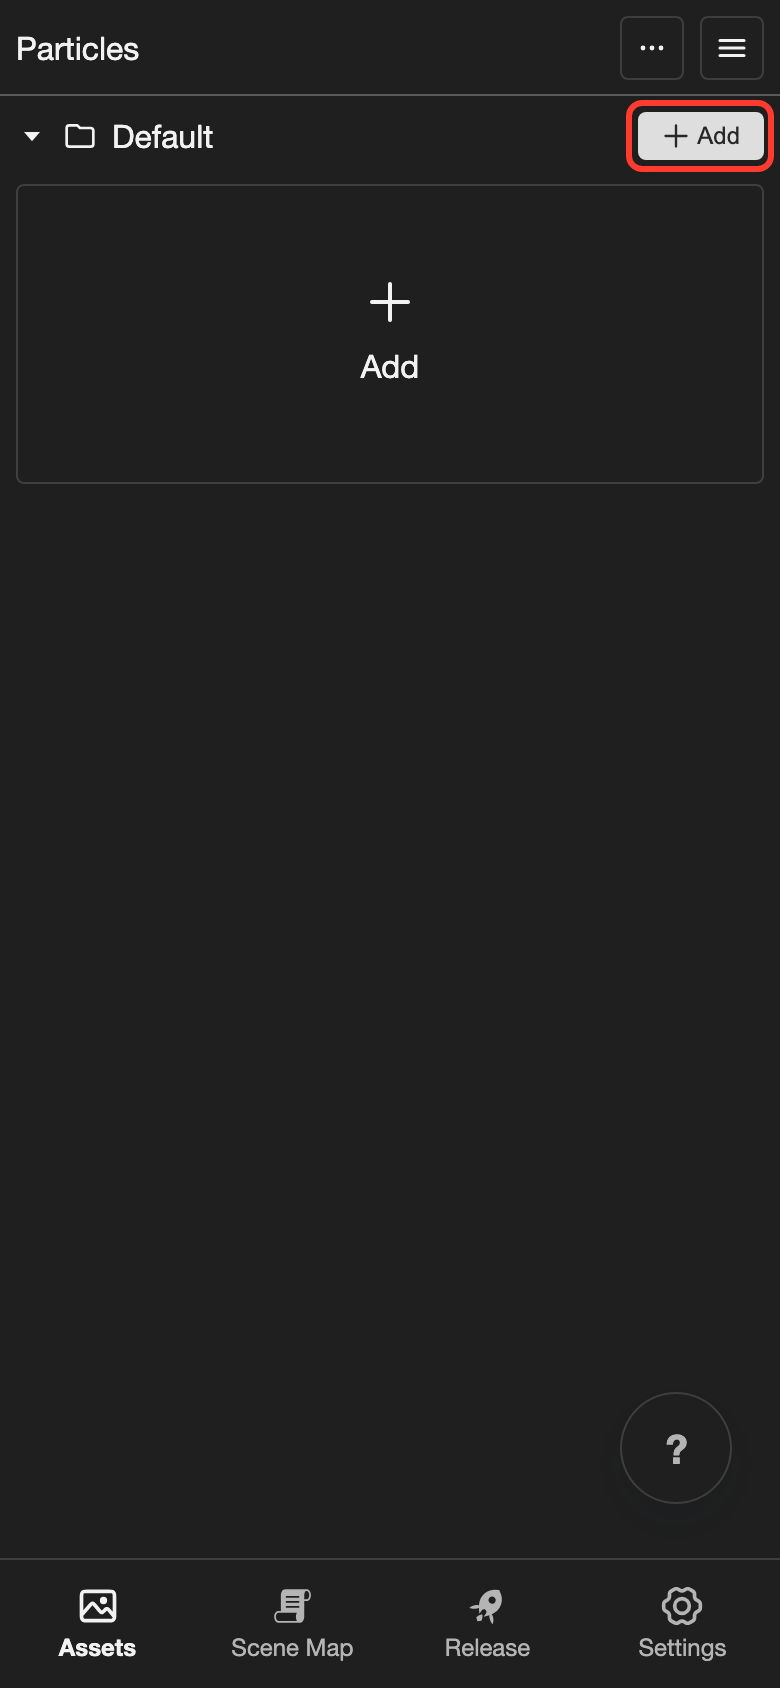
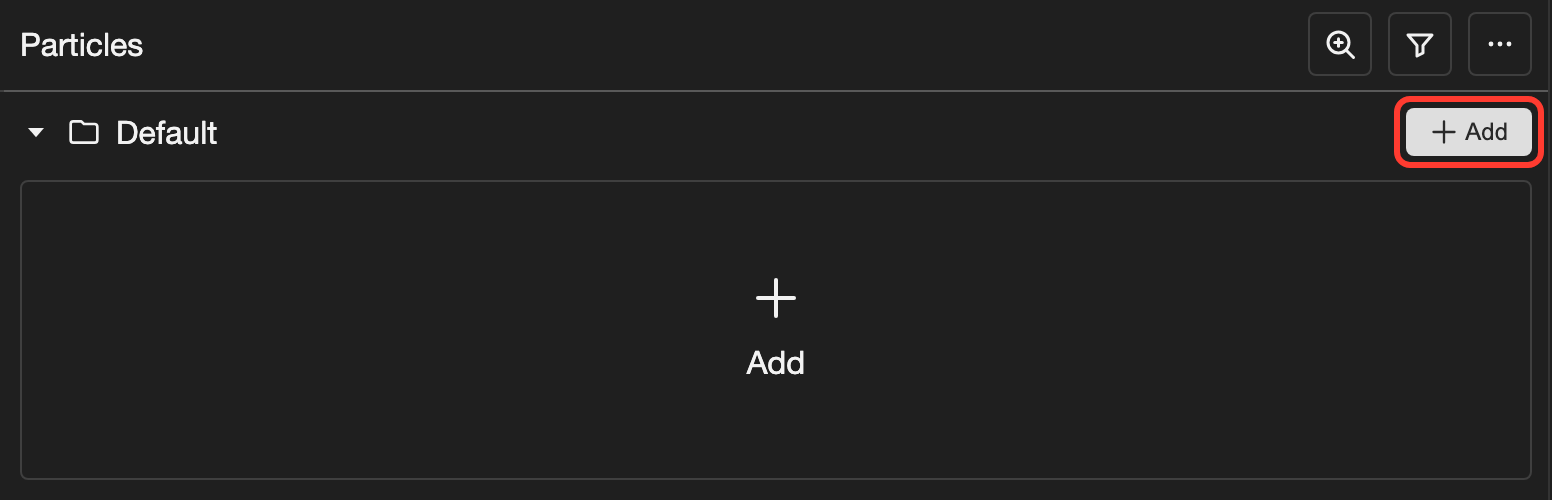
Next to the Default folder, tap Add.
-
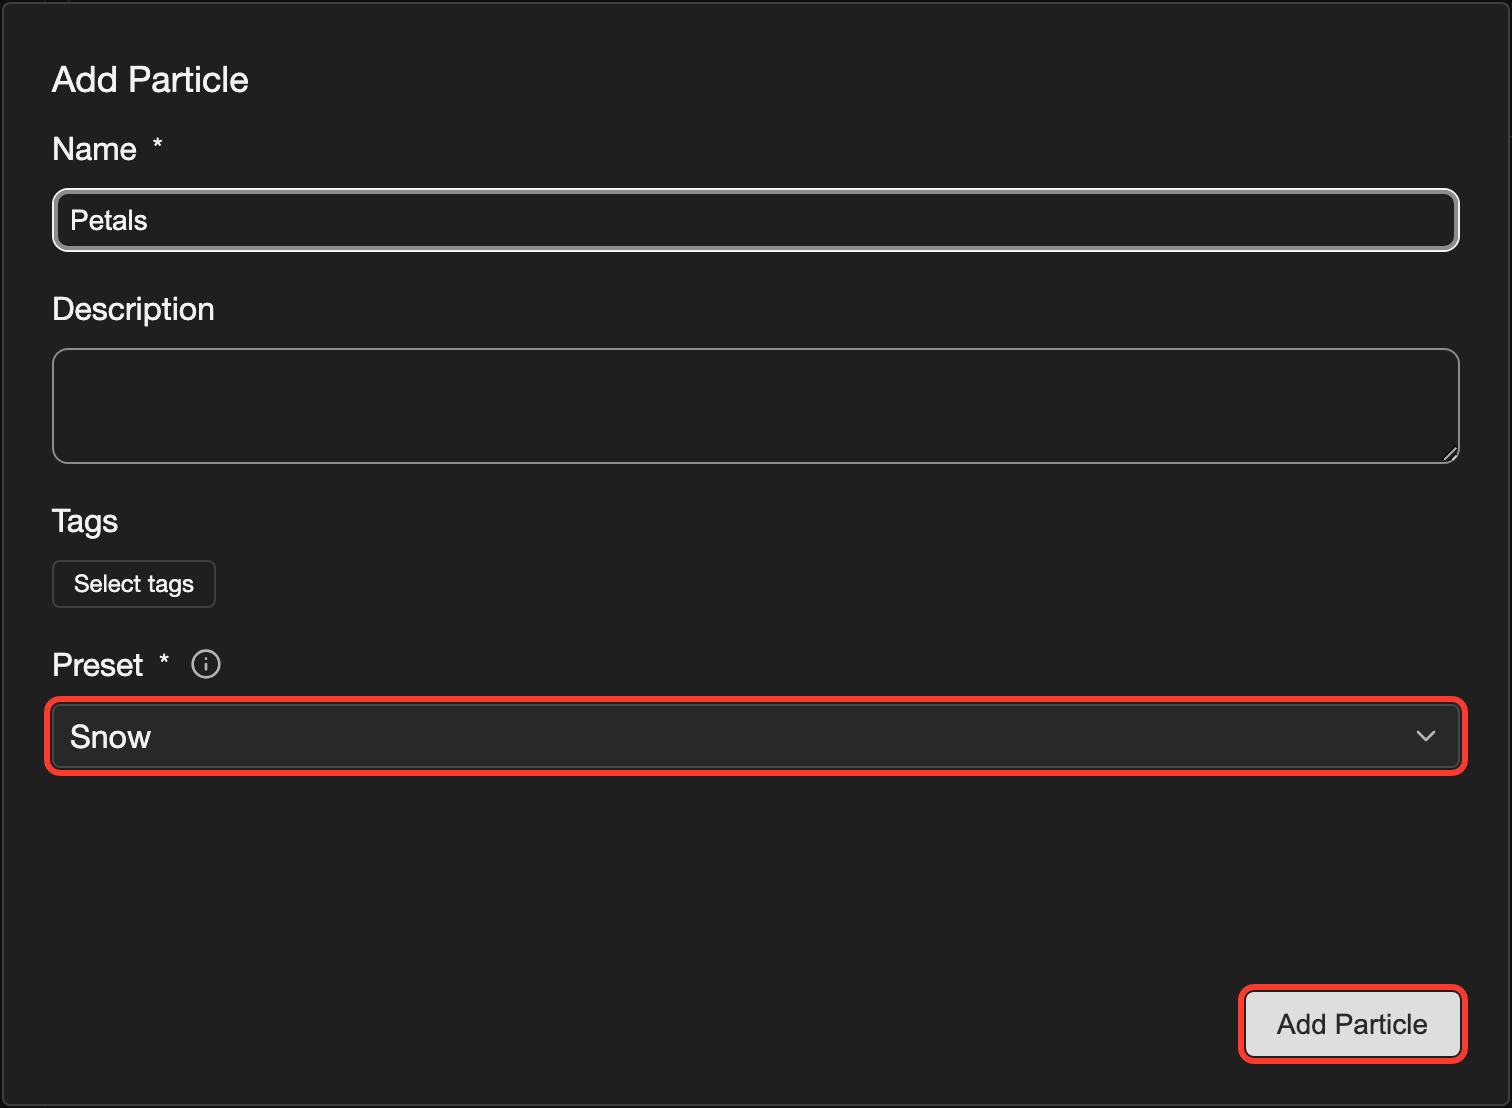
In Name, type
Petals. Leave Preset on Snow. Then tap Add Particle.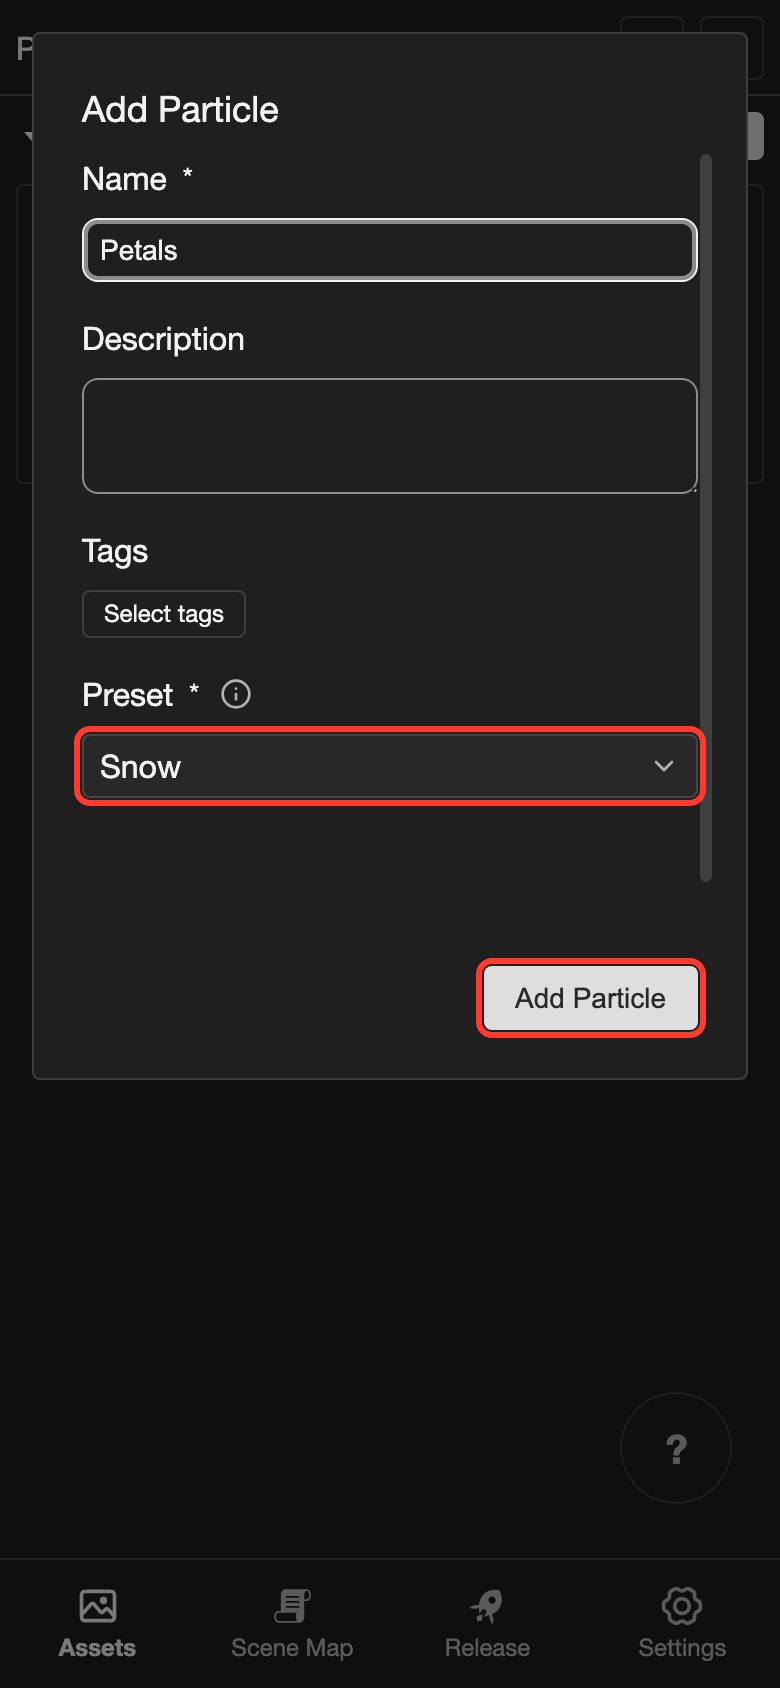
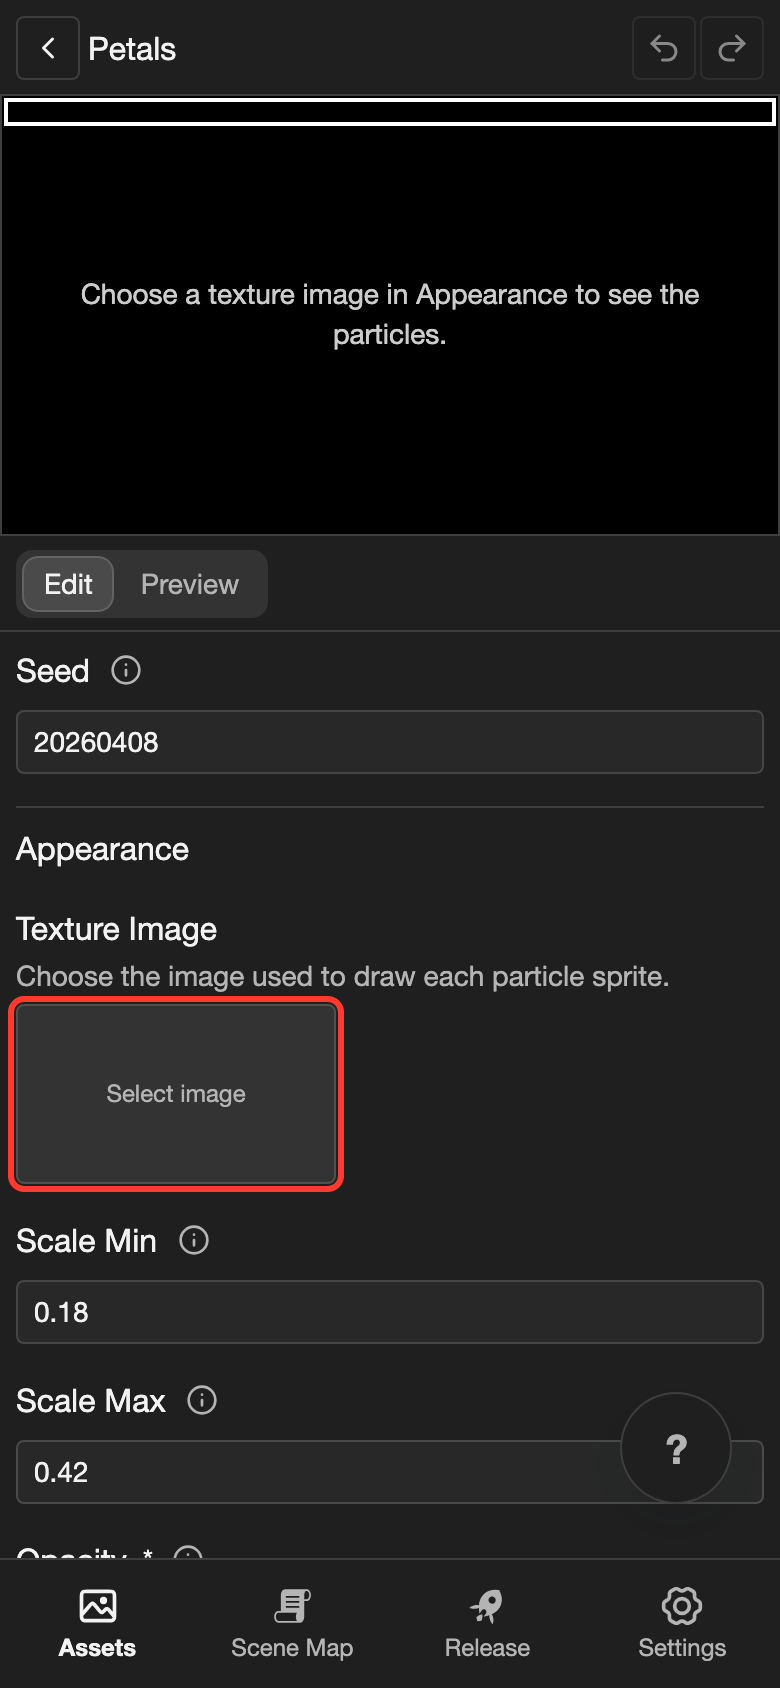
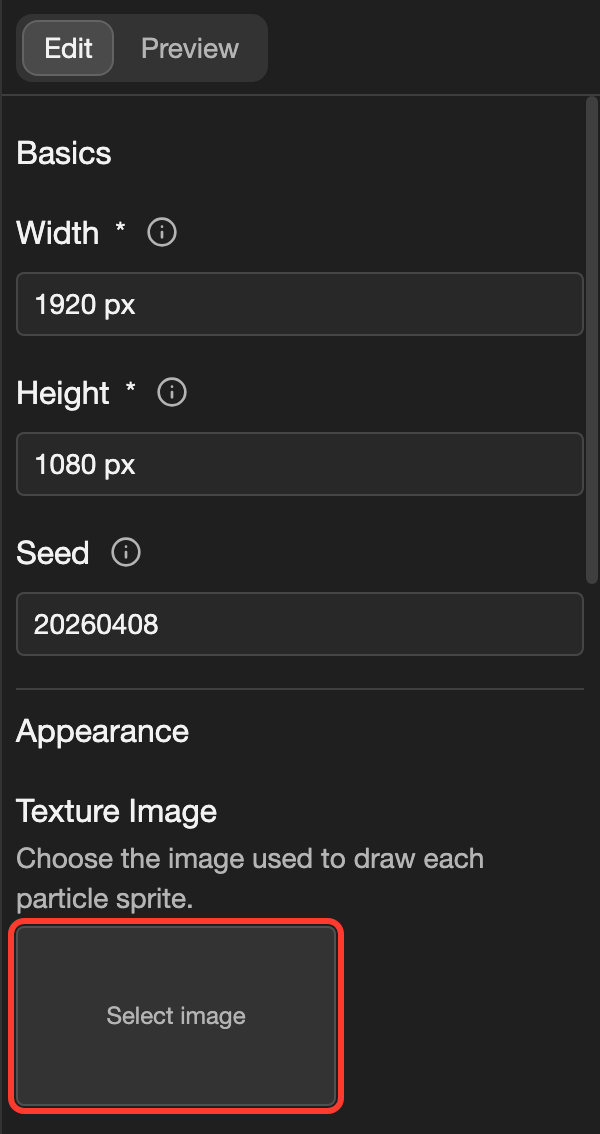
The particle editor opens. The canvas asks you to choose a texture image.
-
Under Texture Image, tap Select image.
-
Tap your picture, such as particle2. Then tap Select.
Petals now fall on the canvas.
Parts of the particle editor
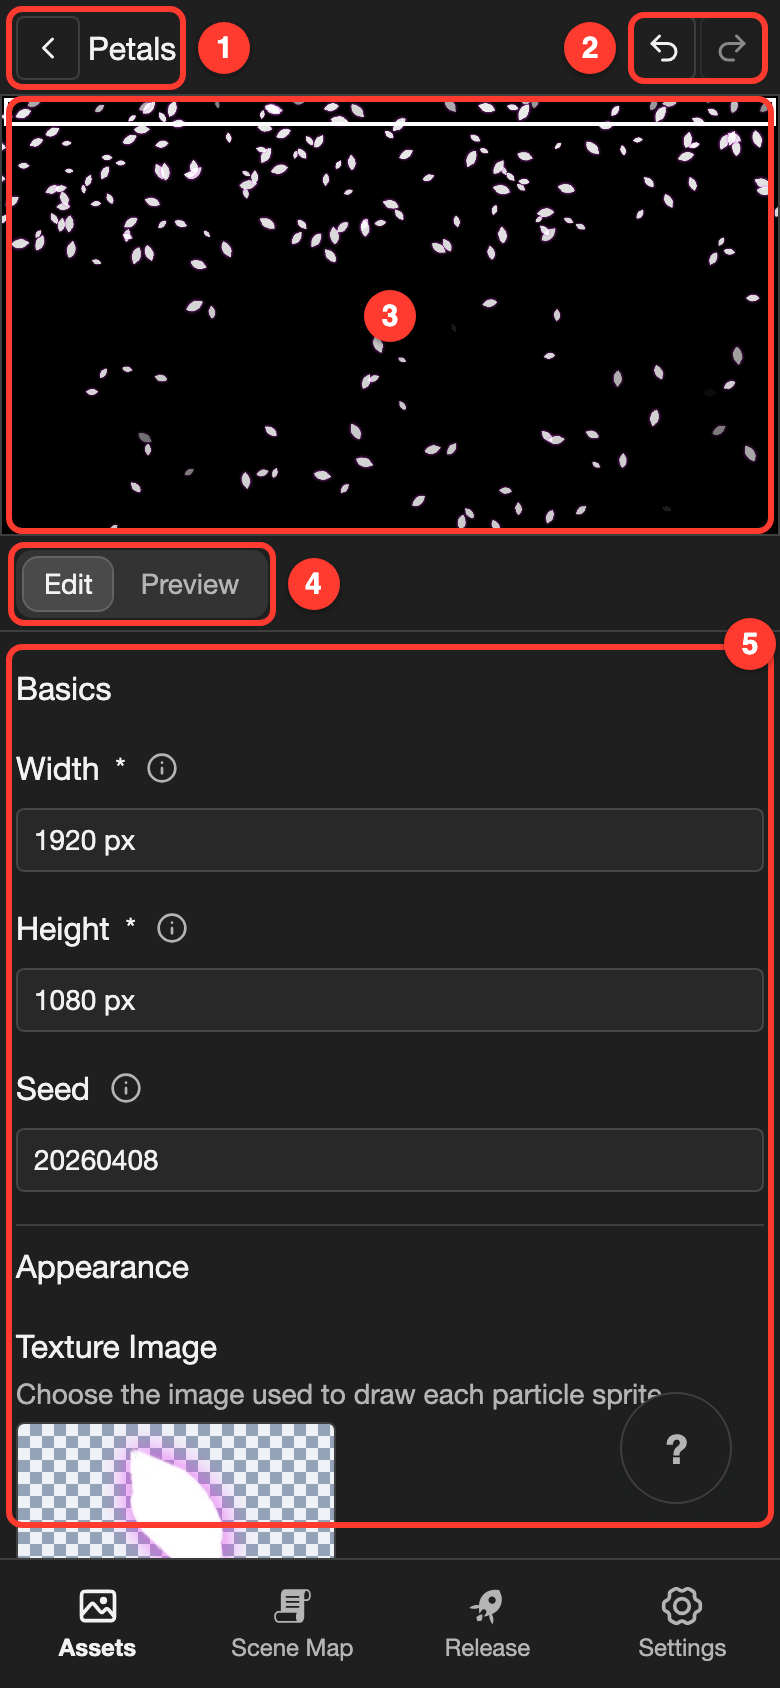
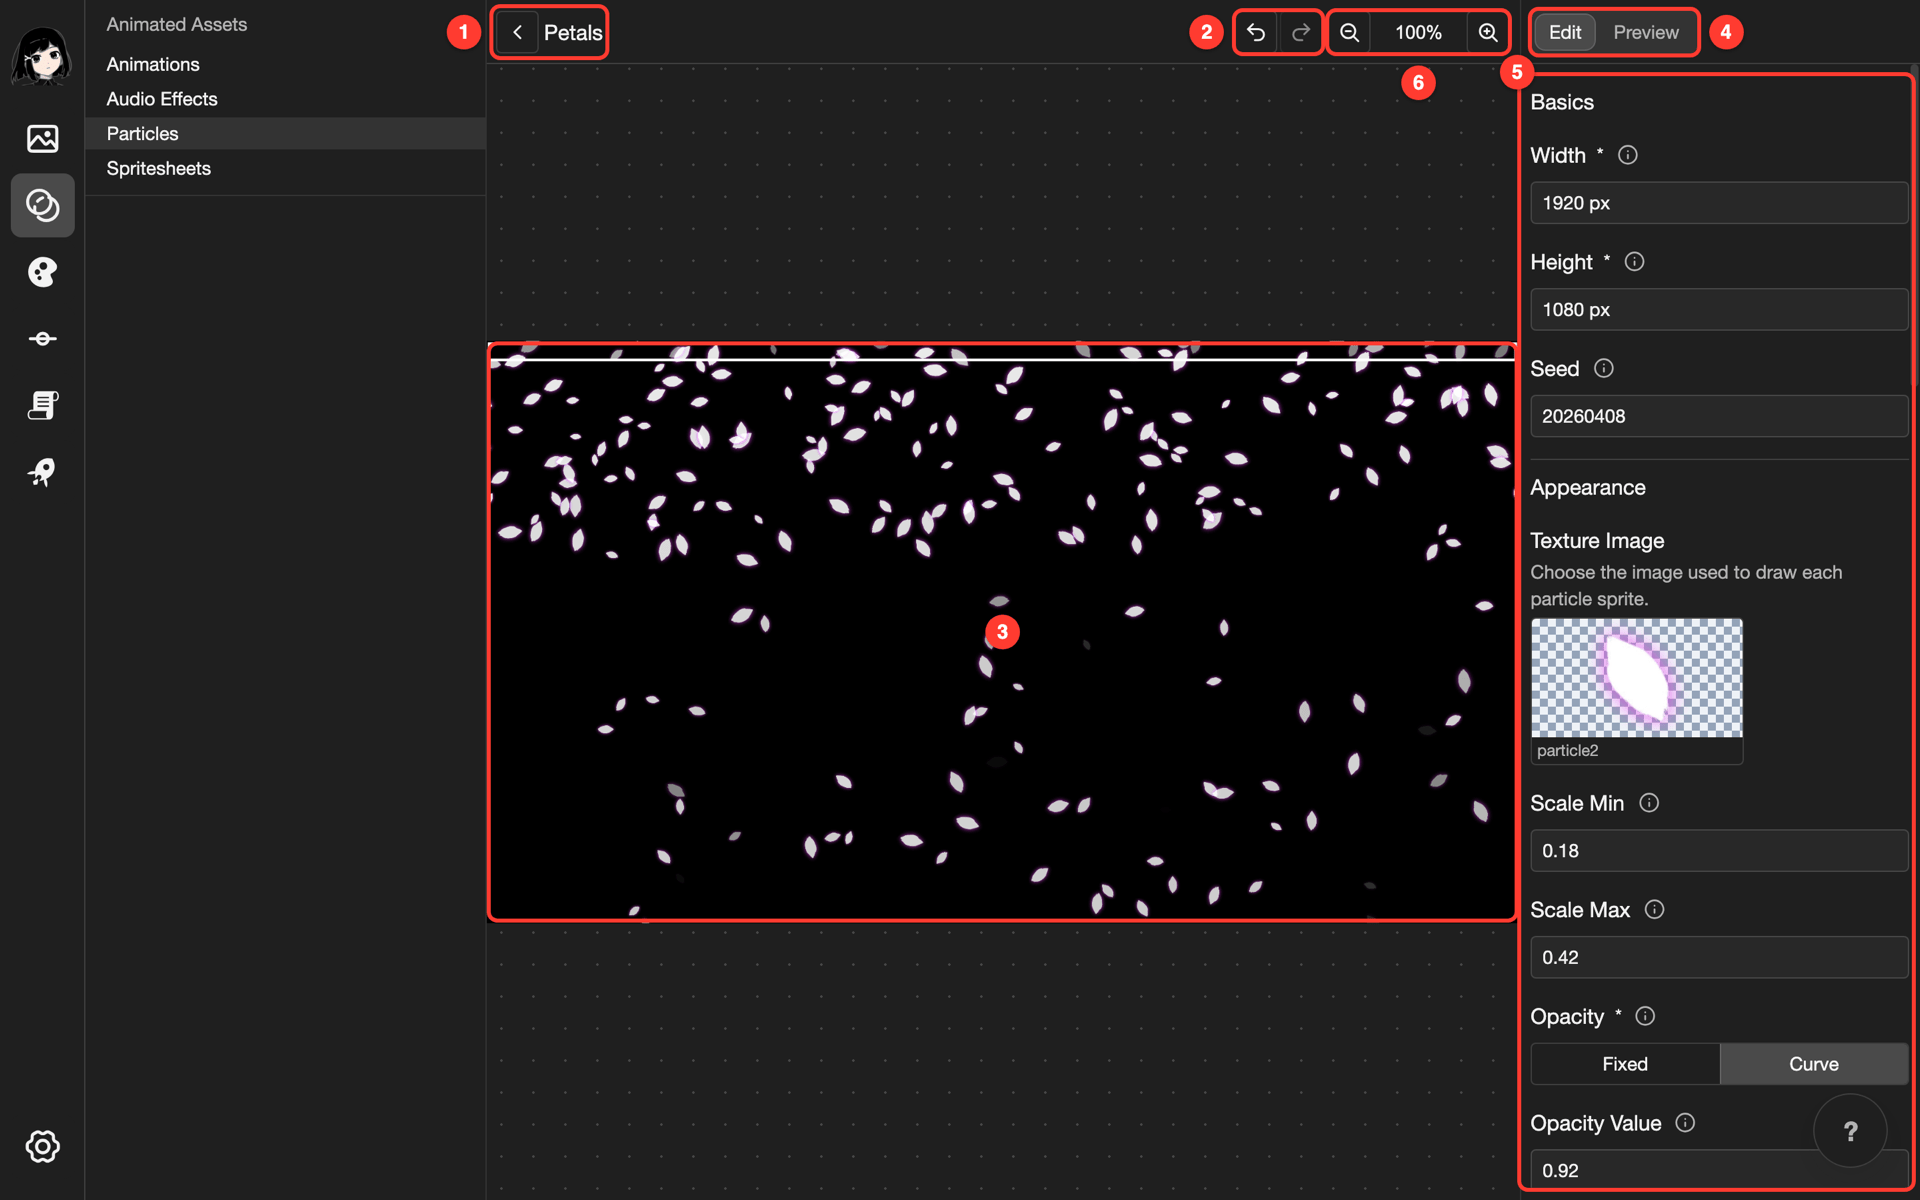
- Back button: Goes back to the Particles page. Your changes save by themselves.
- Undo and redo: Undo the last change, or bring it back.
- Canvas: Plays the effect. In Edit, a white outline shows the source. Drag the outline to move the source.
- Edit and Preview: Edit shows the settings. Preview hides the outline and sets a picture behind the particles.
- Settings: Change how the particles look and move. See Change the settings.
- Zoom buttons: Make the canvas smaller or bigger. Only desktop has these buttons.
Change the settings
Each change saves by itself. The canvas shows it right away.
To change a number:
-
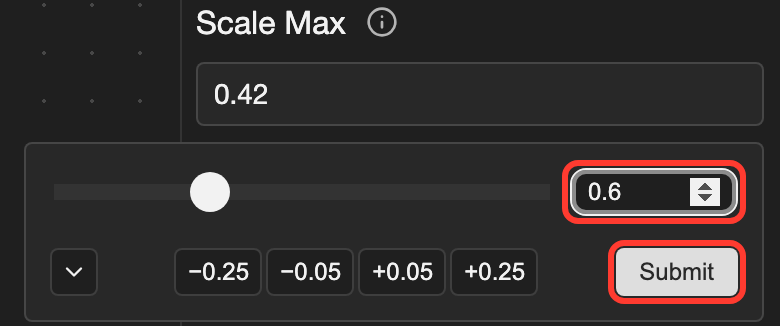
Tap the number, such as the one under Scale Max. A box with a slider opens.
-
Drag the slider, or type a number in the box. This example uses
0.6, so the petals get bigger.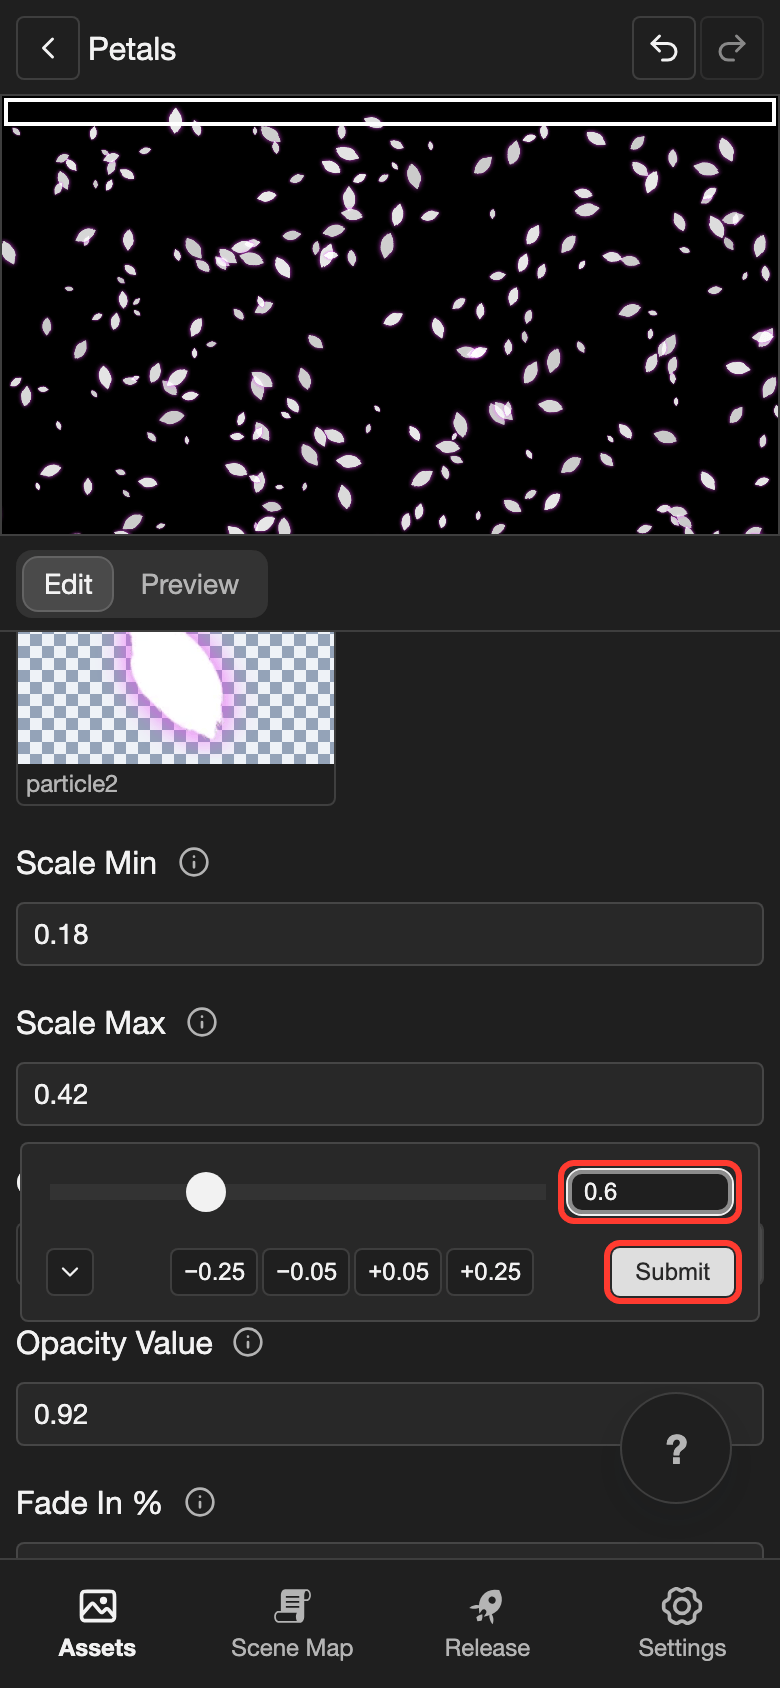
-
Tap Submit.
The arrow button on the left of the box shows a list of common values. Tap one to use it.
To change a choice, such as Fixed or Curve, tap the option you want. Some settings show only for one option. For example, Burst Count shows only when Emission Mode is Burst.
The tables below explain each group of settings.
Basics
| Setting | What it does |
|---|---|
| Width and Height | The size of the effect, in pixels. A new effect has the size of your project. |
| Seed | A number for the random parts. With the same seed, the effect plays the same way each time. Choose Random from the list to make it different each time. |
Appearance
| Setting | What it does |
|---|---|
| Texture Image | The picture that each particle uses. |
| Scale Min and Scale Max | How big the particles are. 1 is the size of the picture. Each particle gets a size between the 2 numbers. |
| Opacity | Fixed keeps one opacity for the whole life of a particle. Curve fades each particle in at the start and out at the end. |
| Opacity Value | How visible the particles are. 0 is invisible, and 1 is fully visible. With Curve, this is the highest value. |
| Fade In % and Fade Out % | Only with Curve. How much of its life a particle spends fading in or out. 20 means 20%. |
Emission
| Setting | What it does |
|---|---|
| Emission Mode | Continuous makes new particles all the time. Burst makes all its particles at once, one time. |
| Rate / second | Only with Continuous. How many new particles appear each second. |
| Burst Count | Only with Burst. How many particles the burst makes. |
| Max Active | Only with Continuous. The most particles that can be on the screen at the same time. |
| Duration | Only with Continuous. Infinite never stops. Timed stops making new particles after Duration Seconds. |
| Lifetime Min and Lifetime Max | How long each particle stays, in seconds. Each particle gets a time between the 2 numbers. |
Source
| Setting | What it does |
|---|---|
| Source Shape | Where new particles appear. Point is one spot. Rectangle, Circle, and Line spread them over an area. |
| Source X and Source Y | Where the shape is, in pixels from the top-left corner of the effect. For a rectangle, this is its top-left corner. For a circle, it is the center. For a line, it is the start. |
| Source Width and Source Height | Only with Rectangle. The size of the rectangle. |
| Source Radius and Inner Radius | Only with Circle. The size of the circle. Inner Radius leaves an empty middle, like a ring. |
| Line X2 and Line Y2 | Only with Line. Where the line ends. |
Movement
| Setting | What it does |
|---|---|
| Velocity Type | Directional or Radial. Both send each particle in a direction between Direction / Angle Min and Direction / Angle Max. |
| Speed Min and Speed Max | How fast each particle starts, in pixels per second. |
| Direction / Angle Min and Direction / Angle Max | The direction each particle starts in, in degrees. 0 is right, 90 is down, 180 is left, and 270 is up. Use 0 and 360 to send particles in every direction. |
| Acceleration X and Acceleration Y | Pushes the particles while they move. A positive X pushes right. A positive Y pushes down, like gravity. |
| Max Speed | The fastest a particle can go. 0 means no limit. |
| Rotate Toward Movement | On turns each particle to point the way it moves. For example, raindrops point down. |
Preview
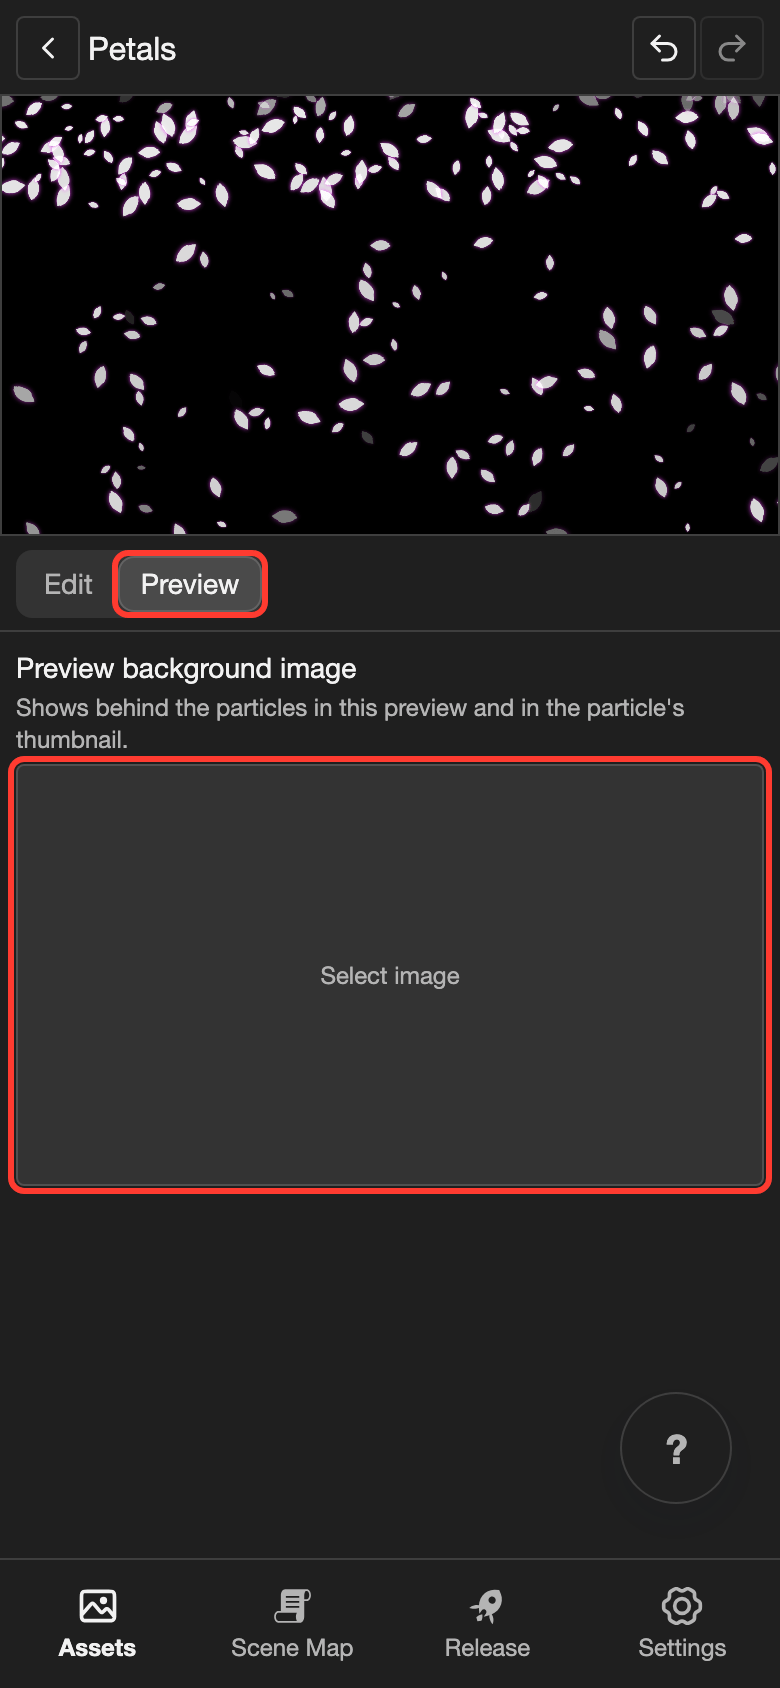
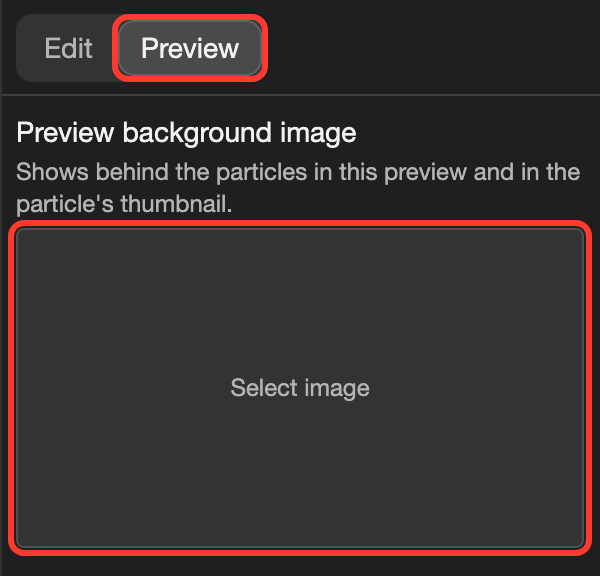
The canvas plays the effect while you edit. Preview hides the white outline. It can also show a picture behind the particles.
-
Tap Preview. Then tap the box under Preview background image.
- Phone or tablet: Preview is under the canvas.
- Desktop: Preview is at the top right.
-
Tap a picture, such as Day forest. Then tap Select.
The petals now fall over the forest. This picture shows only in the editor and on the Particles page. It does not show in your visual novel.
Open a particle effect later
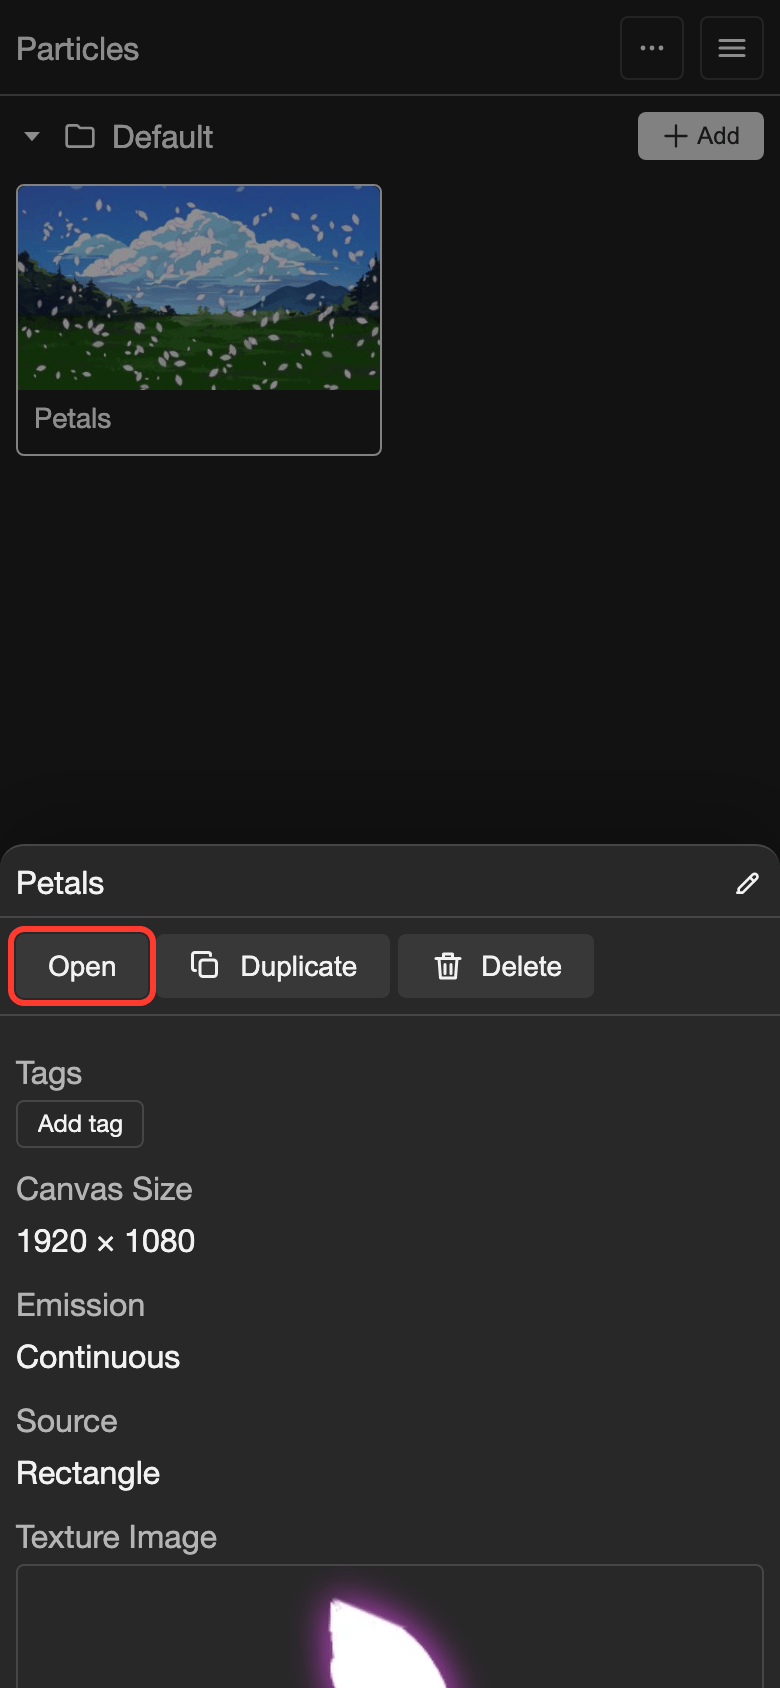
- Phone or tablet: Tap the effect. Then tap Open at the bottom of the screen.
- Desktop: Double-click the effect.
Use particles in a scene
A scene cannot show a particle effect by itself. First, put the effect in a layout. Then show the layout with the Visuals action.
Put the effect in a layout
-
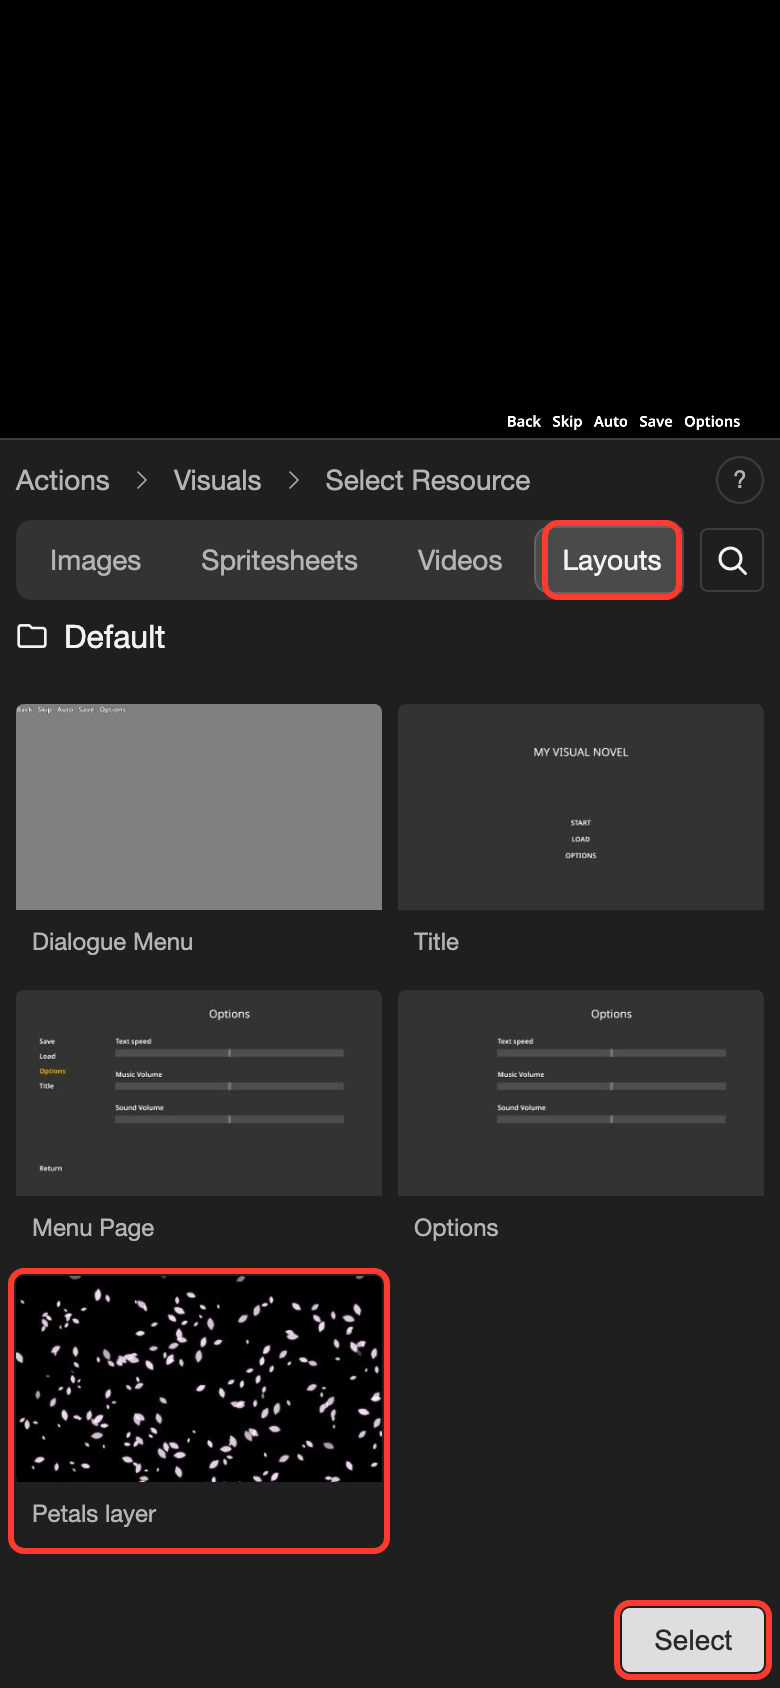
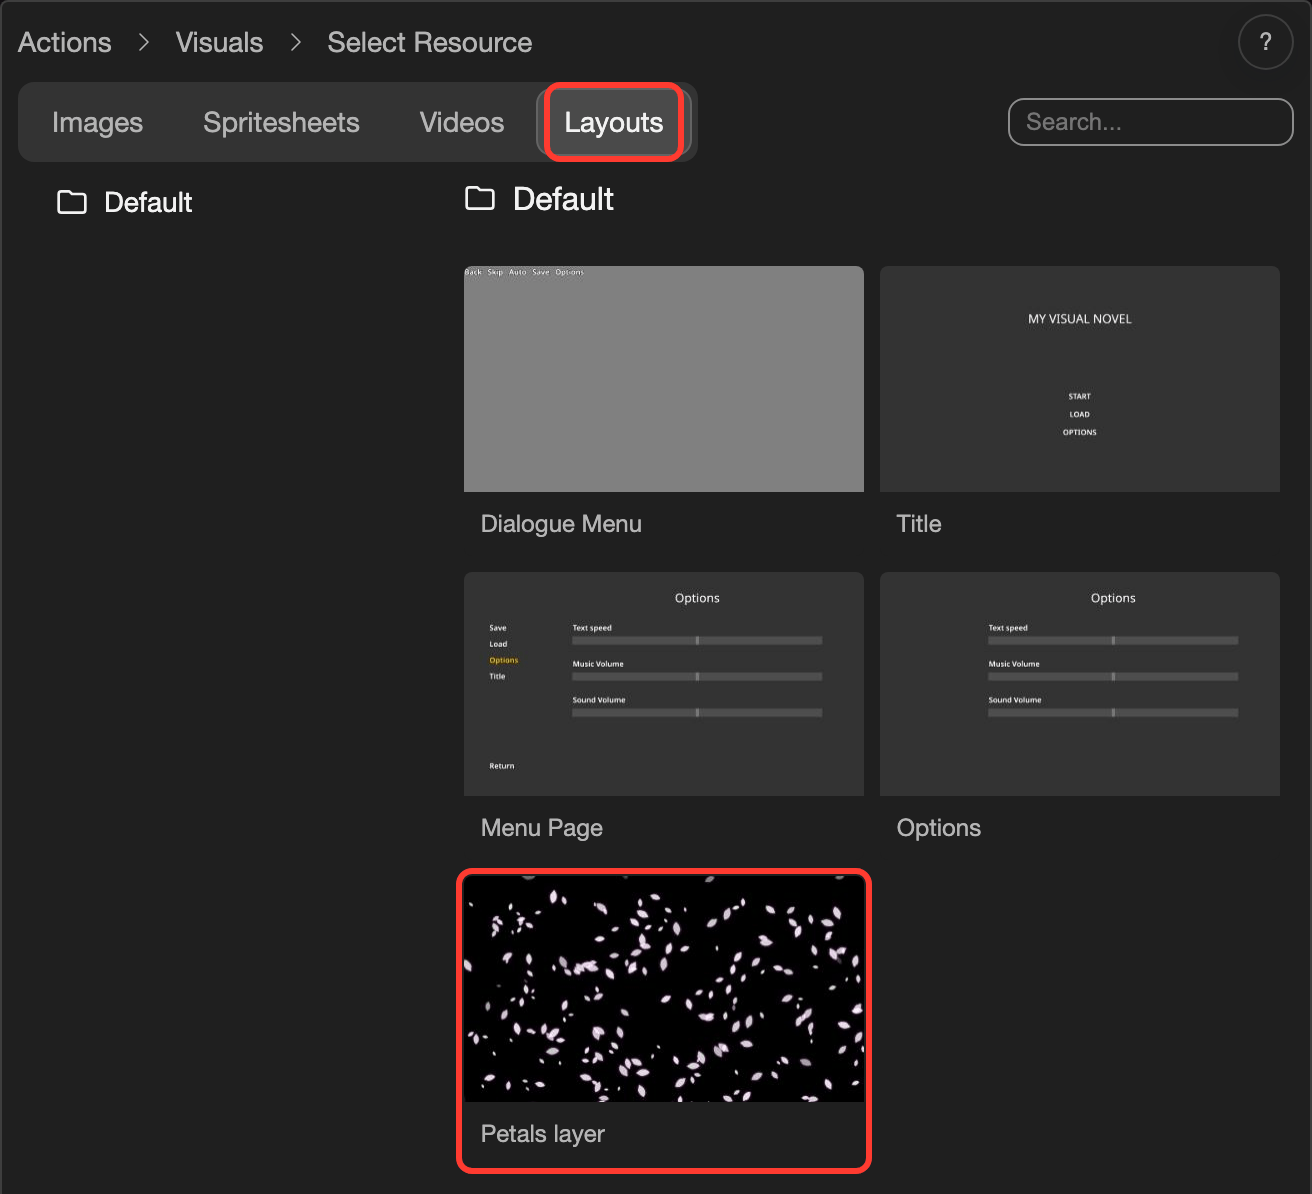
Make a layout with the type General. See Layouts. This example uses a layout called Petals layer.
-
Open the layout.
- Phone or tablet: Tap the layout. Then tap Open.
- Desktop: Double-click the layout.
-
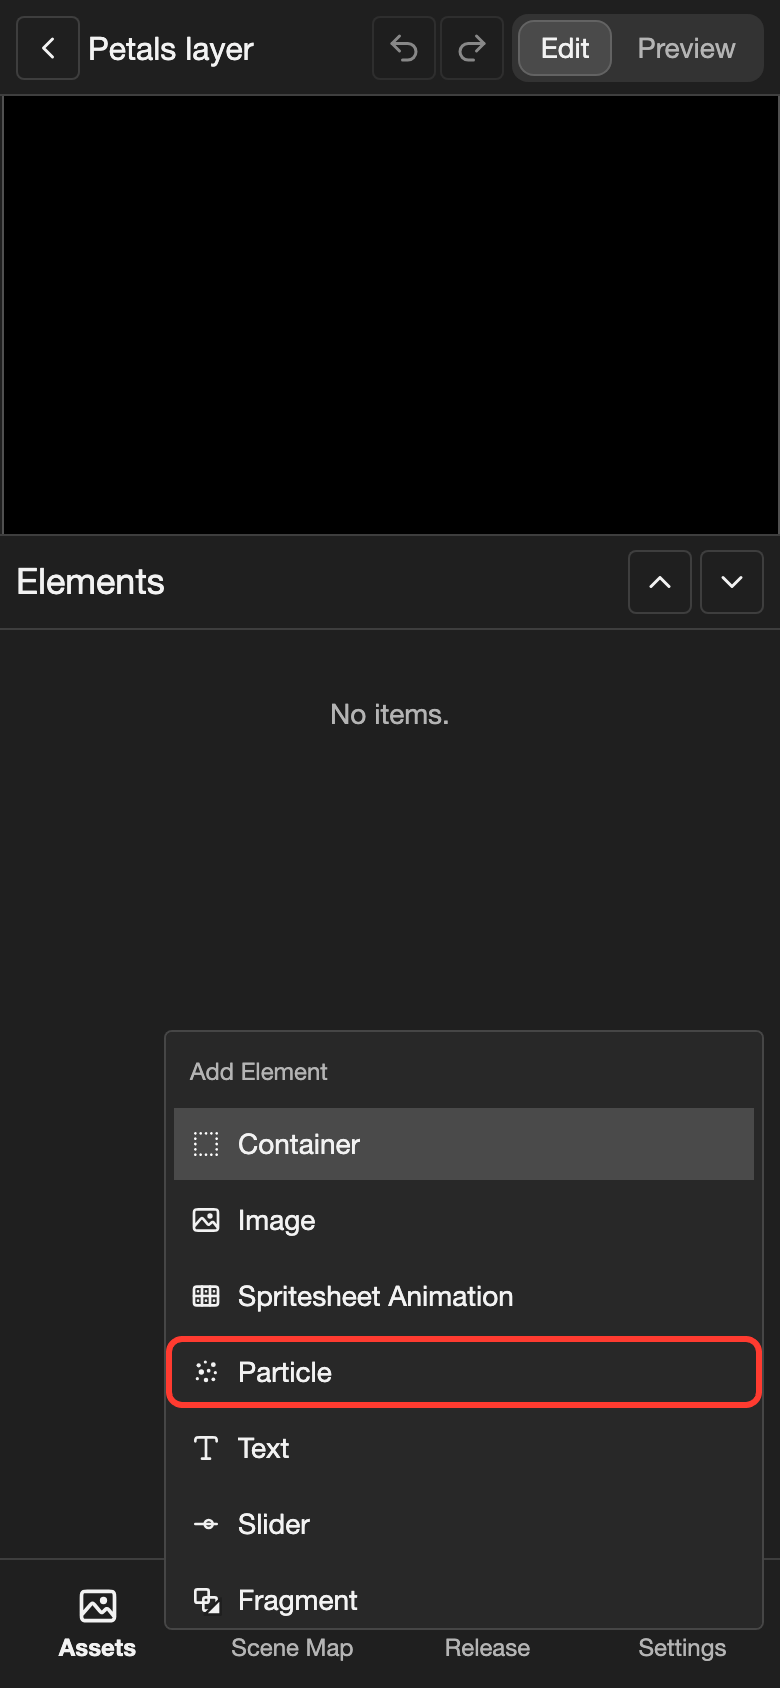
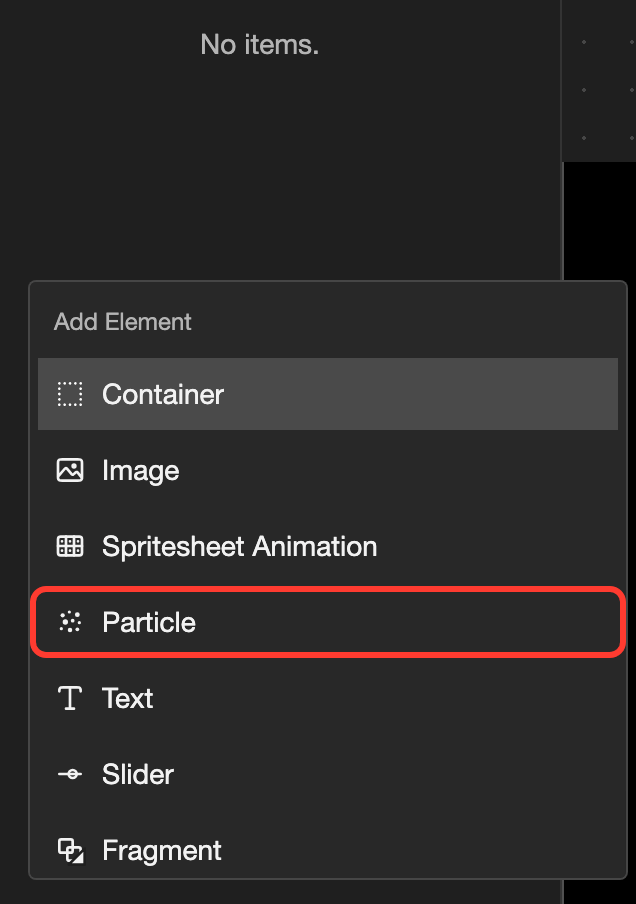
Open the Add Element menu. Then tap Particle.
- Phone or tablet: Long press (touch and hold) an empty spot under Elements.
- Desktop: Right-click (click with the right mouse button) an empty spot in the list on the left.
-
Check that Petals is chosen under Particle. Then tap Create Particle.
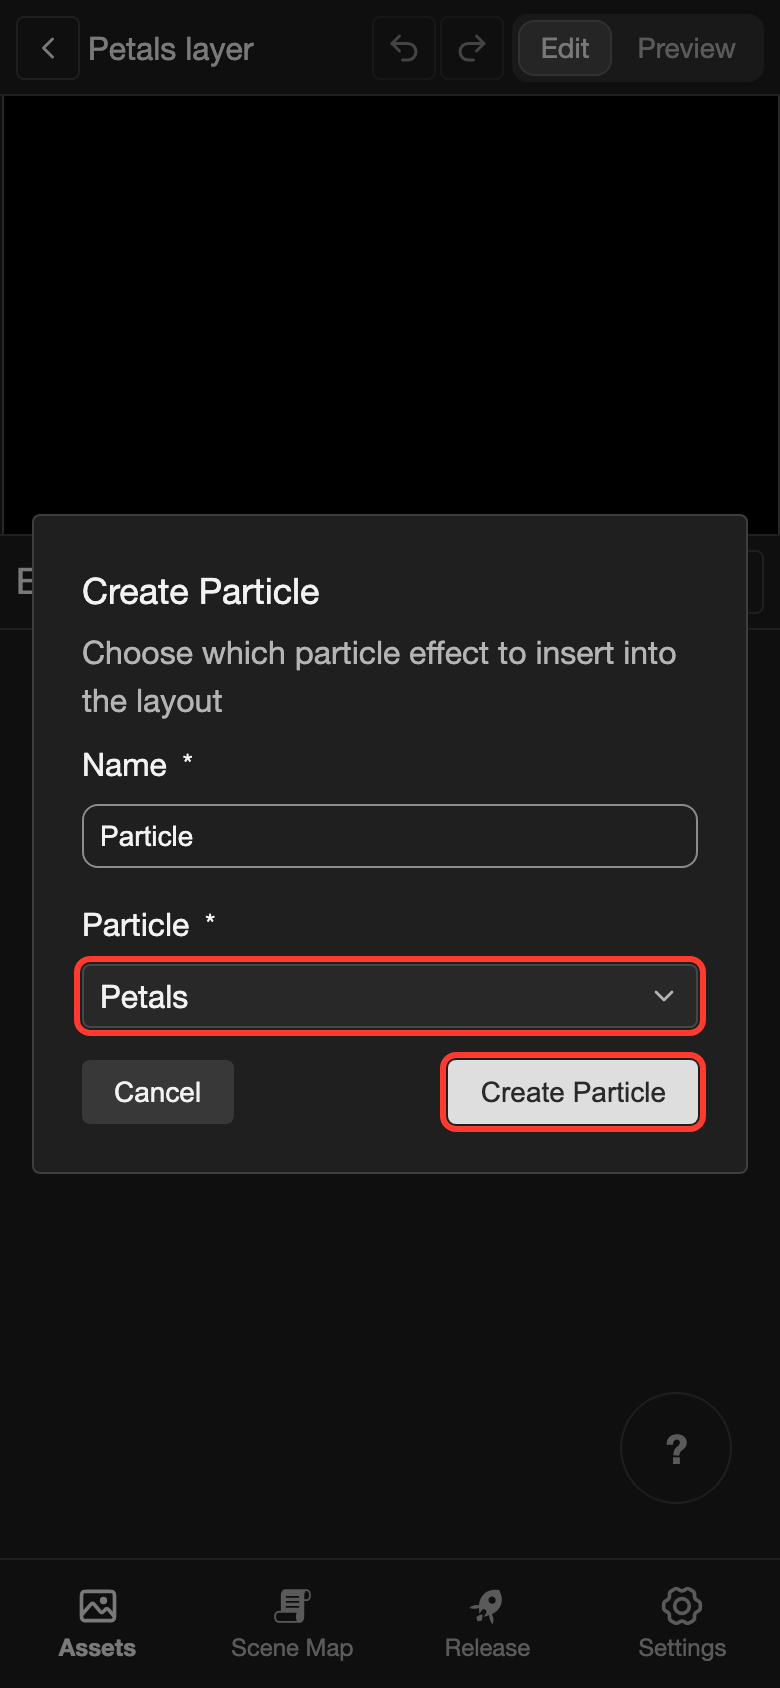
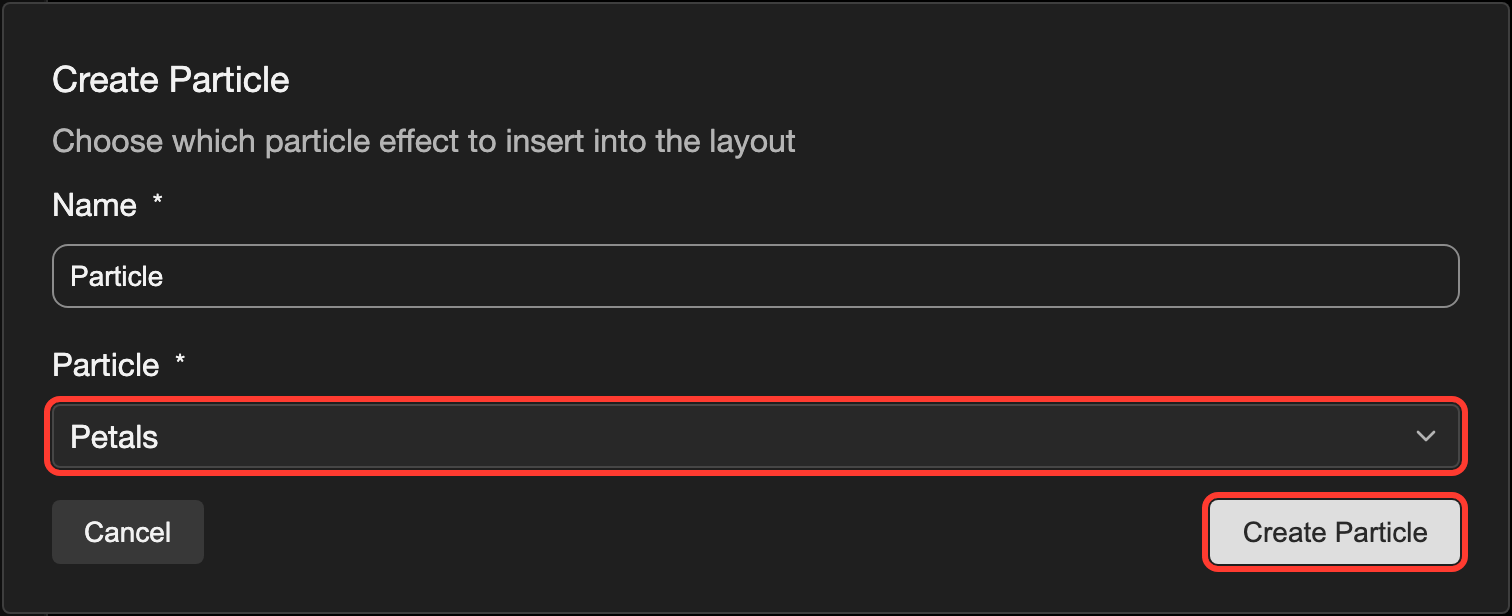
The petals now fall on the layout canvas. To learn more about the Particle element, see Particle.
Show the layout in a scene
-
Open a scene. Add a Visuals action to a line. See Line action: Visuals.
-
Tap + Add Visual. Under Transform, choose Center Center. Then tap Select Resource.
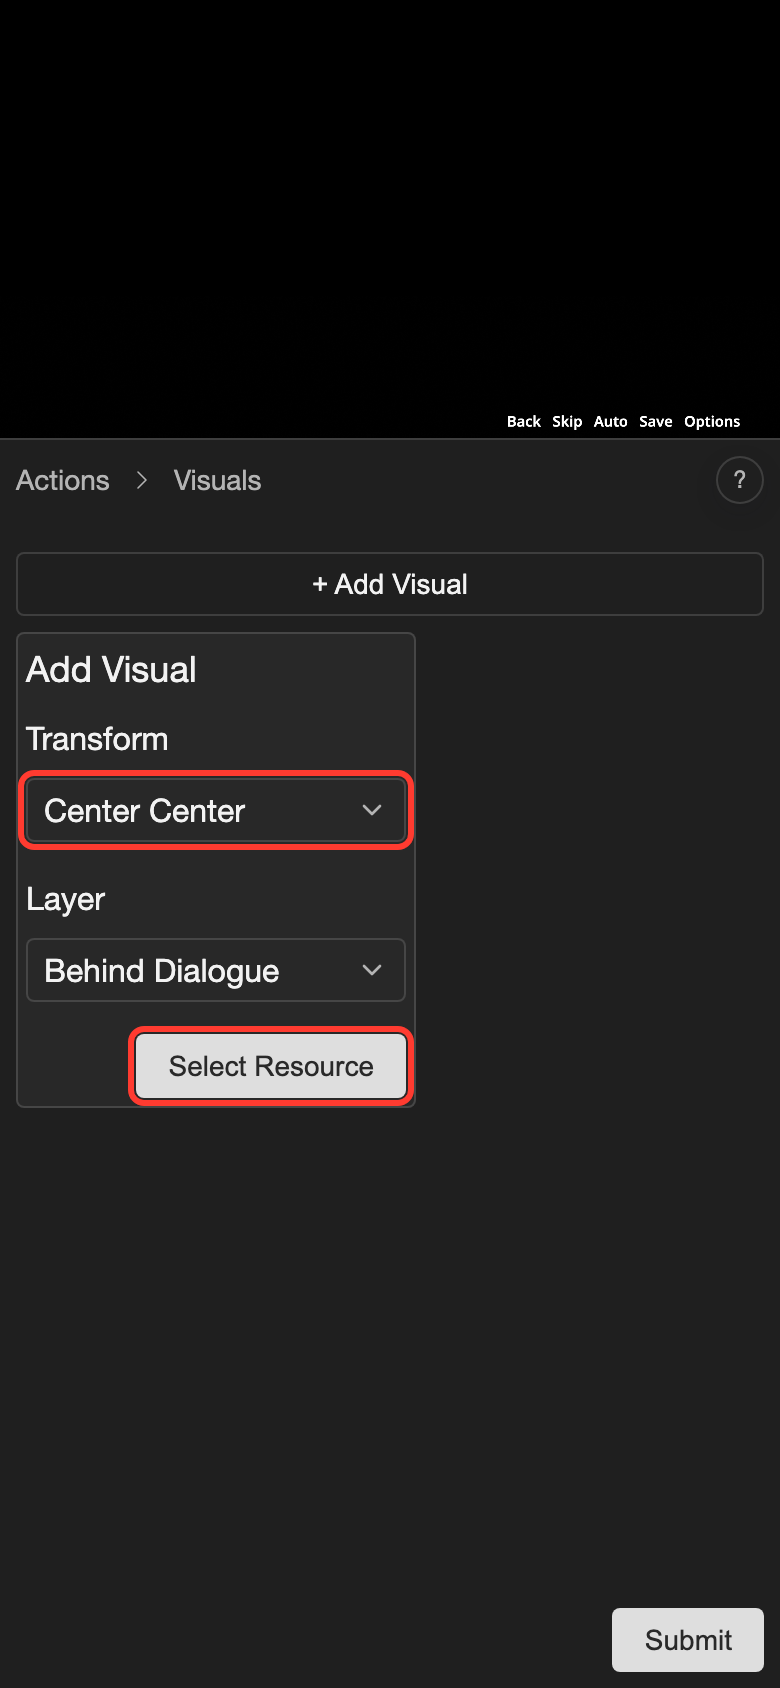
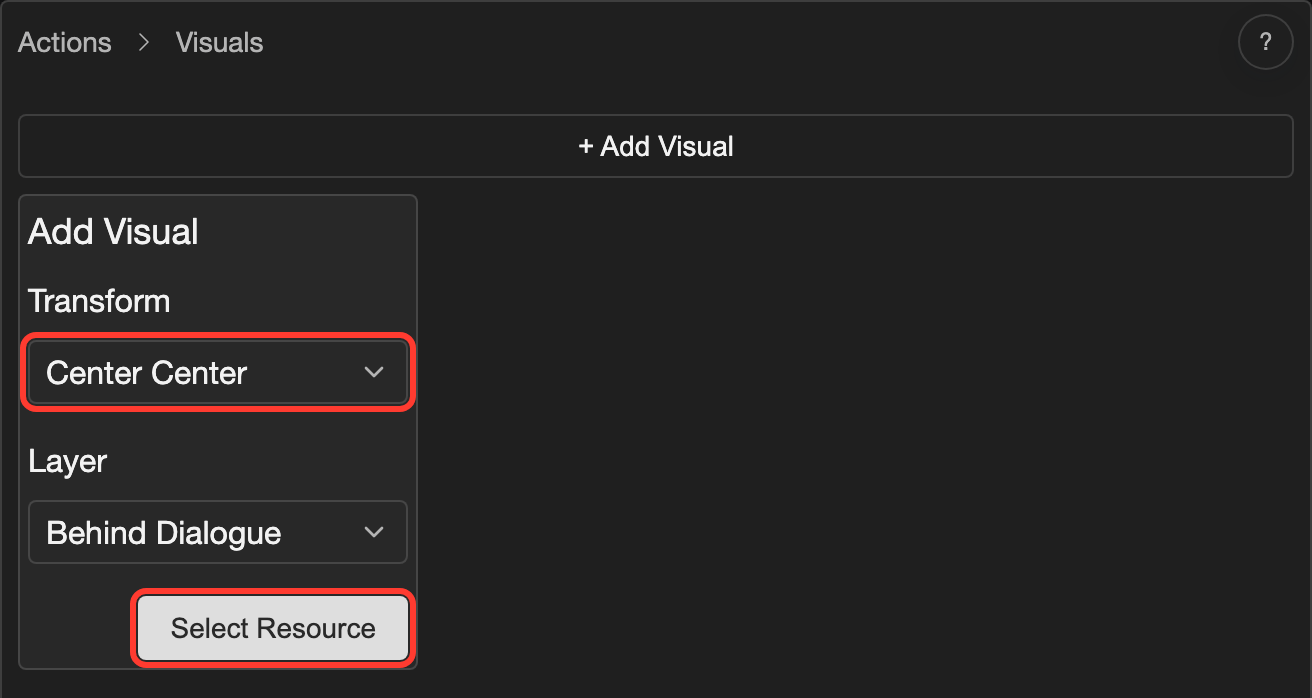
With Bottom Left, the effect covers only the left part of the screen. -
Tap Layouts. Tap Petals layer. Then tap Select, at the bottom right.
-
Tap Submit.
When the line plays, petals fall over the scene.
Good to know
- A change to a particle effect changes every layout that uses it.
- To rename a particle effect, tap it. Then tap the pencil next to its name.
- To copy or delete a particle effect, tap it. Then tap Duplicate or Delete. On desktop, you can also right-click it.
- If a Min number is bigger than its Max number, the app swaps them.
- Very large numbers in Rate / second, Max Active, or Burst Count can make your visual novel slow.
Problems and fixes
- The canvas shows no particles. Choose a Texture Image under Appearance. Also check that Opacity Value is above
0. - A number went back to the old value. Tap Submit before you close the box with the slider.
- I cannot find Rate / second or Burst Count. Rate / second shows only with Continuous. Burst Count shows only with Burst.
- The app says "Create a particle effect first." Make a particle effect on the Particles page. Then add the Particle element again.
- My layout is not in the Layouts tab. The Visuals action shows only layouts with the type General.
- The effect covers only part of the screen. In the Visuals action, choose Center Center under Transform. Also check that Width and Height match your project size.