Images
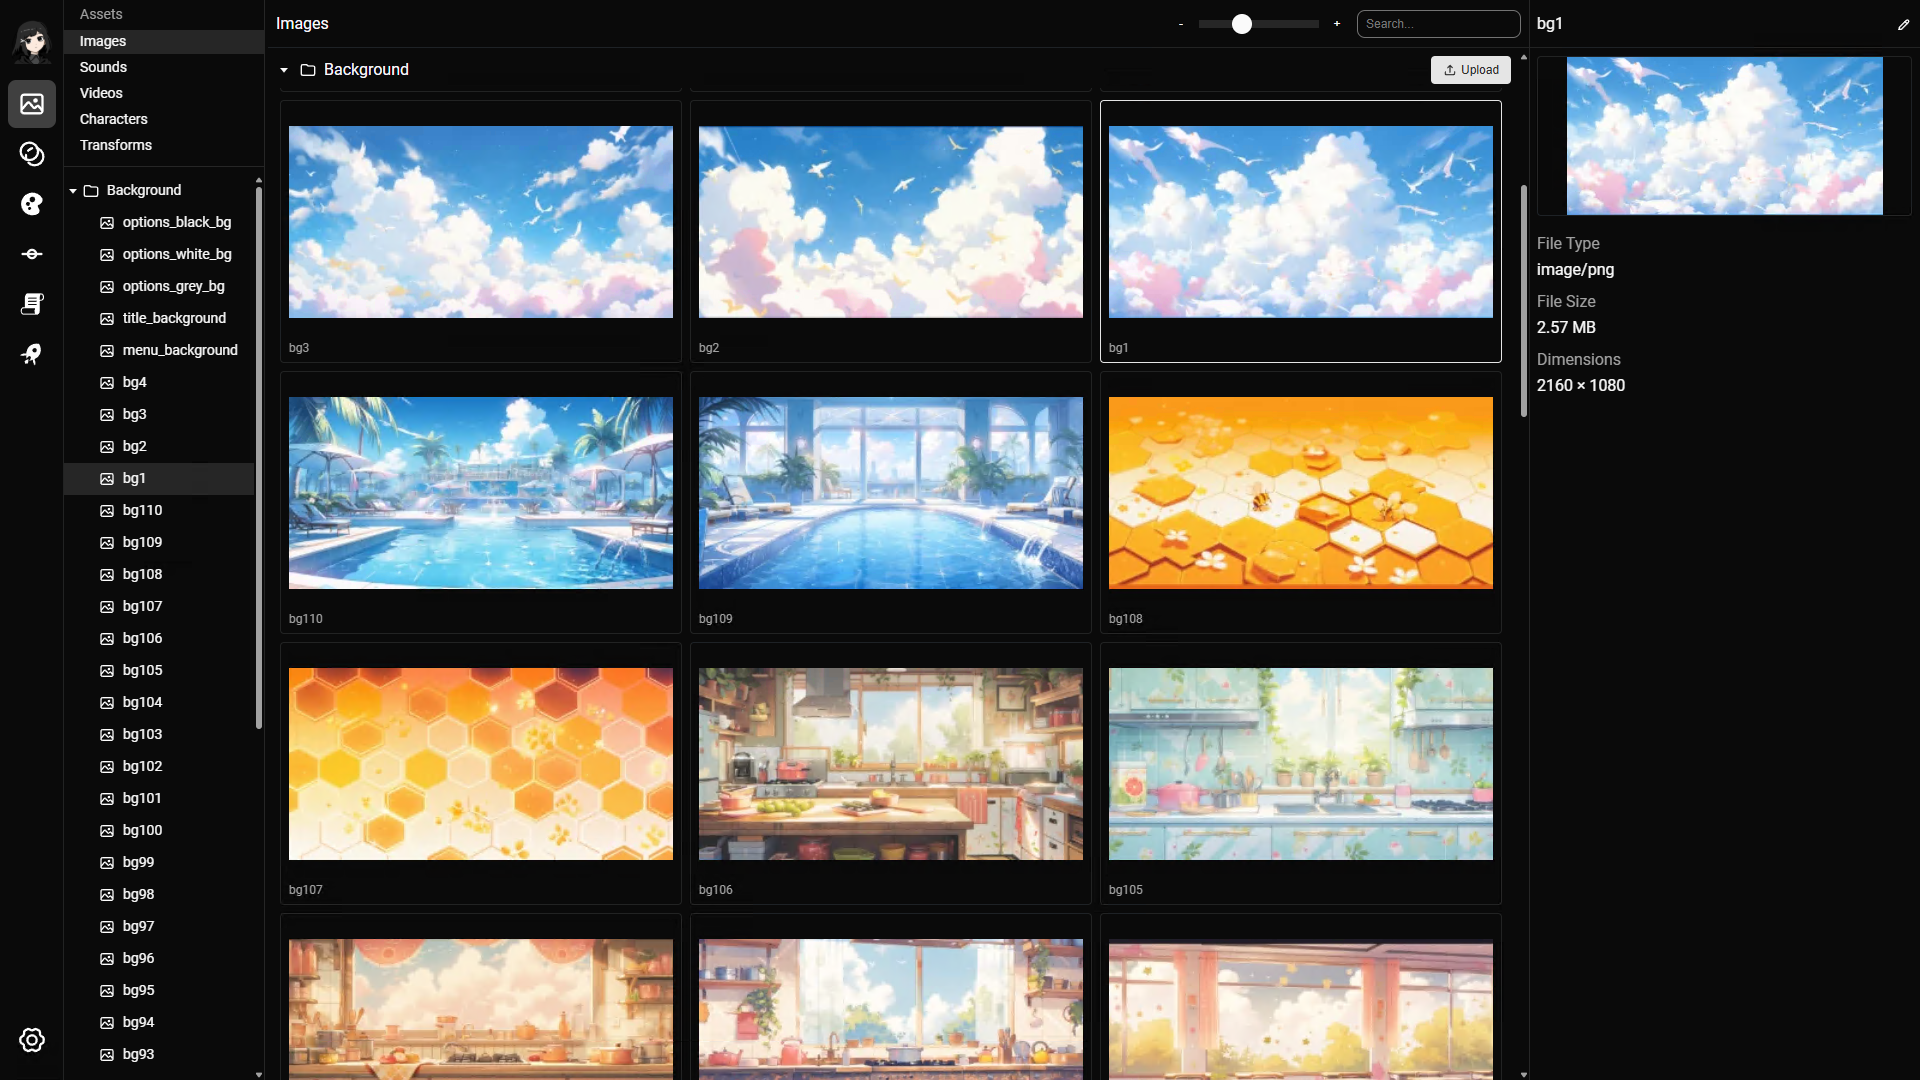
The images page is a flexible page to manage all visual assets including Background, Event CG, Visual Effects, UI assets.
Character sprites should not be added here. Use the character sprites section instead.
Image resolution
- Image dimensions should match or be relative to the project resolution.
- If your project resolution is 1920 x 1080, you should usually upload background and CG images with the same dimensions.
Image optimization
Adding similar images is fine. A common example is a set of character sprites that differ only by expression. During export, RouteVN Creator automatically de-duplicates matching parts of the images to reduce the final output size.
Supported image formats
The following file formats are supported:
pngjpg/jpegwebp
Upload images
You can upload single or multiple images at once.
There are 2 ways to upload:
- Click the upload button and select one or more images.
- Drag and drop images directly into the area below the folder.
When you upload multiple images, RouteVN Creator uploads them one by one. This is usually fast, but it can take time for large batches. Stay on this page and keep the application open until the upload finishes.
Updating an image
There is a significant difference between updating an existing image and uploading a new one.
If an image is already used in places such as layouts or section lines, replacing the image updates those references automatically.
If you upload a new image instead, you need to manually update the image reference in each layout or section line that uses it.
To update an image:
- Select an image.
- In the top right, click the image name or edit icon.
- Click the image to upload a new one.
Navigating the page
File explorer
Read the File Explorer docs for general navigation.
Previewing an image
Double-click an image to open the full-screen preview. Use the buttons at the top of the preview to choose one of two display modes:
- Canvas scale (default): Shows the image at its true size relative to the project resolution. Use this mode to see how much of the screen the image occupies.
- Fit to preview: Enlarges or reduces the image to fit the preview. Use this mode to inspect a small image more closely.
Organizing your images assets
The folder system is flexible and supports subfolders. A simple starting structure is:
- Background
- CG
- UI
- VFX
As the project grows, you can split assets by chapter:
- Background
- Chapter 1
- Chapter 2
- CG
- Chapter 1
- Chapter 2
You can also use chapters as the top-level folders:
- Chapter 1
- Chapter 2
Use the structure that works best for your project.
Usages
Images are used in the following places:
Keyboard shortcuts
The Images page supports the general File Explorer keyboard shortcuts, including full-screen image preview shortcuts.